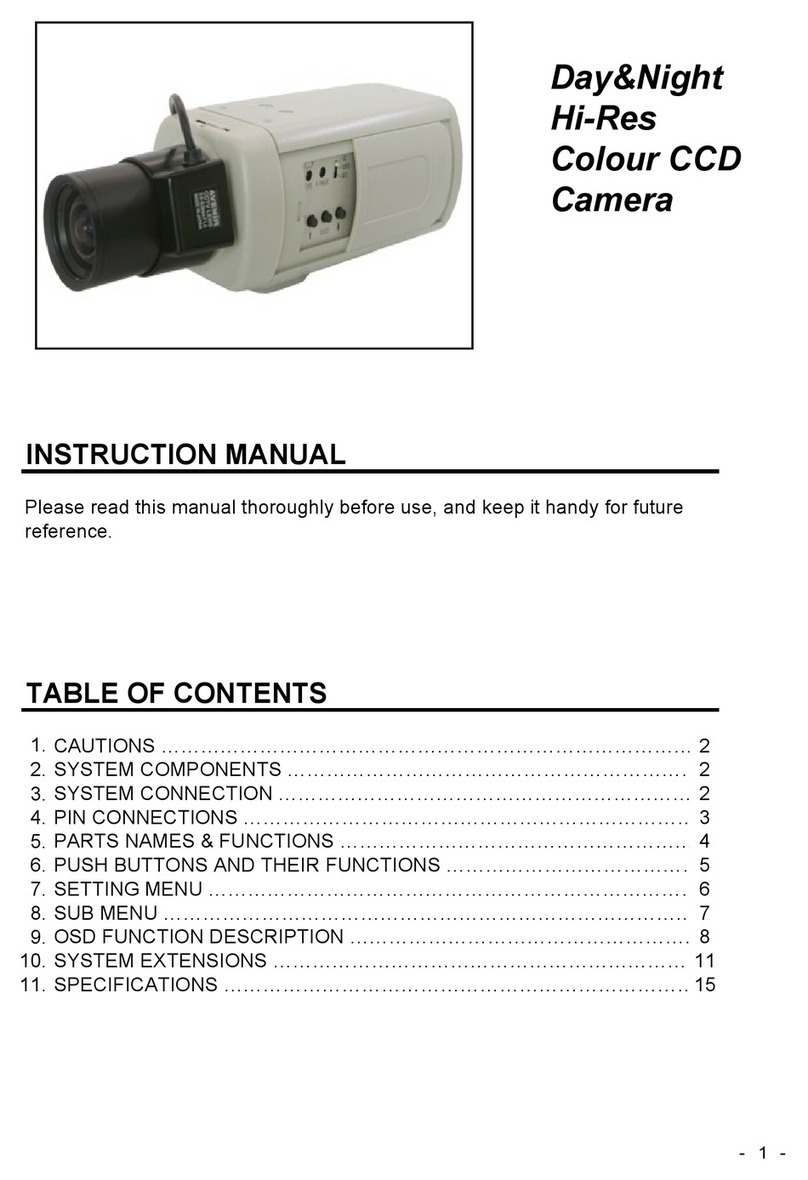
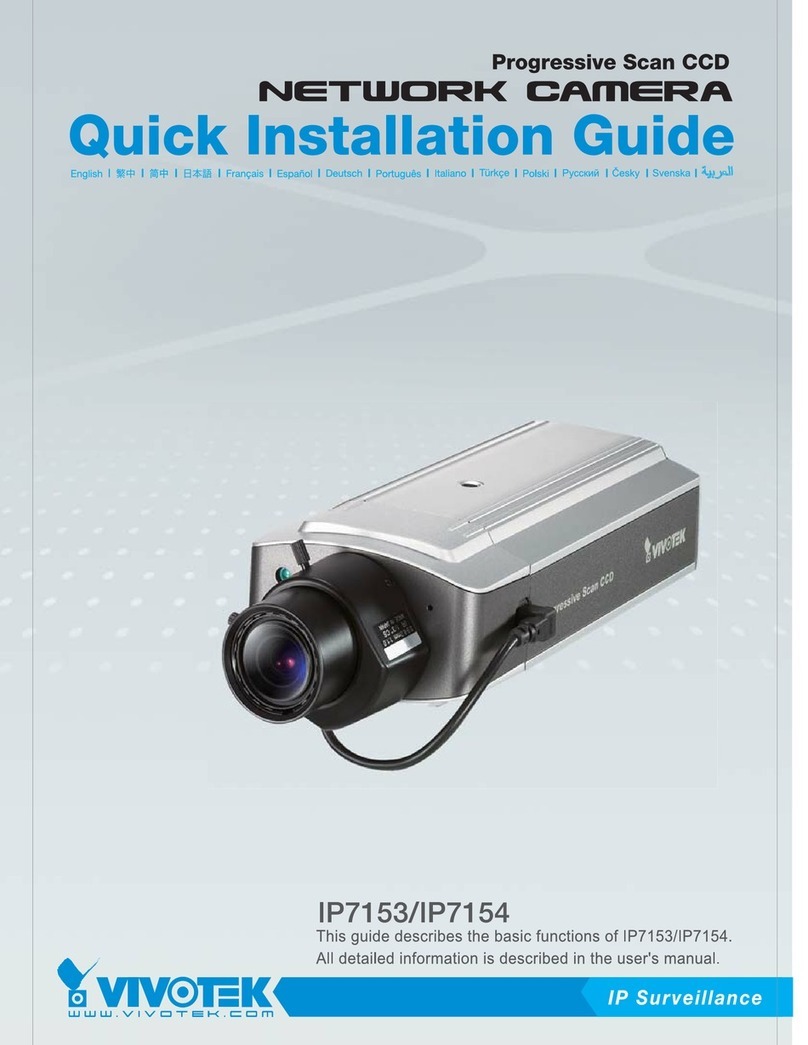
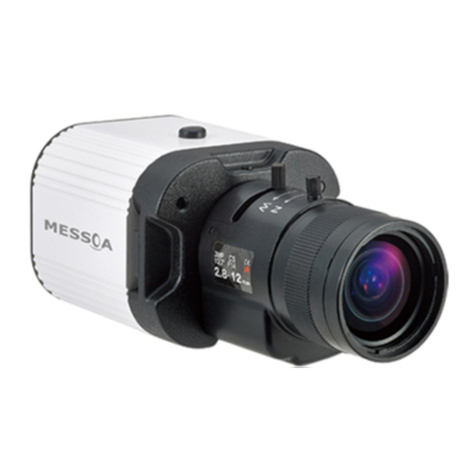
Messoa SCB267-HN5 User manual

700 TV lines
High Resolution Camera
Instructions Manual
Before attempting to connect or operate this product, please read these instructions
carefully and save this manual for future use.
ZEIM-4000491G 267 A.2


CONTENT
1. Intro ----------------------------------------------------------------------------4
2. Part Names and Location ------------------------------------------------------5
3. OSD Menu ----------------------------------------------------------------------6
4. OSD Menu Setting -------------------------------------------------------------7
4.1 LENS ----------------------------------------------------------------------8
4.2 SHUTTER/AGC------------------------------------------------------------8
4.3 WHITE BAL ---------------------------------------------------------------9
4.4 Backlight---------------------------------------------------------------- 10
4.5 PICT ADJUST ----------------------------------------------------------- 10
4.6 ATR --------------------------------------------------------------------- 10
4.7 Motion Det-------------------------------------------------------------- 10
4.8 Privacy------------------------------------------------------------------ 11
4.9 Day/Night--------------------------------------------------------------- 11
4.10 NR --------------------------------------------------------------------- 12
4.11 Camera ID ------------------------------------------------------------ 12
4.12 SYNC ------------------------------------------------------------------ 12
4.13 Language-------------------------------------------------------------- 12
4.14 Camera Reset --------------------------------------------------------- 12
4.15 Save All --------------------------------------------------------------- 12
Specication ----------------------------------------------------------------- 13
1

IMPORTANT SAFETY INSTRUCTIONS
The equipment has been tested and found to comply with the limits for a Class
A digital device, pursuant to Part 15 of the FCC Rules. The limits are designed to
provide reasonable protection against harmful interference when the equipment
is operated in a commercial environment. This equipment generates, uses, and
can radiate frequency energy and, if not installed and used in accordance with the
instruction manual, may cause harmful interference to radio communications.
Operation of this equipment in a residential area is likely to cause harmful
interference, in which case users will be required to correct the interference at
their own expense.
FCC Caution:
To ensure continued compliance, use only shielded interface cables when
connecting to computer or peripheral devices. Any changes or modications not
expressly approved by the party responsible for compliance could void the user’s
authority to operation this equipment.
Installation and serving should be performed only by qualified and experienced
technicians to conform to all local codes and to maintain your warranty.
Operating Notes:
• For dual voltage model: Connect to DC12V or AC 24V power adapter.
• For high voltage model: Connect to AC 90V~260V power source.
Operating Conditions
• Avoid viewing very bright objects (example, light fixtures) for extended
periods.
• Avoid operating or storing the unit in the following locations:
- Extremely humid, dusty, hot/cold environments (where the operating
temperature is outside the recommended range of 14°F to 122°F [-10°C
to +50°C]
- Close to sources of powerful radio or TV transmitters
- Close to uorescent lamps or objects reecting light
- Under unstable light sources (may cause ickering)
2
To reduce the risk of re or electric shock,
do not expose the product to rain or moisture.
WARNING!

INTRODUCTION
The box camera is ideal for indoor installation in commercial and residential
environment.
Before You Begin:
Please read this guide carefully before you install the box camera. Keep this guide for
future reference.
Package Contents:
Check that the items received match those listed on the order form and packing slip.
The dome camera packing box include, in addition to this Install Guide:
• One instruction manual
• One fully assembled camera
• One Lens mounting cap
• One Hexagonal wrench
If any parts are missing or damaged, contact the dealer you purchased the camera.
3

PART NAMES AND LOCATIONS
4
53.5mm (2.10")
129mm (5.07")
63.3mm (2.49")
Figure 2-1 Dual-voltage model
Figure 2-2 High-voltage model
1
2
5
3
4
6
7
8
9
53.5mm (2.10")
129mm (5.07")
63.3mm (2.49")

(1) Lens mount
For the installation of CS Mount lenses only.
(2) Back Focus adjustment :
A.Back Focus Screw :
Loosen this screw before you use the Focus
Adjustment. To maintain the correct focus
afterwards, ensure that it is tightened.
B.Focus Adjustment :
Adjust this dial to obtain correct back-focus
whilst using a CS mount lens.
(3) DC IRIS connector
(4) OSD joystick control
Press the OSD joystick control straight
down:
• For two seconds to enter the Main
menu.
• To enter a screen or to select a
submenu option. A selected menu
item blinks.
(5) Terminal Block
The camera will be forced to BW mode
with external contact. This function is
supported ICR DN camera only.
<Notice>
When forced to BW mode, the OSD
setting of DAY/NIGHT will be changed
to BW mode. But if cancelled external
contact, the OSD setting of DAY/NIGHT
will be forced to set CL mode.
(6) Video Output Terminal
BNC: Used to give out the video signal.
Connected to the video input terminal
of a monitor, switcher, etc. (to be
terminated with 75 ohm impedance)
(7) Power Connector
Connect to the respective power source.
• For dual-voltage model: Connect to
DC12V or AC 24V power adapter.
• For high-voltage model: Connect to
AC 90V~260V power source.
WARNING: This apparatus must be
EARTHED.
(8) Power Indicator
Light is on when power is applied.
(9) Tripod Stand
Application for mounting the camera onto
the camera holder. Effective for general
camera tripods.
5

OSD Setup Menu
6
Set up menu
Default set Menu
Lens
AUTO AUTO/Manual
Shutter/AGC
AUTO AUTO (High Luminance, Low Luminance)/
Manual (Mode, Shutter, AGC)
WHITE BAL
ATW ATW/Push Lock/User1/User2/Anti CR/Manual
Backlight
OFF OFF/BLC/HLC
Pic Adjust
Mirror, Brightness, Contrast, Sharpness, Hue,
Gain
ATR
OFF OFF/ON (Luminance, Contrast)
Motion Det
OFF OFF/ON (Detect Sense, Block DISP, Motion Area,
Area Sel)
Privacy
OFF OFF/ON (Area Sel, Color, Transp, Mosaic)
Day/Night
AUTO AUTO/BW/Color
NR
OFF
NR Mode (Off, Y, C)
Y Level
C Level
Camera ID
OFF OFF/ON
SYNC
INT/LL
Language
English English, Japanese, German, French, Russian,
Portuguese, Spanish, Simplied Chinese
Camera Reset
Exit
Save All

MENU Setting
Entering OSD Menu
Hold down on the joystick to open the Main menu. Use the UP/DOWN functions of
the joystick to move the cursor to the item you want to modify. A selected menu item
will be highlighted.
Press UP: Press to move the cursor up.
Press Down: Press to move the cursor down.
Enter button: Hold down on the joystick to enter the selected item or change the
settings of the selected item.
Press Right: Press it to change the settings of the selected item.
Press Left: Press it to change the settings of teh selected item.
NOTE: When an item is selected, it will be highlighted.
After all the settings have been satised, move the cursor to the "Save All" item and
press the enter button. Then move the cursor to the "EXIT" item and press the enter
button to exit OSD setup menu.
You can also restore the settings to factory default by moving the cursor to the
"CAMERA RESET" item and then pressing the Enter button. Then move the cursor to
the "Save All" item and press the Enter button.
4.OSD Menu Settings
7

MENU SETTING
Figure 4-1 Main menu
4.1 Lens
Select Auto or Manual lens function. The default setting is AUTO(Auto Iris lens).
Move the joystick control LEFT or RIGHT to select Auto or Manual Lens. Enter the
AUTO submenu as shown in the gure. Move the joystick control UP or DOWN to
open, close, or set IRIS to auto mode. Move the joystick control UP or DOWN to
adjust the DC Iris Lens convergence speed.
4.2 SHUTTER/AGC
Set Shutter speed/AGC(Auto Gain Control) function. The default setting is AUTO.
Move the joystick control LEFT or RIGHT to select AUTO or MANUAL.
SUGGESTED USE:
DC Lens: When use DC lens, it is recommended to set SHUTTER/AGC to AUTO mode.
Enter the AUTO submenu as shown in the gure. Move the joystick control UP or
DOWN to adjust HIGH LUMINANCE MODE to AUTO IRIS.
Manual Lens: When use MANUAL lens, it is recommended to set SHUTTER/AGC to
AUTO mode. Enter the AUTO submenu as shown in the gure. Move the joystick
control UP or DOWN to adjust HIGH LUMINANCE MODE and LOW LUMINANCE setting.
8
LENS AUTO
SHUTTER/AGC AUTO
WHITE BAL ATW
BACKLIGHT OFF
PICT ADJUST
ATR OFF
MOTION DET OFF
NEXT
EXIT SAVE ALL
PRIVACY OFF
DAY/NIGHT AUTO
NR
CAMERA ID OFF
SYNC INT
LANGUAGE ENGLISH
CAMERA RESET
BACK
EXIT SAVE ALL
TYPE DC
MODE OPEN
SPEED 046

NOTE:
AUTO IRIS and SHUT+AUTO IRIS difference
• Use DC lens and setting to AUTO IRIS mode for normal condition application
environments. The IRIS level will be controlled by camera brightness.
• Use DC lens and setting to SHUT+AUTO IRIS mode for high light application
environments. The exposure will be controlled by AES or the DC Iris. The iris
level will be controlled by camera brightness.
If you use Manual lens, then select MANUAL mode. The shutter speed is variable
from 1/50(1/60)sec to the 1/10Ksec and the AGC is selectable depending on your
environment condition.
4.3 WHITE BAL
WHITE BALANCE controls color on the screen. The default is ATW. The color
temperature range is 2500°K - 9500°K. Move the joystick control LEFT or RIGHT to
select ATW(Auto White Balance), PUSH, PUSH LOCK, USER1, USER2, Anti CR(Anti
Color Rolling Suppression) or MANUAL mode. Enter the ATW submenu as shown
in the gure. Move the joystick control UP or DOWN to select the desired value.
ATW(Auto White Balance) select when the scene illumination varies between indoor
scenes and outdoor scene lighting.
<Notice>
When setting different value of ATW FRAME and application environment, the color
temperature range of white balance will be changed. The color temperature range of
X0.50 of ATW FRAME will be smaller than X.20.
If selected MANUAL mode, you can adjust LEVEL from 15 to 69.
If selected USER1 or USER2 mode, you can adjust B-GAIN and R-GAIN value from 0
to 255.
MENU SETTING
9
HIGH LUMINANCE
MODE AUTO IRIS
BRIGHTNESS 024
LOW LUMINANCE
MODE AGC
BRIGHTNESS x0.25
MODE OFF
SHUTTER 1/50(1/60)
AGC 6.0
SPEED 171
DELAY CNT 152
ATW FRAME X0.50
ENVIRONMENT INDOOR

MENU SETTING
If selected PUSH mode in the appropriate position, whole area will perform white
balance.
If selected PUSH LOCK mode in the appropriate position, WHITE BALANCE will
perform once.
4.4 BACKLIGHT
Set Backlight compensation function. The default is OFF. Move the joystick control
LEFT or RIGHT to select OFF, BLC or HLC(Highlight Compensation) mode. When you
switched BLC, the function controls the light level to overcome severe backlighting
conditions. HLC activated automatically depending on the shooting condition (detects
night and high-luminance)
4.5 PICT ADJUST
Set PICTURE ADJUST function. Enter PICT ADJUST submenu as shown in the gure.
Move the joystick control UP or DOWN to set picture Brightness, Contrast, Sharpness,
Hue, or Gain value. In addition, you can set MIRROR to the ON mode then the picture
to be left or right.
4.6 ATR*
Set ATR(Adaptive Tone-curve Reproduction) function. The default is OFF. Move
the joystick control LEFT or RIGHT to select the ON mode then enter to the ATR
submenu, you can set LUMINACE and CONTRAST to optimize by image.
4.7 MOTION DET
Set Motion Detection function. The default is OFF. Move the joystick control LEFT
or RIGHT to select the ON mode then enter to the MOTION DET submenu. You can
set 4 motion areas to detect moving objectives and adjusts the motion detection
sensitivity. Use the LEFT/RIGHT functions of the joystick control to set the sensitivity
from 0 to 127.
*Also known as Wide Dynamic Range. This function expands the video dynamic range
of the camera and improves visibility of images even in high contrast environments.
10
MIRROR OFF
BRIGHTNESS 000
CONTRAST 128
SHARPNESS 128
HUE 128
GAIN 128
LUMINANCE LOW
CONTRAST LOW

MENU SETTING
4.8 PRIVACY
Set PRIVACY function. The default setting is OFF. Move the joystick control LEFT
or RIGHT to select the ON mode then enter to the PRIVACY submenu. You can
congure 8 privacy positions, set 8 privacy areas, choose different color zone and set
transparency of 8 privacy zone. However if you enable MOTION DET function, then
PRIVACY function will be supported 4 zones only. In addition, the image of PRIVACY
can allow you to set MOISAIC function.
4.9 DAY/NIGHT
Set DAY/NIGHT function. The default setting is AUTO. Move the joystick control LEFT
or RIGHT to select the AUTO, COLOR, BW mode. Enter the AUTO submenu as shown
in the gure. Move the joystick control UP or DOWN to adjust BURST value and set
the time before the camera switches to DAY-> NIGHT mode or NIGHT->DAY mode.
When select Day->NIGHT level to set up switchover point of brightness from COLOR
mode to B/W mode under different Lux levels.
When select NIGHT->DAY level to set up switchover point of brightness from B/W
mode to COLOR mode under different Lux levels.
If selected COLOR mode, you can force the camera to stay in DAY(COLOR) mode.
If selected BW mode, you can force the camera to stay in BW(NIGHT) mode. The BW
submenu allows you to select BURST to be ON or OFF.
11
DETECT SENSE 100
BLOCK DISP OFF
MONITOR AREA OFF
AREA SEL 1/4
TOP 000
BOTTOM 000
LEFT 000
RIGHT 000
REA SEL 1/8
TOP 000
BOTTOM 000
LEFT 000
RIGHT 000
COLOR 1
TRANSP 0.00
MOSAIC OFF
BURST OFF
DELAY CNT 100
DAY->NIGHT 100
NIGHT->DAY 100

4.10 NR
You can congure the 2D DNR (Digital Noise Reduction) settings and reduce noise
on the screen. Enter NR submenu as shown in the gure. Move the joystick control
UP or DOWN to set NR MODE. When you enable the NR MODE to the Y(BRIGHT) /
C(COLOR), C LEVEL or Y LEVEL mode, you can adjust Y LEVEL or C LEVEL depending
on your environment condition.
Note: When the Y Level is higher the noise in dark areas become lessened. Also,
resolution will become lower. When it is lower, there are more noise in dark areas.
When the C Level is higher the noise in dark areas become lessened. Also, resolution
will become lower. When it is lower, there are more noise in dark areas.
4.11 CAMERA ID
CAMERA ID displays ON or OFF. The default setting is OFF. You can set the ON mode
to add a camera title up to 26 characters with 2 lines and also select where the title
appears on the monitor screen.
4.12 SYNC
Set the vertical sync mode for INT or LL mode. Move the joystick control LEFT or
RIGHT to select the INT or LL mode. The default setting is INT. The LL option is only
avilable with AC power.
4.13 LANGUAGE
OSD supports 8 multi built in languages. The default setting is English. Move the
joystick control LEFT or RIGHT to select the English/ JAPANESS/ GERMAN/ FRANCE/
RUSSIA/ PORTTUGUES/ SPANISH/ SIMPLIFY CHINESE.
4.14 CAMERA RESET
Move to the CAMERA RESET mode then Press the ENTER key to recall factory
settings.
4.15 SAVE ALL
Save all settings and exit.
MENU SETTING
12
NR MODE Y/C
Y LEVEL 000
C LEVEL 000

SPECIFICATION
Signal System NTSC PAL
Image System
Image Pickup Device SONY 1/3" Exview HAD CCD II
Effective Pixels(HxV) 976 (H) × 494 (V) 976 (H) × 582 (V)
Electric
Scanning System 2:1 Interlace V: 59.94 Hz , H: 15.734KHz 2:1 Interlace V: 50 Hz , H: 15.625 KHz
Sync System Internal / linelock
Horizontal Resolution 700 TV lines
Lens Mount CS with back focus
Gamma Correction 0.45
Minimum Illumination F1.2 color mode:0.02 lux @ 50 IRE , 0.01 lux @ 30 IRE; B/W mode: 0.01 lux @ 50 IRE, 0.05 lux @
30 IRE
S/N Ratio More than 50dB (AGC off)
Iris Control DC & manual lens support
Gain Control On / Off (selectable)
White Balance ATW/ Manual/ User/ Push/ Push lock
Electric Shutter 1/50(1/60)~1/10K sec
Flickerless On / Off (selectable)
BLC Off/ BLC/ HLC(High Light compensation) (selectable)
Day/Night Mode Mechanical (ICR) control (Auto/Color/Forced to BW)
DNR Yes
Motion Detection Yes, 4 areas (max)
Privacy Mask Yes, 8 zones (max)
High Light Compensation Yes
WDR On / Off (selectable)
OSD Yes
Multi Language English, Japanese, German, French, Russian, Portuguese, Spanish, Simplied Chinese
Video Output 1Vpp composite output, 75 ohm
Power Source
Power Requirement DC 12V & AC 24V ± 10% DC 12V & AC 24V ± 10%; AC 90V~260V
Power Consumption 5W (max.) 5W (max.) for DC 12V & AC 24V
4W (max.) for AC 90V~260V
Environment
Operating Temperature -10ºC ~ 50ºC (14ºF ~ 122ºF)
Operating Humidity 90% MAX
Storage Temperature -20ºC ~ 60ºC (-4ºF ~ 140 ºF)
Storage Humidity 70% MAX
Mechanism
Dimensions (WxHxD) 63.3mm x 53.5mm x 129mm (2.49" x 2.10" x 5.07")
Weight 500g approx. (1.1 lbs.)
13
This manual suits for next models
2
Table of contents
Other Messoa Security Camera manuals
Messoa
Messoa SPD970 User manual
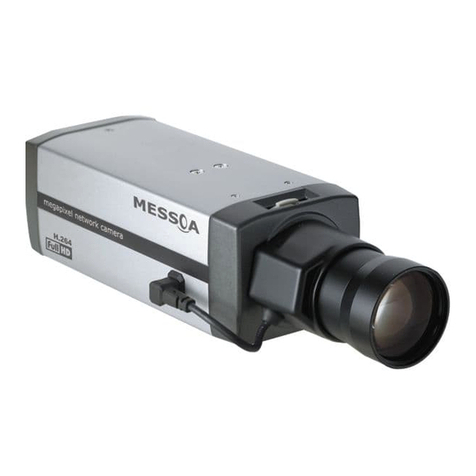
Messoa
Messoa NCB855E User manual
Messoa
Messoa NDR721 User manual
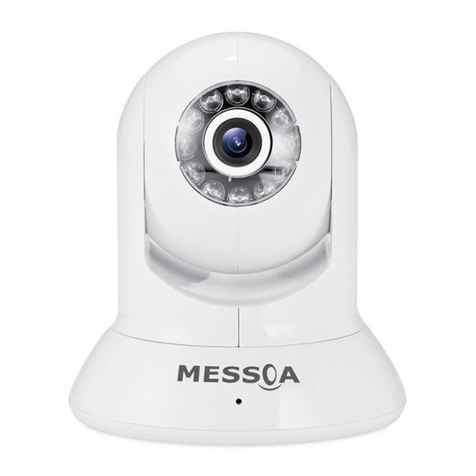
Messoa
Messoa NDZ760 User manual
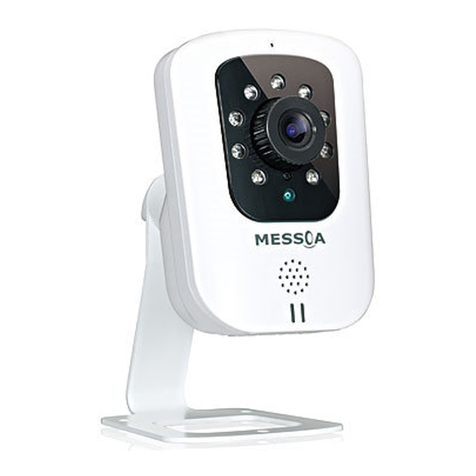
Messoa
Messoa NCC800 User manual
Messoa
Messoa NDR891 User manual
Messoa
Messoa SCR510HB-HN2 User manual
Messoa
Messoa UFD301 User manual
Messoa
Messoa NDR890-HN5 User manual
Messoa
Messoa NDR891 User manual
Messoa
Messoa NCR875E(H) User manual
Messoa
Messoa NIC990 User manual
Messoa
Messoa SCR368-HN5 User manual
Messoa
Messoa HCR176 User manual
Messoa
Messoa NCB750 User manual

Messoa
Messoa NIC990 User manual
Messoa
Messoa NDR891(H) User manual
Messoa
Messoa NCR875-HN5 User manual

Messoa
Messoa NDR891(H) User manual
Messoa
Messoa NCB752 User manual
