manuals.online logo
Brands
  1. Home
  2. •
  3. Brands
  4. •
  5. METHVEN
  6. •
  7. Plumbing Product
  8. •
  9. METHVEN Deva NCT002 User manual

METHVEN Deva NCT002 User manual

Non Concussive Pre-Set Exposed Shower Valve
NCT002
Installation Guide
Technical Specification
Working Pressure:
Min:
Max:
Operating Temperature:
Hot:
Cold:
0.2 Bar
5.0 Bar
65⁰C
5⁰C
YEW TREE WAY
GOLBORNE
WARRINGTON
WA3 3JD
UNITED KINGDOM
INST-NCT002
30.06.2020
TEL: 0800 195 1602
FAX: 0844 406 8690
EMAIL: [email protected]
www.deva-uk.com
www.methven.com
Warranty Information
Proof of purchase will be required.
The guarantee does not cover faults or damage caused by incorrect
installation and/or maintenance, ordinary wear and tear, water
composition, etc.
*Please see www.deva-uk.com for full terms and conditions of warranty
Cleaning
Your product has a high-quality finish and should be treated with care
to preserve the visible surfaces. Never use abrasives or abrasive
cleaning agents to clean this product clean regularly with
contamination free warm water and a damp soft cloth. Do not use
products containing chlorine bleach or hydrochloric acid as these can
damage the product.
We have a policy of continuous improvement and reserve the right to
change specifications without notice.
METHVEN UK LIMITED
METHVEN EXPERIENCE CENTRE
3/3A STONE CROSS COURT
Inlet Connections:
15mm Copper
Features:
•Suitable for swimming baths,
leisure clubs etc
•Pre-set automatic shut off after
approximately 20 seconds
7
2
Contents
Congratulations on your purchase of your new Non-Concussive Pre-Set
Exposed Shower Valve. Our fitting instructions have been created with you
in mind to provide you with all the information you require and, if you need
any further help, please don't hesitate to contact our customer care team
on 0800 195 1602.
General Safety Information 3
Line Drawing 3
Product Breakdown 4
Product Breakdown 5
Installation Requirements 6
Maintenance 7
Warranty Information 8
Cleaning 8
Maintenance
This product due to its design may need some maintenance.
The regularity of this will depend on its usage and the water type. If in a
hard water area maintenance may be required more often.
It is recommended to clean out the white plastic cup inside the tap/mixer
to maintain good working order, especially the fine internal groove (as
shown).
To do this first turn off the water supply.
Remove the handle/valve using a spanner.
The valve will then pull away from the tap/mixer.
The white plastic cup may come away with the valve, if not simply remove
it by pulling it from the body.
Once removed, clean out the cup and run down the groove using a pin to
clear out any debris.
When thoroughly cleaned, replace cup, valve and tighten.
63
Please keep these instructions for future reference and request of replacement
parts
General Safety Information
Please read all of the instructions before installation.
Methven recommends this product is installed by a competent person in
compliance with all relevant regional regulations.
Remove all packaging and check the components for damage before starting
installation.
This product must not be modified in any way as this will invalidate the guarantee.
It is the responsibility of the installer to ensure a waterproof seal is achieved, after
installation all connections must be checked for leaks.
All outlets used primarily for personal hygiene shall deliver water at a safe
temperature as per regional regulations.
Line Drawing
Installation Requirements
Before commencing installation of the new product, ensure that the system has
been flushed to remove any debris, which could cause damage to the valves and
invalidate the warranty.
Installation
1, Offer plate to the wall and mark drill holes in the required locations so
that the body elbows align with pipes when fully tightened into the plate
(check arrow direction on body)
2, Drill holes and insert plugs
3, Fit plate to wall and secure with screws
4, Screw valve into plate until secure
5, Connect olives and compression nuts
to body
6, Insert pipes into body a minimum of
10mm then tighten connections to seal
7, Compress the valve a number of times
following installation to clear out the
system.
The time delay of approx 20 seconds is
not adjustable, but timing may be
affected by high water pressure, to
overcome sever problems pressure
reducing deviced should be fitted (not
supplied).
Product Breakdown
Check all components are present prior to starting installation.
45

Other METHVEN Plumbing Product manuals

METHVEN AROHA User manual

METHVEN

METHVEN AROHA User manual

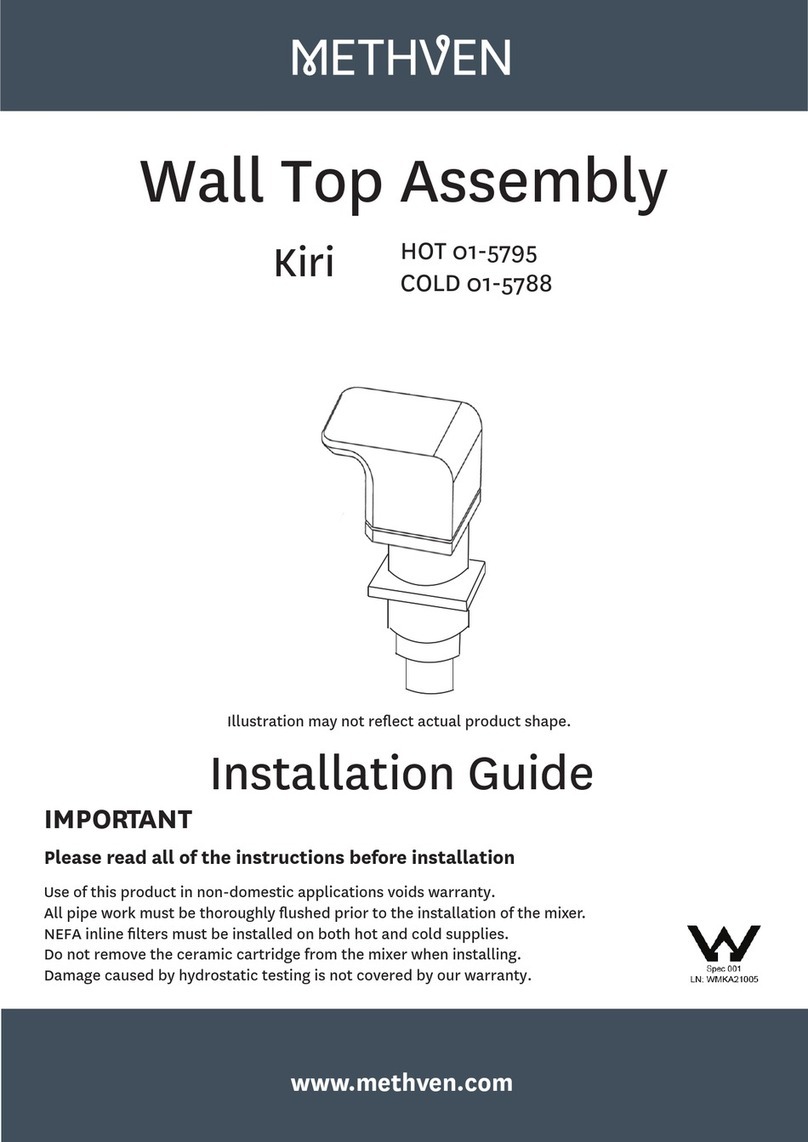
METHVEN Kiri HOT 01-5795 User manual

METHVEN

METHVEN Kiri HOT 01-5795 User manual

METHVEN KIRI MK2 User manual

METHVEN

METHVEN KIRI MK2 User manual

METHVEN SLSTWMCP User manual

METHVEN

METHVEN SLSTWMCP User manual
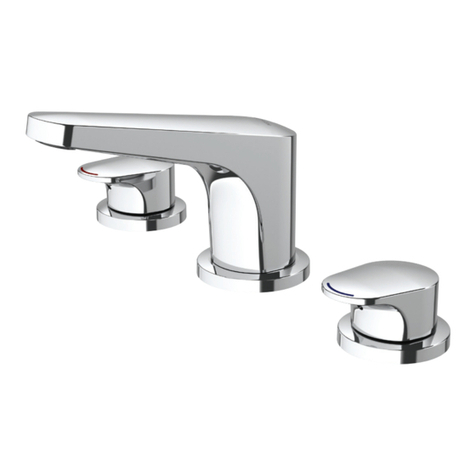
METHVEN Kaha 01-7508 User manual

METHVEN

METHVEN Kaha 01-7508 User manual
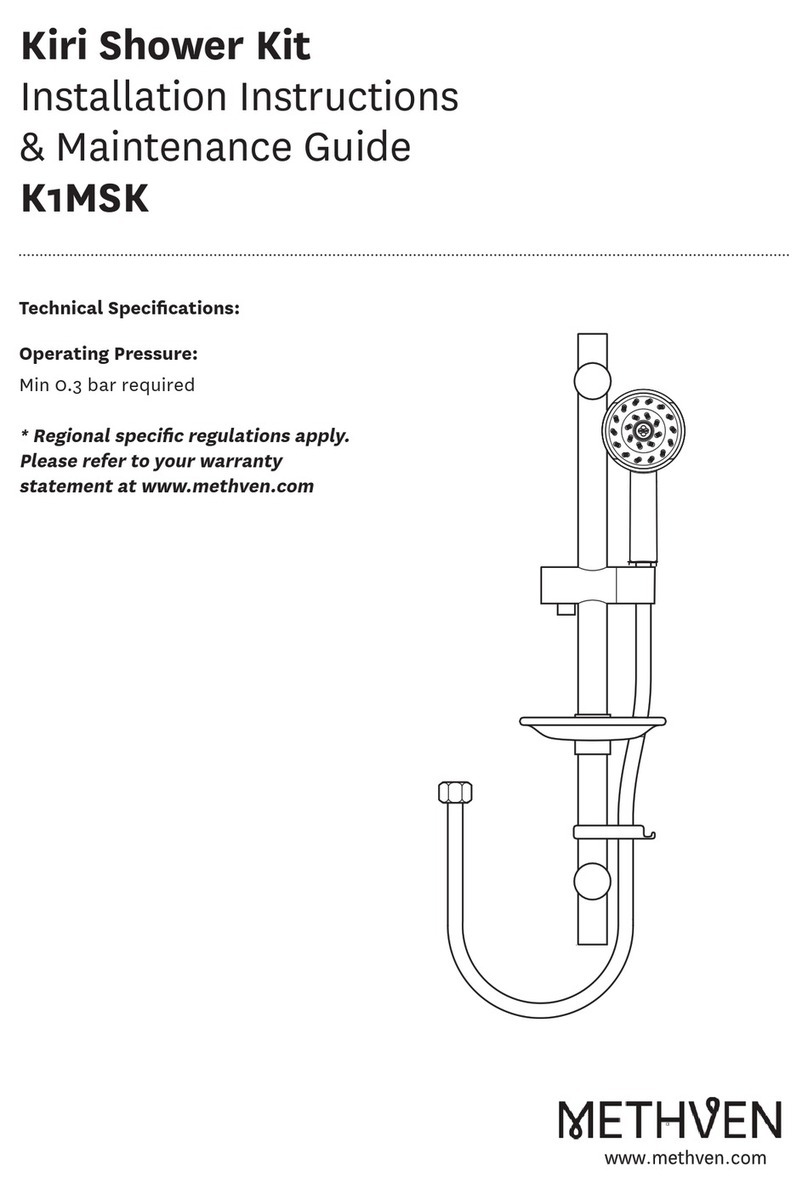
METHVEN Kiri K1MSK Instructions for use
METHVEN

METHVEN Kiri K1MSK Instructions for use

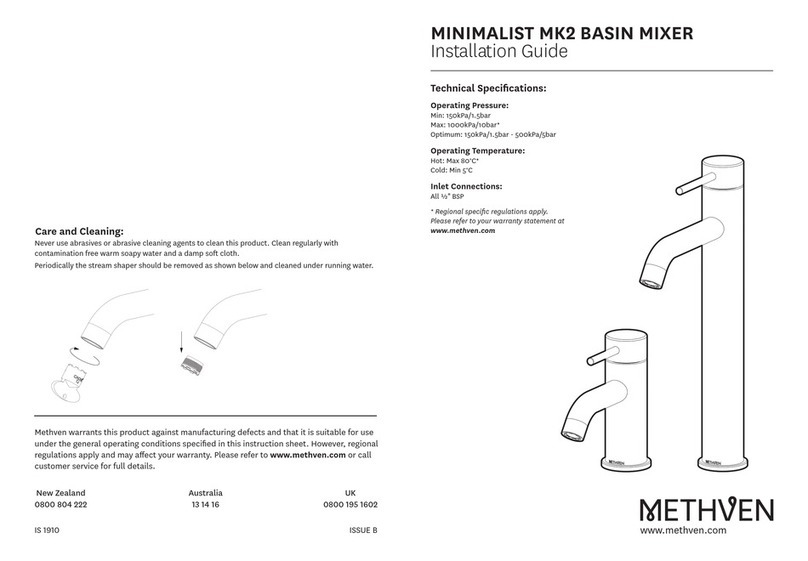
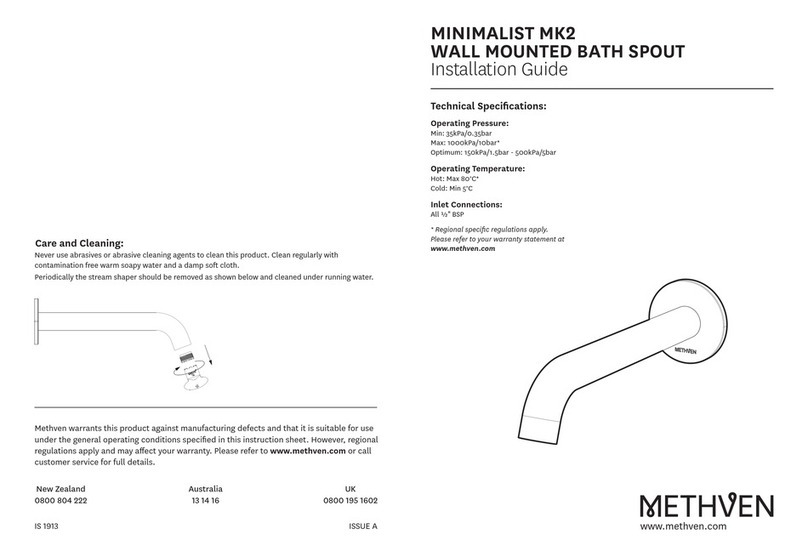
METHVEN MINIMALIST MK2 User manual

METHVEN

METHVEN MINIMALIST MK2 User manual
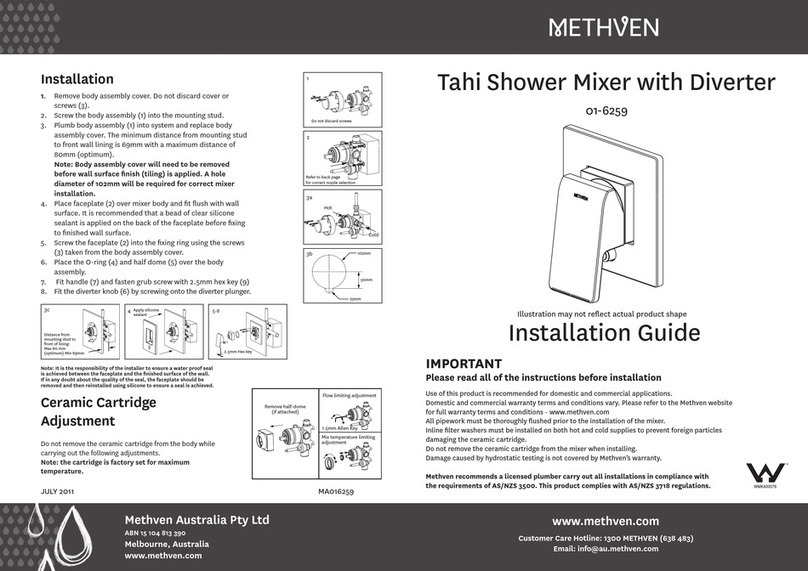
METHVEN 01-6259 User manual

METHVEN

METHVEN 01-6259 User manual
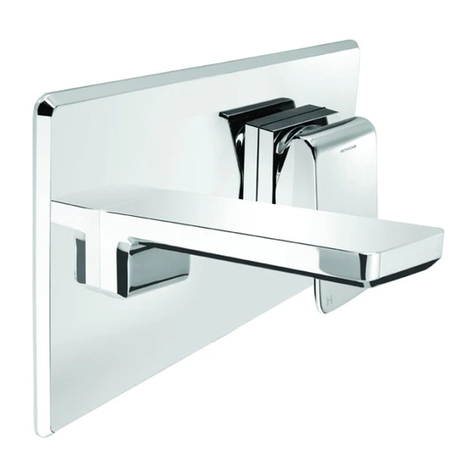
METHVEN Kiri 01-5436 User manual

METHVEN

METHVEN Kiri 01-5436 User manual
METHVEN AURAJET HANDSET User manual

METHVEN

METHVEN AURAJET HANDSET User manual
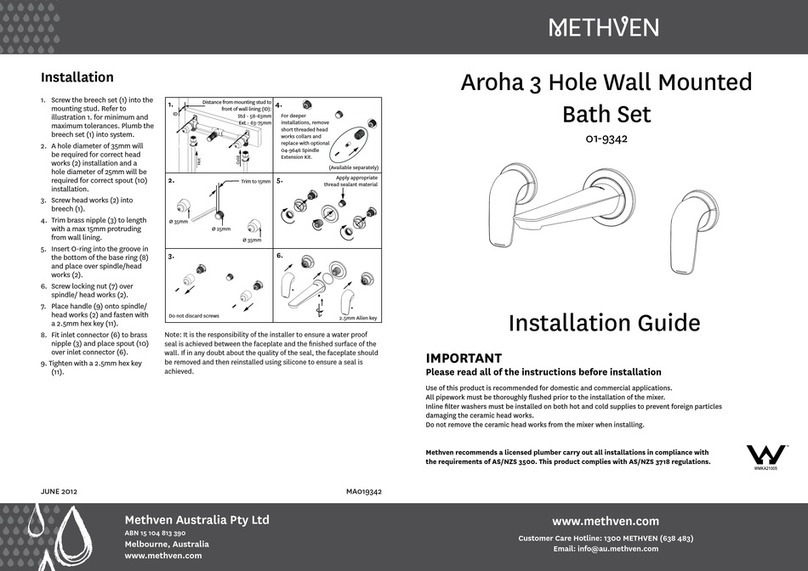
METHVEN Aroha 01-9342 User manual

METHVEN

METHVEN Aroha 01-9342 User manual
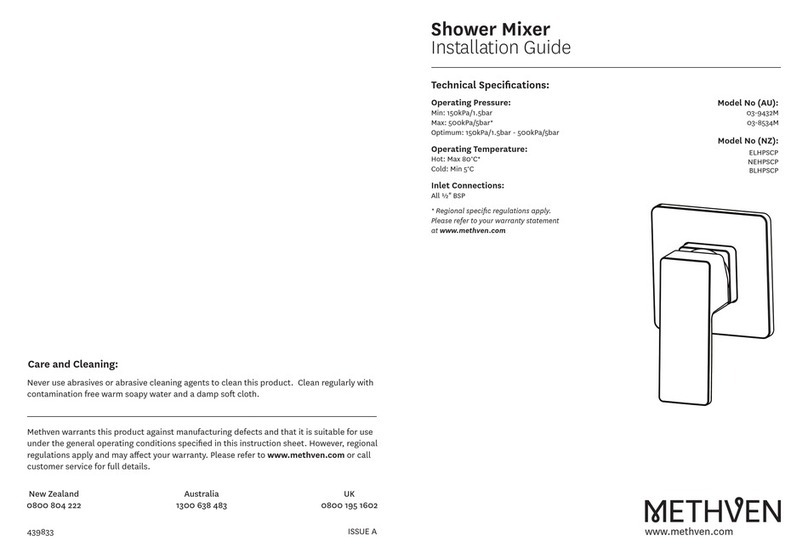
METHVEN 03-9432M User manual

METHVEN

METHVEN 03-9432M User manual

METHVEN Deva Insignia Mini INS2313 User manual

METHVEN

METHVEN Deva Insignia Mini INS2313 User manual

METHVEN KOHA User manual

METHVEN

METHVEN KOHA User manual

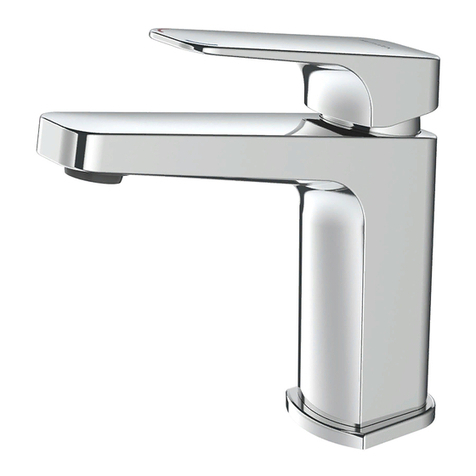
METHVEN PROMIX SHOWER MIXER User manual
METHVEN

METHVEN PROMIX SHOWER MIXER User manual

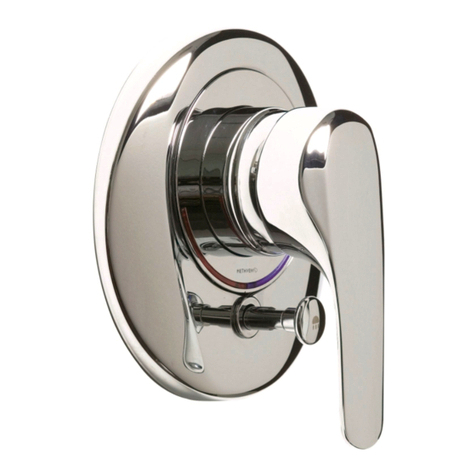
METHVEN WAIPORI BASIN MIXER User manual
METHVEN

METHVEN WAIPORI BASIN MIXER User manual

METHVEN FUTURA User manual

METHVEN

METHVEN FUTURA User manual
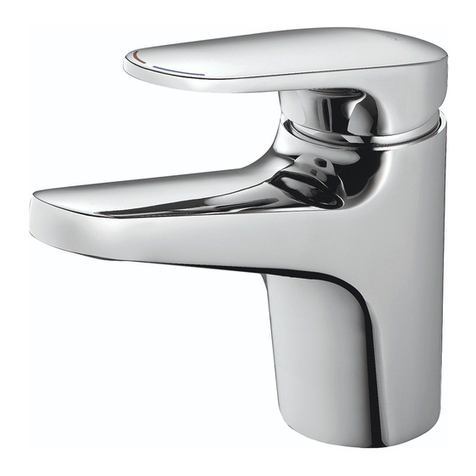
METHVEN Kaha 01-7003 User manual

METHVEN

METHVEN Kaha 01-7003 User manual
METHVEN 01-8222 User manual

METHVEN

METHVEN 01-8222 User manual

METHVEN AROHA SHOWER MIXER User manual

METHVEN

METHVEN AROHA SHOWER MIXER User manual

METHVEN MK2 User manual

METHVEN

METHVEN MK2 User manual

METHVEN Aroha User manual

METHVEN

METHVEN Aroha User manual

METHVEN Amio Shower Mixer With Divertor User manual

METHVEN

METHVEN Amio Shower Mixer With Divertor User manual

METHVEN Maku 01-8567 User manual

METHVEN

METHVEN Maku 01-8567 User manual

Popular Plumbing Product manuals by other brands

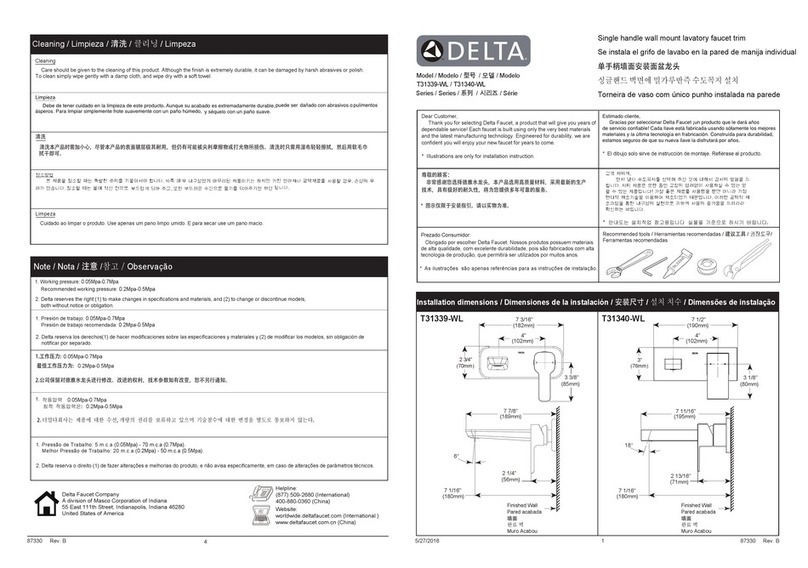
Delta T31339-WL installation instructions

Delta

Delta T31339-WL installation instructions

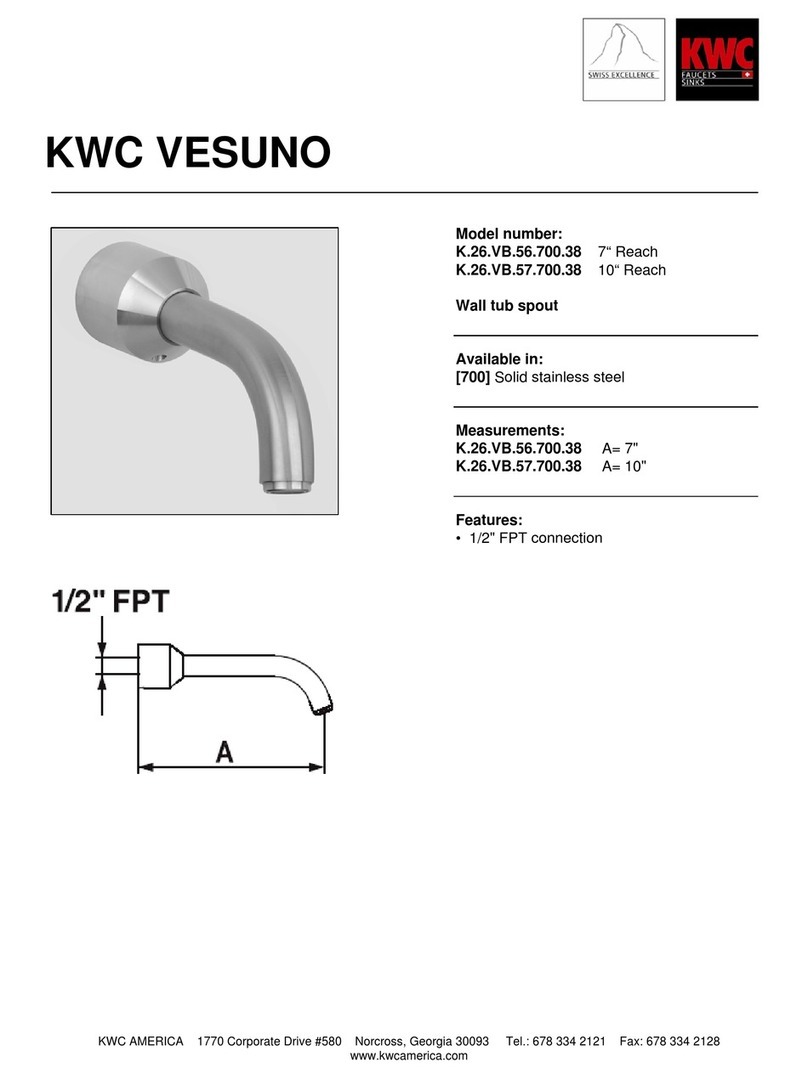
KWC K.26.VB.56.700.38 Features

KWC

KWC K.26.VB.56.700.38 Features

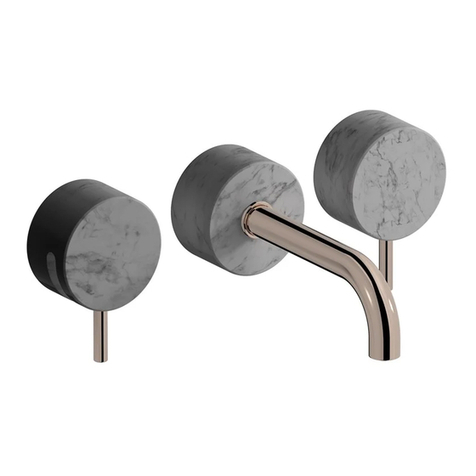
IB RUBINETTI MARMO 306 Fitting instructions

IB RUBINETTI

IB RUBINETTI MARMO 306 Fitting instructions

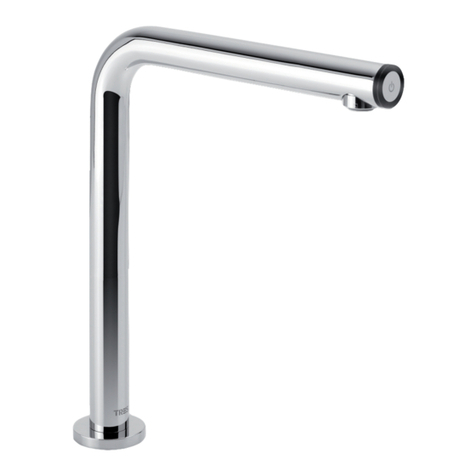
Tres TOUCH-TRES 1.61.445 Technical manual

Tres

Tres TOUCH-TRES 1.61.445 Technical manual

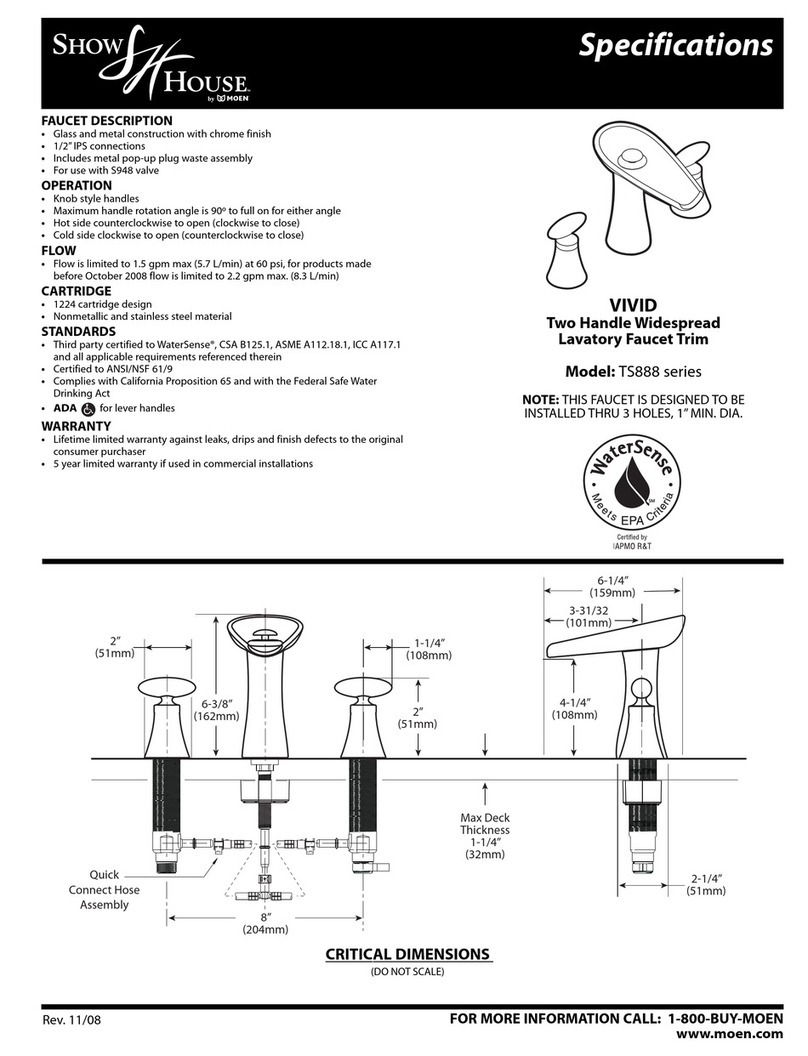
Moen Vivid TS888 series Specifications

Moen

Moen Vivid TS888 series Specifications

HOUZER Topmount installation instructions

HOUZER

HOUZER Topmount installation instructions

ESS Easy Drain Modulo M4 EDM1-4 Installation advice
ESS

ESS Easy Drain Modulo M4 EDM1-4 Installation advice

Sanela SLSN 02EB Instructions for use

Sanela

Sanela SLSN 02EB Instructions for use
Teka Intra VK50inset quick start guide
Teka

Teka Intra VK50inset quick start guide

Hans Grohe AXOR Citterio 39136 1 Series Installation/User Instructions/Warranty
Hans Grohe

Hans Grohe AXOR Citterio 39136 1 Series Installation/User Instructions/Warranty

Bradley EXPRESS SS-2/AST/JUV installation instructions
Bradley

Bradley EXPRESS SS-2/AST/JUV installation instructions

CALEFFI 574 series manual

CALEFFI

CALEFFI 574 series manual

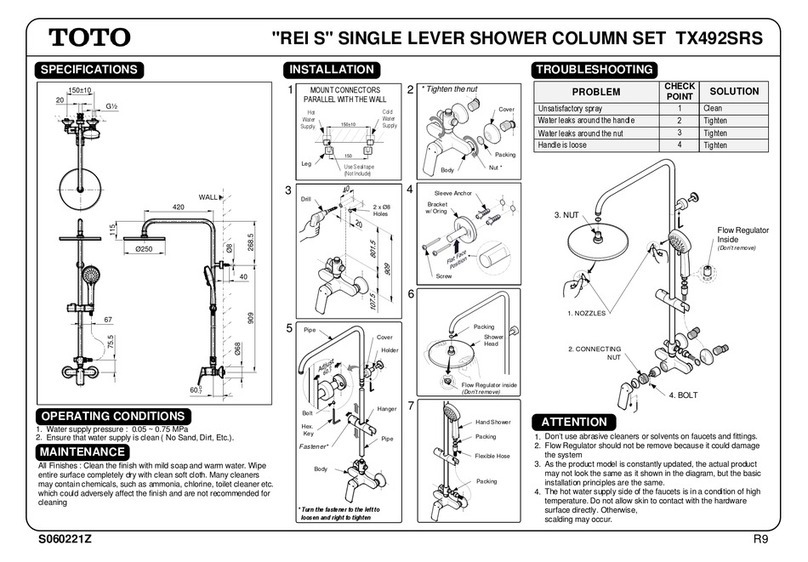
Toto REI S TX492SRS quick start guide

Toto

Toto REI S TX492SRS quick start guide
KWC ACXX2021 Installation and operating instructions
KWC

KWC ACXX2021 Installation and operating instructions

Hans Grohe MySelect S 1jet Set 65 26711400 Instructions for use/assembly instructions

Hans Grohe

Hans Grohe MySelect S 1jet Set 65 26711400 Instructions for use/assembly instructions

Kohler K-45415 Installation and care guide

Kohler

Kohler K-45415 Installation and care guide

Sanotechnik BERGEN instruction manual

Sanotechnik

Sanotechnik BERGEN instruction manual
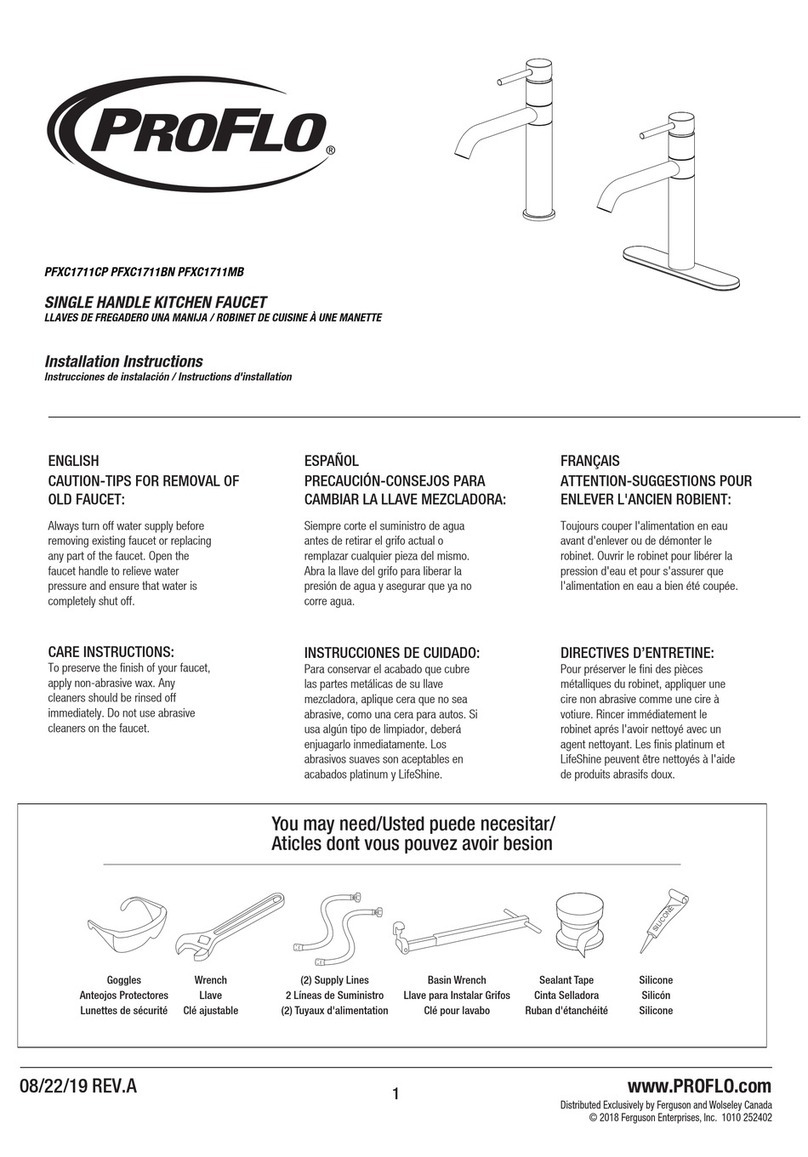
ProFlo PFXC1711CP installation instructions

ProFlo

ProFlo PFXC1711CP installation instructions

manuals.online logo
manuals.online logoBrands
  • About & Mission
  • Contact us
  • Privacy Policy
  • Terms and Conditions

Copyright 2025 Manuals.Online. All Rights Reserved.