REV. 12/13/21 INST99-6536 9
ATTENTION: It is highly advisable to read the following steps beforehand, to ensure a clear
understanding of what is to be expected. The following steps must be done in the order that
they are numbered.
With the vehicle completely off:
1. Locate the factory antenna connector in the dash and complete all necessary connections
to the radio. Use the antenna adapter provided to adapt the factory antenna connector to
the aftermarket radio.
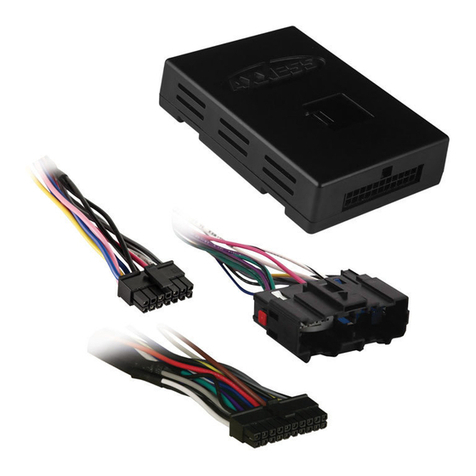
2. Connect the
16-pin harness with stripped leads
into port “B” in the touchscreen display.
3. Connect the
4-pin harness with yellow RCA jacks
into port “C” of the touchscreen display.
4. Connect the
hazard harness
into port “D” of the touchscreen display, and then to the
designated wiring harness in the vehicle.
Note: Ensure to plug in the 8-pin connector from the climate control, using the wrong
connector will jam the CANBUS.
5. Disregard port “E”, it will not be used in this application.
6. Port “F” is an update port for future firmware upgrades.
AB
C
E
FD
1. Connect the
6536 harness
to the wiring harnesses in the vehicle. Then insert the
6536 harness
into port “A” in the touchscreen display.
Note: This is a timed process.
2. Press the push-to-start button to start the vehicle.
3. Program the Axxess interface built into the touchscreen display:
a. Once the touchscreen display loads up, select the vehicle type.
b. Wait until the radio comes on, and the touchscreen display shows SWC Configured.
This process may take up to (3) minutes.
Note: If the touchscreen display does not load up, or the radio doesn’t come on within (3)
minutes, and/or the touchscreen display does not show SWC Configured, turn the vehicle off
and disconnect the
6536 harnesse
s from port “A” in the touchscreen display. Check all the
connections, reconnect the harness into the touchscreen display, and then try again.
4. Cycle the key off, then back on. If the driver’s door is closed, open and close the door.
5.
Refer to the Settings page within the Touchscreen Display Operation section. Ensure that all
factory features have been selected properly according to the options available for the vehicle
.
6. Test all functions of the installation for proper operation, before reassembling the dash.
Note: The clock and compass in the driver’s information center will no longer be functional.
1. Mount the completed radio/climate control assembly in the dash using the screws supplied
with the factory radio.
2. Snap the radio trim panel with touchscreen display over the completed assembly, and then
reassemble the dash in reverse order of disassembly.
FINAL ASSEMBLY
I N S TAL L ATI O N PROGRAMMING
Note: DO NOT CONNECT!
