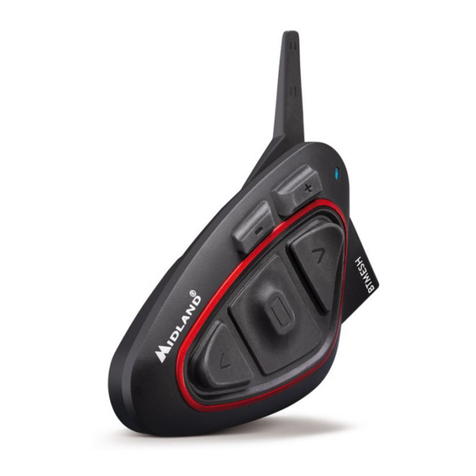
BTX1 PRO S INSTALLATION
INSTALLATION
BTX1 PRO S
ADVANCED INTERCOM SYSTEM
Place the BTX1 PRO S unit on the left side
of your helmet using the adhesive mount.
Place both speakers as much as possible
close and centered to your ears. In case of
need, use the provided spacers to better fit
the speakers closer to your ears.
Closed helmets: place the wired
microphone in front of your mouth.
Jet helmets: fix the boom on the left side
and keep the sponge as closely as possible
to your mouth.
The BTX1 PRO S can be easily fitted onto
the helmet by sliding it downwards into the
slot of the adhesive Mount.
To detach BTX1 PRO S, simply press the
fixing clip (A) and push the unit upwards.
BI-adhesive
mount
INSTALLAZIONE BTX1 PRO S
Fissate il dispositivo sul lato sinistro
all’esterno del casco utilizzando il supporto
biadesivo.
Fissareentrambiglialtoparlantinell’apposito
alloggiamento. Tenete lo speaker centrato e
il più vicino possibile alle vostre orecchie.
Se necessario, per far aderire meglio gli
speaker alle orecchie, potete utilizzare i
distanziatori in dotazione.
Microfono a filo per i caschi integrali:
fissatelo al casco davanti alla bocca.
Microfono a braccetto per caschi jet:
fissatelo sul lato sinistro, sotto l’imbottitura
in modo che sporga fino alla bocca.
Il dispositivo si fissa al supporto facendolo
scorrere verso il basso.
Per sganciare il BTX1 PRO S: premere sulla
clip di aggancio (A) e spingere il dispositivo
verso l’alto.
SUPPORTO
BIADESIVO


