Diagnostic Charging
1. Select the BATTERY LOCATION: UNDER HOOD,
UNDER SEAT or OUT OF VEHICLE.
Press NEXT to continue.
2. In case of UNDER HOOD or UNDER SEAT, please enter
the TEST LOCATION: BATTERY POST, JUMP START
POST or JUMPER START POST (BMS).
Press NEXT to continue.
3. Select the BATTERY RATING.
Press NEXT to continue.
For some BATTERY/TEST LOCATIONS it is possible to
enter the battery data manually.
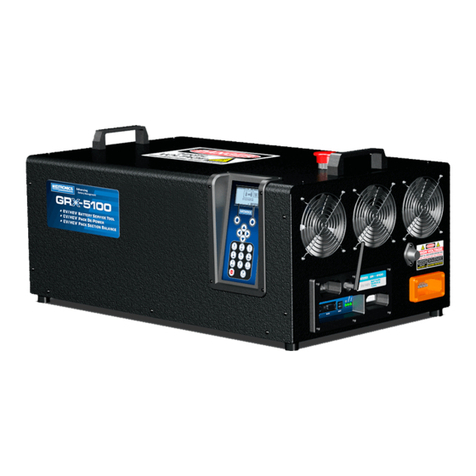
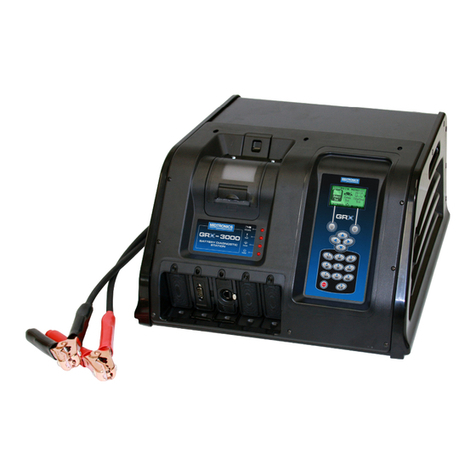
When the charge cycle is completed, the GRX sounds
an alarm and displays the results. These results can also
be printed (OPTIONAL).
Power Supply
1. Select the BATTERY TYPE: SLI, AGM, or EFB.
Press NEXT to continue.
2. Select the RATING UNIT: SAE, EN, EN2, JIS#, DIN or IEC.
Press NEXT to continue.
3. Enter the BATTERY RATING in CCA using the UP ()or
DOWN () buttons or type the battery rating with the
alphanumeric keys.
Press NEXT to continue.
The battery is now rst tested for safety with both
conductance and load, when found ok the Power
Supply function will start.
Voltage Setting in the Utility Menu
Go to the UTILITY menu and select CONFIG CHARGER,
use the UP ()or DOWN () buttons to select PS
VOLTAGE.
Set the Power Supply voltage to your requirement.
CHARGING A BATTERY
OTHER FUNCTIONS
Manual Charging
1. Select the BATTERY TYPE: SLI, AGM, or EFB.
Press NEXT to continue.
2. Select the RATING UNIT: SAE, EN, EN2, JIS#, DIN or IEC.
Press NEXT to continue.
3. Enter the BATTERY RATING in CCA using the UP ()or
DOWN () buttons or type the battery rating with the
alphanumeric keys.
Press NEXT to continue.
4. Select the CHARGING VOLTAGE. Enter a value between
12,70 Volt and 14,50 Volt.
Press the NEXT soft key to continue.
5. Select the CHARGING CURRENT. Enter a value
between 1,0 Amp and 50,0 Amp.
Press the NEXT soft key to continue.
6. Select the CHARGING TIME.
Press the NEXT soft key to continue.
Utility Menu
The CONFIG CHARGER menu allows
you to set the following parameters:
DATE AND TIME, WRITE FAIL,
TEMPERATURE UNITS, POWER
SUPPLY VOLTAGE, BUZZER,
DIAGNOSTIC VOLTAGE LIMIT, and
DIAGNOSTIC CURRENT LIMIT
The DISPLAY allows you to set the
contrast of the LCD
With the LANGUAGE menu you
can select one of the 24 available
languages
Create your own address details for
printouts with the SHOP INFO icon
Create advertisement text with the
COUPON icon that can be printed at
the bottom of the printout
With FORMAT CARD you erase all
information on the data card
With UPDATE you can install new
software on the charger
VERSION INFO displays the software
version and serial number.
