manuals.online logo
Brands
  1. Home
  2. •
  3. Brands
  4. •
  5. Midtronics
  6. •
  7. Diagnostic Equipment
  8. •
  9. Midtronics DCA-8000 User manual

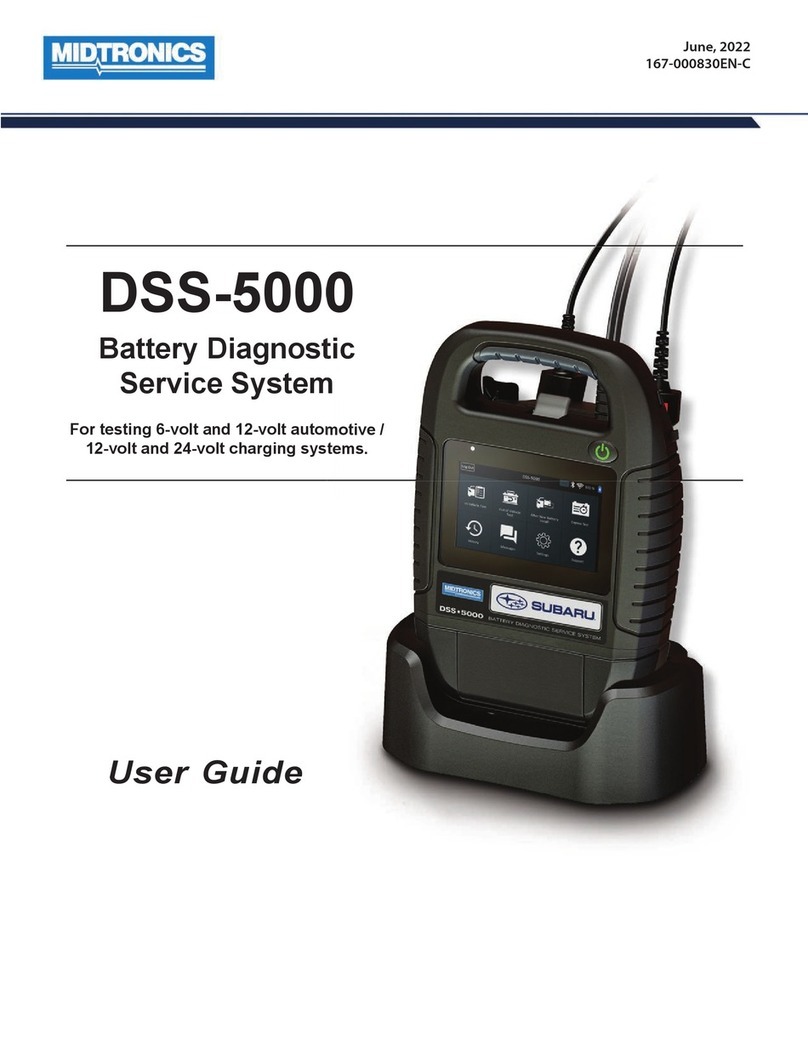
Midtronics DCA-8000 User manual

DCA-8000
Midtronics Inc. 7000 Monroe Street Willowbrook, IL 60527
www.midtronics.com
Page 1
Quick Start Guide
167-000900EN-A
March 2019
Quick Start Guide
March 2019
167-000900EN-A
DCA-8000
Subaru
IMPORTANT:
Assemble the charger cart and mount
the charger on it before setting up the DCA-8000.
Charging Cables
1. Insert the communication cable.
2. Insert and rotate the charge ca-
ble quick connectors clockwise
180° to lock them onto the Quick
Connector Locking Post on the
charger.
NOTE: Pre twist the charge cables counter clock-
wise before installing in order to avoid putting
excess strain on the cables.
3. The connection process is complete when all three cables
are connected to the charger.
Locking Power Cord
Insert until the connector
locks in place.
To release/remove the
power cord from the
charger’s power socket,
pull back on the red
tab on the side of the
connector. Pull Back To
Release
Wireless Barcode Scanner Cable
Insert the RJ50 connector in the bottom of the scanner base.
Then use the screws on the DB9 connector to secure the cable
from the dock to the charger.
Initial Setup
1. Upon initial power-up, the Language Settings screen is dis-
played. Tap Next to continue.
System
Language
Select the Controller default language
displayed on the screen.
Test Result
Language
Select the Controller default language for
all displayed tests and test results.
Email
Language
Select the default standard language for
the analyzer to use for all tests and results
sent via email.
Print
Language
Select the default standard language for
the analyzer to use for all tests and results
printed using a networked printer.
2. A Consent to collect data screen is displayed. Tap the Con-
sent check box and then tap Next to continue.
3. The Date/Time Settings are displayed. Tap Next to continue
after making any adjustments.
Select Time
Format:
12-hour or 24-hour format
Select Date
Format:
DD/MM/YYYY, MM/DD/YYYY, or
YYYY/MM/DD
Select Time
Zone:
Time zone oset from Greenwich
Mean Time
Set Date: Set the current date
Set Time:
Set the current time in the selected time zone
4. The Test Settings are displayed. Tap Next to continue after
making any adjustments.
Battery Rating
Default: CCA (Cold Cranking Amps)
Temperature
Units
Select Fahrenheit or Celsius
Decimal
Separator
Select decimal point or comma
5. The Location Selection screen (Admin Only) is displayed.
Scroll to nd the correct location or tap to search for a
specc location. Tap Next to continue.
6. The Congured WiFi Networks screen is displayed. By de-
fault “subtronics01” is displayed. Tap Next to continue.
Midtronics Inc. 7000 Monroe Street Willowbrook, IL 60527 www.midtronics.com
DCA-8000
Page 2
Quick Start Guide
167-000900EN-A
March 2019
NOTE: If available, the DCA-8000 will automati-
cally connect to the subtronics01 WiFi network
installed at each retailer. This network is for use
by Midtronics tools.
SSID = “subtronics01”
Password = “m1dtr0n1c$”
WPA2 security
IMPORTANT: The “subtronics01” network is only
available to U.S. retailers.
7. Select the country in which the tool will be used (U.S. or
Canada).
8. The BMIS (Battery Management Information System) Account
screen is displayed.
IMPORTANT: If no WiFi connnection has been
made, follow the procedure described in the
WiFi section of Chapter 10: Settings in the
Instruction Manual.
9. If the username and password are not displayed, enter the
correct username and password from the following table.
Country Username Password
U.S. Retailers [email protected] subaru1
Canadian
Retailers
subarucanada@
dca8000.com
subaru1
Press to download the list of BMIS locations.
10. Enter the Retailer/Store ID# or location information. The se-
lected retailer information is displayed.
11. Tap the Location to select it and continue.
12. The Email Address Book screen (Admin Only) is displayed.
To add an email address: Tap the plus (+) sign, then use the
displayed keyboard to add the address.
To edit an email address: Tap the pencil icon, then use
the displayed keyboard to edit the address.
To delete an email address: Tap a displayed email address to
select it. Tap trash can icon (3) to delete it.
To use the Default Email Server Settings: Tap the gear
icon to use the default.
13. The Shop Information screen is displayed and populated
based on the entered Retailer/Store ID#.
Store Name
Nat’l Training De
Street Address
79 Newton Ave
Street Address 2
City
Camden
State
NJ
Zipcode
08103
Phone #
1-630-323-2800
14. The login screen is displayed.
15. Tap a user name to access the Main Menu.
DCA-8000
Midtronics Inc. 7000 Monroe Street Willowbrook, IL 60527
www.midtronics.com
Page 3
Quick Start Guide
167-000900EN-A
March 2019
Main Menu
Menu Bar
Log Out Log out current user
WiFi signal strength
Measured battery voltage
(When a battery is
connected) Bluetooth
connectivity status
Main Menu Selection Area
Additional Screens
The dots at the bottom or side of a menu or results screen
indicate additional screens are available. Swipe horizontally left,
right, up or down across the Controller screen to view all of the
results.
 Screen 1
Screen 2
Screen 3

Screen 1

Screen 2
Swipe
Horizontally Swipe
Vertically
Main Menu Icons
Icon Description
In Vehicle Test
& Charge
Automates battery testing for quickly testing
vehicles using the fewest steps.
Out of Vehicle
Charge
For testing out-of-vehicle customer batteries for
possible return.
Manual
Charge
Provides a timed charge that ranges from 5 to 120
minutes or a continuous charge that ends when
STOP is pressed.
Power Supply
Mode
Evaluates and maintains battery voltage at 13.5
volts to provide uninterrupted reprogramming and
retention of a vehicle’s system settings.
Jump Start
Makes high output current available to boost
charge an in-vehicle battery and assist in starting
the engine.
Icon Description
Aer New
Baery Install
For testing newly installed batteries in a vehicle.
Also includes vehicle electronics reset information
after battery installation.
History
Access archived test histories or search test
history by VIN or by technician.
Messages
Displays alerts, notications, and tool software
updates.
Sengs
Setup/adjust: WiFi, printer setup, email settings,
user information, default language, display/sound
settings, BMIS, shop info, connected devices, tool
software version information.
Support
Access the analyzer Self-Test and a digitized
version of the Instruction Manual that was shipped
with the analyzer.
IMPORTANT:
Leave the DCA-8000 plugged into
power overnight so the tool can automatically check
for and install any available software updates.
In Vehicle Test & Charge
1. Connect the charger clamps to the appropriate battery posts.
2. At the Main Menu tap In Vehicle Test & Charge. The Ac-
quire VIN screen is displayed.
3. Use a connected bar code scanner to scan the VIN bar code,
usually located on the driver’s side door frame. A paired CVG
can also be used. The VIN can also be entered manually.
For best results, use the barcode located on the driver’s side
door frame. The VIN is also displayed behind the windshield
on the driver’s side dashboard.
NOTE: Refer to Appendix A in the Instruction
Manual for recommended scanning procedures
and VIN scanning help
Windshield
Drivers Door Frame
CVG Module
Midtronics Inc. 7000 Monroe Street Willowbrook, IL 60527 www.midtronics.com
DCA-8000
Page 4
Quick Start Guide
167-000900EN-A
March 2019
www.midtronics.com
Corporate Headquarters
Willowbrook, IL USA
Phone: 1.630.323.2800
Canadian Inquiries
Toll Free: +1 1 866 592 8052
Midtronics b.v.
European Headquarters
Houten, The Netherlands
Serving Europe, Africa, the Middle
East, and The Netherlands
Phone: +31 306 868 150
Midtronics China
China Operations
Shenzhen, China
Phone: +86 755 2374 1010
Midtronics India
Navi Mumbai, India
Phone: +91 22 2756 4103/1513
Contact Corporate Headquarters
Phone: +1.630.323.2800
Asia/Pacíc (excluding China)
Manual Entry: Use the on-screen keypad to manually type
the 17-digit VIN and tap Next.
The displayed digit counter will count up the alphanumeric
characters as they are entered on the keypad.
4. The Edit Battery Information screen displays vehicle and bat-
tery information based on the VIN.
If the displayed information is correct, tap Next to begin the
Battery Test or Reset to reset the parameters to the factory
defaults.
5. Tap the box across from each displayed parameter and se-
lect the correct information from the displayed list.
NOTE: See Appendix B in the Instruction
Manual for complete parameter descriptions.
NOTE: Tap Find Battery to search for the bat-
tery location based on the vehicle year, make,
and model based on the VIN or vehicle year,
make, and model selected.
The charger performs a series of tests to determine the
overall condition of the battery before applying a charge.
Those steps include measuring the ambient battery
temperature, Cranking Health, Reserve Capacity, Charge
Acceptance, and applying a Load Test to the battery.
The test results are then displayed on the charger screen.
NOTE: If the CVG was used to acquire the ve-
hicle information, the Edit Battery Information
screen is displayed (See Step 3). Tap Next to
display the test results.
System Test
1. Start the engine and let it idle.
2. Turn o all electrical accessories such as headlights and the
interior ventilation blower fan and tap Next.
3. The analyzer tests the alternator output at idle.
4. When prompted, rev and hold the engine to between 2000
to 3000 RPM
and tap Next. The analyzer tests the alternator
output again.
5. When prompted idle the engine.
6. Turn on the high beam headlights and interior ventilation
blower motor and tap Next.
7. The analyzer tests the alternator output at idle.
8. When prompted, rev and hold the engine to between 2000
to 3000 RPM
and tap Next.
9. The analyzer tests the alternator output again.
10. When prompted turn o all loads and Idle the engine.
11. Tap Next to display the test results.
System Test Results-Summary
Test Results - Summary
A Test Results-Summary screen is displayed following a System
Test. Tap >to view detailed test results for each part of the test.
NOTE: Refer to
Appendix C: Test Result Decision
Tables in the Instruction Manual for a complete ex-
plaination of possible test results.
To send the test results to a congured printer or via email tap
Send Results and select an option. To return to the Home
Screen, tap Done
or to return to the Main Menu.
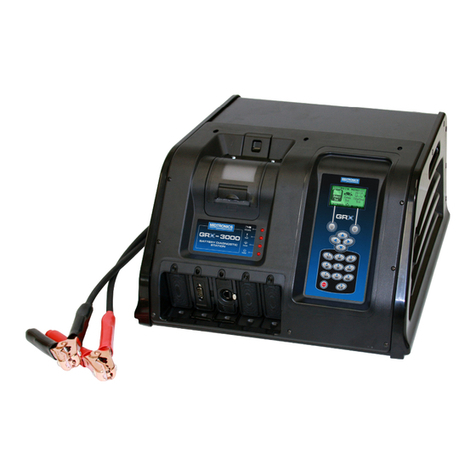
Other manuals for DCA-8000

4

Other Midtronics Diagnostic Equipment manuals

Midtronics DSS-5000PCVG User manual

Midtronics

Midtronics DSS-5000PCVG User manual

Midtronics DSS-5000PKIT User manual

Midtronics

Midtronics DSS-5000PKIT User manual

Midtronics GRX-5100 L User manual

Midtronics

Midtronics GRX-5100 L User manual

Midtronics xMB-9640 User manual

Midtronics

Midtronics xMB-9640 User manual

Midtronics GR8-1100 Manual

Midtronics

Midtronics GR8-1100 Manual

Midtronics JDT-1 WM User manual

Midtronics

Midtronics JDT-1 WM User manual

Midtronics WALMART GR8-1150 User manual

Midtronics

Midtronics WALMART GR8-1150 User manual

Midtronics DSS-5000 User manual

Midtronics

Midtronics DSS-5000 User manual

Midtronics GR8-1250 User manual

Midtronics

Midtronics GR8-1250 User manual

Midtronics DSS-5000 User manual

Midtronics

Midtronics DSS-5000 User manual

Midtronics GRX-3000 User manual

Midtronics

Midtronics GRX-3000 User manual

Midtronics GRX-3590 Reference guide

Midtronics

Midtronics GRX-3590 Reference guide

Midtronics DSS-5000 User manual

Midtronics

Midtronics DSS-5000 User manual

Midtronics inTELLECT EXP User manual

Midtronics

Midtronics inTELLECT EXP User manual

Midtronics GRX-3000 User manual

Midtronics

Midtronics GRX-3000 User manual

Midtronics DSS-5000 User manual

Midtronics

Midtronics DSS-5000 User manual

Midtronics DCA-8000 User manual

Midtronics

Midtronics DCA-8000 User manual

Midtronics DCA-8000 User manual

Midtronics

Midtronics DCA-8000 User manual

Midtronics GR8-1200 OEM User manual

Midtronics

Midtronics GR8-1200 OEM User manual

Midtronics GRX-3080 JLR EU User manual

Midtronics

Midtronics GRX-3080 JLR EU User manual

Midtronics DSS-5000 User manual

Midtronics

Midtronics DSS-5000 User manual

Midtronics EXP-1000 FHD User manual

Midtronics

Midtronics EXP-1000 FHD User manual

Popular Diagnostic Equipment manuals by other brands

MAC TOOLS Mentor Touch ET750 operating instructions

MAC TOOLS

MAC TOOLS Mentor Touch ET750 operating instructions

Performance Tool W2976 owner's manual

Performance Tool

Performance Tool W2976 owner's manual

eddyfi R-Scan Array user manual

eddyfi

eddyfi R-Scan Array user manual

JDiag JD201 manual

JDiag

JDiag JD201 manual

Siemens Intelli-Arc instruction sheet

Siemens

Siemens Intelli-Arc instruction sheet

Topdon Phoenix Elite user manual

Topdon

Topdon Phoenix Elite user manual

Seemoto Seemoto GW Installation quick guide

Seemoto

Seemoto Seemoto GW Installation quick guide

Electro-Voice EVA-2082S User instructions

Electro-Voice

Electro-Voice EVA-2082S User instructions

iCarsoft CR MAX manual

iCarsoft

iCarsoft CR MAX manual

ClimateMaster ACDU01 Operation manual

ClimateMaster

ClimateMaster ACDU01 Operation manual

Snap-On TPMS4 user manual

Snap-On

Snap-On TPMS4 user manual

SIXTOL SX ONE SX1009 Instructions for use

SIXTOL

SIXTOL SX ONE SX1009 Instructions for use

Autel MaxiSys MS909CV manual

Autel

Autel MaxiSys MS909CV manual

Gazelle GZ100 user manual

Gazelle

Gazelle GZ100 user manual

Primes MicroSpotMonitor Plus HighBrilliance Original instructions

Primes

Primes MicroSpotMonitor Plus HighBrilliance Original instructions

Launch X-431 Diagun user manual

Launch

Launch X-431 Diagun user manual

ITT Goulds Pumps i-ALERT Installation, operation and maintenance manual

ITT

ITT Goulds Pumps i-ALERT Installation, operation and maintenance manual

Storz 11272 V Series installation manual

Storz

Storz 11272 V Series installation manual

manuals.online logo
manuals.online logoBrands
  • About & Mission
  • Contact us
  • Privacy Policy
  • Terms and Conditions

Copyright 2025 Manuals.Online. All Rights Reserved.