Milestone LOGOS One User manual

LOGOS One
All-in-one Rapid Tissue Processor
Operator Manual
MM098
MILESTONE
HELPING
PATIENTS


Milestone s.r.l.
MM098-002 –LOGOS ONE –Operator Manual
3
Thank you for having selected our system and welcome to the ever growing world club of users for Milestone
laboratory instrumentation.
We are sure that you will be completely satisfied with this new tool entering your laboratory.
We invite you to read carefully this operator manual and to keep it in reach for convenient and fast
consulting.
For any possible clarification or any request for assistance please contact either our Representative in your
country:
Or contact
Milestone s.r.l.
Via Fatebenefratelli, 1/5
24010 Sorisole (BG) Italy
Tel. +39.035.412 8264
Fax +39.035.575498
web site www.milestonemedsrl.com
e-mail medical@milestonesrl.com
Please read the user manual before using the device.
MM098-002 –LOGOS ONE –Operator Manual
2015-07

Milestone s.r.l.
MM098-002 –LOGOS ONE –Operator Manual
4
SUMMARY
SUMMARY.................................................................................................................................................. 4
1INTRODUCTION .................................................................................................................................. 6
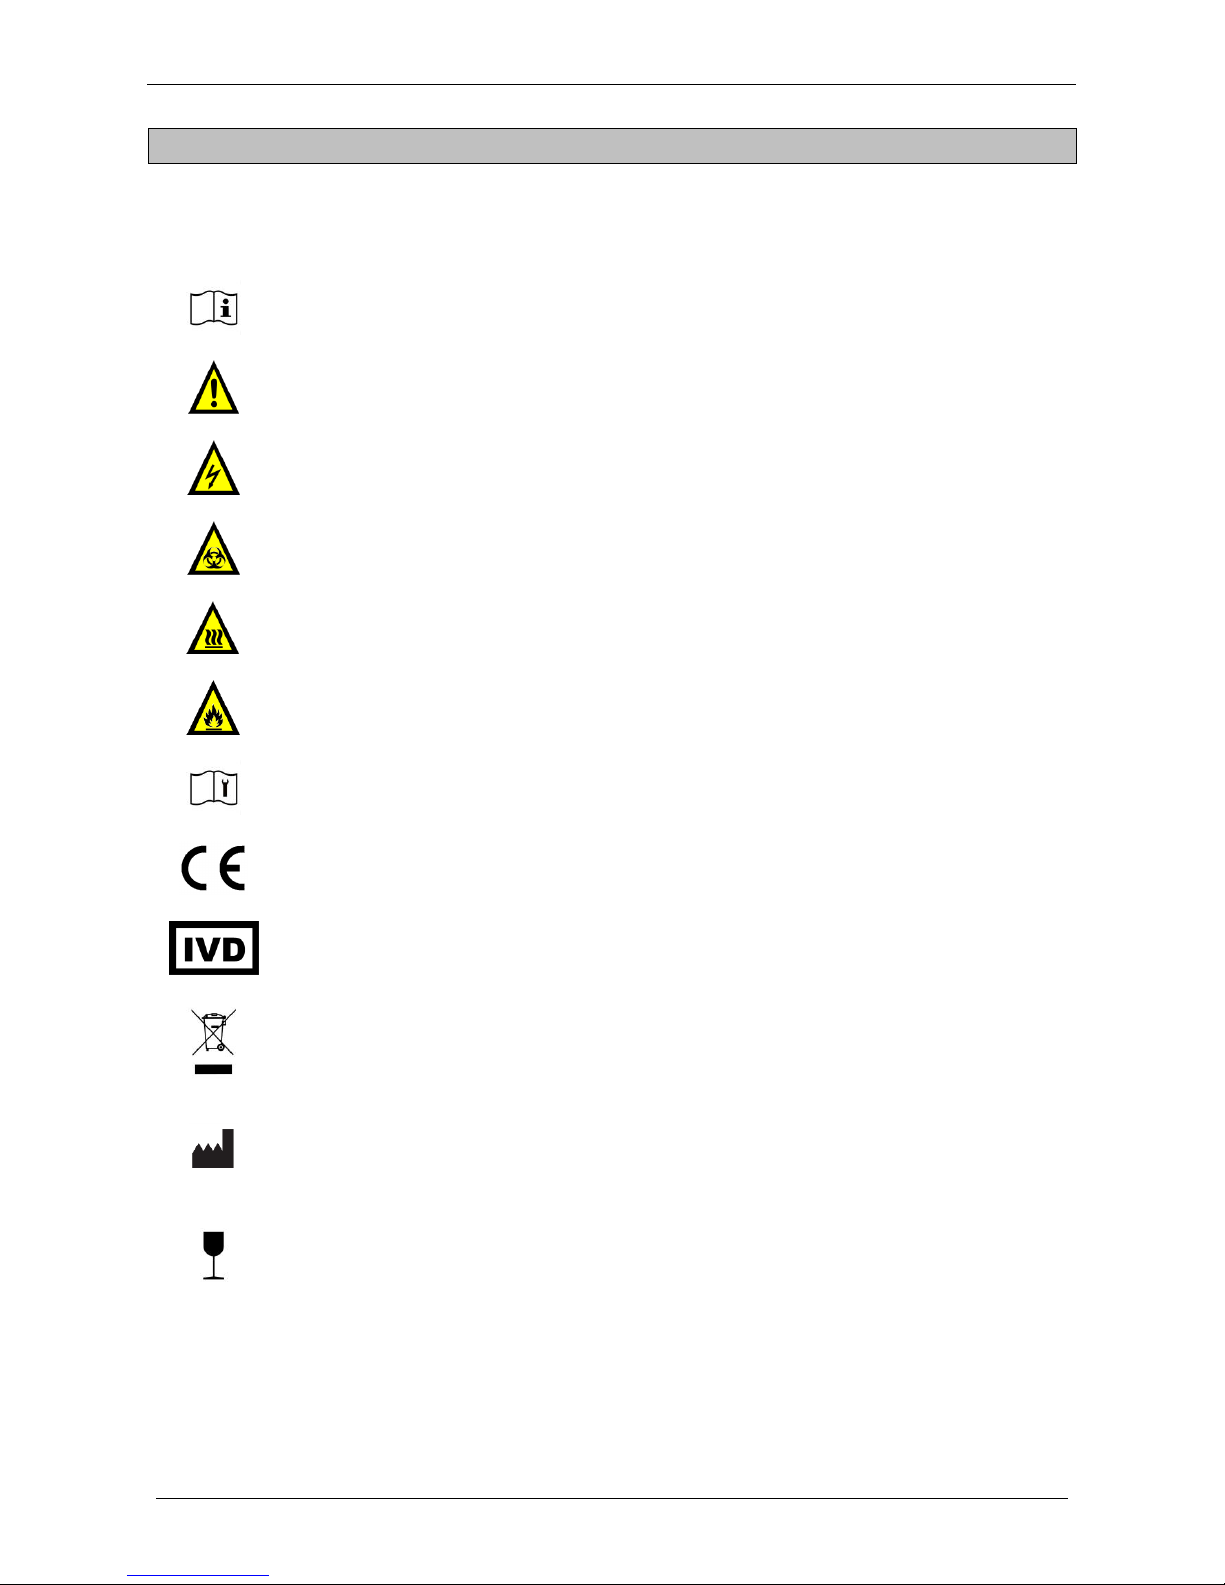
1.1 Symbol used................................................................................................................................. 6
1.2 Designated uses........................................................................................................................... 7
1.3 Technical specifications................................................................................................................ 7
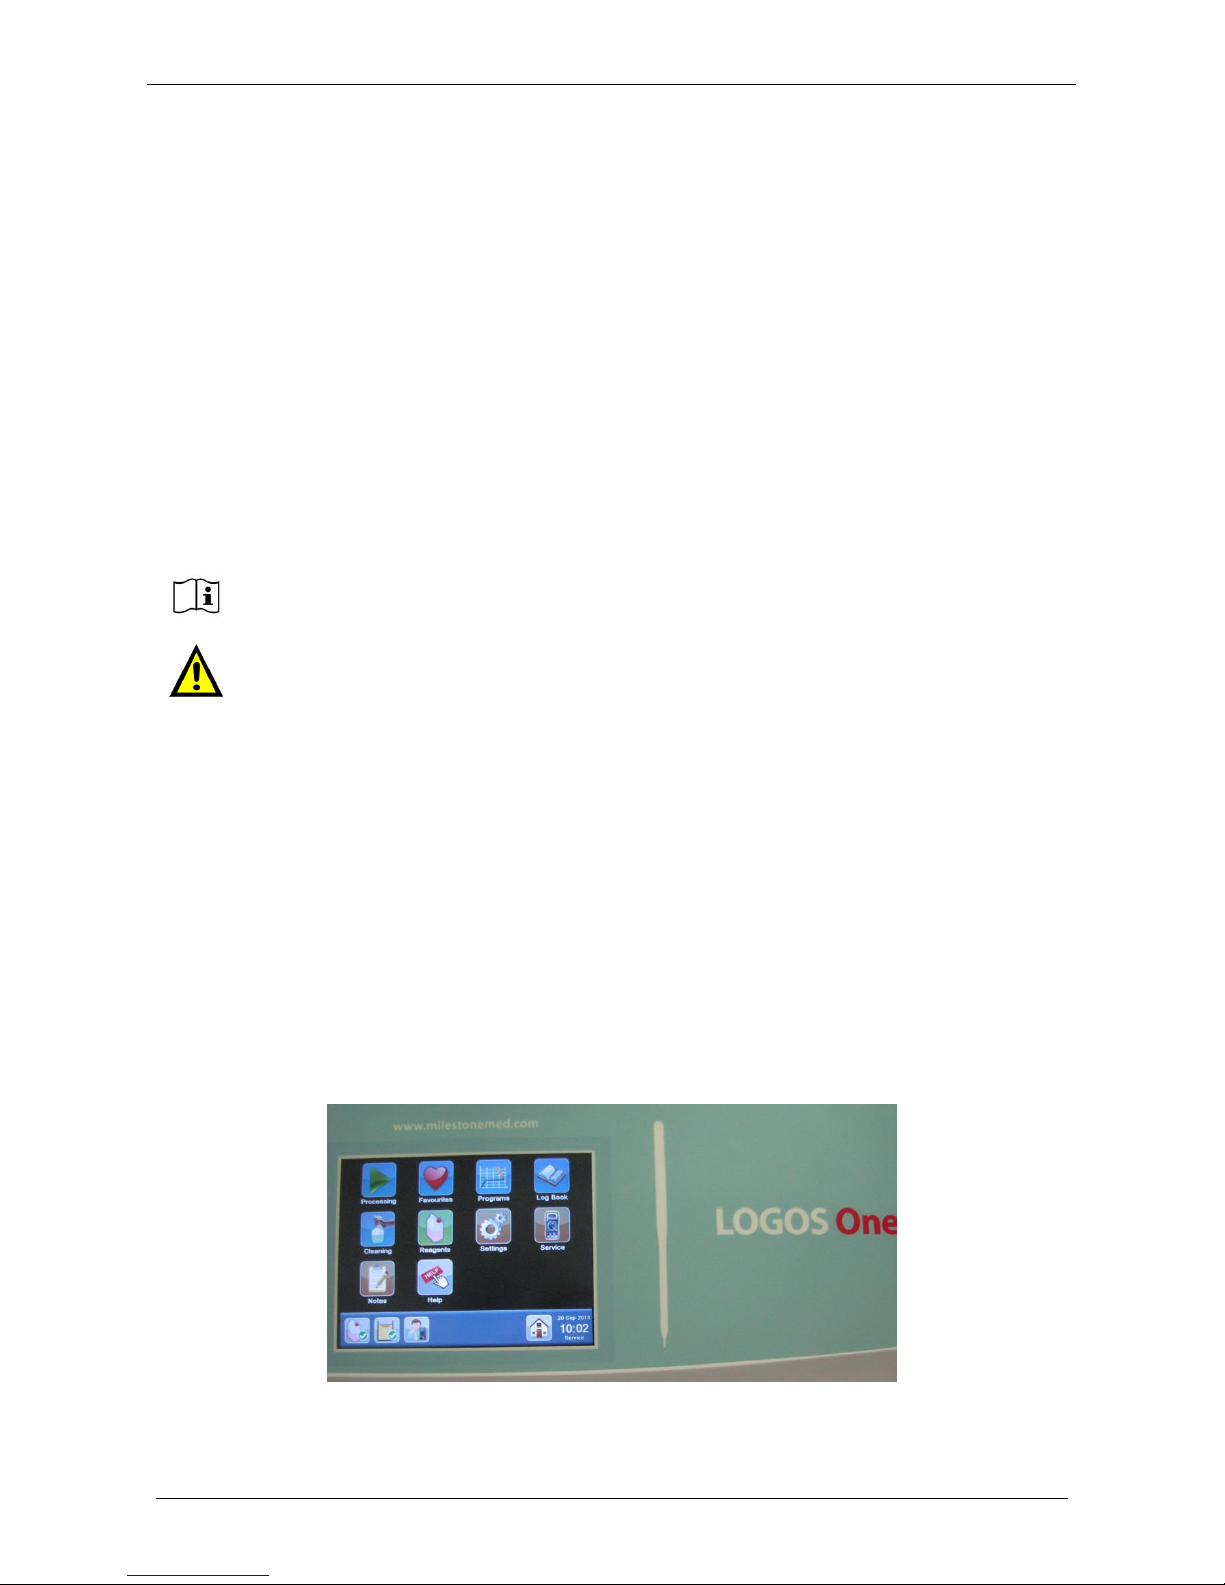
1.3.1 Touch control terminal .............................................................................................................. 7
1.4 Transportation and storage conditions .......................................................................................... 8
1.5 Warning information...................................................................................................................... 9
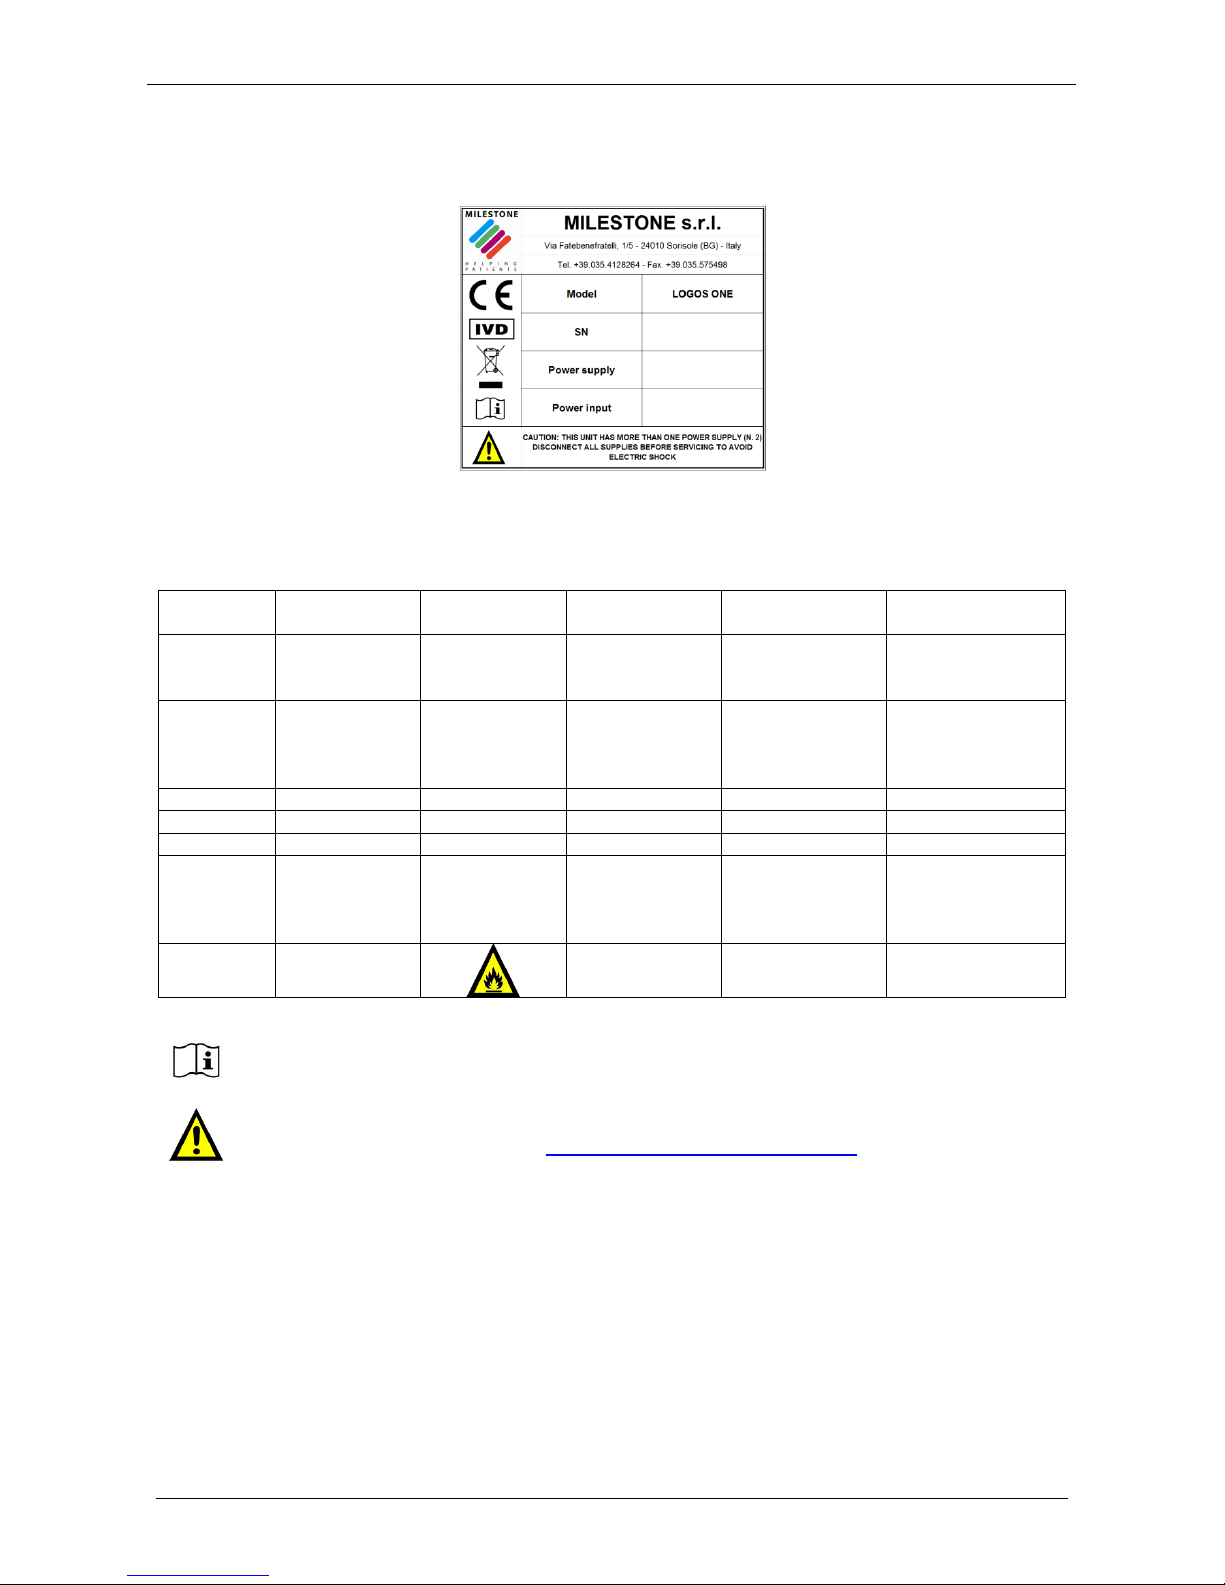
1.6 Labeling explanation....................................................................................................................10
1.7 Compatible reagents....................................................................................................................10
1.8 Waste disposal of the equipment.................................................................................................11
2INSTALLATION...................................................................................................................................12
2.1 Space requirements.....................................................................................................................12
2.2 Unpacking and checking list.........................................................................................................13
2.3 Placement...................................................................................................................................15
2.3.1 Unit overview...........................................................................................................................15
2.4 Fumes extraction system.............................................................................................................16
2.5 Power supply...............................................................................................................................17
2.6 Electrical installation....................................................................................................................17
2.6.1 Back side connection plate 230V Version.................................................................................18
2.6.2 Back side connection plate 115V Version.................................................................................18
2.6.3 Main power supply connection.................................................................................................19
2.6.4 Power supply connection (NO UPS mode)...............................................................................19
2.6.5 Power supply connection (Local UPS mode)............................................................................20
2.7 Remote alarm connection............................................................................................................22
2.8 Internet connection......................................................................................................................22
2.9 Reagents.....................................................................................................................................24
2.10 Log in and log out........................................................................................................................24
2.10.1 Create a new user................................................................................................................25
2.11 Set system date and time ............................................................................................................27
2.12 Set language...............................................................................................................................27
2.13 Load LOGOS ONE with wax........................................................................................................28
2.13.1 Wax heating setting .............................................................................................................30
2.14 Load LOGOS ONE with reagents ................................................................................................32
2.14.1 Set up LOGOS ONE with reagents.......................................................................................33
2.14.2 Cleaning procedure for cleaning tanks .................................................................................39
2.15 Most used programs....................................................................................................................39
2.16 Owner settings ............................................................................................................................41
3OPERATE WITH LOGOS ONE............................................................................................................44
3.1 Loading cassettes into the rack....................................................................................................44
3.1.1 Rack loading-unloading tool.....................................................................................................45
3.2 Run a program ............................................................................................................................46
3.2.1 Run of the most used program.................................................................................................46
3.2.2 Run a standard program..........................................................................................................54
3.2.3 Run two processes simultaneously ..........................................................................................57
3.2.4 Run a program using the STEP START function......................................................................59
3.2.5 Run a DELAYED PROGRAM ..................................................................................................60
3.2.6 Add WAX.................................................................................................................................63
3.2.7 Screen saver ...........................................................................................................................64
3.3 Run a cleaning cycle of the main cavity........................................................................................65
3.3.1 Tanks for process and main cavity cleaning.............................................................................66
3.4 Reagents group and programs.....................................................................................................68
3.5 Run a cleaning cycle of the WAX.................................................................................................69
3.6 Retrieving saved processes.........................................................................................................71
3.6.1 How to delete a saved process................................................................................................74
3.7 Modify a program.........................................................................................................................74
3.7.1 Modify a standard program......................................................................................................75
3.7.2 Correlation between racks and programs.................................................................................76

Milestone s.r.l.
MM098-002 –LOGOS ONE –Operator Manual
5
3.7.3 Modify a main cavity cleaning program.....................................................................................78
3.7.4 Modify a WAX cleaning............................................................................................................79
4REAGENTS MANAGEMENT...............................................................................................................80
4.1 Reagents reuse life......................................................................................................................80
4.1.1 Reagents settings....................................................................................................................81
4.1.2 Recommendations for reuse life...............................................................................................82
4.2 Reagents replacement procedure................................................................................................83
4.2.1....................................................................................................................................................83
4.2.2 Reagent NOT USED FOR RINSING........................................................................................84
4.2.3 Reagent USED FOR RINSING................................................................................................86
4.2.4 Change reagents during a WAX phase ....................................................................................87
4.3 Wax replacement procedure........................................................................................................88
5SAFETY MODE PROCEDURE............................................................................................................90
5.1 Power failure ...............................................................................................................................90
5.2 Regent loading time-out...............................................................................................................92
6REPORTING .......................................................................................................................................94
6.1 Export processing from the terminal to the USB key.....................................................................94
6.2 Install and operate with the LogViewer.........................................................................................95
6.2.1 Open process..........................................................................................................................95
6.2.2 Print process............................................................................................................................97
6.2.3 Send process to customer support (Milestone).........................................................................98
6.2.4 Change settings.......................................................................................................................99
6.2.5 Other functions........................................................................................................................99
6.3 Reagents Log and Events Log from the terminal to the USB key................................................100
7MAINTENANCE.................................................................................................................................102
7.1 Introduction ...............................................................................................................................102
7.2 After each run............................................................................................................................102
7.2.1 Rack cleaning procedure .......................................................................................................102
7.3 Every 5 runs..............................................................................................................................104
7.4 Weekly......................................................................................................................................104
7.5 Monthly .....................................................................................................................................105
7.6 Yearly........................................................................................................................................107
7.7 How to start the remote assistance............................................................................................107
8OPTIONAL ........................................................................................................................................108
9GOOD TISSUE PROCESSING PRACTICE.......................................................................................112
9.1 Specimens ................................................................................................................................112
9.2 Fixation .....................................................................................................................................112
9.3 Beware......................................................................................................................................113
9.4 Reagents...................................................................................................................................114
9.4.1 Alcohols quality......................................................................................................................114
9.5 Tissue processing selection guidelines ......................................................................................115
9.6 Presoaking guidelines................................................................................................................116
A. Appendix.......................................................................................................................................118
A.1. TISSUE PROCESSING THROUBLESHOOTING GUIDE...........................................................118
A.2. OVERVIEW OF HISTOPROCESSING TROUBLE SHOOTING..................................................125
B. Appendix.......................................................................................................................................126
B.1. HOW TO MANAGE AN ALARM.................................................................................................126
C. Appendix.......................................................................................................................................128
C.1. HOW TO MANAGE SAMPLES WHILE AN ALARM IS OCCURRING.........................................128

Milestone s.r.l.
MM098-002 –LOGOS ONE –Operator Manual
6
1 INTRODUCTION
1.1 Symbol used
An instruction accompanied by this symbol provides a quite important and require
more attention.
An instruction accompanied by this symbol provides a cautionary statement: failure to
follow the instruction may endanger the operator or cause damage to the instrument.
An instruction accompanied by this symbol provides a caution against electric shock.
Be sure to follow the instruction to prevent accidents resulting from electric shock.
Biohazard: be careful when you execute the procedure marked with this symbol:
danger of biohazard contamination.
Surfaces identified with this symbol are at danger temperature (more than 70°C/158°F).
Potentially flammable.
Please read SERVICE Manual (operation for SERVICE only).
CE logo: this instrument complies to European Community directives.
IVD medical device according to 98/79/EC directive.
WEEE European directive symbol (2002/96/EC):
Electric/electronic device do not throw out in the environment.
Manufacturer.
Fragile.

Milestone s.r.l.
MM098-002 –LOGOS ONE –Operator Manual
7
1.2 Designated uses
The Milestone LOGOS ONE and its accessories have been engineered for laboratory use and can therefore
withstand the harshest laboratory conditions for continuous use in Histological sample preparation
procedures.
The instrument is intended for laboratory use (indoor use) only.
The Milestone LOGOS ONE is specifically designed to automatically (when an automatic run is selected) or
semi-automatically (when a dual run is selected) execute these processes for histopathological applications:
Fixation, Post-fixation
Dehydration and Clearing
Drying
Paraffin wax infiltration
The Milestone LOGOS ONE must be operated exclusively with the reagents listed in section Compatible
reagents 1.7.
1.3 Technical specifications
CODE 61500/R: Power supply input: 230V~ 50Hz 2000W,
CODE 61501/R: Power supply input: 230V~ 60Hz 2000W.
Working Temperature: 15°C –30°C (59°F –86°F)
Humidity (relative): up to 80%
Maximum altitude: 2000m
Fan air flow range: 54–58m3/h (cube meter per hour).
1.3.1 Touch control terminal
The following picture shows the Touch Control terminal of the LOGOS ONE unit. It is possible to operate the
unit by simply touching the icons on the screen.
Two USB PORTS are located on the right side of the Touch Control Terminal.
Please refer to chapter 9.4.1 for purity grade of reagents.
Any other use of the instrument is considered improper and may void the warranty
provided by the manufacturer.

Milestone s.r.l.
MM098-002 –LOGOS ONE –Operator Manual
8
Characteristics: TK-WIN10CEi-TFT-LCD color display
Resolution 800x600 pixels, 8’’
Touch screen
Mass storage CF 512MB
RAM 256 MB
CPU 500MHz
Windows™ CE.NET 6.0
Programs: Multiple pre-stored programs, with customizable user defined programs
I/O-Interface: 2x USB port 2.0, 1x LAN Ethernet 10/100 Mbps RJ-45
1.4 Transportation and storage conditions
Temperature: –20°C up to +60°C
Humidity: up to 80% (up to 50% at 40°C –104°F) non-condensing
The manufacturer reserves the right to change and/or improve specifications without
notice and without incurring any obligation.
Before turning LOGOS ONE on (when coming from a storage room), let the unit reach
working environmental conditions (at least half an hour).

Milestone s.r.l.
MM098-002 –LOGOS ONE –Operator Manual
9
1.5 Warning information
Should the equipment be used in different ways than those specified by the manufacturer, the warranty
provided by the manufacturer may be void.
Main power plugs are considered disconnecting device. Disconnect all plugs from the socket outlet before
assembling of the system, before connection of the accessories and before cleaning.
Equipment shall be connected to a main power socket outlet which is accessible and visible by the operator.
Equipment is provided with replaceable fuses, however their replacement is to be performed by properly
authorized service personnel. If the system is not properly working, please contact the local authorized and
trained service representative of the manufacturer.
All parts of the equipment and all accessories must be supplied only by the manufacturer.
DO NOT OPEN THE CHASSIS. Failure to follow the instruction in the documentation
might lead to a reduction of device safety. If the equipment is not working properly,
please contact your supplier or the manufacturer.
Do not remove the instrument, accessories, panels or cover. Only authorized and
qualified SERVICE personnel may repair the instrument and access the instrument’s
internal components.
It is important that normal standards for safety and good laboratory practices are
applied. Always use common sense and the best known practice when operating the
instrument. Failure to follow the instructions in the documentation might lead to a
reduction of device safety.
The Competent Authority owning the instrument has primary responsibility for
accident-free operation together with designated personnel who operates SERVICE
or repair it.
To avoid damage to the instrument, use only the reagents listed in section 1.7
Compatible reagents. Failure to follow the instructions in the documentation might
lead to a reduction of device safety.
Use caution when handling hot, molten WAX.
METAL PARTS
Never introduce metal parts into the MAIN CAVITY.
High voltage discharges may cause uncontrolled increases of temperature, which
could damage the unit and result in incorrect tissue processing also. Failure to
follow the instructions in the documentation might lead to a reduction of device
safety.
Be careful: exhaust reagents are toxic and carcinogenic.
Handle with care and follow the local standard regulations.

Milestone s.r.l.
MM098-002 –LOGOS ONE –Operator Manual
10
1.6 Labeling explanation
For symbols explanation see Chapter 1.1.
1.7 Compatible reagents
Fixatives
Holding
Dehydration
Clearing
Impregnation
Other
Cleaning
Milestone
FineFIX®
PBS buffer
Milestone
JFC® solution
WAX, Histology
grade
Alcohol/water
(60/40) solution
(Flushing)
Xylene
Formalin,
buffered or
unbuffered
Alcohol/water
(70/30)
solution
Milestone
Prowave®
solution
Isoparaffin
Milestone
MileGREEN®
solution
Ethanol
Ethanol
Isopropanol
Water
Xylene
Isoparaffin
Milestone
MileGREEN®
solution
Please refer to chapter 9.4.1 for purity grade of reagents.
DO NOT USE REAGENTS DIFFERENT FROM THOSE LISTED ABOVE.
In case of doubts please contact: application@milestonemedsrl.com.

Milestone s.r.l.
MM098-002 –LOGOS ONE –Operator Manual
11
1.8 Waste disposal of the equipment
This instrument is an in-vitro medical device and it is usually installed in a laboratory where specimens and
other biological tissues are present. For your safety, it is therefore required to clean and disinfect before
entering in contact with it. You must also wear gloves when operating the system.
In case of return it is required that the unit is cleaned and disinfected before sending it back to Milestone.
Non-disinfected devices will be no longer accepted and you will be contacted to pay the relative disinfection
cost.
International health rules require that shipments of biohazard materials are not done in standard packages
(risk of sanctions).
It is recommended to use enzymatic detergents and polyphenolic based disinfectants or chlorine substitutes
to clean and disinfect the instrument. In alternative, to decontaminate the instrument, the use of a solution of
1:10 Bleach (recommended by the CDC for disinfecting) is also allowed.
For further information, please contact the manufacturer: medical@milestonesrl.com.
In addition, complying with directive 2002/96/EC of the European Parliament and of the Council of 27
January 2003 on waste electrical and electronic equipment (WEEE), the separate collection environmental
managed of equipment is mandatory.
It is necessary to return the used equipment to the distributor or to inquire about the presence of a local
empowered system for collection and disposal of WEEE.
The in-observance of Directive 2002/96/EC or of the local law which acknowledges it can have potential
effects on the environment and human health.
This symbol indicates separate collection
for electrical and electronic equipment
If additional requirements on accident prevention and environmental protection exist in the country of
operation, this instruction manual must be supplemented by appropriate instructions to ensure compliance to
such requirements.
Waste disposal of reagents
For further information please refer to the MSDS (Material Data Safety Sheet) provided by your supplier.
Do not remove the side panels of the unit during the cleaning operations.
Before doing any operation disconnect the power supply.
Do not use direct or high-pressure water to clean the instrument.
For safety reason, any operation without the individual protective devices must be
avoided.
Handle with care and store in a cool dry space using a tightly closed container.
Vapors may collect in empty containers. Treat empty containers as hazardous.
Waste material should be disposed of in an approved incinerator or in a designated landfill
site, in compliance with all federal, provincial and local government regulations.
Some reagents can have potential health effects and cause environmental pollution if not
correctly disposed.

Milestone s.r.l.
MM098-002 –LOGOS ONE –Operator Manual
12
2 INSTALLATION
Milestone LOGOS ONE is a precision instrument that requires the utmost care when it is unpacked and
installed. Move LOGOS ONE to its final location. Make sure that the floor is level and is made of non-
flammable material. The following pictures show the dimensions of LOGOS ONE and the space required:
2.1 Space requirements
LOGOS ONE is delivered in a wood box with these dimensions:
Width: 920mm (36.2in)
Height: 1320mm (52in)
Depth: 1500mm (59in)
The space dimensions required to locate the unit are the following (drawer and covers opened):
Width: 1100mm (43in)
Height: 1600mm (63in)
Depth: 1200mm (47in)
LOGOS ONE is a heavy instrument. Contact a structural engineer before placing the unit (analyze the
building structure).
LOGOS ONE Weight (read carefully):
LOGOS ONE FULL (all tanks): 320kg (706lb) (wax and all reagents loaded in proper tanks).
LOGOS ONE EMPTY: 250kg (552lb) (no reagents; no Paraffin Wax histological grade).
Unit density 640kg/m2(0.9lb/in2).
1500mm
1090mm
695mm
760mm

Milestone s.r.l.
MM098-002 –LOGOS ONE –Operator Manual
13
2.2 Unpacking and checking list
When unpacking, check that all parts correspond to the packing list included in the shipment. Utmost care
must be made during unpacking of LOGOS ONE, to avoid any scratch or damage to the external surface.
CODE
DESCRIPTION
INCLUDING
Power supply input
61506/R
LOGOS ONE COMPLETE
PACKAGE
61502/R
115V~ 60Hz 2000W
61503/R
Starter Kit LOGOS ONE
61506/R-USA
LOGOS ONE COMPLETE
PACKAGE
61502/R
115V~ 60Hz 2000W
61503/R-USA
Starter Kit LOGOS ONE-USA
61504/R
LOGOS ONE COMPLETE
PACKAGE
61500/R
230V~ 50Hz 2000W
61503/R
Starter Kit LOGOS ONE
61505/R
LOGOS ONE COMPLETE
PACKAGE
61501/R:
230V~ 60Hz 2000W
61503/R
Starter Kit LOGOS ONE
The LOGOS ONE COMPLETE PACKAGE includes:
A. The LOGOS ONE unit (with power supply cable) including the following items:
1. Nr. 1 WAX draining tube CODE 62497
2. Nr. 1 Tanks labels CODE 65633
3. Nr. 1 CD with LOGOS ONE Operator Manual (MM098), Maintenance Instructions, LOGOS ONE
Quick Start Guide (MM101).
B. The Starter Kit LOGOS ONE (CODE 61503/R) includes the following items:
CODE
DESCRIPTION
Q.ty
IMAGE
66105
Rack Transfer Kit
1
66165A/210
Split Rack 210 cassettes
1
62348
Antiscratching Spatula to
remove wax traces
1
62160
USB Data Traveler
containing the LogViewer
Software
1

Milestone s.r.l.
MM098-002 –LOGOS ONE –Operator Manual
14
61597
Exhaust Tube complete
1
The Starter Kit LOGOS ONE (CODE 61503/R-USA) includes the following items:
CODE
DESCRIPTION
Q.ty
IMAGE
66105
Rack Transfer Kit
1
66165A/210
Split Rack 210 cassettes
2
62348
Antiscratching Spatula to
remove wax traces
2
62160
USB Data Traveler
containing the LogViewer
Software
1
61597
Exhaust Tube complete
1
70170
Tank 5 liters capacity
9
61550/F
External exhaust
FORMALIN fumes filter
kit, including one spare
filter
1

Milestone s.r.l.
MM098-002 –LOGOS ONE –Operator Manual
15
2.3 Placement
Now LOGOS ONE unit can be positioned in its final place of use. When the instrument is positioned, push
down the lever of the wheels (CODE 66464) to block them.
2.3.1 Unit overview
MAIN CAVITY on the LEFT WAX CAVITY on the RIGHT.
To open the MAIN CAVITY cover: push the button, then rotate the handle (clockwise), then flip up the cover.
To open the WAX CAVITY cover: push the button, then rotate the handle (clockwise), then flip up the cover.
In the bottom of the main cavity (left) there is a mesh filter to block the eventual floaters and dirty parts.
Block the four lateral wheels (indicated with green arrow the two frontal) BUT do not block
the central one of the drawer (indicated with yellow arrow).

Milestone s.r.l.
MM098-002 –LOGOS ONE –Operator Manual
16
Refer to chapter 7.5 for its maintenance.
2.4 Fumes extraction system
LOGOS ONE is vented, to comply with CAP regulations, through the external exhaust outlet positioned on
the back of the instrument, with a hose dedicated to the external fume extraction system (if any).
The customer is required to adapt the hose connector. The plastic hose supplied has these characteristics:
Length: 3m (110”)
External diameter: 69mm (2.72”)
Internal diameter: 60mm (2.36”)
Insert the exhaust tube (CODE 61377) on the proper outlet (back panel).
Use the metal cable clamp (CODE 50051) to fix the hose to the exhaust fume pipeline.
The external fume extraction system must be properly installed at all times, according to
local regulations in force on laboratory safety.
The external fume extraction system must permit an air flux of 58 m3/h (cube meter per
hour).
There is no air filter on the unit exhaust system.
It is possible to connect an external exhaust fumes filter kit.
See chapter 8 for information about this optional (CODE 61550).

Milestone s.r.l.
MM098-002 –LOGOS ONE –Operator Manual
17
Now connect the other side of tube to the fume extractor of the laboratory.
2.5 Power supply
Power supply line must have a ground connection (yellow/green, green or bare wire).
Do not use the blue/white wire (neutral of power line). Power supply neutral has to be referred to ground.
Carefully check that:
A strong ground connection is made available in the lab to assure the unit works correctly. Do not
connect a Milestone unit without ground connection.
A dedicated ground connection direct from the main electric box (cabinet) of the laboratory to our
unit is ideal to eliminate any possible interference/electronic noise originated by other instruments
supplied with the same line.
Power supply line wires (their size and distance from the switch board) used in the laboratory are
compliant with the label positioned on the back side of our units.
Plug/socket is visible during the normal use and easily accessible.
Power line protection:
115V: Miniature circuit breaker curve C, 20A, interruption more than 6000A.
230V: Miniature circuit breaker curve C, 16A, interruption more than 6000A.
Residual current device: 30mA (Class I device).
Only 230V version: a schuko terminated power cord is provided.
The 115V version is not terminated.
2.6 Electrical installation
Before connecting the plug to the laboratory’s socket CHECK that the power supply
voltage of the unit matches the power supply line of the laboratory.
Damages occur when wrong power supplies the instrument.

Milestone s.r.l.
MM098-002 –LOGOS ONE –Operator Manual
18
2.6.1 Back side connection plate 230V Version
On the back side of the LOGOS ONE are positioned the connection plates:
Description:
1. Speaker
2. Remote/external alarm connector
3. Ethernet/LAN plug
4. UPS side supply (controller power supply input)
5. UPS supplier socket (energy output to local ups
unit)
6. Main power supply
2.6.2 Back side connection plate 115V Version
On the back side of the LOGOS ONE are positioned the connection plates:
Description:
1. Speaker
2. Remote/external alarm connector
3. Ethernet/LAN plug
4. UPS side supply (controller power supply input)
5. UPS supplier socket (energy output to local ups
unit)
6. Main power supply
As separable power cord, it is strictly required to use power cord with wire size at least of
1.5mm² (equal to minimum AWG12). A size less of 1.5mm² (AWG12) cannot guarantee a
proper functionality of the unit and overheating of the power cord.
See also the Label of the instrument that provides some important information.
Always communicate the Serial Number of the unit to Customer Support.
See also the Label of the instrument that provides some important information.
Always communicate the Serial Number of the unit to Customer Support.
1
2
3
6
5
4
1
2
3
4
5
6

Milestone s.r.l.
MM098-002 –LOGOS ONE –Operator Manual
19
2.6.3 Main power supply connection
ONLY FOR 115V VERSION, add plug to the cable:
Connect the two black wires to power pins of the plug and the yellow/green to ground’s pin.
Diameter approx. 10mm, size of wires AWG12.
ONLY FOR 230V VERSION, connect the cable to connector 1 (see the chapter 2.6.1).
2.6.4 Power supply connection (NO UPS mode)
There are two ways to connect the LOGOS ONE to power supply line.
Characteristic: This is the easier way to supply the LOGOS ONE, but it does NOT protect the unit from
power supply failure.
In fact, in case of power failure, user cannot remove samples from LOGOS ONE nor do any other
operations.
For this reason, Milestone s.r.l. does NOT suggest this type of connection.
Make sure to inform the customer that in this way a power supply failure inhibits any operation with
LOGOS ONE
NEVER DIRECTLY CONNECT LOGOS ONE TO THE SWITCHBOARD.
IT IS REQUIRED TO USE A SEPARABLE PLUG, WITHOUT A LOCKING DEVICE to mate
with the socket-outlet in the laboratory.
As separable power cord, it is strictly required to use power cord with wire size at least of
1.5mm² (equal to minimum AWG12). A size less of 1.5mm² (AWG12) cannot guarantee a
proper functionality of the unit and overheating of the power cord.

Milestone s.r.l.
MM098-002 –LOGOS ONE –Operator Manual
20
Connect the by-pass cable (CODE 66643) from (5) UPS supplier socket to (4) UPS side supply.
Then connect the socket to main power supply (6): now it is possible to turn the LOGOS ONE “ON”.
Do not connect UPS supplier socket (4) directly to the laboratory socket power supply:
this input power supply complies to CISPR 11 class A and may cause electromagnetic
interference to other devices.
2.6.5 Power supply connection (Local UPS mode)
Characteristic: Milestone s.r.l. strongly recommends this type of connection as it protects the LOGOS ONE
from power supply failure. In this case, in fact, LOGOS ONE cannot process, but can execute all other
procedures. In fact “UPS side supply” provides energy at logic circuits.
Even when LOGOS ONE is directly plugged into the main hospital UPS line or power emergency line, we
observed occurring of delays or discontinuity of a few seconds/ minutes of the power supply. In this case,
LOGOS ONE stops working and the standard power failure procedure, that puts tissues in safety, is not
activated. For this reason, we highly recommend to install a UPS module on any LOGOS ONE unit.
Milestone can supply only UPS at 230Volt-50/60Hz (CODE 66100) with the following technical
specifications:
230V version (CODE 66100)
Voltage input 230V 50/60Hz according to your power supply
Power 1000VA/600W (minimum)
Capacity 15 minutes @ 500W (minimum)
Output 230V±10% 50/60±1Hz
Transfer time 6ms (max)
With cord set for connections
Weight: 9.6 kg (if provided locally: max 20kg - 44lb)
UPS unit at 115Volt-60Hz must be provided locally with the following minimum technical specifications:
115V version
Voltage input 115V 60Hz according to your power supply
Power 1000VA/600W (minimum)
Capacity 15 minutes @ 500W (minimum)
Output 230V±10% 60±1Hz
Transfer time 6ms (max)
With cord set for connections
Footprint max 190x600 mm
Weight max 20kg (44lb)
Before using the UPS, charge the battery according to the manufacturer's specifications.
Before connecting the UPS to the Unit, mount the UPS holder supplied with the Unit as shown below.
Table of contents
Other Milestone Laboratory Equipment manuals

Milestone
Milestone KOS Series User manual

Milestone
Milestone SK-15 eT User manual

Milestone
Milestone R-Tracker User manual

Milestone
Milestone EasyCUT User manual

Milestone
Milestone UltraGROSS User manual

Milestone
Milestone BoneSTATION User manual

Milestone
Milestone PRESTO PRO User manual

Milestone
Milestone ETHOS LEAN User manual

Milestone
Milestone ETHOS UP User manual

Milestone
Milestone MAXI-44 User manual