manuals.online logo
Brands
  1. Home
  2. •
  3. Brands
  4. •
  5. Mocka
  6. •
  7. Indoor Furnishing
  8. •
  9. Mocka Sadie User manual

Mocka Sadie User manual

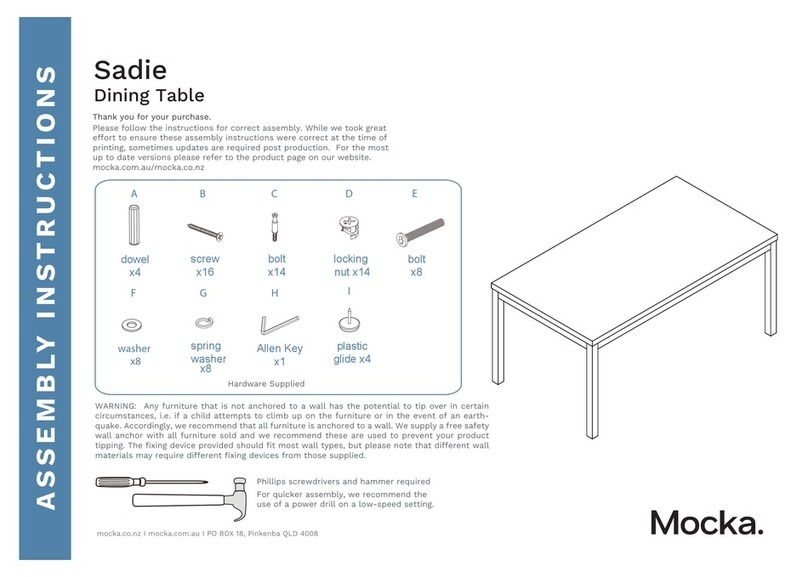
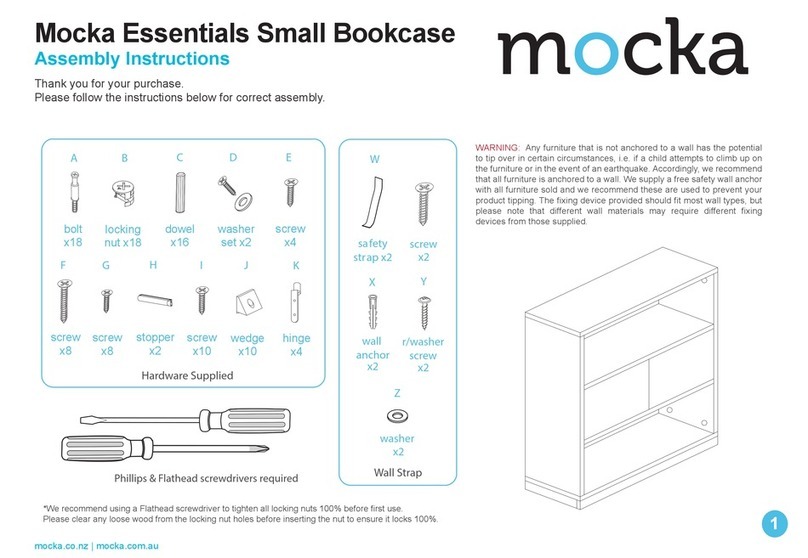
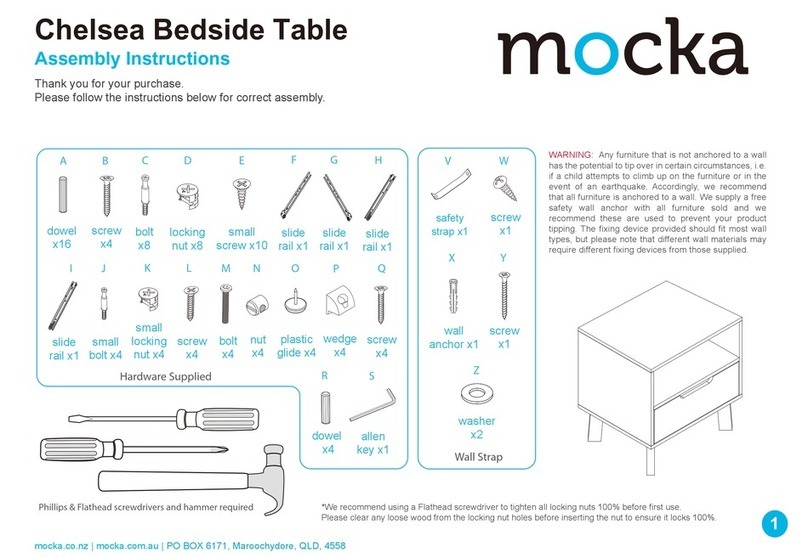
Phillips & Flathead screwdrivers and hammer required
*We recommend using a Flathead screwdriver to tighten all locking nuts 100% before rst use.
WARNING: Any furniture that is not anchored to a wall has the
potential to tip over in certain circumstances, i.e. if a child attempts to
climb up on the furniture or in the event of an earthquake. Accordingly,
we recommend that all furniture is anchored to a wall. We supply a
free safety wall anchor with all furniture sold and we recommend
these are used to prevent your product tipping. The fixing device
provided should fit most wall types, but please note that different wall
materials may require different fixing devices from those supplied.
wedge
x4
screw
x4
A B C D E F
GHJ
I
Hardware Supplied
Wall Strap
dowel
x24
screw
x12
bolt
x60
locking
nut x60
small
screw x36
slide
rail x3
slide
rail x3
I1
I2
J1
J2
long screw
x12
x4
washer
Z
wall
screw
Y
wall
anchor
x2
X
safety
strap x2
W
V
screw
x2
x2
K
plastic
glide x10
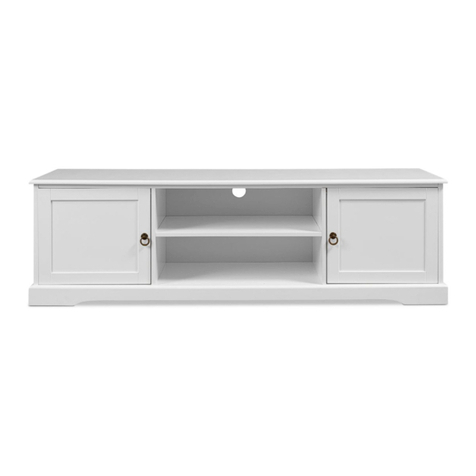
Sadie Entertainment Unit
1
mocka.co.nz | mocka.com.au
Assembly Instructions
Thank you for your purchase.
Please follow the instructions below for correct assembly.
12
Insert 2x bolts (A) into panel [4]. Attach 1x slide rail (I1) to panel [4]
using 3x screws (D). Insert 2x bolts (A) into panel [5]. Attach 1x slide
rail (I2) to panel [5] using 3x screws (D). Tighten with a screwdriver.
Attach 1x slide rail (I1) to one side of panel [9] using 3x screws (D). Turn
it over and attach 1x slide rail (I2) to the other side using 3x screws (D).
Tighten with a screwdriver. Repeat this step for the other panel [9].
5
4
I2
I1
D
D
D
D
D
A
A
AA
I2
D
I1
D
A
DI2
D
D
D
I1
D
D
D
x2
I2
D
9
x2
9
I1
D
Sadie Entertainment Unit
2
mocka.co.nz | mocka.com.au
Assembly Instructions
12
Insert 2x bolts (A) into panel [4]. Attach 1x slide rail (I1) to panel [4]
using 3x screws (D). Insert 2x bolts (A) into panel [5]. Attach 1x slide
rail (I2) to panel [5] using 3x screws (D). Tighten with a screwdriver.
Attach 1x slide rail (I1) to one side of panel [9] using 3x screws (D). Turn
it over and attach 1x slide rail (I2) to the other side using 3x screws (D).
Tighten with a screwdriver. Repeat this step for the other panel [9].
5
4
I2
I1
D
D
D
D
D
A
A
AA
I2
D
I1
D
A
DI2
D
D
D
I1
D
D
D
x2
I2
D
9
x2
9
I1
D
34
Insert 4x bolts (A) into panel [3]. Insert 2x bolts (A) into panel [6], and
insert 2x bolts (A) into panel [7].
Attach panels [9] to panel [3] using 4x dowels (C) and secure with 4x
locking nuts (B). Tighten with a screwdriver.
AA
AA
A
A
A
A
C
C
C
C
B
7
6
3
93
9
B
B
B
B
Sadie Entertainment Unit
3
mocka.co.nz | mocka.com.au
Assembly Instructions
56
Attach panels [6] and [7] to panel [3] using 4x dowels (C) and secure
with 4x screws (F). Tighten with a screwdriver.
Attach panel [5] to panel [20] using 2x locking nuts (B). Attach panel [4]
to the other panel [20] using 2x locking nuts (B). Attach both panels [20]
to panels [6] and [7] using 4x locking nuts (B). Tighten with a
screwdriver.
C
C
C
C
F
F
F
B
7
6
3
5
4
20
20
B
B
B
B
7
6
3
Sadie Entertainment Unit
Assembly Instructions
4
mocka.co.nz | mocka.com.au
Jolt Wardrobe
ASSEMBLY INSTRUCTIONS
5
mocka.co.nz | mocka.com.au
56
Attach panels [6] and [7] to panel [3] using 4x dowels (C) and secure
with 4x screws (F). Tighten with a screwdriver.
Attach panel [5] to panel [20] using 2x locking nuts (B). Attach panel [4]
to the other panel [20] using 2x locking nuts (B). Attach both panels [20]
to panels [6] and [7] using 4x locking nuts (B). Tighten with a
screwdriver.
C
C
C
C
F
F
F
B
7
6
3
5
4
20
20
B
B
B
B
7
6
3
78
Insert 8x dowels (C) into the tops of the panels as shown. Insert 12x bolts (A) to panel [1]. Attach panels [21] to panel [1] using 4x
locking nuts (B). Tighten with a screwdriver.
20
C
C
C
C
C
C
C
C
20
5
4
7
6
1
A
A
A
A
A
A
A
A
A
A
A
A
21
B
B
21
B
B
Sadie Entertainment Unit
Assembly Instructions
5
mocka.co.nz | mocka.com.au
910
Attach panel [1] to panel [5], [7], [6] and [4] using 8x locking nuts (B).
Tighten with a screwdriver.
Slide back panel [12] down along the grooves between panel [5] and [4].
Insert 8x dowels (C) into panel [4], [5] and both panels [9].
1
5
7
6
4
B
B
B
B
B
B
B
B
B
C
C
C
C
C
12
4
9
9
5
Sadie Entertainment Unit
Assembly Instructions
6
mocka.co.nz | mocka.com.au
910
Attach panel [1] to panel [5], [7], [6] and [4] using 8x locking nuts (B).
Tighten with a screwdriver.
Slide back panel [12] down along the grooves between panel [5] and [4].
Insert 8x dowels (C) into panel [4], [5] and both panels [9].
1
5
7
6
4
B
B
B
B
B
B
B
B
B
C
C
C
C
C
12
4
9
9
5
11
12
Attach panel [2] to panel [5], [4] and [9] using 8x screws (F). Tighten
with a screwdriver.
Insert 16x bolts (A) into panel [2]. Insert 4x bolts (A) into each panel [10].
10 x2
A
A
A
A
A
A
AA
AA
A
A
AA
A
A
A
A
A
A
2
2
F
F
F
F
F
F
F
F
12
12
Sadie Entertainment Unit
Assembly Instructions
7
mocka.co.nz | mocka.com.au
13 14
Attach panels [10], [8] and [11] together as shown using 8x locking nuts
(B). Tighten with a screwdriver.
Attach panels [10], [11] and [8] to panel [2] using 16x locking nuts (B).
Tighten with a screwdriver. Attach 10x plastic glides (K) as shown.
10
8
10
8
11
11
B
B
B
B
B
B
B
B
2
B
B
B
B
B
10
8
B
B
B
B
B
12
K
K
K
K
K
K
K
K
K
K
Sadie Entertainment Unit
Assembly Instructions
8
mocka.co.nz | mocka.com.au
13 14
Attach panels [10], [8] and [11] together as shown using 8x locking nuts
(B). Tighten with a screwdriver.
Attach panels [10], [11] and [8] to panel [2] using 16x locking nuts (B).
Tighten with a screwdriver. Attach 10x plastic glides (K) as shown.
10
8
10
8
11
11
B
B
B
B
B
B
B
B
2
B
B
B
B
B
10
8
B
B
B
B
B
12
K
K
K
K
K
K
K
K
K
K
15 16
Attach 4x wedges (G) using 4x screws (H) to the corners of panel [12].
Attach 2x safety straps (V) and 2x washers (Z) to the back of top panel
[1] using 2x screws (W). Tighten with a screwdriver.
Insert 4x bolts (A) into each panel [13], [14] and [15]. Attach panels [16]
and [17] to panel [15] using 4x locking nuts (B). Attach panels [16] and
[17] to panels [13] and [14] using 8x locking nuts (B). Slide down panels
[19] to form the base of the drawers.
1
12
AA
AA
A
A
AA
AA
A
A
B
B
B
B
B
B
B
B
13 14
15
17
16
19
13
14
15
17
16
19
H
G
G
G
G
H
H
H
G
H
V
ZW
V
ZW
screw
strap
washer
Sadie Entertainment Unit
Assembly Instructions
9
mocka.co.nz | mocka.com.au
17 18
Attach back panels [18] to the side panels using 12x screws (E). Attach
1x slide rail (J1) and 1x slide rail (J2) to the sides of each drawer and
secure with 6x screws (D) as shown. Tighten with a screwdriver.
Insert the drawers into the unit as shown. Ensure the drawers slide
smoothly and easily along the rails.
D
D
DD
D
J1
J2
D
D
DD
D
J1
J2
D
D
D
D
DD
J1
J2
D
D
D
D
E
E
E
E
E
E
E
E
13
14
15
13 14
15
18
18
13
14
15
Sadie Entertainment Unit
10
mocka.co.nz | mocka.com.au
Assembly Instructions
17 18
Attach back panels [18] to the side panels using 12x screws (E). Attach
1x slide rail (J1) and 1x slide rail (J2) to the sides of each drawer and
secure with 6x screws (D) as shown. Tighten with a screwdriver.
Insert the drawers into the unit as shown. Ensure the drawers slide
smoothly and easily along the rails.
D
D
DD
D
J1
J2
D
D
DD
D
J1
J2
D
D
D
D
DD
J1
J2
D
D
D
D
E
E
E
E
E
E
E
E
13
14
15
13 14
15
18
18
13
14
15
19 20
Lift the furniture into the desired location, do not drag. Use a drill to
create two small holes lining up with the top of the safety straps. Fasten
to wall using 2x wall plugs (X), 2x washers (Z) and 2x screws (Y).
Tighten with a screwdriver.
You’re done, enjoy!
X
Y
Z
X
Y
Z
wall
plug
screw
strap
washer
Sadie Entertainment Unit
11
mocka.co.nz | mocka.com.au
Assembly Instructions

Other manuals for Sadie

23

Other Mocka Indoor Furnishing manuals

Mocka Nava Coffee Table User manual

Mocka

Mocka Nava Coffee Table User manual

Mocka Tahoe User manual

Mocka

Mocka Tahoe User manual

Mocka Jesse Tallboy User manual

Mocka

Mocka Jesse Tallboy User manual

Mocka Hamptons Dining Chair User manual

Mocka

Mocka Hamptons Dining Chair User manual

Mocka Chelsea Tallboy Drawers User manual

Mocka

Mocka Chelsea Tallboy Drawers User manual

Mocka Georgia Six Drawer User manual

Mocka

Mocka Georgia Six Drawer User manual

Mocka Alps Two Door Cabinet User manual

Mocka

Mocka Alps Two Door Cabinet User manual

Mocka Sintra User manual

Mocka

Mocka Sintra User manual

Mocka Bronte User manual

Mocka

Mocka Bronte User manual

Mocka Aspen User manual

Mocka

Mocka Aspen User manual

Mocka Sadie User manual

Mocka

Mocka Sadie User manual
Mocka Dakota User manual

Mocka

Mocka Dakota User manual

Mocka Zara User manual

Mocka

Mocka Zara User manual

Mocka Addi Three Drawer User manual

Mocka

Mocka Addi Three Drawer User manual

Mocka Savannah Two Door Cabinet User manual

Mocka

Mocka Savannah Two Door Cabinet User manual

Mocka Tahoe Entertainment Unit User manual

Mocka

Mocka Tahoe Entertainment Unit User manual

Mocka Boston Three Drawer User manual

Mocka

Mocka Boston Three Drawer User manual

Mocka Eight Cube User manual

Mocka

Mocka Eight Cube User manual

Mocka Hudson User manual

Mocka

Mocka Hudson User manual

Mocka Edmond Bedside Table User manual

Mocka

Mocka Edmond Bedside Table User manual

Mocka Zara User manual

Mocka

Mocka Zara User manual

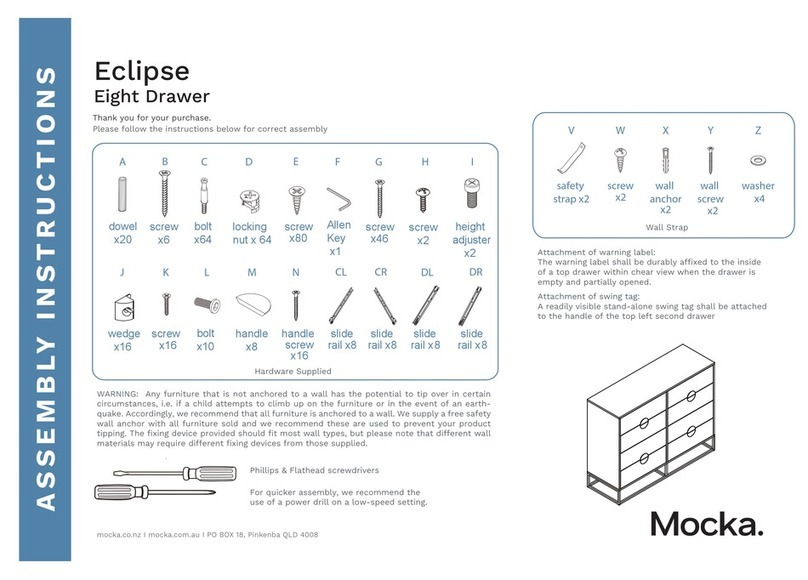
Mocka Eclipse User manual

Mocka

Mocka Eclipse User manual

Mocka Hudson User manual

Mocka

Mocka Hudson User manual

Mocka Maeve User manual

Mocka

Mocka Maeve User manual

Popular Indoor Furnishing manuals by other brands

Whalen SPLS-TU48CD Instruction booklet

Whalen

Whalen SPLS-TU48CD Instruction booklet

Office Star Products SPACE FLEX 88 Series operating instructions

Office Star Products

Office Star Products SPACE FLEX 88 Series operating instructions

Furniture of America CM7132F Assembly instructions

Furniture of America

Furniture of America CM7132F Assembly instructions

Compatico CMP808W-30 operating instructions

Compatico

Compatico CMP808W-30 operating instructions

AKANTE MONOLITH CT700 Assembly instructions

AKANTE

AKANTE MONOLITH CT700 Assembly instructions

Thomasville Breslyn SPLS-BRLD-TV manual

Thomasville

Thomasville Breslyn SPLS-BRLD-TV manual

Ballard Designs MB401 quick start guide

Ballard Designs

Ballard Designs MB401 quick start guide

LDI Spaces SAFCO Rumba 2049 Assembly instructions

LDI Spaces

LDI Spaces SAFCO Rumba 2049 Assembly instructions

BRW LOFT B156-KOM1K/55 Assembly

BRW

BRW LOFT B156-KOM1K/55 Assembly

Lightolier FS03 specification

Lightolier

Lightolier FS03 specification

POCO SANTA FE Assembly instructions

POCO

POCO SANTA FE Assembly instructions

FourStarGroup 11222236F manual

FourStarGroup

FourStarGroup 11222236F manual

Living Spaces 246103 owner's manual

Living Spaces

Living Spaces 246103 owner's manual

American Signature VCF WA-8215-KB Assembly instructions

American Signature

American Signature VCF WA-8215-KB Assembly instructions

Furniture of America FGI-1993C24 Assembly instructions

Furniture of America

Furniture of America FGI-1993C24 Assembly instructions

Hillsdale Furniture AIDEN 1757-330 manual

Hillsdale Furniture

Hillsdale Furniture AIDEN 1757-330 manual

Next Portofino 872614 Assembly instructions

Next

Next Portofino 872614 Assembly instructions

Enwork SKYLINE installation guide

Enwork

Enwork SKYLINE installation guide

manuals.online logo
manuals.online logoBrands
  • About & Mission
  • Contact us
  • Privacy Policy
  • Terms and Conditions

Copyright 2025 Manuals.Online. All Rights Reserved.