manuals.online logo
Brands
  1. Home
  2. •
  3. Brands
  4. •
  5. Mocka
  6. •
  7. Indoor Furnishing
  8. •
  9. Mocka Zara User manual

Mocka Zara User manual

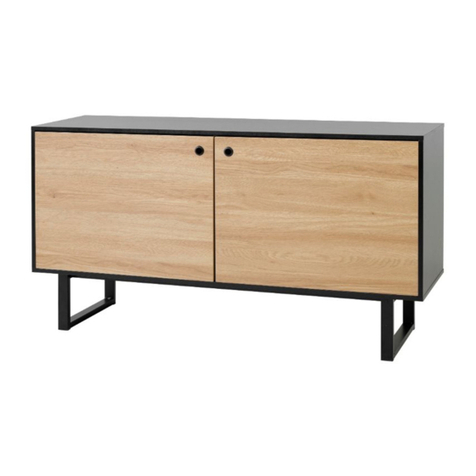
Zara Buffet
Assembly Instructions
Thank you for your purchase.
Please follow the instructions below for correct assembly.
1
Wall Strap
x4
washer
Z
Y
wall
anchor
x2
X
safety
strap x2
WV
screw
x2
wall
screw
x2
mocka.co.nz | mocka.com.au | PO BOX 6171, Maroochydore, QLD, 4558
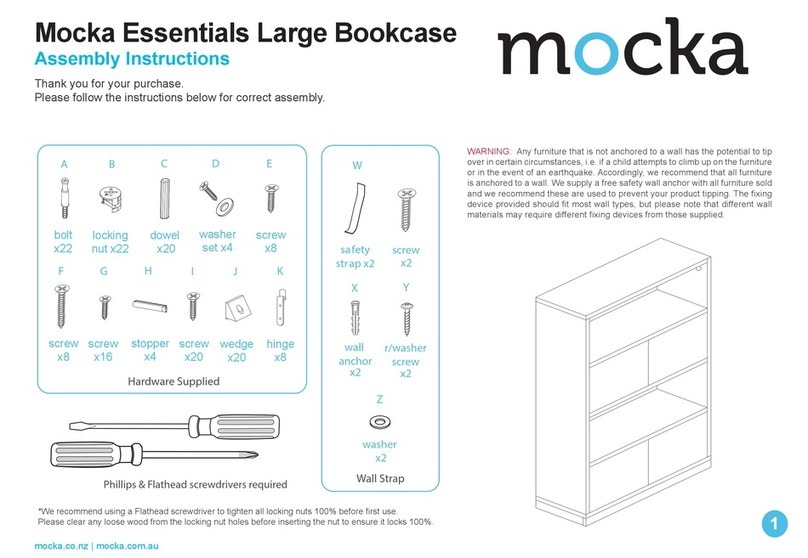
WARNING: Any furniture that is not anchored to a wall has the potential to tip over in certain
circumstances, i.e. if a child attempts to climb up on the furniture or in the event of an earthquake.
Accordingly, we recommend that all furniture is anchored to a wall. We supply a free safety wall anchor
with all furniture sold and we recommend these are used to prevent your product tipping. The fixing device
provided should fit most wall types, but please note that different wall materials may require different fixing
devices from those supplied.
For quicker assembly, we recommend the
use of a power drill on a low-speed setting.
bolt
x27
x8
A B C D EFGH
J K L M N
I
OP
Hardware Supplied
dowel
x20
screw
x45
screw
x24
locking
nut x27
screw
x8
x8
wedge bolt
screw
x24 x5
bracket
x6
bracket
cover
x5
seal
x5
Phillips & Flathead screwdrivers
hinge
x4
shelf plug
x8
height
adjuster
x2
R
felt
pad
x4
S
TUA1 A2 A3
x1
Allen
key
screw
x27
slide
rail x3
slide
rail x3
slide
rail x3
slide
rail x3
Zara Buffet
Assembly Instructions
mocka.co.nz | mocka.com.au | PO BOX 6171, Maroochydore, QLD, 4558
2
12
Insert 8x bolts (C) into panel [1] and tighten with a screwdriver.
Attach 2x bracket (M) to panel [1] and secure with 4x screws (E).
Place 2x cover (N) over the bracket (M) as shown. Tighten with a
screwdriver.
C
1
C
C
C
C
C
C
C
EE
N
MM
M
E
M
E
Attach 3x slide rail (U) and 3x slide rail (A1) to panels [5] and [6]
as shown with 18x screws (E). Tighten with a screwdriver. Insert
4x bolts (C) into panels [5] and [6]. Tighten with a screwdriver.
6
5
C
C
C
C
E
E
E
U
E
E
E
U
E
E
E
U
E
E
EA1
E
E
EA1
E
E
EA1
A1
CR
E
U
CL
E
Zara Buffet
Assembly Instructions
mocka.co.nz | mocka.com.au | PO BOX 6171, Maroochydore, QLD, 4558
3
3 4
Attach 1x bracket (M) to panel [7] and secure with 2x screws (E).
Place 1x cover (N) over the bracket (M) as shown. Tighten with a
screwdriver.
Attach panels [5] and [6] to panels [7] with 4x dowels (A) and secure with 4x
locking nuts (D). Tighten with a screwdriver.
7
7
7
EE
N
MM
M
E
x2
A
A
D
A
D
D
A
D
6
5
D
Zara Buffet
Assembly Instructions
mocka.co.nz | mocka.com.au | PO BOX 6171, Maroochydore, QLD, 4558
4
65
Attach panel [3], [4], [5] and [6] to panel [1] with 8x dowels (A) and secure
with 8x locking nuts (D). Tighten with a screwdriver.
Slide panels [8] and [9] down along the grooves between panels
[3], [4], [5] and [6] to form the back of the unit as shown.
A
D
A
A
A
A
A
A
D
D
D
D
D
6
5
3
4
6
8
8
9
95
3
4
1
A
D
Zara Buffet
Assembly Instructions
mocka.co.nz | mocka.com.au | PO BOX 6171, Maroochydore, QLD, 4558
5
7 8
Attach 1x bracket (M) to panel [2] and secure with 2x screws (E).
Place 1x cover (N) over the bracket (M) as shown. Tighten with a
screwdriver.
Attach panel [2] to panels [3] ,[4], [5] and [6] with 8x dowels (A)
and secure with 8x screws (B). Tighten with a screwdriver.
EE
N
MM
M
E
A
B
A
B
A
B
B
B
B
B
B
A
A
2
2
6
5
3
4
Zara Buffet
mocka.co.nz | mocka.com.au | PO BOX 6171, Maroochydore, QLD, 4558
6
910
Assembly Instructions
Attach 6x leg brackets (P) to legs [10] and [11] using 12x screws (S).
Tighten with a screwdriver. Attach legs [10] and [11] to panel [2] using
24x bolts (L) Tighten with an Allen key (T). Screw the height adjuster (I)
onto the legs [11]. Attach 4x felt pads (R) to the ends of the legs [10].
Attach 4x hinges (G) to panels [12] and [13] using 8x screws (F),
and attach 2x seals (O) to panels [12] and [13] and secure with
2x screw (E). Tighten with a screwdriver.
L
10
R
L
10
11
11
12
13
R
L
10
R
L
10
R
L
I
L
I
FFG
FF
G
FFG
FF
G
FF
G
E
O
E
O
2
S
L
R
T
10
10
Zara Buffet
Assembly Instructions
mocka.co.nz | mocka.com.au | PO BOX 6171, Maroochydore, QLD, 4558
7
1211
Attach hinges on panels [12] and [13] to the unit using 16x screws (F).
Tighten with a screwdriver. Ensure the doors open and close easily.
If the cover (N) is not catching on the seal (O), adjust the magnetic end
by twisting it outwards.
Insert 8x shelf plugs (H) into the unit at the desired height for the shelves
and rest the shelf panels [14] onto them. Ensure the shelves are balanced
and stable.
12
13
14
14
F
F
H
H
H
NOTE: If the doors are
uneven or there is a gap
in the middle, loosen or
tighten the screw on the
door hinge until they are
sitting flush.
F
3
4
N
CC
CC
C
E
O
15
Zara Buffet
Assembly Instructions
mocka.co.nz | mocka.com.au | PO BOX 6171, Maroochydore, QLD, 4558
8
14 Drawers x313 Drawers x3
Insert 5x bolts (C) into panels [15]. Attach 1x seal (O) to panel [15]
and secure with 1x screw (E). Tighten with a screwdriver.
Attach panel [16], [17] and [18] to panels [15] and secure with 5x
locking nuts (D). Tighten with a screwdriver.
DD
D
D
15
D
16
17
18
19
Zara Buffet
Assembly Instructions
mocka.co.nz | mocka.com.au | PO BOX 6171, Maroochydore, QLD, 4558
9
16 Drawers x315 Drawers x3
Slide panel [19] along the grooves between the side panels [16] and [17]. Attach panels [16], [17], [18] and [20] as shown using 5x screws (S).
Tighten with a screwdriver.
SS
S
SS
20
16
17
18
16
17
Zara Buffet
Assembly Instructions
mocka.co.nz | mocka.com.au | PO BOX 6171, Maroochydore, QLD, 4558
10
1615 Drawers x3
Attach slide rail (A2) and slide rail (A3) to the underside of the side panels
as shown. Secure with 4x screws (E) and tighten with a screwdriver.
Insert the assembled drawers into the corresponding compartments
as shown. Ensure the drawers slide easily along the rails. If the drawer
is not catching or sitting flush, twist the end of the cover (N) until it
catches on the seal (O).
A3
E
E
E
E
A2
17
16
15
15
15
N
Zara Buffet
Assembly Instructions
mocka.co.nz | mocka.com.au | PO BOX 6171, Maroochydore, QLD, 4558
11
1817
Attach 8x wedges (J) into the corners of the back of the unit and secure
with 8x screws (K). Tighten with a screwdriver. Attach 2x safety straps (V)
to the top of the back side of the unit as shown using 2x washers (Z) and
2x screws (W). Tighten with a screwdriver.
Once assembled lift furniture into place, do not drag. Use a drill to
create a small hole lining up with the top of the safety strap (V).
Fasten to the wall using 2x washers (Z), 2x wall anchors (X)
and 2x screws (Y). Ensure unit is balanced and steady before
use. You’re done, enjoy!
V
Z
W
V
Z
WX
Y
Z
wall
anchor
screw
strap
washer
X
Y
Z
K
J
V
Z
W
8
8
9
9
1

Other manuals for Zara

17

Other Mocka Indoor Furnishing manuals

Mocka Sadie Queen bed User manual

Mocka

Mocka Sadie Queen bed User manual

Mocka Jesse Six Drawer User manual

Mocka

Mocka Jesse Six Drawer User manual

Mocka Aspen Classic Cot User manual

Mocka

Mocka Aspen Classic Cot User manual

Mocka Zander User manual

Mocka

Mocka Zander User manual

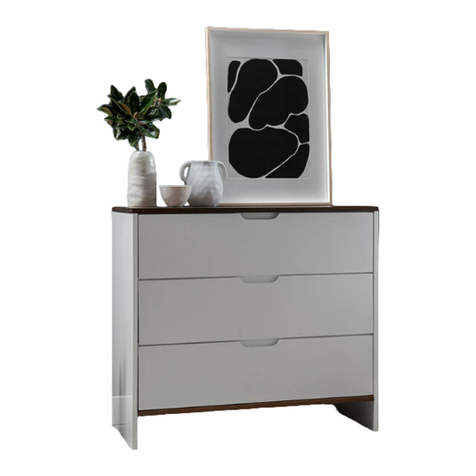
Mocka Zara Four Drawer User manual

Mocka

Mocka Zara Four Drawer User manual

Mocka Canyon User manual

Mocka

Mocka Canyon User manual

Mocka Avoca User manual

Mocka

Mocka Avoca User manual

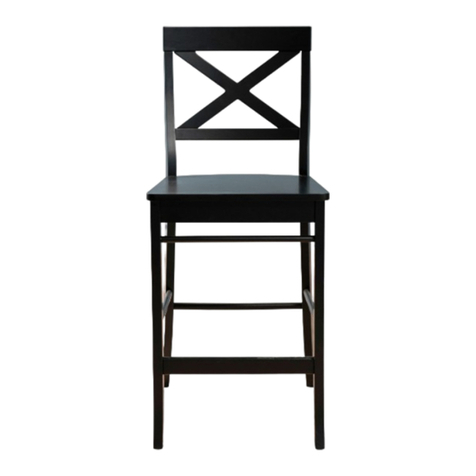
Mocka Hamptons Bar Stool User manual

Mocka

Mocka Hamptons Bar Stool User manual

Mocka Hamptons User manual

Mocka

Mocka Hamptons User manual

Mocka Inca Bedside User manual

Mocka

Mocka Inca Bedside User manual

Mocka Sintra Six Drawer User manual

Mocka

Mocka Sintra Six Drawer User manual

Mocka Bronte Coffee Table User manual

Mocka

Mocka Bronte Coffee Table User manual

Mocka Watson Bookcase User manual

Mocka

Mocka Watson Bookcase User manual

Mocka Zander Coffee Table User manual

Mocka

Mocka Zander Coffee Table User manual

Mocka Livi User manual

Mocka

Mocka Livi User manual

Mocka Maya Corner Shelf User manual

Mocka

Mocka Maya Corner Shelf User manual

Mocka Jolt Bedside User manual

Mocka

Mocka Jolt Bedside User manual

Mocka Zack User manual

Mocka

Mocka Zack User manual

Mocka Sonata User manual

Mocka

Mocka Sonata User manual

Mocka Sadie User manual

Mocka

Mocka Sadie User manual
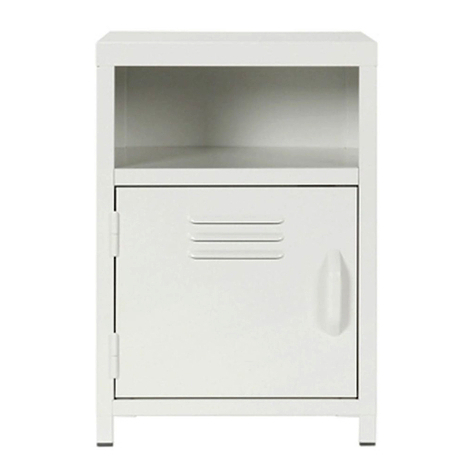
Mocka Edmond Buffet User manual

Mocka

Mocka Edmond Buffet User manual

Mocka Marlow Four Drawer User manual

Mocka

Mocka Marlow Four Drawer User manual

Mocka Hamptons User manual

Mocka

Mocka Hamptons User manual

Mocka Avoca User manual

Mocka

Mocka Avoca User manual

Popular Indoor Furnishing manuals by other brands

KI CafeWay ECELP Assembly instructions

KI

KI CafeWay ECELP Assembly instructions

Santalucia Mobili HOMY Night quick start guide

Santalucia Mobili

Santalucia Mobili HOMY Night quick start guide

Stryker Highpointe 4400-703-000 quick start guide

Stryker

Stryker Highpointe 4400-703-000 quick start guide

Forte HEYB211 Assembling Instruction

Forte

Forte HEYB211 Assembling Instruction

Ergomotion MOTION CUSTOM owner's manual

Ergomotion

Ergomotion MOTION CUSTOM owner's manual

IDEIA HOME DESIGN BELICHE POPPY Assembly manual

IDEIA HOME DESIGN

IDEIA HOME DESIGN BELICHE POPPY Assembly manual

Steelcase 99273 Assembly Directions

Steelcase

Steelcase 99273 Assembly Directions

BTFY 2500349 quick start guide

BTFY

BTFY 2500349 quick start guide

Belnick GO-2286B-BK-GG Assembly instructions

Belnick

Belnick GO-2286B-BK-GG Assembly instructions

Birlea ALFIE STORAGE BED Assembly instructions

Birlea

Birlea ALFIE STORAGE BED Assembly instructions

Whalen Furniture Pioneer Woman PWS336158813018 manual

Whalen Furniture

Whalen Furniture Pioneer Woman PWS336158813018 manual

OVE FLOYD 24 installation manual

OVE

OVE FLOYD 24 installation manual

BLACK RED WHITE KENT ELOZ 140 Assembly manual

BLACK RED WHITE

BLACK RED WHITE KENT ELOZ 140 Assembly manual

IKEA UTRUSTA Z10NA200 Series quick start guide

IKEA

IKEA UTRUSTA Z10NA200 Series quick start guide

5five 173678 instruction sheet

5five

5five 173678 instruction sheet

Sensea PERLA 47 S 35 2P Assembly, Use, Maintenance Manual

Sensea

Sensea PERLA 47 S 35 2P Assembly, Use, Maintenance Manual

Whittier Wood 2074AUF Assembly instructions

Whittier Wood

Whittier Wood 2074AUF Assembly instructions

RED TWELVE BATTLEBULL quick start guide

RED TWELVE

RED TWELVE BATTLEBULL quick start guide

manuals.online logo
manuals.online logoBrands
  • About & Mission
  • Contact us
  • Privacy Policy
  • Terms and Conditions

Copyright 2025 Manuals.Online. All Rights Reserved.