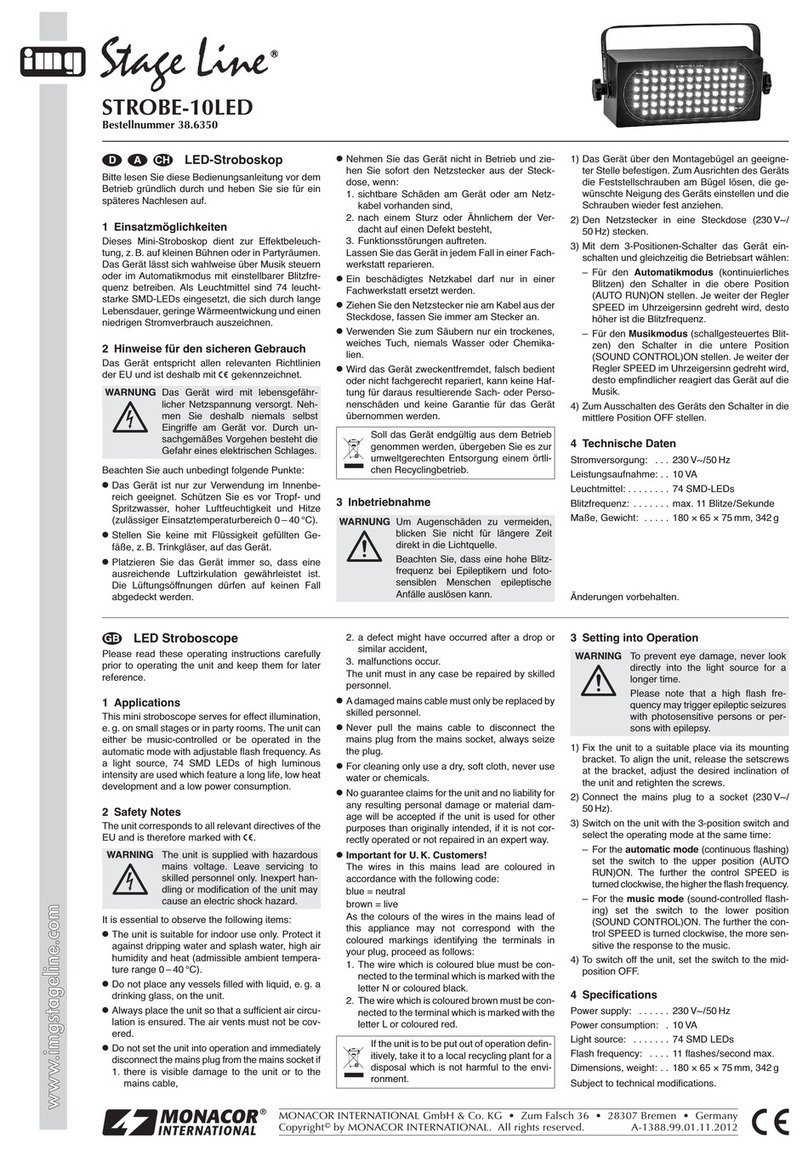
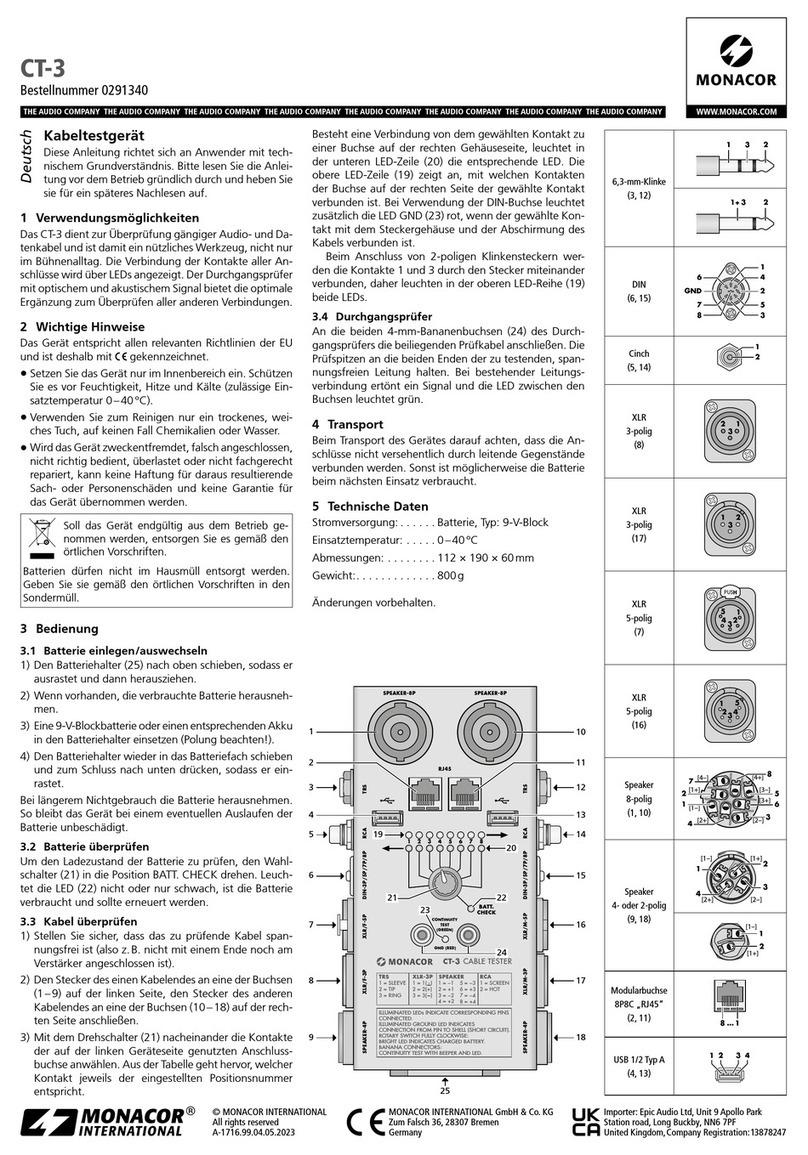
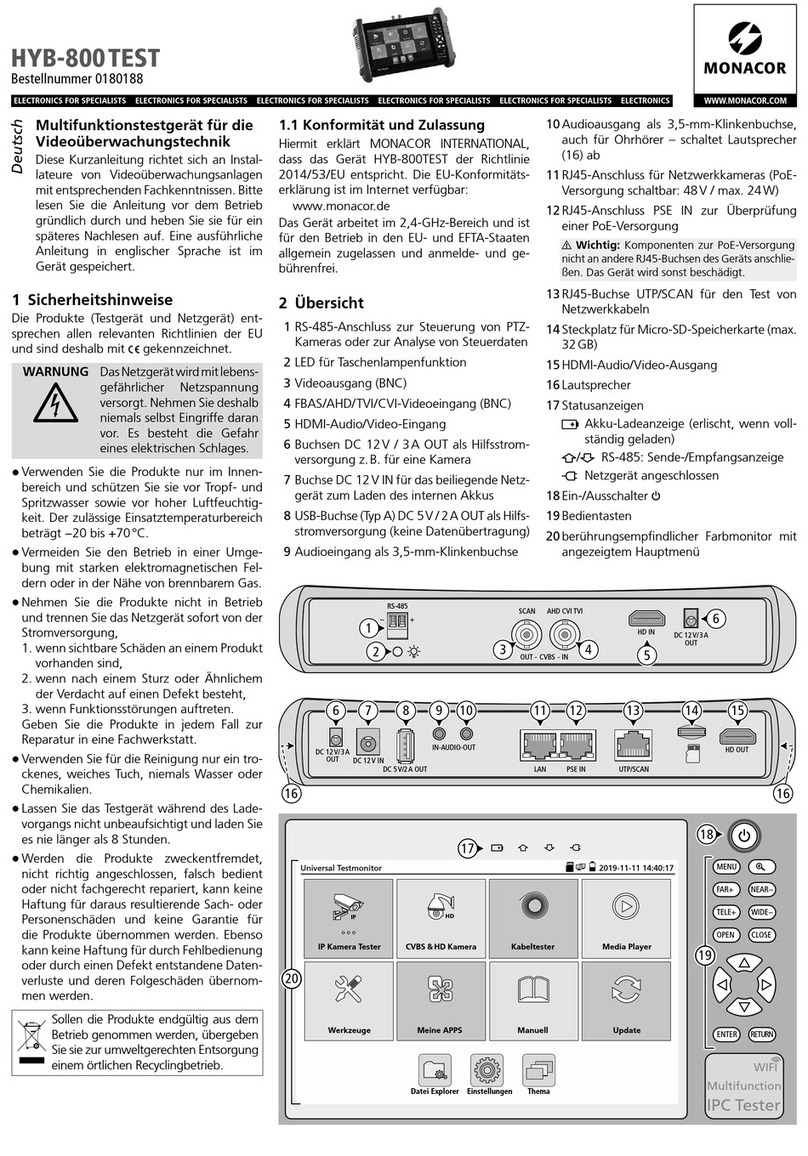
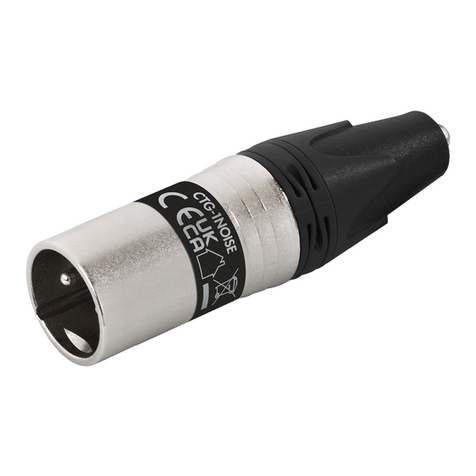
Monacor img Stage Line SL-100 User manual

REMOTE
CONTROL
SPEED
FASTSLOW IN OUT
ON
OFF
Stroboskop
1 Hinweise für den sicheren Gebrauch
Dieses Gerät entspricht der Richtlinie für elektro-
magnetische Verträglichkeit 89/336/EWG und der
Niederspannungsrichtlinie 73/23/EWG.
BeachtenSieauchunbedingtdiefolgendenPunkte:
●Das Gerät ist nur zur Verwendung im Innenbe-
reich geeignet. Schützen Sie es vor Tropf- und
Spritzwasser, hoher Luftfeuchtigkeit und Hitze
(zulässiger Einsatztemperaturbereich 0–40°C).
●Die in dem Gerät entstehende Wärme muss
durch Luftzirkulation abgegeben werden. Decken
Sie darum die Lüftungsschlitze des Gehäuses
nicht mit irgendwelchen Gegenständen ab.
●Stecken Sie nichts durch die Lüftungsschlitze!
Dies kann zu einem elektrischen Schlag führen.
●Nehmen Sie das Gerät nicht in Betrieb bzw. zie-
hen Sie sofort den Netzstecker aus der Steck-
dose, wenn:
1. sichtbareSchäden am Gerät oderan der Netz-
anschlussleitung vorhanden sind,
2. nach einem Sturz oder Ähnlichem der Ver-
dacht auf einen Defekt besteht,
3. Funktionsstörungen auftreten.
Geben Sie das Gerät in jedem Fall zur Reparatur
in eine Fachwerkstatt.
Achtung!
Das Gerät wird mit lebensgefährlicher Netzspan-
nung (230V~) versorgt. Nehmen Sie deshalb nie-
mals selbst Eingriffe im Gerät vor. Durch unsach-
gemäßes Vorgehen besteht die Gefahr eines
elektrischen Schlages. Außerdem erlischt beim
Öffnen des Gerätes jeglicher Garantieanspruch.
●Eine beschädigte Netzanschlussleitung darf nur
durch den Hersteller oder eine autorisierte Fach-
werkstatt ersetzt werden.
●Ziehen Sie den Netzstecker nie an der Zuleitung
aus der Steckdose.
●Verwenden Sie zum Reinigen nur ein trockenes,
weichesTuch,niemals Chemikalien oder Wasser.
●Wird das Gerät zweckentfremdet, falsch bedient
oder nicht fachgerecht repariert, kann für eventu-
elleSchädenkeine Haftungübernommenwerden.
●Soll das Gerät endgültig aus dem Betrieb genom-
men werden, übergeben Sie es zur umweltgerech-
ten Entsorgung einem örtlichen Recyclingbetrieb.
2 Bedienung
1) Das Stroboskop mit dem Montagebügel (7) an
eine Leuchten-Traverse oder auf ein Stativ fest-
schrauben.ZumAusrichtendes GerätesdieKne-
belschrauben (1) am Montagebügel lösen, die
gewünschte Neigung des Gerätes einstellen und
die Knebelschrauben wieder anziehen.
2) Den Stecker des Netzkabels (2) in eine Steck-
dose (230V~/50Hz) stecken. Mit dem Ein-/Aus-
schalter (4) das Gerät einschalten.
3) Das Stroboskop blitzt. Zum Ändern der Blitzhäu-
figkeit (Frequenz) den Regler SPEED (3) betäti-
gen. Das Gerät kann zwischen 2 und 14 Blitze
pro Sekunde abgeben.
2.1 Zusammenschalten mehrerer SL-100
Bis zu acht SL-100 können so zusammengeschal-
tet werden, dass sie im Takt (synchron) blitzen. Je-
weilsimmerdieBuchse OUT(6)übereinAudio-Ver-
bindungskabel mit 6,3-mm-Klinkensteckern an die
Buchse IN (5) des nächsten Stroboskops anschlie-
ßen. Das Gerät, an dessen Buchse IN (5) kein Ver-
bindungskabel angeschlossen ist, bestimmt über
seinen Regler SPEED (3) die Blitzfrequenz für alle
zusammengeschalteten Stroboskope.
2.2 Xenon-Blitzröhre austauschen
Die Blitzröhre hat eine begrenzte Lebensdauer (ca.
1Million Blitze) und muss von Zeit zu Zeit ausge-
tauschtwerden.Dazu unbedingt vorher den Netz-
stecker aus der Steckdose ziehen und die Röhre
mehrere Minuten lang abkühlen lassen! Als
Ersatzblitzröhre empfehlen wir den Typ FT-152G
von MONACOR.
1) Die Kugelkette an der transparenten Schutzab-
deckungabnehmen.DieSchutzabdeckungdurch
Drehen entriegeln (Kraftaufwand erforderlich)
und abnehmen.
2) Die drei Anschlussdrähte der Blitzröhre los-
schrauben.
3) Die neue Blitzröhre nicht mit den Fingern be-
rühren! Ein weiches Tuch zur Hilfe nehmen. Die
Montage erfolgt in umgekehrter Reihenfolge.
3 Technische Daten
Blitzfrequenz: . . . . . . . . 2–14Hz
Stromversorgung: . . . . . 230V~/50Hz
Leistungsverbrauch: . . . 60W
Abmessungen, Gewicht: Ø 22cm x 26cm, 1,7kg
Laut Angaben des Herstellers. Änderungen vorbehalten.
Stroboscope
1 Safety Notes
The unit corresponds to the directive for electro-
magnetic compatibility 89/336/EEC and the low
voltage directive 73/23/EEC.
Please observe the following items in any case:
●The unit is suitable for indoor use only. Protect it
against dripping water and splash water, high
humidity, and heat (admissible ambient tempera-
ture 0–40°C).
●The heat generated in the unit has to be dissi-
pated by air circulation. Therefore, the air vents of
the housing must not be covered.
●Do not insert anything into the air vents! This
could result in an electric shock.
●Do not take the unit into operation, or immediately
pull the mains plug out of the mains socket if:
1. damage is visible at the unit or mains cable,
2. a defect might have occurred after a drop or
similar accident,
3. there are malfunctions.
In any case the unit must be repaired by skilled
personnel.
●A damaged mains cable must be replaced by the
manufacturer or skilled personnel only.
●Never pull the mains cable to disconnect the
mains plug from the socket.
●Only use a dry, soft cloth for cleaning. Never use
chemicals or water.
●If the unit is used for purposes other than orig-
inally intended, if it is operated in the wrong way
Attention!
The unit is supplied with hazardous mains voltage
(230V~). Leave servicingtoskilled personnel only.
Inexpert handling may cause an electric shock
hazard. Furthermore, any guarantee claim will
expire if the unit has been opened.
or not repaired by authorized, skilled personnel,
there is no liability for possible damage.
●If the unit is to be put out of operation definitively,
take it to a local recycling plant for for a disposal
which is not harmful to the environment.
●Important for U.K. Customers!
The wires in this mains lead are coloured in ac-
cordance with the following code:
green/yellow = earth
blue = neutral
brown = live
As the colours of the wires in the mains lead of
this appliance may not correspond with the col-
oured markings identifying the terminals in your
plug, proceed as follows:
1. The wire which is coloured green and yellow
must be connected to the terminal in the plug
whichismarkedwith the letter Eor by the earth
symbol or coloured green or green and
yellow.
2. The wire which is coloured blue must be con-
nected to the terminal which is marked with the
letter Nor coloured black.
3. The wire which is coloured brown must be
connected to the terminal which is marked with
the letter Lor coloured red.
Warning! This unit must be earthed.
2 Operation
1) Screwthestroboscopewiththe mounting bracket
(7)to a lamp traverseor onto a stand. Toalign the
unit, release the knob screws (1) at the mounting
bracket, adjust the desired inclination of the unit,
and tighten the knob screws again.
2) Connect the plug of the mains cable (2) into a
socket (230V~/50Hz). Switch on the unit with
the ON/OFF switch (4).
3) The stroboscope flashes. To change the flash
frequency, turn control SPEED (3). The unit can
deliver between 2 and 14 flashes per second.
GB
Copyright©by MONACOR®International GmbH & Co. KG, Bremen, Germany. All rights reserved. 10.01.02
®
SL-100
Best.-Nr. 05.8015
wwwwww..iimmggssttaaggeelliinnee..ccoomm
D A CH
REMOTE
CONTROL
SPEED
FASTSLOW IN OUT
ON
OFF
2.1 Interconnecting several SL-100 units
Up to eight SL-100 units can be interconnected so
that they flash synchronously. In each case always
connectjackOUT(6) viaanaudiocablewith6.3mm
plugs to jack IN (5) of the following stroboscope. If
nocablehasbeenconnectedto jack IN (5), this stro-
boscope determines via its control SPEED (3) the
flash frequency for all stroboscopes interconnected.
2.2 Replacing the Xenon flash tube
The flash tube has a limited lifetime (approx. 1 mil-
lion flashes) and has to be replaced from time to
time. For this purpose pull the mains plug out of
the mains socket and let the tube cool down for
several minutes! We recommend model FT-152G
by MONACOR as replacement tube.
1) Remove the ball chain from the transparent pro-
tection cover. Unlock the protection cover by
turning it (effort is necessary) and remove it.
2) Screwoffthe3connectionwiresof the flashtube.
3) Do not touch the new flash tube with the fingers!
Use a soft cloth as help. Mounting is carried out
in reverse order.
3 Specifications
Flash frequency: . . . . . . 2–14Hz
Power supply: . . . . . . . . 230V~/50Hz
Power consumption: . . . 60W
Dimensions, weight: . . . Ø 22cm x 26cm, 1.7kg
According to the manufacturer. Subject to change.
23 456 7
11

Stroboscope
1 Conseils d’utilisation
Cet appareil répond à la norme européenne
89/336/CEE relative à la compatibilité électroma-
gnétique et à la norme 73/23/CEE portant sur les
appareils à basse tension.
Respectez scrupuleusement les points suivants:
●L’appareil n’est conçu que pour une utilisation en
intérieur. Protégez-le de l'eau d'égouttage et de
l'eau projetée, de l'humidité élevée et de la cha-
leur(température ambiante admissible 0–40°C).
●La chaleur dégagée par l’appareil doit être cor-
rectement évacuée. Les ouïes de ventilation ne
doivent en aucun cas être obturées.
●N’introduisez rien dans les ouïes de ventilation,
vous pourriez subir un choc électrique!
●Ne faites pas fonctionner l’appareil ou débran-
chez-le immédiatement lorsque:
1. l’appareil ou le cordon secteur présente des
dommages visibles,
2. après une chute ou un cas similaire, il y a un
doute sur l’état de l’appareil,
3. des défaillances apparaissent.
Faites appel à un technicien spécialisé pour
effectuer les réparations.
●Seulle fabricant ou untechnicien habilité peuvent
remplacer le cordon secteur endommagé.
Attention!
L’appareil est alimenté par une tension très dan-
gereuse en 230V~. Ne touchez jamais l’intérieur
de l’appareil car, en cas de mauvaise manipu-
lation, vous pourriez subir un choc électrique. En
outre, l’ouverture de l’appareil rend tout droit à la
garantie caduque.
●Ne débranchez jamais l’appareil en tirant sur le
cordon secteur.
●Pour nettoyer l’appareil, utilisez un chiffon sec et
doux, en aucun cas de produits chimiques ou
d’eau.
●Nous déclinons toute responsabilité en cas de
dommage si l’appareil est utilisé dans un but
autre que celui pour lequel il a été conçu, s’il n’est
pas correctement utilisé ou réparé par un techni-
cien qualifié.
●Lorsque l’appareil est définitivement retiré du ser-
vice, vous devez le déposer dans une usine de
recyclage adaptée pour une élimination écophile.
2 Fonctionnement
1) Fixez le stroboscope à l’aide de l’étrier de mon-
tage (7) sur un pied de lumière ou un portique.
Desserrez les vis de réglage (1) de l’étrier de
montage,réglezl’orientationvouluedel’appareil,
puis revissez les vis de réglage.
2) Reliez la fiche du cordon secteur (2) à une prise
secteur 230V~/50Hz. Allumez l’appareil avec
l’interrupteur Marche/Arrêt (4).
3) Le stroboscope fonctionne. Pour modifier la fré-
quence des éclairs, tournez le potentiomètre
SPEED (3): le stroboscope peut émettre de 2 à
14 éclairs par seconde.
2.1 Fonctionnement de plusieurs SL-100
Il est possible de relier jusqu’à huit stroboscopes
SL-8pourqu’ilsfonctionnentdemanière synchrone.
Reliez respectivement toujours la prise OUT (6) via
un cordon audio équipé de fiches Jack 6,35 à la pri-
se IN (5) du stroboscope suivant. L’appareil à la pri-
se IN (5) duquel aucun cordon de liaison n’est relié,
détermine par son réglage SPEED (3), la fréquence
d’éclairs pour l’ensemble des stroboscopes reliés.
2.2 Remplacement de la lampe xénon
La lampe xénon a une durée de vie limitée de 1 mil-
lion d’éclairs environ et doit de temps en temps être
remplacée. Pour ce faire, n’oubliez jamais de dé-
brancher l’appareil du secteur et de laisser re-
froidir la lampe plusieurs minutes! Nous vous re-
commandons comme lampe de remplacement la
lampe FT-152G du catalogue MONACOR.
1) Retirez la chaîne du couvercle de protection
transparent. Déverrouillez le couvercle de pro-
tection en le tournant (il faut forcer) et retirez-le.
2) Dévissez les trois câbles de branchement de la
lampe.
3) Insérez une nouvelle lampe en évitant tout con-
tact avec les doigts! Utilisez un chiffon doux pour
la manipuler. Le montage s’effectue dans l’ordre
inverse des manipulations décrites ci-dessus.
3 Caractéristiques techniques
Fréquence des éclairs: . 2–14Hz
Alimentation: . . . . . . . . . 230V~/50Hz
Consommation: . . . . . . . 60W
Dimensions, poids: . . . . Ø 22cm x 26cm, 1,7kg
D’après les données du constructeur.
Tout droit de modification réservé.
Stroboscopio
1 Avvertenze di sicurezza
Quest'apparecchio corrisponde alle direttive CE
89/336/CEE sulla compatibilità elettromagnetica e
73/23/CEE per apparecchi a bassa tensione.
Sidevonoosservareassolutamente i seguenti punti:
●L’apparecchio è previsto solo per l'uso all'interno
di locali. Proteggerlo da acqua gocciolante, dagli
spruzzi d'acqua, da alta umidità dell'aria e dal ca-
lore (temperatura d’impiego ammessa 0–40°C).
●Dev'essere garantita la libera circolazione del-
l'aria per dissipare il calore che viene prodotto
all'interno dell'apparecchio. Non coprire in nes-
sun modo le fessure di aerazione.
●Non inserire oggetti nelle fessure di aerazione!
Altrimenti si potrebbe provocare una scarica
elettrica.
●Non mettere in funzione l'apparecchio o staccare
subito la spina rete se:
1. l'apparecchio o il cavo rete presentano dei
danni visibili,
2. dopo una caduta o dopo eventi simili sussiste
il sospetto di un difetto,
3. l'apparecchio non funziona correttamente.
Per la riparazione rivolgersi sempre ad una offi-
cina competente.
●Staccare il cavo rete afferrando la spina, senza
tirare il cavo.
Attenzione!
Quest’apparecchiofunzionacontensionediretedi
230V~. Non intervenire mai al suo interno; la
manipolazione scorretta può provocare delle sca-
riche pericolose. Se l'apparecchio viene aperto,
cessa ogni diritto di garanzia.
●Il cavo rete, se danneggiato, deve essere sosti-
tuito solo dal costruttore o da un laboratorio auto-
rizzato.
●Per la pulizia usare solo un panno morbido,
asciutto; non impiegare in nessun caso prodotti
chimici o acqua.
●Nel caso di uso improprio, di impiego scorretto o
di riparazione non a regola d'arte non si assume
nessuna responsabilità per eventuali danni.
●Se si desidera eliminare l'apparecchio definitiva-
mente, consegnarlo per lo smaltimento ad un'isti-
tuzione locale per il riciclaggio.
2 Funzionamento
1) Avvitare lo stroboscopio ad un supporto per luci
o ad un altro supporto, servendosi della staffa di
montaggio (7). Per orientare l’unità allentare le
viti ad alette (1) sulla staffa di montaggio, incli-
nare l’unità come desiderato e stringere di nuovo
le viti ad alette.
2) Inserire la spina del cavo rete (2) nella presa di
rete (230V~/50Hz). Accendere l’apparecchio
con l’interruttore On/Off (4).
3) Il stroboscopio lampeggia. Per modificare la fre-
quenza dei lampi azionare il regolatore SPEED
(3). L’apparecchio può emettere da 2 a 14 lampi.
2.1 Collegamento di vari SL-100
È possibile collegare fino a otto stroboscopi SL-100
sincronizzando il loro lampeggìo. Basta collegare
la presa OUT (6) con la presa IN (5) dello strobo-
scopio successivo mediante un cavo audio con jack
6,3mm. L’apparecchio la cui presa IN (5) rimane
libera, determina attraverso il suo regolatore
SPEED (3) la frequenza dei lampi di tutti gli stro-
boscopi collegati.
2.2 Sostituire la lampada allo Xenon
La lampada ha una vita limitata (1 milione di lampi
circa) e quindi occorre sostituirla ogni tanto. Per
fare ciò staccare assolutamente la spina dalla
presa di rete e far raffreddare la lampada per
alcuni minuti! Come ricambio consigliamo il tipo
FT-152G della MONACOR.
1) Staccarelacatena della sfera dalla copertura tra-
sparente di protezione. Sbloccare la copertura di
protezionegirandola(èrichiestaunacerta forza);
quindi toglierla.
2) Svitare i tre fili di collegamento della lampada.
3) Non toccare con le mani la nuova lampada! Ser-
virsi di un panno morbido. Per rimontare il tutto
procedere come descritto, ma in senso inverso.
3 Dati tecnici
Frequenza lampi: . . . . . 2–14Hz
Alimentazione: . . . . . . . 230V~/50Hz
Potenza assorbita: . . . . 60W
Dimensioni, peso: . . . . . Ø 22cm x 26cm, 1,7kg
Dati forniti dal costruttore.
Con riserva di modifiche tecniche.
I
Copyright©by MONACOR®International GmbH & Co. KG, Bremen, Germany. All rights reserved. 10.01.02
®
SL-100
Best.-Nr. 05.8015
wwwwww..iimmggssttaaggeelliinnee..ccoomm
F B CH

REMOTE
CONTROL
SPEED
FASTSLOW IN OUT
ON
OFF
23 456 7
11
This manual suits for next models
1
Other Monacor Test Equipment manuals

Monacor
Monacor IMG STAGELINE STROBE-170DMX User manual

Monacor
Monacor HYB-700TEST User manual

Monacor
Monacor STROBE-360/BL User manual

Monacor
Monacor CT-3 User manual

Monacor
Monacor img Stage Line STROBE-10LED User manual

Monacor
Monacor img Stage Line STROBE-192 User manual

Monacor
Monacor DMX-1TEST User manual

Monacor
Monacor CT-1 User manual

Monacor
Monacor CT-3 User manual

Monacor
Monacor HYB-800 TEST Reference guide