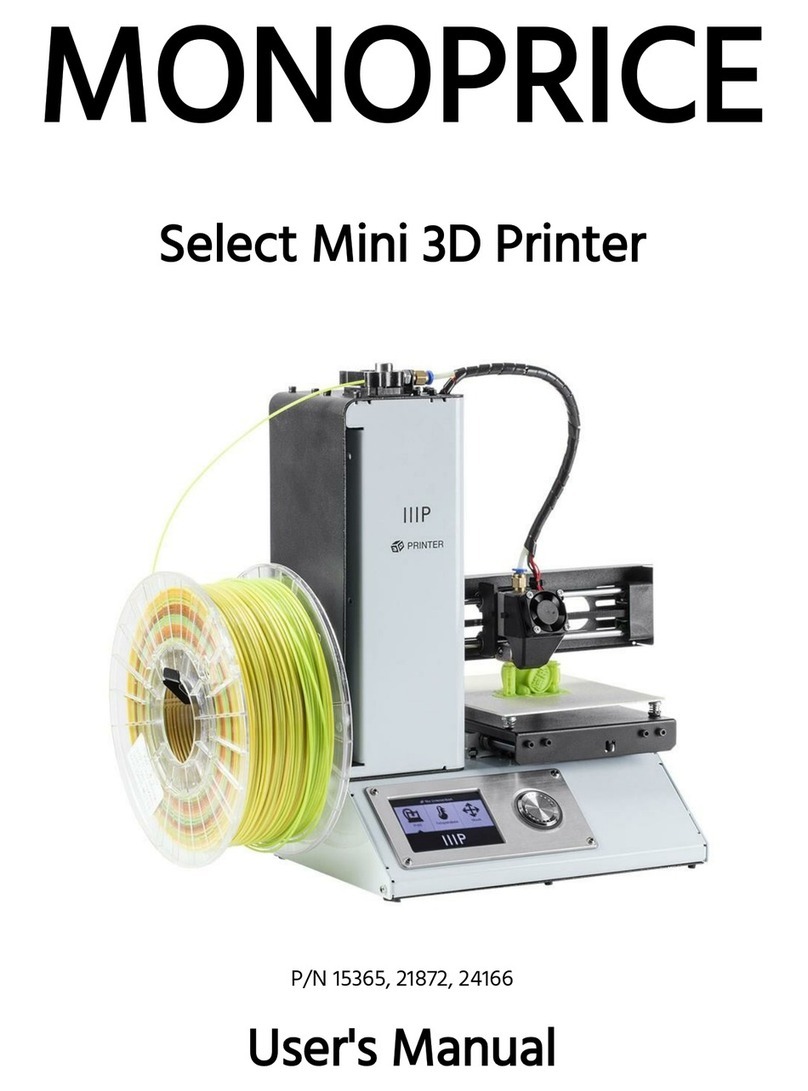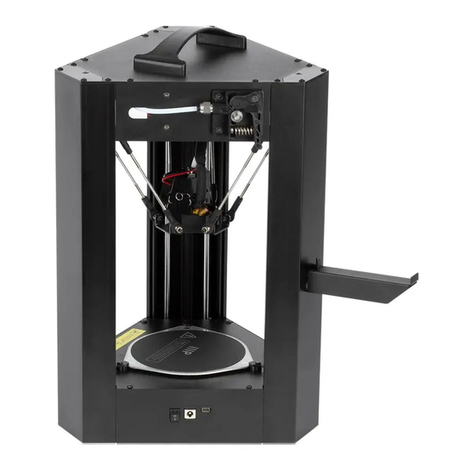
7. Secure the filament guide tube to the
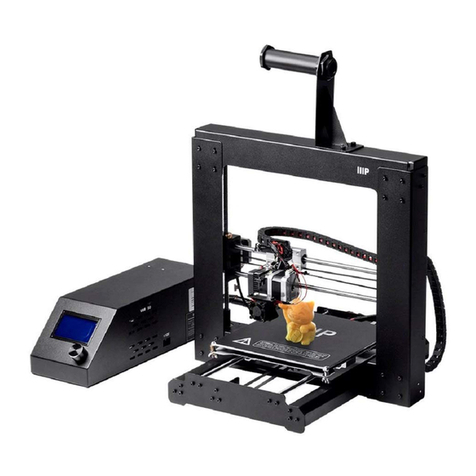
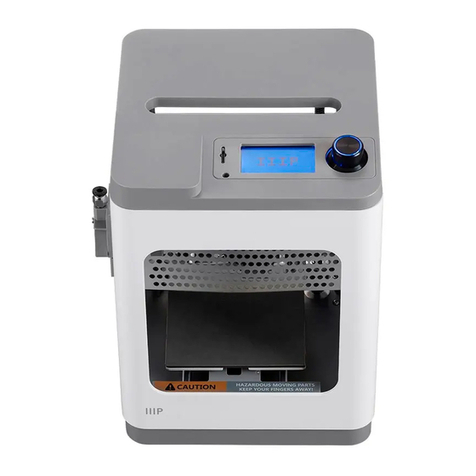
back of the printer using the two clips.
Ensure that the guide tube can reach the
extruder, but do not connect it to the
extruder yet.
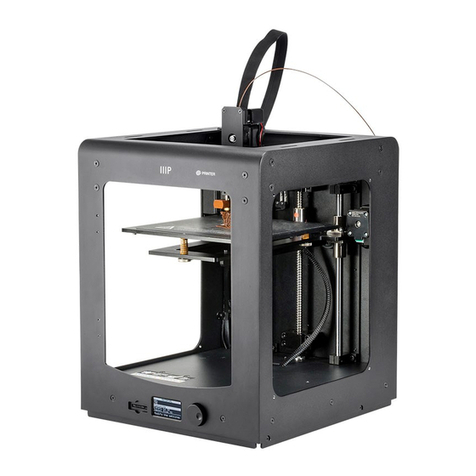
8. Remove the outer plastic nut from the
filament support bracket, then insert the
threaded end through the hole in the
back of the printer. Screw the nut onto
bracket and tighten it from both sides.
Take care not to over-tighten.
9. Ensure that the power switch is in the
OFF position (with the Oside depressed).
Insert the C13 plug on the included AC
power cord into the C14 panel connector,
then plug the other end into a nearby AC
power outlet. Depress the Iside of the
power switch to turn the printer ON.
11. Press the center button on the control
pad to activate the menu system. Select
the Info & Settings -> Preheat Settings ->
Extruder entries. Use the Up and Down
buttons to change the target temperature
to 215°C, then press the middle button to
set it. Press the Left button twice to
return to the main screen, then select
Preheat -> Start Preheating.
12. Once the target temperatures have
been reached, place the spool of PLA
filament onto the filament bracket. Insert
the filament into the bottom of the
filament guide tube and continue pushing
until it emerges from the other end.
10. Squeeze each corner of the build
platform and tighten the wingnuts to
minimize the platform height. Press the
middle button on the control pad to
activate the menu system. Use the Up and
Down button to move the pointer to the
Utilities entry, then press the middle
button to select it. Cursor down to select
the Level Build Plate entry. Follow the on-
screen instruction while adjusting the
wing nuts to raise the plate to the point
where you can just slide a single sheet of
paper between the build platform and the
nozzle at all points on the platform.
13. Press the center button to open the
menu system, then select Utilities ->
Change Filament -> Load. Feed the
filament into the opening in the top of
the extruder. Once filament starts
extruding out of the nozzle, press the
center button to stop the load process.
Without removing the filament, insert the
top end of the filament guide tube into
the larger hole in the top of the extruder
surrounding the inserted filament.
14. Insert the SD card into the vertical slot
on the right side of the printer. Open the
menu system and select Build from SD.
Choose one of the sample 3D models,
either 42mmboxright.X3G or Test
right.X3G, and press the center button to
begin printing the sample. Please note
that the single extruder is referred to as
the Right Extruder when slicing models.
To obtain the full manual, please visit
www.monoprice.com, type 13861 into the
search field, then download the pdf
manual from the product page.
