manuals.online logo
Brands
  1. Home
  2. •
  3. Brands
  4. •
  5. Monoprice
  6. •
  7. 3D Printer
  8. •
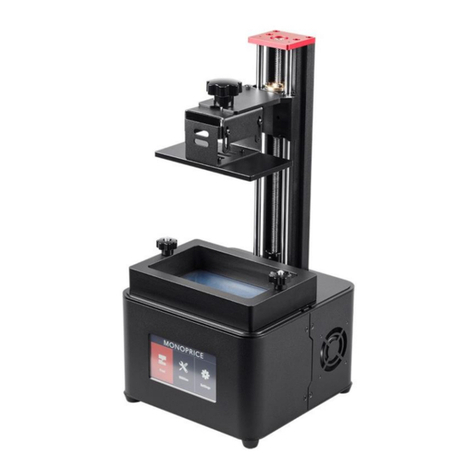
  9. Monoprice MP Mini SLA LCD User manual

Monoprice MP Mini SLA LCD User manual

Click the Load button
to load the object into the
build area. Now click 3D
View and check that the
object is fully within the
build area. Change the size
of the object as necessary.
Press the Slice button
to start the slicing
operation.
Now select Slice View
and check that the first
layer of every object is in
contact with the platform.
SLICE OBJECT
Select Configure > Slicing profile. Change
the Slice Thickness from 0.02 to 0.1, the
Exposure Time from 4000 to 12000, and
the Bottom Exposure Time from 50000
to 200000. Click the Apply Changes
button.
GETTING STARTED GUIDE
1DOWNLOAD AND INSTALL SOFTWARE
Go to www.monoprice.com, go to the 21824 page and download
the latest version of MPCW. The latest version is always online.
Extract the file and install the software by clicking on MPCW.exe.
2UNPACK AND CONNECT CABLES
With the printer switched off:
A. Connect the HDMI® cable to your
computer and printer.
B. Connect the USB cable to your
computer and printer.
C. Turn off the power saving mode on
your PC. Sleep mode may have an
negative effect on print quality.
D. Connect the power supply to the printer.
3CONFIGURE SCREEN RESOLUTION
Ensure you have the correct screen resolution set to
2560x1440. This may appears sometimes as
1440x2560, but note that the correct resolution
is 2560x1440.
4SWITCH ON PRINTER
Power on your computer and the printer.
Open the software and load the object
(STL, OBJ, or AMF).
CONNECT SOFTWARE AND PRINTER
In Creation Workshop, click
Configure, then open the
Configure Machine subfolder.
In the configuration folder,
connect the printer to the
computer by clicking on the
Configure button. Select the
USB port you have connected to,
then set the speed to 115200
and the data bits to 8. Click OK,
then click the
Apply button. Connect
your computer to the Duplicator 7 by clicking the
highlighted Connect button. After connecting, the
Disconnect button will be highlighted.
56
PREPARE DUPLICATOR 7 FOR PRINTING
Place the vat on top of the LCD screen and tighten
the screws to secure it to the printer. Do not over
tighten.
9Slide the build plate onto the build plate holder.
Ensure that the build assembly has the grooved side
toward the printer.
10
Tighten the build plate knob and loosen the four
screws at the sides so the platform can move freely
up and down.
11
NOTE: Ensure that building plate’s screws are completely free when
lowering the platform to avoid damage to the screen.
slicing operation.
Click the Control tab, then click the Home button
to lower the platform towards the screen. The
platform will move down to sit on the screen
(level 0 in Z axis) and stop.
12
Smoothly press the build platform with one hand and tighten the 4 screws. All 4 screws should now be tight. Lift the
build plate and fill the vat with resin. Printing doesn’t consume a lot of resin, so a quarter full vat is usually enough for a
medium sized print.
13
NOTE: Don’t push the build platform too
hard to avoid breaking the LCD screen.
Ensure the platform touches the screen
sufficiently.
NOTE:once started, the print can’t be paused and
refilled, so it's safer to overfill and reuse the resin.
a. b. c.
CONFIGURE BUILD SIZE AND SLICE THE OBJECT
Once the printer is connected
to the computer, select
Configure > Machine.
Change the build size exactly
as shown in the image to the
right. First set the display
resolution to 2560x1440,
then click to add the
display to the software
setting. Finally click the Apply
button to save the
changes.
78
14 Place the hood back onto the printer. In control
panel, select Z home and place the platform in
the home position.
Z Axi S Z Axi S
15 Now you are ready to print. Press Play after you
sliced the model. Once the print has finished, the
MPCW software shows Print 100% complete and will
stop printing.
REV.AREV.A
don’t tight the vat too hard that may damage
the LCD, tight enough that the vat shouldn't
IIIP
CLEANING AND FINISHING THE PRODUCT
When the print is finished, wait 5 minutes to allow time for excess resin to drain away from the model and back into the resin
vat. Place the hood back on the printer to protect the resin.
16
POST PROCESSING
17
Place the platform and model in a bowl of water. Remove the object(s) by sliding the scraper in at their
base. Wash off any liquid polymer in a container of alcohol. You can gently clean it with a soft brush or
sponge, taking care not to damage it. It will not achieve full hardness until after post-exposure to
light. An ultrasonic cleaner will clean your objects without the possibility of damaging them.
Check that your object is thoroughly clean, as resin cannot be easily removed afterwards. Leave
it under water in sunlight for about 10 minutes. The longer you leave it under water, the darker
the color will get. Some color change is inevitable. When it is completely post-exposed, it will be
strong and have a dry surface. Empty the contents of the vat back into the bottle by pouring
through a sieve. With the vat on a flat surface, wipe the inside thoroughly with absorbent paper.
Replace the film when it becomes damaged.
Alcohol
REV.A
GETTING
STARTED
GUIDE
IIIP

Other Monoprice 3D Printer manuals

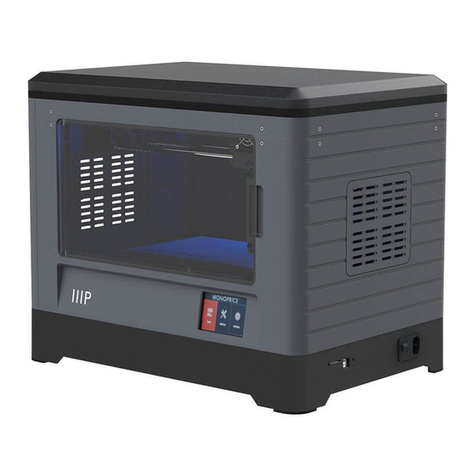
Monoprice 21824 User manual

Monoprice

Monoprice 21824 User manual

Monoprice 13860 User manual

Monoprice

Monoprice 13860 User manual

Monoprice 33820 User manual

Monoprice

Monoprice 33820 User manual

Monoprice MP Mibi Delta User manual

Monoprice

Monoprice MP Mibi Delta User manual

Monoprice Maker Select Plus IIIP User manual

Monoprice

Monoprice Maker Select Plus IIIP User manual

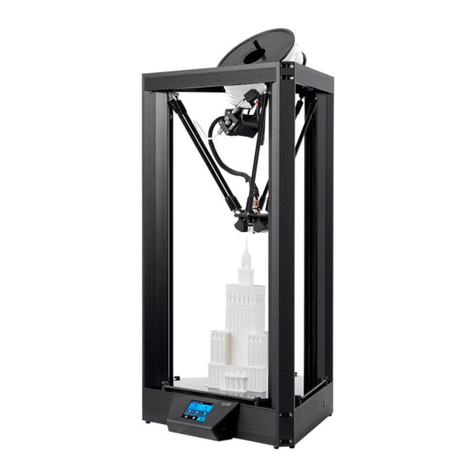
Monoprice MP Delta Pro User manual

Monoprice

Monoprice MP Delta Pro User manual

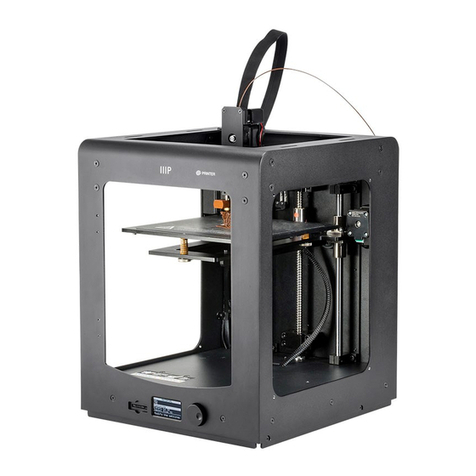
Monoprice MP Voxel Pro User manual

Monoprice

Monoprice MP Voxel Pro User manual

Monoprice cadet Instruction Manual

Monoprice

Monoprice cadet Instruction Manual

Monoprice Select Mini Pro User manual

Monoprice

Monoprice Select Mini Pro User manual

Monoprice maker architect 13861 Troubleshooting guide

Monoprice

Monoprice maker architect 13861 Troubleshooting guide

Monoprice 30526 User manual

Monoprice

Monoprice 30526 User manual

Monoprice Select Mini 3D Printer V2 User manual

Monoprice

Monoprice Select Mini 3D Printer V2 User manual

Monoprice 43363 User manual

Monoprice

Monoprice 43363 User manual

Monoprice MP Mini Delta V2 User manual

Monoprice

Monoprice MP Mini Delta V2 User manual

Monoprice MP10 User manual

Monoprice

Monoprice MP10 User manual

Monoprice extrusion i3 13860 User manual

Monoprice

Monoprice extrusion i3 13860 User manual

Monoprice 15365 User manual

Monoprice

Monoprice 15365 User manual

Monoprice MP CADET User manual

Monoprice

Monoprice MP CADET User manual

Monoprice MP Mini Delta User manual

Monoprice

Monoprice MP Mini Delta User manual

Monoprice MP Maker Pro Mk.1 User manual

Monoprice

Monoprice MP Maker Pro Mk.1 User manual

Monoprice 15710 User manual

Monoprice

Monoprice 15710 User manual

Monoprice Maker Ultimate 2 User manual

Monoprice

Monoprice Maker Ultimate 2 User manual

Monoprice 34438 User manual

Monoprice

Monoprice 34438 User manual

Monoprice Voxel 33820 User manual

Monoprice

Monoprice Voxel 33820 User manual

Popular 3D Printer manuals by other brands

Wiiboox WiibooxSweetin user manual

Wiiboox

Wiiboox WiibooxSweetin user manual

Phrozen SONIC MINI 8K Calibration

Phrozen

Phrozen SONIC MINI 8K Calibration

Moebyus Machines One manual

Moebyus Machines

Moebyus Machines One manual

Connex Connex500 operating & maintenance manual

Connex

Connex Connex500 operating & maintenance manual

LeapFrog BOLT quick start guide

LeapFrog

LeapFrog BOLT quick start guide

Creality CR-M4 user manual

Creality

Creality CR-M4 user manual

Fusion3 Design F306 Generation I Operation guide

Fusion3 Design

Fusion3 Design F306 Generation I Operation guide

3DISON H700 user manual

3DISON

3DISON H700 user manual

MAKERGEAR Ultra One user guide

MAKERGEAR

MAKERGEAR Ultra One user guide

RPS Neo450 Operation manual

RPS

RPS Neo450 Operation manual

XYZ Printing da Vinci Jr 1.0 Pro quick guide

XYZ Printing

XYZ Printing da Vinci Jr 1.0 Pro quick guide

SINTERIT Lisa X manual

SINTERIT

SINTERIT Lisa X manual

XYZ Printing da Vinci Jr. WiFi Pro user manual

XYZ Printing

XYZ Printing da Vinci Jr. WiFi Pro user manual

Flashforge AD1 user guide

Flashforge

Flashforge AD1 user guide

Kuhling&Kuhling HT500 operating manual

Kuhling&Kuhling

Kuhling&Kuhling HT500 operating manual

WEEFUN TINA2 S user manual

WEEFUN

WEEFUN TINA2 S user manual

LIQUIPRINT WB20141117 user manual

LIQUIPRINT

LIQUIPRINT WB20141117 user manual

Bego VarseoWax Guide

Bego

Bego VarseoWax Guide

manuals.online logo
manuals.online logoBrands
  • About & Mission
  • Contact us
  • Privacy Policy
  • Terms and Conditions

Copyright 2025 Manuals.Online. All Rights Reserved.