Turntable Quick Start Guide
1
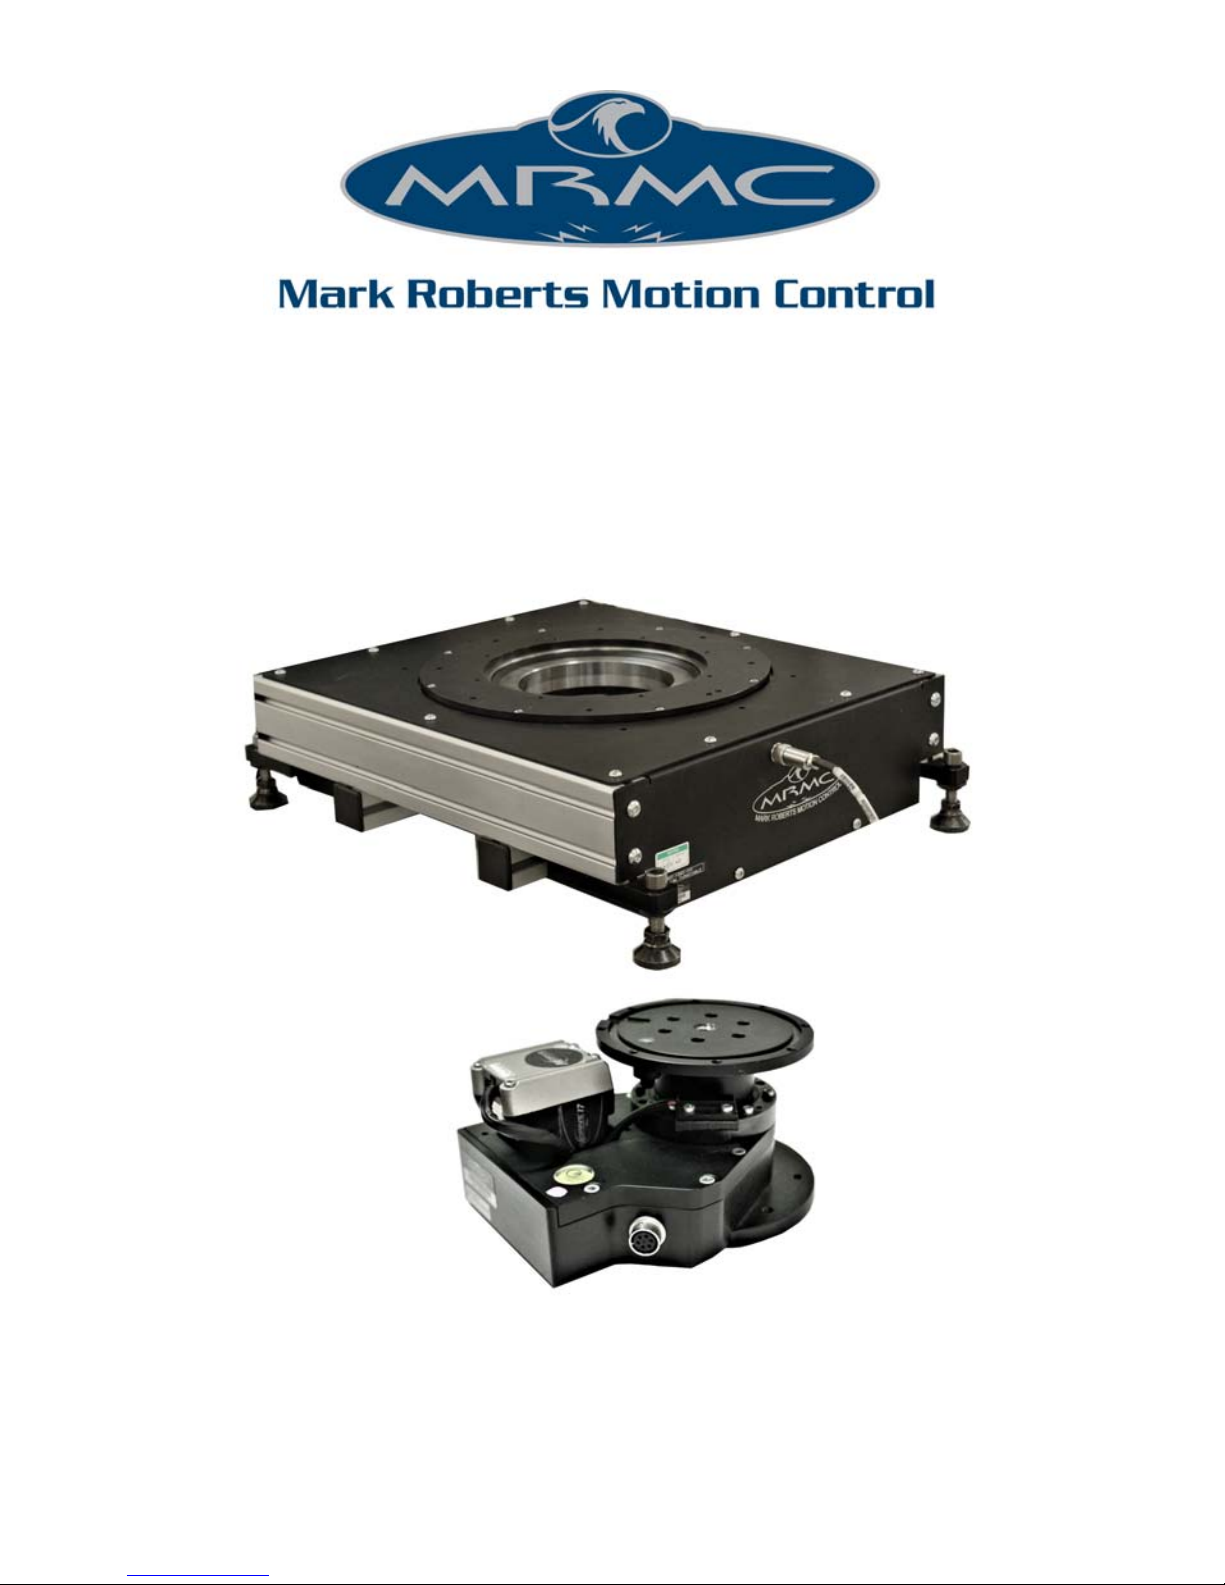
Turntable Quick Start GuideTurnt a b l eQuick Start Guide
Chapter 1 Quick Start
Important safety instructions
To ensure the best from the product, please read this manual carefully.
Keep it in the safe place for future reference.
To reduce the risk of electric shock, do not remove the cover from the
unit. No user serviceable parts inside. Refer servicing to qualified
personnel.
General care
Do not force switches or external connections.
When moving the unit, disconnect the mains cable.
Do not attempt to clean the unit with chemical solvents or
aerosol cleaners, as this may damage the unit. Use a clean dry
cloth.
Do not use around flammable gas. All electrical equipment can
generate sparks that can ignite flammable gas.
Keep away from pets and children. The head has powerful
motors that can pinch, so take care not to get your hands
trapped in the head or cabling.
Keep cables tidy. Use cable ties to keep them out of harm’s way.
If you have a head with slip rings then make use of them; avoid
running any cables between the base and the rotating head or
camera.
Location
Installation of this unit should be away from sources of excessive heat,
vibration, and dust.
Intellectual property
This product includes confidential and/or trade secret property.
Therefore, you may not copy, modify, adapt, translate, distribute, reverse
engineer, or decompile contents thereof.