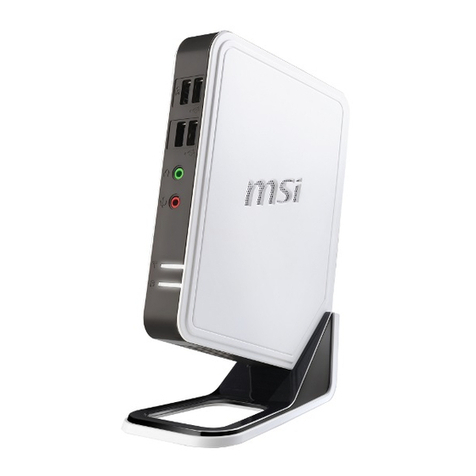
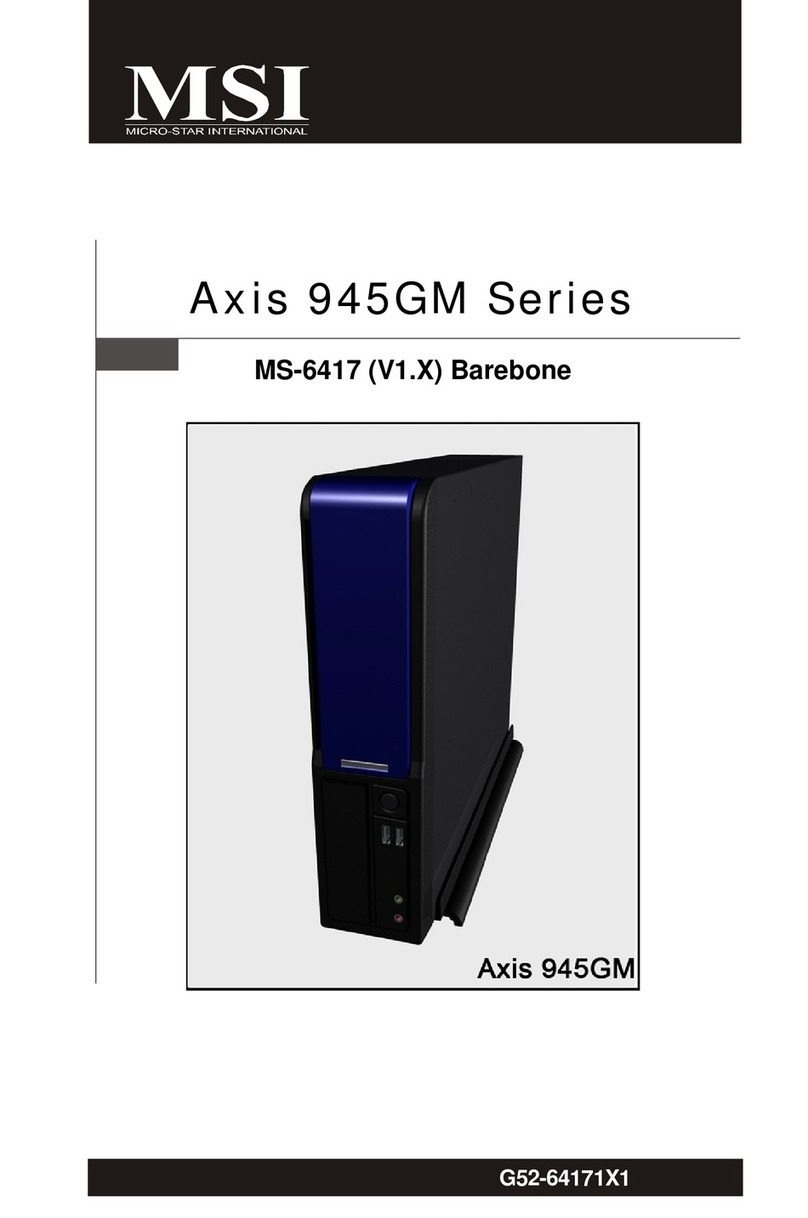
MSI Wind Nettop 100 - Wind Nettop 100 Desktop PC User manual

i
Wind Nettop Series
MS-6645(V1.X)
G52-66451X1

ii
CopyrightNotice
The materialin thisdocumentistheintellectualpropertyof MICRO-STAR
INTERNATIONAL.Wetakeeverycarein thepreparationof thisdocument, butno
guaranteeisgivenastothe correctnessof itscontents.Ourproductsareunder
continualimprovementand wereservetherighttomakechangeswithoutnotice.
Trademarks
All trademarks aretheproperties oftheirrespectiveowners.
Windows 2000/XP/VISTAareregisteredtrademarksof MicrosoftCorporation.
U.S.PatentNumbers
4,631,603;4,819,098;4,907,093;5,315,448;and6,516,132.
Thisproductincorporatescopyrightprotection technologythatisprotectedbyU.S.
patentsandotherintellectualpropertyrights.Useofthiscopyrightprotectiontech-
nologymust be authorizedbyMacrovision,andisintendedforhomeand otherlimited
viewing usesonlyunless otherwiseauthorizedbyMacrovision.Reverseengineer-
ing ordisassemblyisprohibited.
RevisionHistory
Revision RevisionHistory Date
V1.0 FirstRelease February2009
TechnicalSupport
Ifaproblemariseswithyoursystemandnosolutioncanbeobtainedfromtheuser’s
manual,pleasecontactyourplaceofpurchaseorlocal distributor.Alternatively,
pleasetrythefollowinghelp resourcesforfurtherguidance.
Visitthe MSIwebsiteforFAQ,technicalguide,BIOSupdates, driverup-
datesandotherinformation: http://global.msi.com.tw/index.php?
func=service
Contactourtechnicalstaff at: http://ocss.msi.com.tw

iii
SafetyInstructions
1. Alwaysread thesafetyinstructionscarefully.
2. Keep thisuser’smanualforfuturereference.
3. Keepthisequipmentawayfromhumidity.
4. Laythisequipmentonareliableflatsurfacebeforesetting itup.
5. The openingson the enclosureareforairconvectionhenceprotectsthe
equipmentfromoverheating.DONOTCOVERTHEOPENINGS.
6. Checkpoweradapterrating: 19V 3.42A,Max65W.
7. Makesurethevoltageofthepowersourceandadjust properly110-240V
beforeconnecting theequipmenttothepowerinlet. Rating:100-240V,50-
60Hz,1.7A.
8. Placethepowercordsuchawaythat peoplecannotsteponit. Donotplace
anythingoverthepowercord.
9. Alwaysunplugthe powercordbeforeinsertinganyadd-on cardormodule.
10. All cautionsand warningsontheequipmentshouldbenoted.
11. Neverpouranyliquid intotheopeningthatcould damageorcauseelectrical
shock.
12. If anyof thefollowing situationsarises,gettheequipmentchecked by
servicepersonnel:
The powercordorplug isdamaged.
Liquid haspenetratedintotheequipment.
Theequipmenthasbeenexposedtomoisture.
Theequipmentdoesnotworkwell oryoucannotgetitworkaccording to
user’smanual.
Theequipmenthasdroppedanddamaged.
Theequipmenthasobvioussign of breakage.
13. DONOTLEAVE THISEQUIPMENTINANENVIRONMENTUNCONDITIONED,
STORAGETEMPERATUREABOVE 40o C(102oF),IT MAYDAMAGETHE
EQUIPMENT.
WARNING:
1. Foreverychangesinpowercord’susage,pleaseusean approvedpower
cordwithconditiongreaterorequaltoH05VV-F,3G,0.75mm2.
2. Internalpartishazardousmoving parts,pleasekeepfingersand otherbody
partsaway.
3. Forpluggableequipment, thesocket-outletshall beinstalledneartheequip-
mentand shall beeasilyaccessible.
4. Donotdisabletheprotectiveearthpin fromtheplug,theequipmentmustbe
connectedtoanearthed mainssocket-outlet.
CAUTION:
Dangerof explosionifbatteryisincorrectlyreplaced.Replaceonlywiththesameor
equivalenttyperecommendedbythe manufacturer.
1. Theoptical storage devicesareclassified asaClass1Laserproducts.
Useof controlsoradjustmentsorperformanceof proceduresother
than thosespecified.
2. Donottouchthelensinsidethedrive.
電池請回收
Forbetterenvironmentalprotection,wastebatteriesshould be
collectedseparatelyforrecycling orspecial disposal.
iv
FCC-BRadio Frequency Interference Statement
Thisequipmenthasbeentestedand
foundtocomplywiththelimitsfora
Class Bdigitaldevice,pursuanttoPart
15ofthe FCCRules.Theselimitsare
designedtoprovidereasonableprotectionagainstharmful interferencein aresiden-
tial installation.Thisequipmentgenerates,usesandcanradiateradiofrequency
energyand,if notinstalledand used in accordancewiththeinstructionmanual,may
causeharmfulinterferencetoradiocommunications.However,thereisno guaran-
tee thatinterferencewill notoccurin aparticularinstallation.Ifthisequipmentdoes
causeharmful interferencetoradioortelevisionreception,whichcanbedetermined
byturningtheequipmentoff andon,the userisencouragedtotrytocorrectthe
interferencebyone ormoreofthemeasureslistedbelow:
Reorientorrelocatethereceivingantenna.
Increasetheseparationbetweentheequipmentand receiver.
Connect theequipmentintoanoutletonacircuitdifferentfromthatto
whichthereceiverisconnected.
Consultthedealeroranexperiencedradio/televisiontechnicianforhelp.
Notice1
Thechangesormodificationsnotexpresslyapprovedbythepartyresponsiblefor
compliancecould void theuser’sauthoritytooperatetheequipment.
Notice2
Shielded interfacecablesandA.C.powercord,if any,mustbeusedin orderto
complywiththeemissionlimits.
VOIRLANOTICED’INSTALLATIONAVANTDERACCORDERAURESEAU.
ThisdevicecomplieswithPart15oftheFCCRules.Operationissubjecttothe
followingtwoconditions:
(1)thisdevicemaynotcauseharmfulinterference,and
(2)thisdevicemustacceptanyinterferencereceived,includinginterferencethat
maycauseundesiredoperation.
Micro-StarInternational
Wind NettopSeries

v
WEEE (WasteElectricaland ElectronicEquipment) Statement

vi

vii

viii
CONTENTS
CopyrightNotice.........................................................................ii
Trademarks..................................................................................ii
U.S.PatentNumbers..................................................................ii
Revision History..........................................................................ii
TechnicalSupport.......................................................................ii
SafetyInstructions.......................................................................iii
FCC-BRadio Frequency Interference Statement........................iv
WEEE(WasteElectricaland ElectronicEquipment) Statement....v
Chapter1GettingStarted........................................................1-1
FrontPanel..........................................................................1-2
BackPanel..........................................................................1-5
Packing Contents..................................................................1-7
Chapter 2Realtek ALC888Audio.............................................2-1
SoftwareConfiguration...........................................................2-2
HardwareSetup....................................................................2-16
Chapter 3WindowsInstallation/ Recovery Guide.....................3-1
InstallationGuide..................................................................3-2
RecoveryGuide.....................................................................3-9

1-1
Getting Started
Chapter1
Getting Started
Congratulationsforpurchasing theWind NettopSeries
(MS-6645).It isyourbestslimPCchoice.Withthe fan-
tasticappearanceandultra-smallformfactor,itcan
easilybesetanywhere.Thefeaturepacked platform
alsogivesyou anexciting PCexperience.

1-2
WindNettopSeries
FrontPanel
StandardType
MS-6645E
MS-6645A

1-3
Getting Started
SlimType
MS-6645C
MS-6645B

1-4
WindNettopSeries
1.OpticalDisk Drive(ODD)(StandardTypeandSlimType)
2. ODD LED
The ODDLEDisonwhenCD/DVDisread fromorwrittentothe opticaldiskdrive.
3.EjectButton
Press theejectbuttontoopenand closetheopticaldiskdrive.
4.PowerButton/ LED
Press thepowerbuttontoturnthe systemonand off.
5.HDDLED
TheHDDLEDisonwhendataisreadfromorwrittentotheharddiskdrive.
6.Headphone(Green)
Thisisaconnectorforheadphonesorspeakers.
7.Microphone(Pink)
Thisisaconnectorformicrophones.
8. USBPort
TheUSB(UniversalSerialBus)portisforattachingUSBdevicessuchasmouse,
keyboard,printer,scanner,camera,PDAand otherUSB-compatibledevices.
9.Card ReaderDrive
ThiscardreaderdrivesupportsSD(HC),MMC, MSand XD. Youcaneasilyread
photosorotherfilesonthememorycard.Yourdigital cameras, DVs,MP3players,
PDAsorotherdigitaldevicesarehighlycompatible.

1-5
Getting Started
BackPanel
1.DVI-DPort(Optional)
TheDVI-D(Digital Visual Interface)connectorallowsyoutoconnectaLCDmonitor.
It providesahigh-speed digitalinterconnectionbetweenthecomputerand its
displaydevice.ToconnectanLCDmonitor, simplyplugyourmonitorcable intothe
DVI-Dconnector,andmakesurethattheotherend ofthecableisproperly
connectedtoyourmonitor(refertoyourmonitormanualformoreinformation.)
2.VGAPort(Output)
TheDB15-pin femaleportisprovidedformonitor.
3. USBPort
The USB(Universal Serial Bus)portisprovidedforattachingUSBdevicessuchas
mouse, keyboard,printer,scanner, camera, PDAorotherUSB-compatible devices.
4.LANJack
The standardRJ-45LANjack isprovidedforconnection tothe LocalAreaNetwork
(LAN).Youcanconnectanetworkcabletoit.

1-6
WindNettopSeries
*Wesuggestthatyoushould connectthe poweradaptertotheequipmentfirstand
then tothe socket-outletforsafetyreason.
*Itisnormal thatthe sparkoccurswhen youput the poweradapterintothesocket-
outlet.
LinkIndicatorActivityIndicator
Right
LED
Left
Color LEDState Condition
Yellow
Green
Orange
Off LANlinkis notestablished.
On(steadystate) LANlinkis established.
On(brighter&pulsing) ThecomputeriscommunicatingwithanothercomputerontheLAN.
Off 10 Mbit/ secdatarateis selected.
On 100Mbit/secdatarateis selected.
On 1000Mbit/secdatarateisselected.
5.DC-InJack
DC-IN, isusedforpoweradapter.
6.Line-In(Blue)
Line-In,isusedforexternalCD player,tapeplayerorotheraudiodevices.
Line-Out(Green)
Line-Out, isusedforspeakersorheadphones.
Mic(Pink)
Mic,isusedformicrophones.
RS-Out(Black)
Rear-SurroundOutin4/ 5.1/7.1channelmode.
CS-Out(Orange)
Center/SubwooferOutin5.1/7.1channelmode.
SS-Out(Gray)
Side-SurroundOutin7.1channelmode.
7.VentilationHoles(forsystemfan)

1-7
Getting Started
*Pleasecontactusimmediatelyifanyof the itemsisdamaged ormissing.
*The picturesareforreferenceonlyand yourpackingcontentsmayvarydepending
on the modelyou purchased.
PackingContents
WindNettopSeries
MSI Driver/UtilityCD QuickGuide
Stand PowerAdapter
QuickGuide


2-1
RealtekALC888Audio
Chapter2
RealtekALC888Audio
TheRealtekALC888provides10-channel DACthat
simultaneouslysupports7.1sound playbackand2
channelsof independent stereosound output(multiple
streaming)through theFront-Out-Leftand Front-Out-
Rightchannels.

WindNettopSeries
2-2
SoftwareConfiguration
Afterinstalling theaudiodriver,youareabletousethe2-,4-,6-or8-channelaudio
featurenow.Clicktheaudioicon fromthesystemtrayatthelower-rightcornerof
thescreen toactivatethe HDAudioConfiguration.Itisalsoavailabletoenablethe
audiodriverbyclicking the Realtek HD Audio Manager fromthe ControlPanel.
Double click

2-3
RealtekALC888Audio
SoundEffect
EnvironmentSimulation
Youwill be abletoenjoydifferentsound experiencebypullingdownthearrow,
totally23 kindsof sound effectwill beshownforselection.RealtekHD AudioSound
Manageralsoprovidesfivepopularsettings “StoneCorridor”, “Bathroom”, “Sewer
pipe”, “Arena”and “AudioCorridor”forquickenjoyment.
Youmaychoosetheprovided soundeffects,andtheequalizerwilladjustautomatically.
Ifyoulike,youmayalsoloadanequalizersetting ormakeannewequalizersettingto
saveasan newone byusingthe “LoadEQSetting”and “SavePreset”button,
click “ResetEQSetting”buttontousethedefaultvalue,orclick “DeleteEQSet-
ting”buttontoremoveapresetEQsetting.
Therearealsootherpre-setequalizermodelsforyoutochoosebyclicking “Others”
underthe Equalizer part.
Hereyoucanselectasoundeffectyoulikefromthe Environment list.

WindNettopSeries
2-4
Save
Thesettingsaresaved
permanentlyforfuture
use
Reset
10 bandsofequalizer
would gobacktothede-
faultsetting
Enable/Disable
Todisable, youcan tem-
porarilystopthesound
effectwithoutlosing the
settings
Load
Wheneveryouwould liketo
usepreload settings,simply
clickthis,thewholelistwill
beshownforyourselection.
Delete
Todeletethe pre-savedsettingswhicharecreatedfromprevioussteps.
EqualizerSelection
Equalizerfreesusersfromdefaultsettings;usersmaycreatetheirownedpreferred
settingsbyutilizing thistool.
10 bandsof equalizer,ranging from100Hzto16KHz.
This manual suits for next models
7
Table of contents
Other MSI Desktop manuals

MSI
MSI MAG META B930 User manual

MSI
MSI PRO DP21 11MA-217US User manual

MSI
MSI Cubi B0A1 User manual

MSI
MSI Pro 16 Flex User manual

MSI
MSI Infinite A User manual

MSI
MSI Codex Series User manual

MSI
MSI Wind Top AP1622 User manual

MSI
MSI Pro 22XT 10M i5-10400 User manual

MSI
MSI Trident B936 User manual

MSI
MSI MEGA 865 MS-6266 User manual

MSI
MSI Aegis Series User manual

MSI
MSI AE2050 User manual

MSI
MSI Aegis RS 10th User manual

MSI
MSI MS-B0A2 User manual

MSI
MSI Trident B920 User manual

MSI
MSI Nightblade Series User manual

MSI
MSI MEGA651 PC User manual

MSI
MSI MPG Infinite Series User manual

MSI
MSI Aegis Ti5 10TD-064EU User manual

MSI
MSI MAG Infinite Series User manual