© MuxLab Inc. 2016
Installation
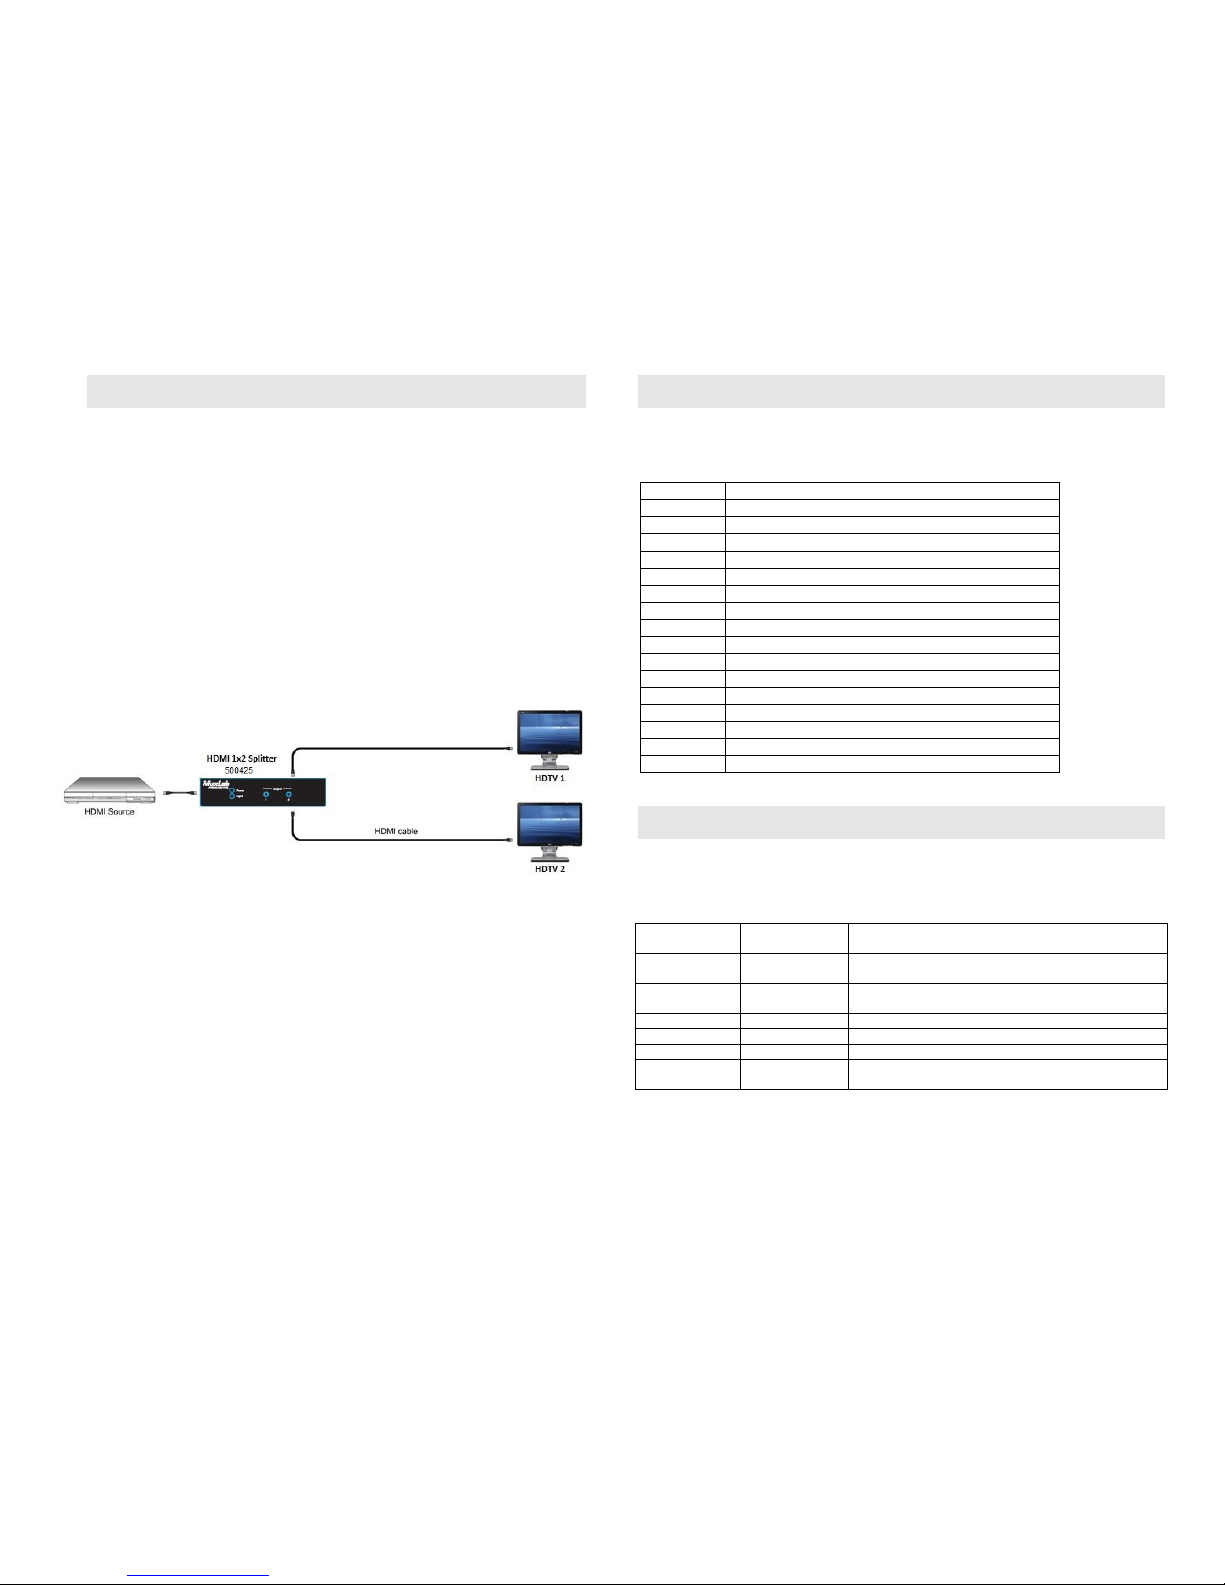
In order to install the HDMI 1X2 Splitter, please follow the steps below:
1. Connect the HDMI video source to the input HDMI connector of the splitter
with an appropriate HDMI cable.
2. Connect the HDMI display equipment to the output HDMI connectors of the
splitter with appropriate HDMI cables.
3. Connect the 5 VDC power supply to the splitter first, and then plug the power
supply into an AC power outlet.
4. Power on the HDMI equipment and verify the image quality.
5. The following diagram shows the final configuration.
Mode Switch Selection
Use the Mode rotary switch to select the EDID that will be sent to the HDMI source
device.
EDID Ultra-HD (3840X2160@60Hz) –7.1 Audio
EDID Ultra-HD (3840X2160@60Hz) –2.0 Audio
EDID Ultra-HD (3840X2160@30Hz) –7.1 Audio
EDID Ultra-HD (3840X2160@30Hz) –2.0 Audio
EDID Full-HD (1080p) –7.1 Audio
EDID Full-HD (1080p) –2.0 Audio
EDID Full-HD (1080p, 3D) –7.1 Audio
EDID Full-HD (1080p, 3D) –2.0 Audio
EDID Full-HD (1080p, Deep Color) –7.1 Audio
EDID Full-HD (1080p, Deep Color) –2.0 Audio
EDID HD (1080i, 720p) –7.1 Audio
EDID HD (1080i, 720p) –2.0 Audio
Auto EDID (Analysis learning mode)
Troubleshooting
The following table describes some of the symptoms, probable causes and possible solutions
in regard to the installation of the HDMI 1X2 Splitter. If you still cannot diagnose the
problem, please call MuxLab Customer Technical Support at 877-689-5228 (toll-free in
North America) or (+1) 514-905-0588 (International).
Check continuity
Check correct wiring
Power off the source and displays, then power them back
on.
Check HDMI cable length against industry standards.
Check HDMI cable length against industry standards.
Check HDMI cable length against industry standards.
Check HDMI cables and replace as needed.


