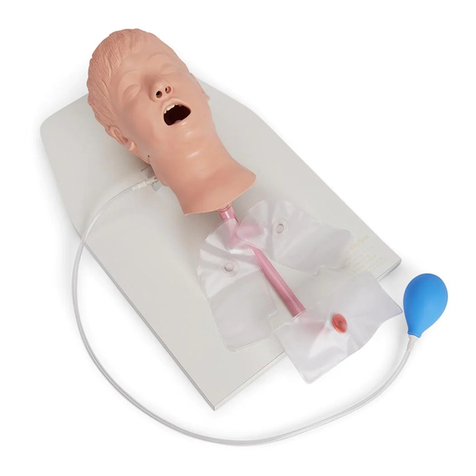
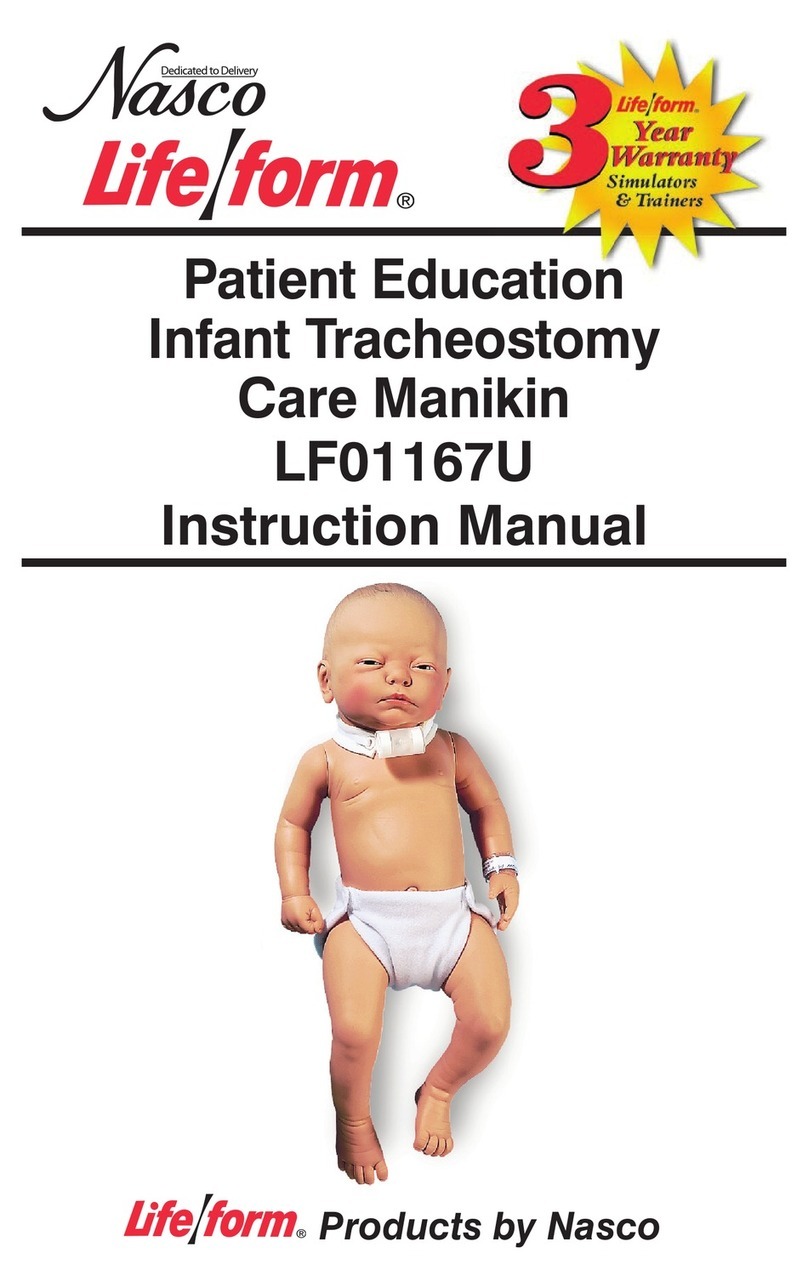
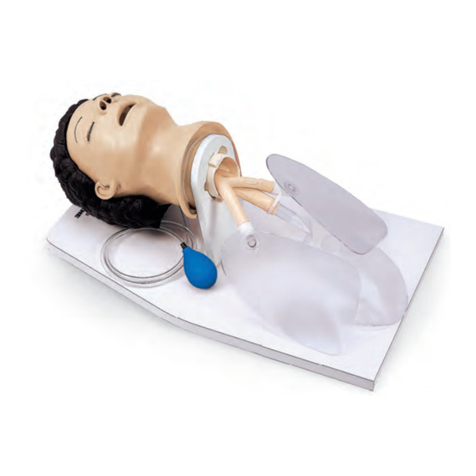
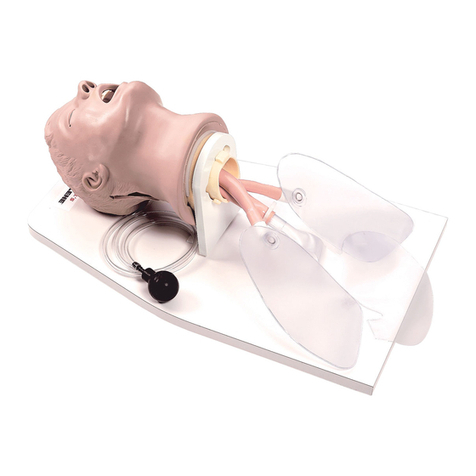
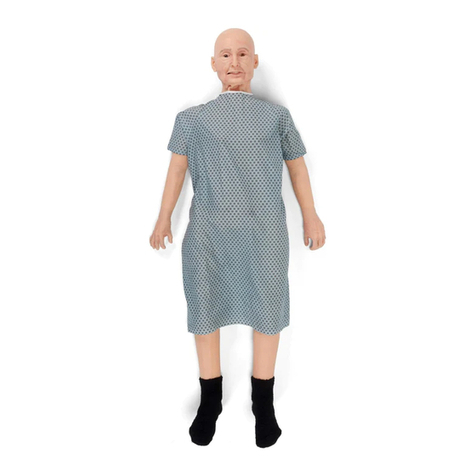
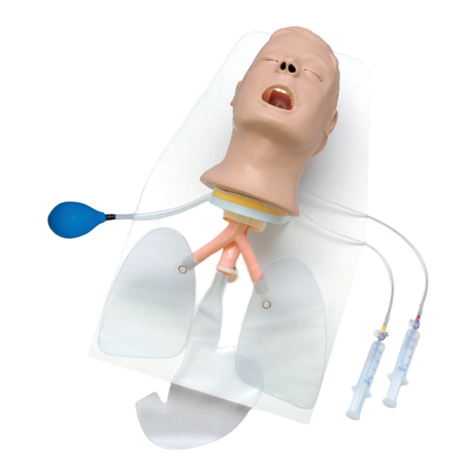
The Life/form®Infant Auscultation
Trainer allows you to simulate resus-
citation, along with the ability to
check for a pulse and practice airway
management skills, including intuba-
tion and suctioning. You can also
practice umbilical clamping, cutting,
and cannulation.
Note: Perform resuscitation with plain
chest skin only. Using the ausculta-
tion chest skin may damage compo-
nents and cause auscultation sounds
to stop working properly.
Cleaning the Simulator
Normal soil can be removed with mild
soapy water. Nasco Cleaner
(LF09919U) will remove stubborn
stains. Simply apply Nasco Cleaner to
the soiled area and wipe clean with a
soft cloth or paper towel.
Note: Avoid using cleaner around the
mouth and nose area if students will
be applying direct mouth-to-mouth
resuscitation techniques, as the
cleaner may be toxic if ingested.
NEVER place the trainer on any kind
of printed paper or plastic. These
materials, as well as ball-point pens,
will transfer indelible stains. Do not
use any cosmetics.
List of Components
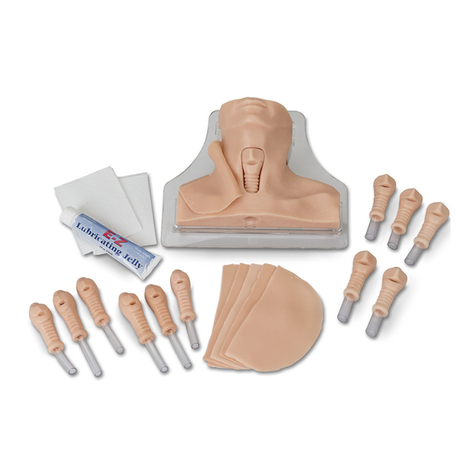
• Basic Infant CRiSis™ Manikin
Chest Skin
• Infant Auscultation Chest Skin
• 6 Umbilical Cords
• 6 Umbilical Cord Clamps
• 1 IV Bag with Clamp
• 1 Quart of Life/form®Blood
• 1 Bottle of Pump Spray Lubricant
• 8 Towels
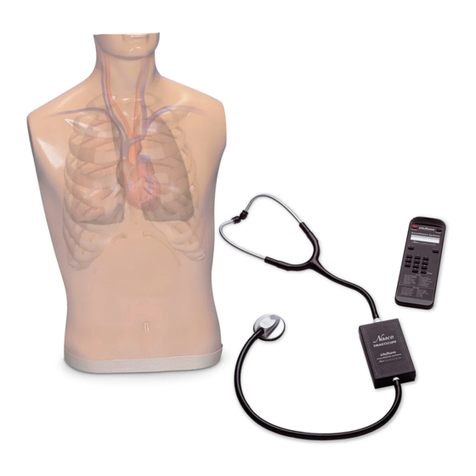
• Infant Remote
• Infant SmartScope™
• Infant Auscultation Dual
Headset
The remote control can be program-
med to these bowel sounds:
01 Norm Newborn
02 Norm 1 YO
03 Hyper 2 YO
04 Borborygmus
The remote control can be program-
med to these lung conditions:
01 Wheezing
02 Stridor
03 Rhonchi
04 Pneumonia
05 Newborn Breath
06 Newborn Stridor
07 Asthma
08 9-Month Stridor
09 9-Month Breath
Using the SmartScope™
Place the earpieces in the ears,
angled forward. Place the diaphragm
of the SmartScope™ over one of the
appropriate sites on the manikin.
As an alternative, the Amplifier/Speaker
System (LF01189U) can be used,
allowing an entire classroom to hear
at the same time. To connect the
speaker, plug the speaker cord into
the jack on the top of the
SmartScope™ box. When the speaker
is connected to the SmartScope™,
the earpieces will not work. Place the
diaphragm of the SmartScope™ over
the appropriate sites on the manikin.
To begin training, press the red power
button. This turns on the remote con-
trol and sends a signal to activate the
SmartScope™. After the unit is activated,
the display will be in status mode, dis-
playing the current menu settings for
the heart, bowel, and lung conditions.
To select a new condition, press either
the heart, bowel, or lung button. This
will put the display into the menu
mode. You can select a condition by
either using the number buttons or by
viewing the conditions in sequence
using the scroll button. After the con-
dition is selected, press the enter but-
ton to activate. Pressing the heart,
bowel, or lung button at any time will
display the name of the condition
selected:
For example, press
Heart 1 (or scroll) enter
Bowel 2 (or scroll) enter
Lung 3 (or scroll) enter
The display should read H:01, B:02,
L:03. The SmartScope™ will now pick
up the VSD, Norm 1 YO, and Rhonchi
sounds at the appropriate sites.
Troubleshooting
• Make sure batteries in both the
SmartScope™ and the remote
are fully charged and properly
installed.
Please note: When you replace
batteries in the SmartScope™,
turn off the remote. Once the
batteries are in place, turn the
remote back on. If you find
there still is no sound, please
turn the remote off again and
turn back on. The unit needs a
few moments to reset.
• The remote has a battery saver
that shuts the unit down after
eight minutes if the remote is
left on the same setting. To
prevent it from shutting down,
select a different heart or lung
sound within the eight-minute
period of time.
• Correct head placement of the
SmartScope™ is required to
hear the sounds. Moving the
SmartScope™ head slowly
across the area will help locate
the sensor in the torso so that
the sounds can be heard.
81
NP066_09.indd 3 1/15/15 9:55 AM
