manuals.online logo
Brands
  1. Home
  2. •
  3. Brands
  4. •
  5. National Public Seating
  6. •
  7. Indoor Furnishing
  8. •
  9. National Public Seating 6010 Series User manual

National Public Seating 6010 Series User manual

ASSEMBLY INSTRUCTIONS
6010 SERIES | ARISTOCRAT SOUND FLOOR LECTERN
ASSEMBLY TIPS
Read the instructions carefully and follow Diagrams
to ensure an easy and correct assembly.
Do not use a sharp instrument such as a Knife or a
Screwdriver to open the packaging, as this may
scratch or possibly damage the unit.
All assembly should be done on a clean protected
surface such as carpet or the like.
Make sure that you have all the required Parts
listed below.
CARE OF YOUR CABINET
All exterior and interior exposed surfaces are
Melamine covered as well as edges in matching
patterned Melamine material.
To refresh the appearance, wipe the surface with
a cloth soaked lightly in furniture oil. Avoid speaker
grill area. Your cabinet will look as good as new.
TECHNICAL SPECIFICATIONS
Power Output......50W RMS at 10% THD
Mic..........................Electret Condenser Mic (2)
Aux ........................150 mV>220K
Frequency.............100HZ-25KHZ
Response..............+ 3dB
Power Supply ... 110-120V ohms DC 10.8 12V
Fuse......................2A normal
Output .................8 ohms
Accessories.........Handheld mic, Gooseneck
1-800-261-4112Page 1 of 4 www.nationalpublicseating.com
PARTS
ABC
D E F
Phillips
Screw Driver
TOOLS NEEDED
Hammer
Right Side Panel Front Panel
Shelf Bottom
Top (Reading Surface)
Left Side Panel
1-800-261-4112Page 2 of 4 www.nationalpublicseating.com
CAM LOCK ASSEMBLY
1
2Insert the Cam Bolts in the Cam Locks until the both Panels
are flush.
3Once the two Panels are flush, use a Phillips Screwdriver to
tighten the Cam Locks to lock the two Panels together.
Proceed by alligning the Cam Bolts with the Cam Locks . 123
Figure 1
1
2
3
INSTALLATION OF HARDWARE
4
DIAGRAM “A”
On Panel , screw in the four Casters.
The Locking Casters should be screwed into
the bottom closest to the T-molded contoured
edge. The second pair of Non-Locking
Casters should be screwed in closest to the
unfinished edge.
Lay out the Wood Panels as shown in
Diagram A (make sure the factory drilled holes
are facing upwards). You can determine the top
of the front Panel by identifying the T-molding.
Identify the holes numbered 1in Diagram A.
Screw the Bolts into the pre- drilled holes
with a Phillips-head Screwdriver.
Be sure to tighten the screws all the way.
Be careful not to over-tighten the Bolts as
this will strip the Wood!
Insert the Cams in the larger holes as shown
on Diagram A.
MAKE SURE THE ARROW ON THE CAM IS
POINTING TO CLOSEST EDGE AND ALIGNED
WITH THE HOLE ON THE EDGE.
INCLUDED HARDWARE
3
1/2” Phillips
Screw x36
45
Locking
Casters x2
6
Non-Locking
Casters x2
Cam Locks
x14
Cam Bolts
x14
Corner
Braces x4
1 2
F
B
CA
D
E
F
INCLUDED ACCESSORIES
Gooseneck x1 Hand-held
Condenser Mic x1
8
10
Tie-Clip
Mic x1
9
7
Amplifier
Series 700 x1
35
3
3 3
5
5
5
5
1
2
6
6
1
2
3
5
1
2
3
ASSEMBLY OF LECTERN DIAGRAM “B”
Align the holes on Panel edges with the three
Cam Bolts on Panel , tighten Cams by
turning clockwise until locked.
Next will be Panel and Panel . Make sure
the Cams on Panel and Panel face the
bottom of the lectern. The two highest Bolts
align with the two holes on the edge of Panel
(these holes reach until the Cams).
The two Bolts in the center of Panel will align
with the two holes on the edge of the shelf.
Gently push the shelves down on to the Cam
Bolts until the shelf is completely on the right
side Panel. Tighten.
Take Panel , with the Casters facing the
bottom of the unit insert Panel into the groove,
make sure that the Panel is all the way
in the groove.
It is important that the instructions on the
Assembly are followed carefully.
DIAGRAM “C”
DIAGRAM “D”
4
5
6
Now apply Panel to the semi assembled
unit. Be sure to align the Cam Bolts
to the holes on both Panel and Panel .
Be sure that Panel is securely in groove.
Tighten Cams . Diagram C.
Screw the Corner Braces on the bottom
Panel into Panels , and .
Connect the plug coming out of the speakers
on Panel to the plug coming out of the back
of the Amp . Fit the Amp between the two
sides and bring the Amp up until it reaches the
cleats (Wood Stub) then from the bottom of
the Amp screw in four Screws . (Diagram D)
7Once again go over all the Cams and
check to make sure the Lectern is sturdy.
8Screw on Gooseneck Mic Holder and
install Microphone for sound use.
Dear Customer, Thank you for your purchase. Although extreme care goes into manufacturing & packaging of this product, mistakes are possible.
If you encounter any missing parts or diculty in assembly, please contact our customer service Toll Free at 1-800-261-4112 or
info@nationalpublicseating.com for courteous & immediate resolution to your problem.
Congratulations, your ARISTOCRAT SOUND FLOOR LECTERN is now assembled and ready to be used!
Double check all Bolts and Screws to be tightened securely before use. Check all Bolts and Screws periodically.
Failure to completely tighten the Bolts and Screws may result in tipping and possible injury!
1-800-261-4112
Page 3 of 4 www.nationalpublicseating.com
F
F
E D
B
A
C
A
D
E
B
B
A
D E
D E
D
A
F
C
BE
F
FABC
B
6
6
9
4
4
9
7
8
3
3
5
5
2
6
1
1
3
3
5
5
700 SERIES AMPLIFIER OPERATING INSTRUCTIONS
OPERATING PRECAUTIONS
Before operating the amplifier, be sure you fully understand all instructions and features of the amplifier.
DO NOT turn amplifier on until all input and output connections have been made.
NEVER replace fuses unless power is o.
MICROPHONE INPUT CONNECTION
The microphone input accepts 1/4" phone jack. Do not position microphone next to or facing speakers.
This may cause acoustic feedback.
AUXILIARY INPUT
One auxiliary input is provided for radio tune; tape recorder, CD player or multimedia equipment.
Output level is adjusted by the auxiliary volume control.
TONE/EQUALIZATION CONTROLS
The Low and High frequency controls are similar to the bass and treble controls found on most stereo systems.
Optimum tone is achieved by first setting both knobs halfway; adjust Low and High frequency controls to suit
environment.
POWER SUPPLY 12V DC OPERATION
Connect a 12 volt rechargeable battery 5 amp (not included) to the battery input connector located on the
panel of the amplifier (using 6' battery cable). Note the positive line is equipped with an in-line fuse, as this is
the only polarity identifier. Be sure that the positive line (in-line fuse) is connected to the positive pole of the
battery (Red terminal) and the negative line (no fuse) is connected to the negative pole (Black terminal).
When lectern is plugged into a standard wall outlet, the battery will automatically recharge.
Green indicator light illuminates during recharge mode.
PRECAUTIONS
• Set Mic volume control on lowest when turning unit on.
• Ensure correct polarity for D.C. supply connections.
• Reverse connections will blow the fuse and may damage internal circuitry.
• Always replace fuse with specified rating.
REMOVAL AND INSTALLATION OF AMPLIFIER
If your amplifier has to be removed for servicing follow these simple steps:
1) Disconnect A/C wall plug.
2) Remove 4 side screws two on each side panel under amp top.
3) Disconnect speaker wire at rear of amplifier.
4) Pack it into a strong box with ample cushioning and return to factory
5) To install new amplifier reverse the above procedure.
1-800-261-4112
Page 4 of 4 www.nationalpublicseating.com

Other National Public Seating Indoor Furnishing manuals
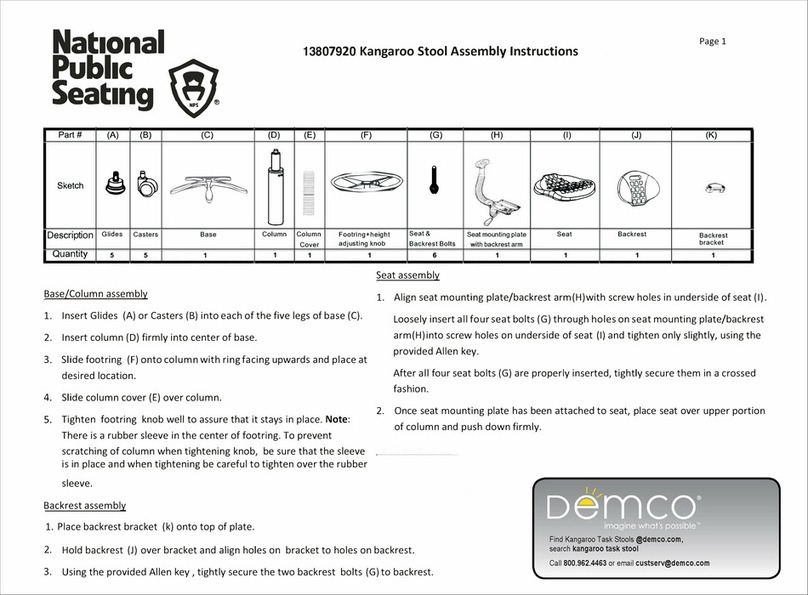
National Public Seating 13807920 User manual

National Public Seating

National Public Seating 13807920 User manual

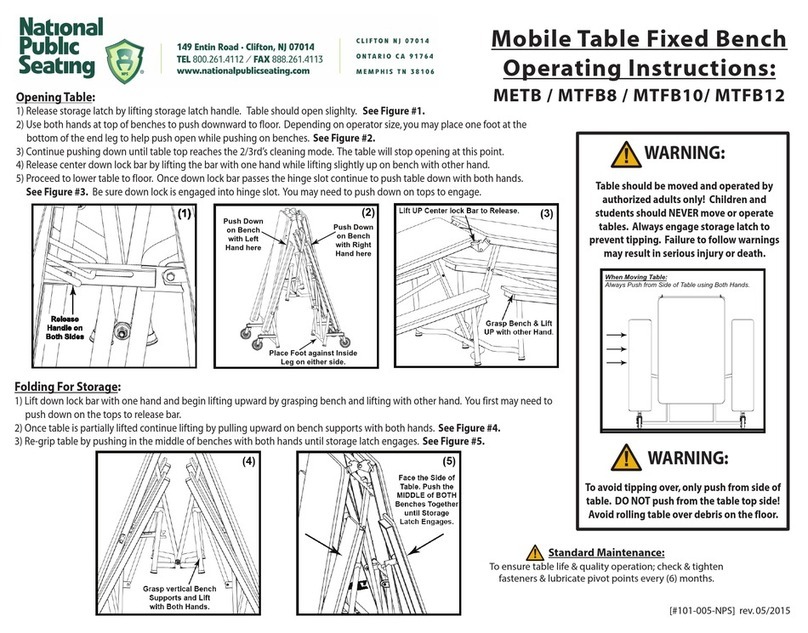
National Public Seating MTFB8 User manual

National Public Seating

National Public Seating MTFB8 User manual

National Public Seating BPFT-2472 User manual

National Public Seating

National Public Seating BPFT-2472 User manual

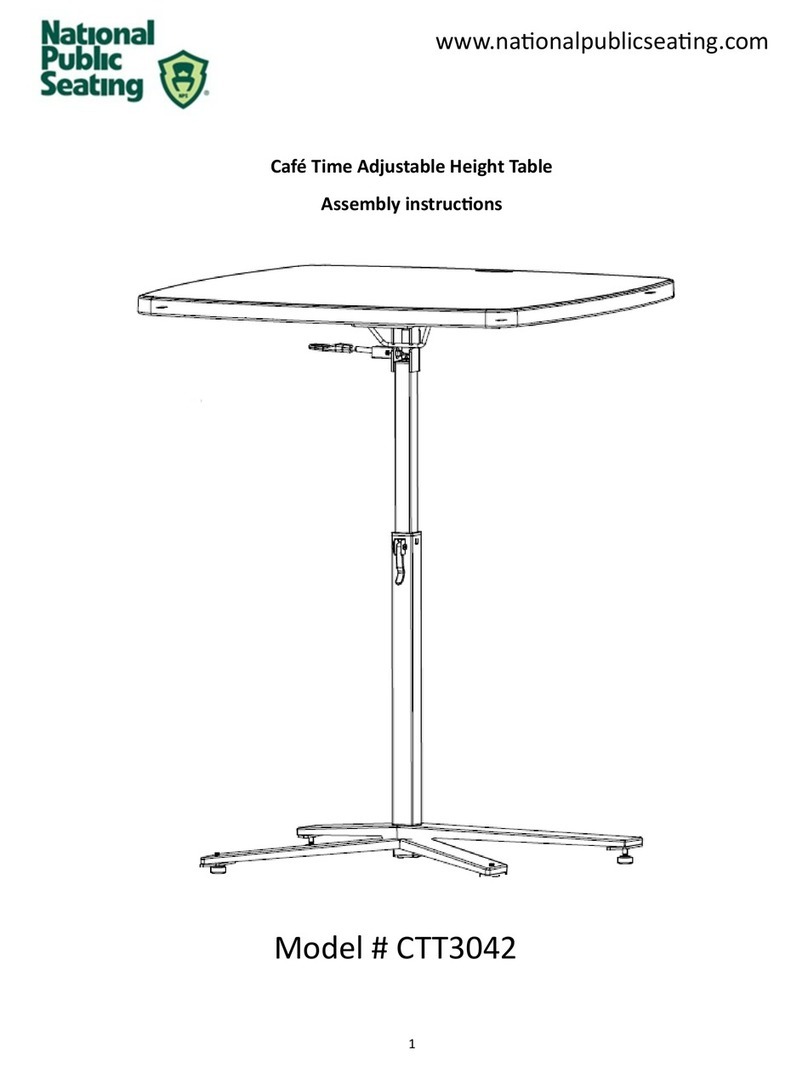
National Public Seating Café Time Adjustable Height Table CTT3042 User manual

National Public Seating

National Public Seating Café Time Adjustable Height Table CTT3042 User manual

National Public Seating Kangaroo Stool 6722HB User manual
National Public Seating

National Public Seating Kangaroo Stool 6722HB User manual

National Public Seating CoGo User manual

National Public Seating

National Public Seating CoGo User manual

National Public Seating Kangaroo 6722 HB User manual

National Public Seating

National Public Seating Kangaroo 6722 HB User manual

National Public Seating TAD User manual

National Public Seating

National Public Seating TAD User manual

National Public Seating SLT1 User manual

National Public Seating

National Public Seating SLT1 User manual

National Public Seating SLT3-2448P User manual

National Public Seating

National Public Seating SLT3-2448P User manual

National Public Seating CONDUCTOR'S STAND User manual
National Public Seating

National Public Seating CONDUCTOR'S STAND User manual

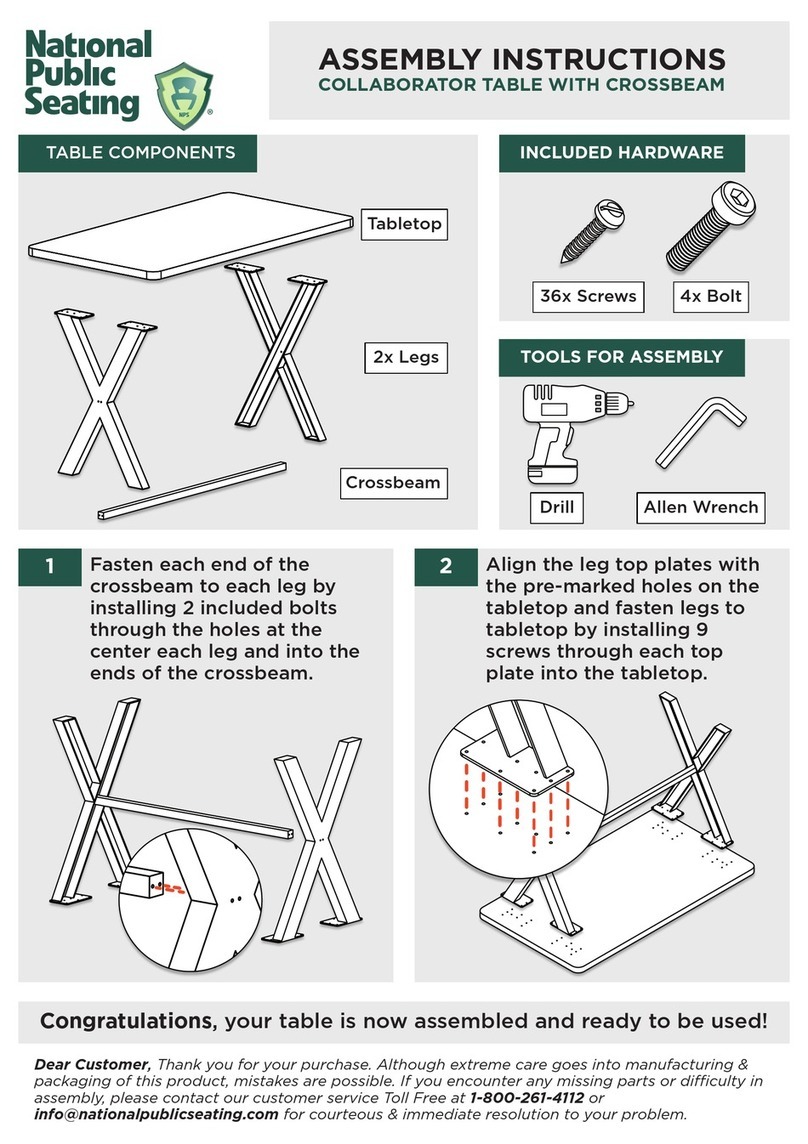
National Public Seating COLLABORATOR TABLE WITH CROSSBEAM User manual

National Public Seating

National Public Seating COLLABORATOR TABLE WITH CROSSBEAM User manual

National Public Seating DY82 User manual

National Public Seating

National Public Seating DY82 User manual

National Public Seating SLT3-2448P User manual

National Public Seating

National Public Seating SLT3-2448P User manual

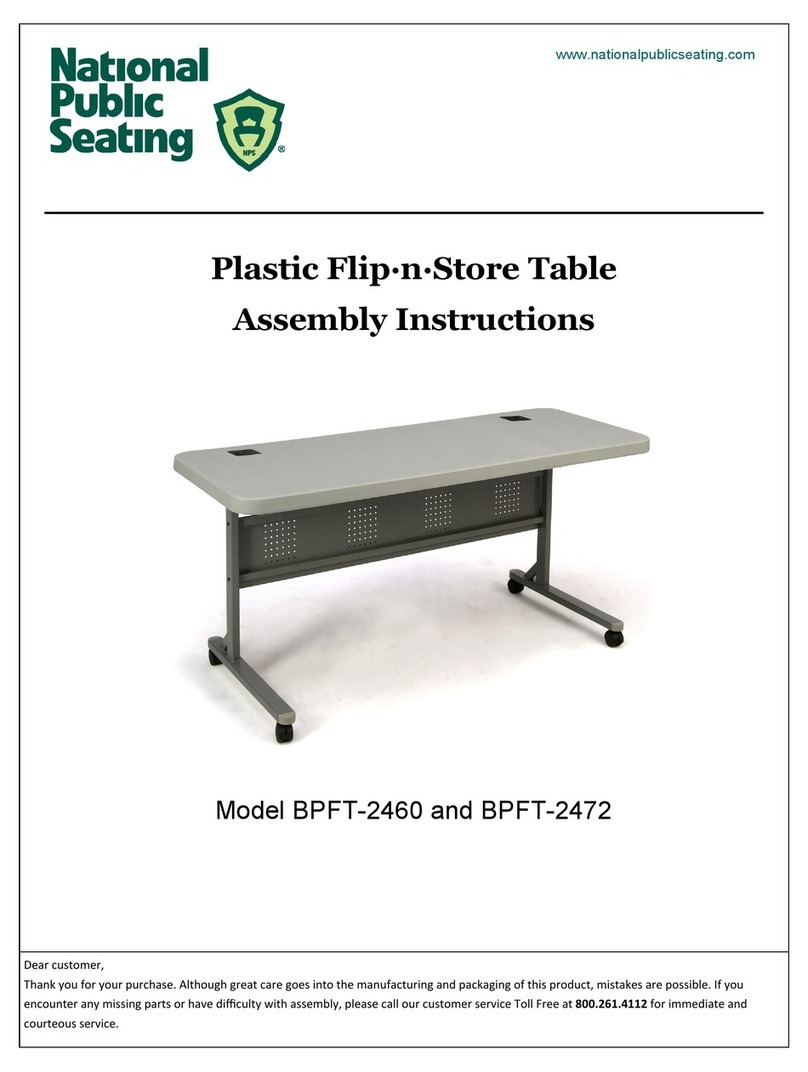
National Public Seating Plastic Flip-n-Store Table User manual

National Public Seating

National Public Seating Plastic Flip-n-Store Table User manual
National Public Seating CHECKERETTE / CHAIR CADDY 84 User manual

National Public Seating

National Public Seating CHECKERETTE / CHAIR CADDY 84 User manual
National Public Seating MSC2436 User manual
National Public Seating

National Public Seating MSC2436 User manual

Popular Indoor Furnishing manuals by other brands

Wren Kitchens Vogue WALL UNIT 1000 Lift Assembly guide

Wren Kitchens

Wren Kitchens Vogue WALL UNIT 1000 Lift Assembly guide

Whalen BBLAVC54T Assembly instructions

Whalen

Whalen BBLAVC54T Assembly instructions

Rubbermaid Homefree Series manual

Rubbermaid

Rubbermaid Homefree Series manual

INNOLIVING Beaute INN-803 user manual

INNOLIVING

INNOLIVING Beaute INN-803 user manual

LumiSource Harper TV-HARPERGLD Series Assembly instructions

LumiSource

LumiSource Harper TV-HARPERGLD Series Assembly instructions

J.Burrows OWTR9DRCL Assembly instructions

J.Burrows

J.Burrows OWTR9DRCL Assembly instructions

EXPEDO BILLIE K2D3S Assembly manual

EXPEDO

EXPEDO BILLIE K2D3S Assembly manual

Anmytek Middle Century Media H0043 Assembly and Care Guide

Anmytek

Anmytek Middle Century Media H0043 Assembly and Care Guide

AKANTE CHICAGO CH093 Assembly instructions

AKANTE

AKANTE CHICAGO CH093 Assembly instructions

Ameriwood 9425052 instruction manual

Ameriwood

Ameriwood 9425052 instruction manual

JSI CAAV installation instructions

JSI

JSI CAAV installation instructions

Furniture of America CM4410C Assembly instructions

Furniture of America

Furniture of America CM4410C Assembly instructions

Homfa KLV-UP-088 user manual

Homfa

Homfa KLV-UP-088 user manual

Bensons for Beds EZRA STK777911 Assembly instructions

Bensons for Beds

Bensons for Beds EZRA STK777911 Assembly instructions

Knight Agile Desk Electric 2 Column Assembly instructions

Knight

Knight Agile Desk Electric 2 Column Assembly instructions

Dorel Living DL7699 manual

Dorel Living

Dorel Living DL7699 manual

Ameriwood HOME 3799341COM Instruction booklet

Ameriwood HOME

Ameriwood HOME 3799341COM Instruction booklet

FMD PACO 1 Assembly instructions

FMD

FMD PACO 1 Assembly instructions

manuals.online logo
manuals.online logoBrands
  • About & Mission
  • Contact us
  • Privacy Policy
  • Terms and Conditions

Copyright 2025 Manuals.Online. All Rights Reserved.