Nautel NX5 Manual
Other Nautel Transmitter manuals

Nautel
Nautel XR12 User manual
Nautel
Nautel VS300 User manual

Nautel
Nautel NX15 User manual

Nautel
Nautel GV20 User manual

Nautel
Nautel GV60 Programming manual

Nautel
Nautel GV40 User manual
Nautel
Nautel FM10 Owner's manual
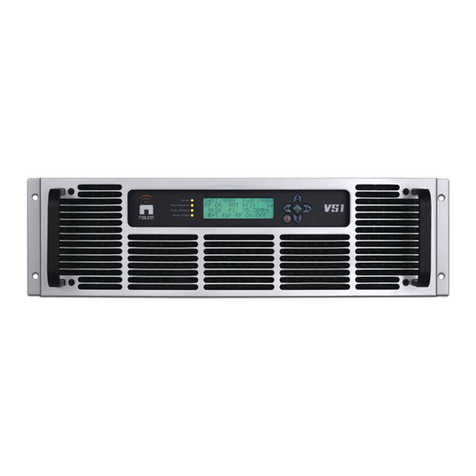
Nautel
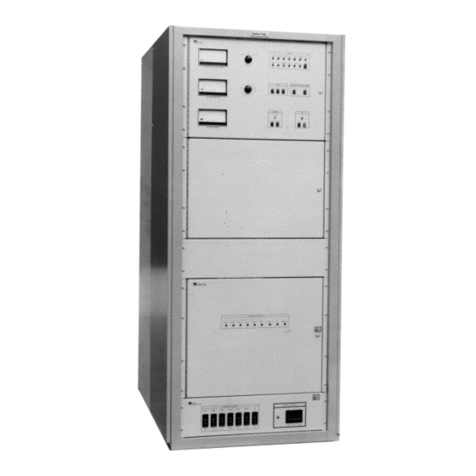
Nautel VS1 Programming manual

Nautel
Nautel NX300 User manual

Nautel
Nautel NX50 Programming manual

Nautel
Nautel NX100 User manual

Nautel
Nautel VS300 User manual

Nautel
Nautel NX100 User manual
Nautel
Nautel NX5 AM User manual

Nautel
Nautel VS1 User manual
Nautel
Nautel NV5 Programming manual

Nautel
Nautel NX Series Installation guide

Nautel
Nautel VX150 Manual

Nautel
Nautel NX400 User manual

Nautel
Nautel VS300 Programming manual
Popular Transmitter manuals by other brands

Inovonics
Inovonics EchoStream EN1210W installation instructions

IKONNIK
IKONNIK KA-6 quick start guide

Rohde & Schwarz
Rohde & Schwarz SR8000 Series System manual

Audio Technica
Audio Technica UniPak ATW-T93 Installation and operation

NIVELCO
NIVELCO EasyTREK SCA-300 Series Programming manual

Honeywell
Honeywell 5816WMBR installation instructions

