manuals.online logo
Brands
  1. Home
  2. •
  3. Brands
  4. •
  5. NCR
  6. •
  7. Touch Terminal
  8. •
  9. NCR PAX S500 User manual

NCR PAX S500 User manual

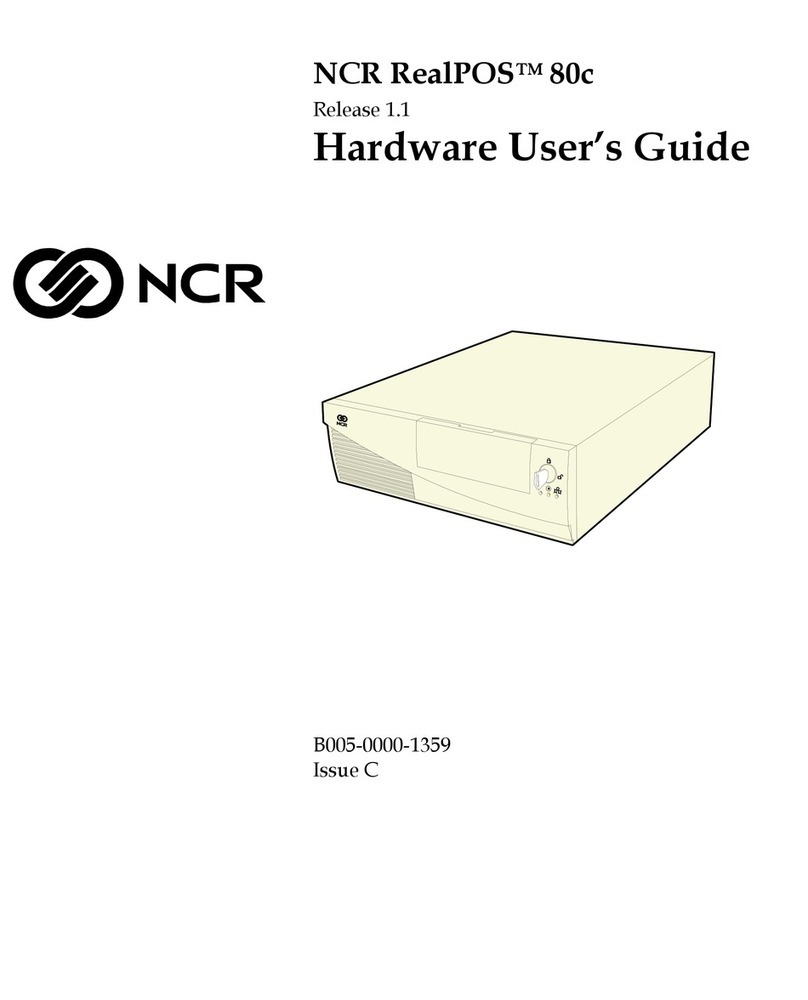
Other NCR Touch Terminal manuals

NCR EasyPoint 7401 Installation manual

NCR

NCR EasyPoint 7401 Installation manual

NCR 5964 User manual

NCR

NCR 5964 User manual

NCR Ordermang 9900 Installation manual

NCR

NCR Ordermang 9900 Installation manual

NCR RealPOS 25 Operating instructions

NCR

NCR RealPOS 25 Operating instructions

NCR RealPOS 72XRT POS User manual

NCR

NCR RealPOS 72XRT POS User manual

NCR 7454 User manual

NCR

NCR 7454 User manual

NCR RealPOS 7458 Service manual

NCR

NCR RealPOS 7458 Service manual

NCR 7455 Installation manual

NCR

NCR 7455 Installation manual

NCR CX5 User manual

NCR

NCR CX5 User manual

NCR Verifone UX100 Manual

NCR

NCR Verifone UX100 Manual

NCR 7446 User manual

NCR

NCR 7446 User manual

NCR RealPOS XR7 Manual

NCR

NCR RealPOS XR7 Manual

NCR 7409-K223 Manual

NCR

NCR 7409-K223 Manual

NCR RealPOS XR7 Manual

NCR

NCR RealPOS XR7 Manual

NCR 7772-K038 User manual

NCR

NCR 7772-K038 User manual

NCR 7601 User manual

NCR

NCR 7601 User manual

NCR RealPOS 70 User manual

NCR

NCR RealPOS 70 User manual

NCR OPTIC 5 User manual

NCR

NCR OPTIC 5 User manual

NCR EX15 POS User manual

NCR

NCR EX15 POS User manual

NCR RealPOS XR6 User manual

NCR

NCR RealPOS XR6 User manual

NCR 7772 Series User manual

NCR

NCR 7772 Series User manual

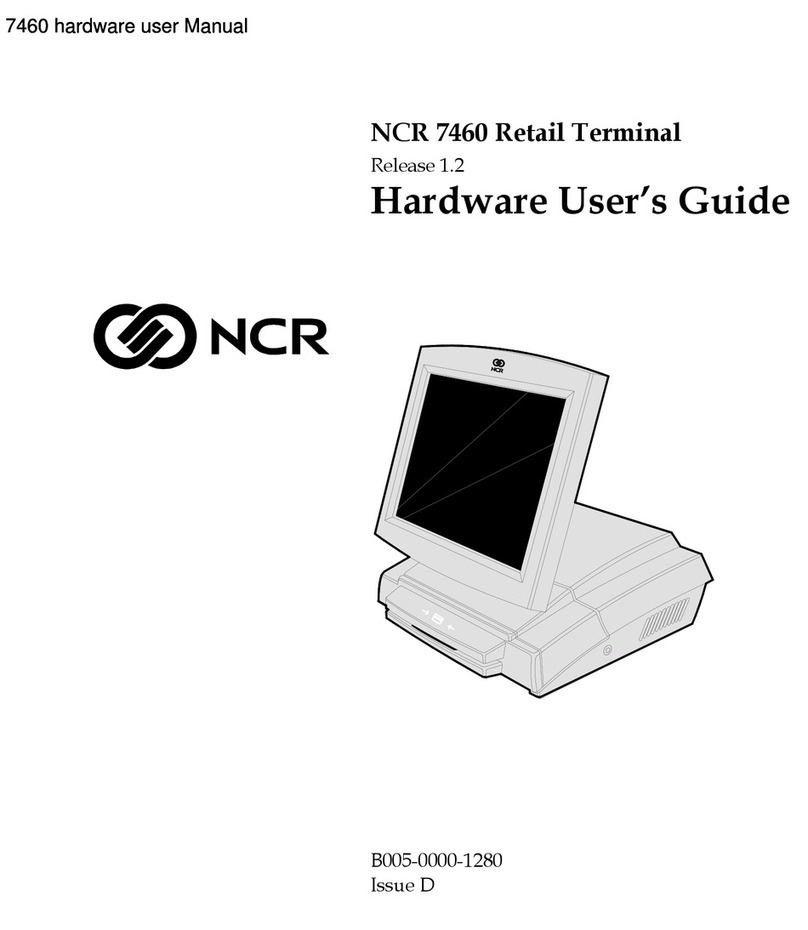
NCR 7460 Instructions for use

NCR

NCR 7460 Instructions for use

NCR P1235 User manual

NCR

NCR P1235 User manual

NCR RealPOS 2x20 Manual

NCR

NCR RealPOS 2x20 Manual

Popular Touch Terminal manuals by other brands

Omron NT11S Operation manual

Omron

Omron NT11S Operation manual

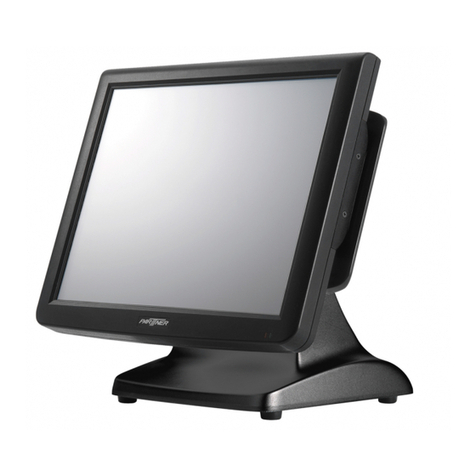
Partner SP-820 user manual

Partner

Partner SP-820 user manual

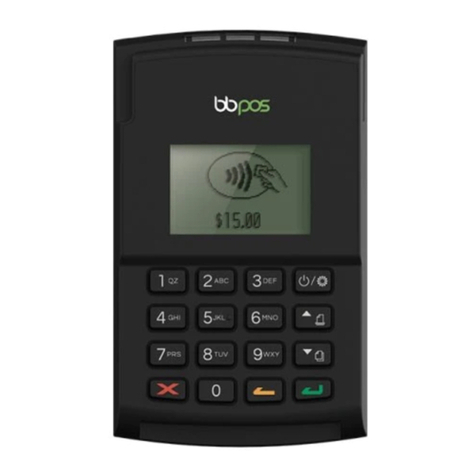
BBPOS WisePad 2 instruction manual

BBPOS

BBPOS WisePad 2 instruction manual

Anywire ASLINKAMP L-A1AW Series Product guide

Anywire

Anywire ASLINKAMP L-A1AW Series Product guide

Festo VIFB4 Series Brief description

Festo

Festo VIFB4 Series Brief description

Linksz CMDA FWT-8828 user manual

Linksz

Linksz CMDA FWT-8828 user manual

Heisei Electronics Q-POS 815 user guide

Heisei Electronics

Heisei Electronics Q-POS 815 user guide

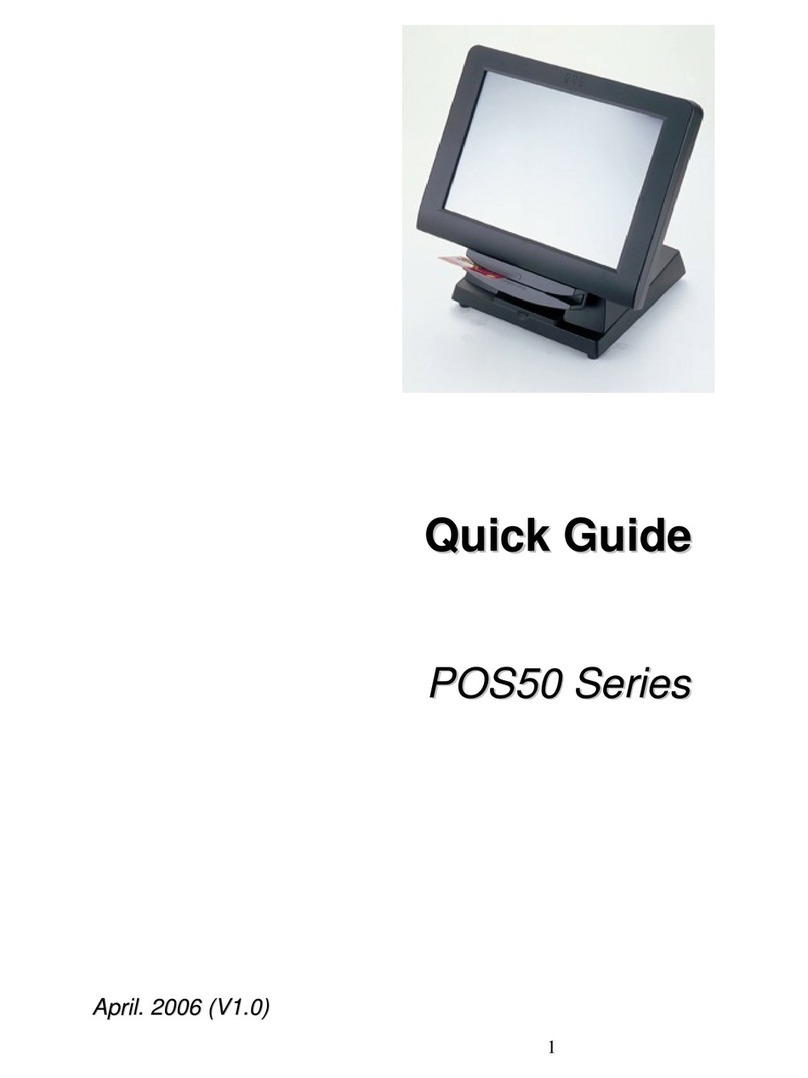
ANUBIS POS50 Series quick guide

ANUBIS

ANUBIS POS50 Series quick guide

Amano MTX-15 installation guide

Amano

Amano MTX-15 installation guide

FLOWBIRD CWT Compact Touch manual

FLOWBIRD

FLOWBIRD CWT Compact Touch manual

Demco SP7 installation guide

Demco

Demco SP7 installation guide

Lathem PC600 Series user guide

Lathem

Lathem PC600 Series user guide

Partner MF-2352 user manual

Partner

Partner MF-2352 user manual

Simrad MS50 Manual guide

Simrad

Simrad MS50 Manual guide

Unitech MR350 MKII Software guide

Unitech

Unitech MR350 MKII Software guide

Jungheinrich WMT 210 Service manual

Jungheinrich

Jungheinrich WMT 210 Service manual

Motorola MTP850 user guide

Motorola

Motorola MTP850 user guide

YASKAWA 62H-MDC0 manual

YASKAWA

YASKAWA 62H-MDC0 manual

manuals.online logo
manuals.online logoBrands
  • About & Mission
  • Contact us
  • Privacy Policy
  • Terms and Conditions

Copyright 2025 Manuals.Online. All Rights Reserved.

ePAYP2PE_PAXS500QRGNew_061219
PAX S500
Quick Reference Guide
Terminal Display Action
INPUT AMOUNT Input the amount of the transaction, then press [ENTER].
Insert/Tap/Swipe Card Insert, Tap, or Swipe the card.
Credit Sale
Terminal Display Action
INPUT AMOUNT Touch Credit on the screen to change selection to Debit.
INPUT AMOUNT Input the amount of the transaction, then press [ENTER].
Swipe Card Swipe the card.
ENTER PIN Input PIN number and press [ENTER].
Debit Sale
Terminal Display Action
INPUT AMOUNT Press down arrow to toggle selection to RETURN, input
amount and press [ENTER].
Insert/Tap/Swipe Card Insert, Tap, or Swipe the card.
Credit Return
Terminal Display Action
INPUT AMOUNT Press down arrow to toggle selection to V/Sale and press
[ENTER].
ENTER TRANS # Input transaction number and press [ENTER].
AMOUNT: X.XX Confirm transaction to void by pressing [ENTER].
Credit Void Sale
Terminal Display Action
INPUT AMOUNT Press [FUNC].
FUNCTION MENU Press 2. Batch.
BATCH MENU Press 1. Batch Close.
Batch Settlement
Retail PAX S500 Quick Reference Guide
Note - Make sure the bottom right corner says ‘sale’ before completing the transaction
Retail PAX S500 Quick Reference Guide
Terminal Display Action
INPUT AMOUNT Press [FUNC], press down arrow, press 2. Reprint.
1. Last Cust. Rcpt.
2. Any Receipt
Press 2 for Any Receipt.
Select Pmt Type:
1. Credit, 2. Debit
Select 1for Credit or 2 for Debit.
ENTER TRANS # Input transaction number and press [ENTER].
1. Customer
2. Merchant
Select 1for Customer or 2for Merchant.
Re-Print Receipt
Terminal Display Action
INPUT AMOUNT Press the [FUNC] button.
FUNTION MENU Press 1. Report
Print Batch Report
Terminal Display Action
INPUT AMOUNT Press [MENU].
MAIN MENU Press 1. Reports
ENTER PASSWORD Input Password and press [ENTER].
REPORTS Press 2. Current Report
CUR. REPORT TYPE Select desired report type and press [ENTER].
SELECT PMT TYPE Select desired payment types for report and press
[ENTER].
SELECT CARD TYPE Select desired card types for report and press [ENTER].
SORT METHODS
1. By EDC Type
2. By Card Type
Press 1 to select By EDC Type or 2 for By Card Type
SELECT TRAN. TYPE Select desired transaction types and press [ENTER].
SET CUR. DEFAULTS?
ENTR=YES, CANC=NO
Press [ENTER] to set as default report.
Change Default Report
Setup or Technical Support Questions?
1-855-226-7337
https://www.illinoistreasurer.gov/Local_Governments/ePAY_Overview
ePAYP2PE_PAXS500QRGNew_061219
1. Verify your bag number in your ePAY portal https://epay.jtpyportal.com to
ensure you have received the correct terminal. For more information on where to
confirm your bag number, please refer to page 9 on our P2PE Instruction Manual
(PIM), which can be found at: https://www.jetpay.com/pim.
Note: Before proceeding, please ensure your S500 packaging has not been tampered with.
Point to Point Encryption (P2PE)
Immediate data encryption keeping your clients data secure.
Technical Requirements:
• Standard 110 volt power outlet
• An ethernet switch port for each device
• A fixed IP address on your internal network that is reachable from the workstation
that will be used for payment processing
What’s included:
Connecting your terminal:
S500 POS power cord Ethernet cable
Complete one of the following
depending on how you connect to
the internet:
• Connect the ethernet
cable to the ‘LAN’ port.
• Connect the line cable
into the ‘LINE’ port.
2.
Plug the power cable into the
POWER Port.
3.