NEC DTH-4R-2 - CORDLESS Lite II BLAC User manual

OWNER’SGUIDE
INT-1017
(DTERM)
Document Revision 3
Dterm Cordless II
®
DTR-4R-( ) (BK)

NEC Unified Solutions, Inc. reserves the right to change the specifications,
functions, or features, at any time, without notice.
NEC Unified Solutions, Inc. has prepared this document for the use by its
employees and customers. The information contained herein is the property of
NEC Unified Solutions, Inc. and shall not be reproduced without prior written
approval from NEC Unified Solutions, Inc.
Dterm is a registered trademark of NEC Corporation. Electra Elite is a registered
trademark of NEC America, Inc.
AutoStandby and AutoTalk are trademarks of Uniden America Corporation.
Copyright 2004
NEC Infrontia, Inc.
6535 N. State Highway 161
Irving, TX 75039-2402
Technology Development

Table of Contents
Dterm
™
Cordless II Owner’s Guide i
Chapter 1 Specifications and Safety Information
Section 1 Specifications ..................................................................... 1-1
General ................................................................................... 1-1
Base Unit ................................................................................ 1-1
Handset ................................................................................. 1-1
Battery Charger ...................................................................... 1-2
Section 2 Battery Safety .................................................................... 1-2
Section 3 Important Safety Instructions .............................................. 1-3
Section 4 Important Electrical Considerations .................................... 1-5
Range ...................................................................................... 1-5
Telephone Line Problems ........................................................ 1-5
Radio Interference ................................................................... 1-6
More than One Cordless Telephone ....................................... 1-6
FCC RF Compliance ............................................................... 1-6
Chapter 2About the DtermCordless II
Section1ItemsIncludedwith theDtermCordlessII ............................ 2-1
Section 2 Features of the Cordless Telephone .................................. 2-2
Section 3DtermCordlessII Controls andFunctions........................... 2-3

Document Revision 3 NEC Unified Solutions, Inc.
ii Table of Contents
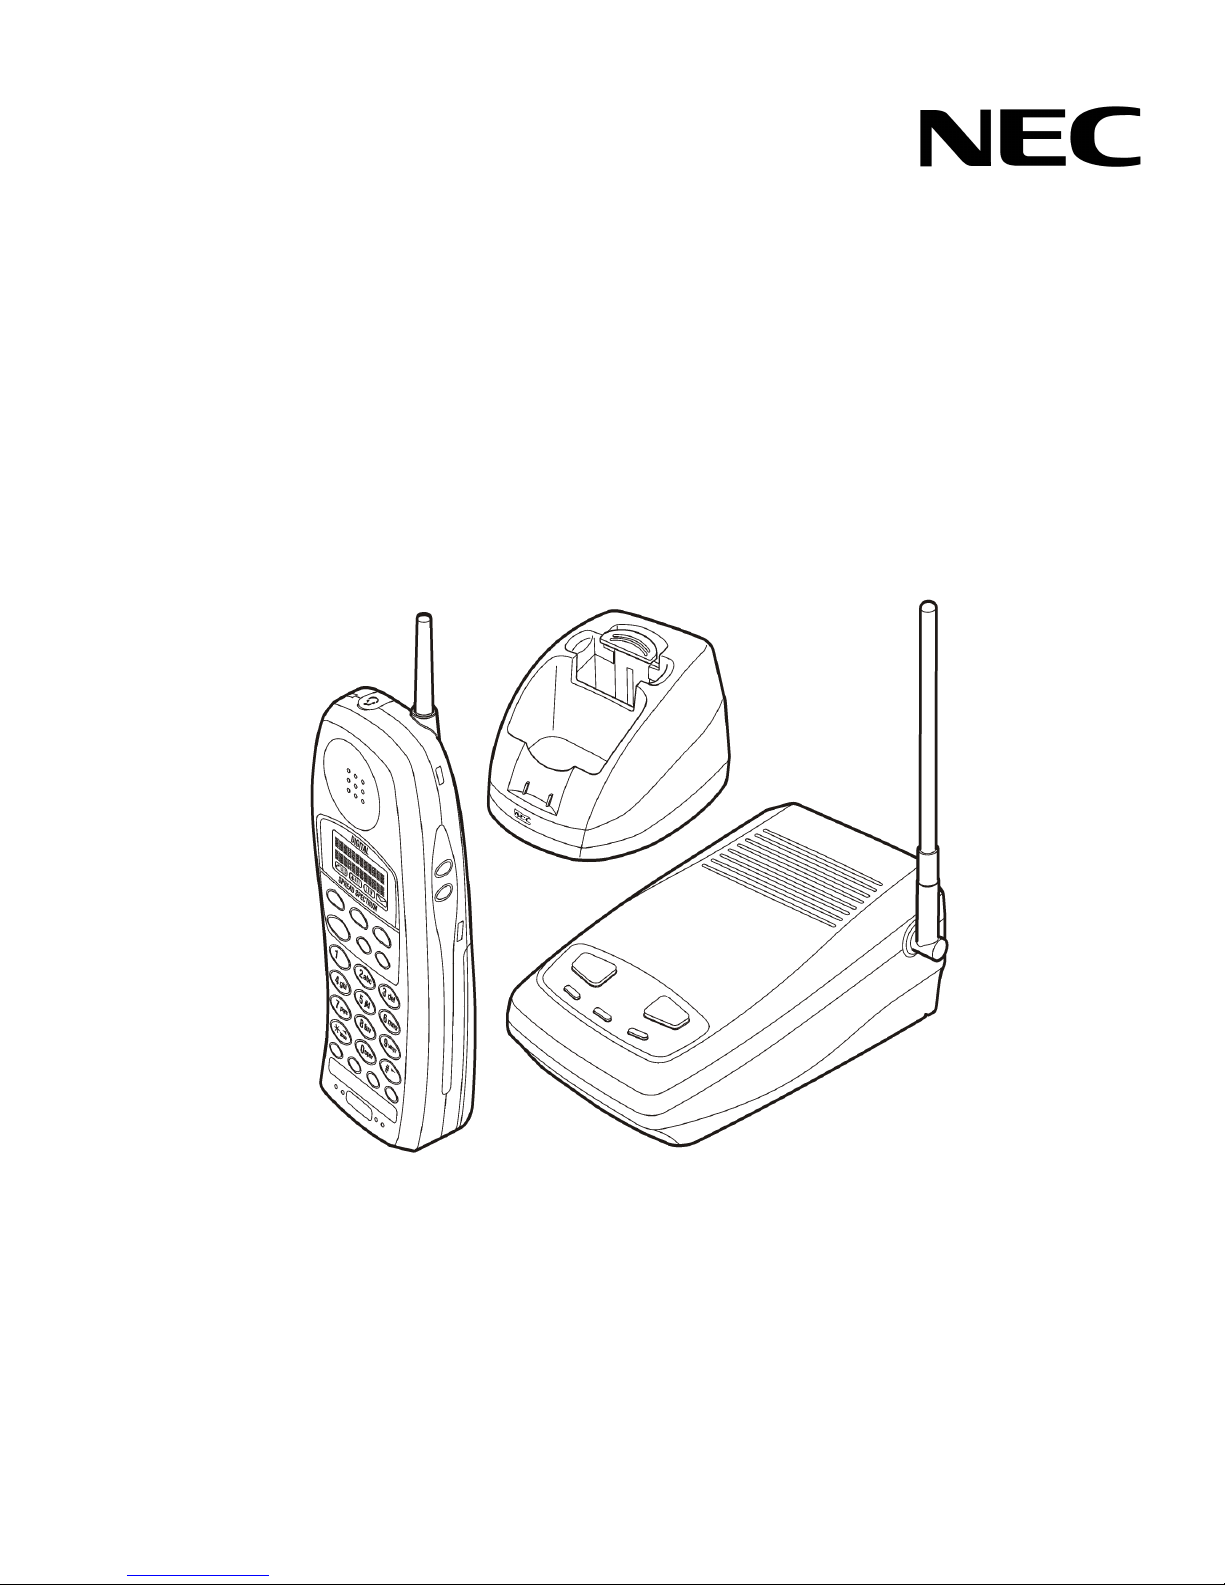
Chapter 3Installing theDtermCordless II
Section 1 Selecting a Location ........................................................... 3-1
Section 2 Installation Precautions ...................................................... 3-1
Section3ConnectingtheTelephoneCords.......................................3-1
Section 4 Applying Power to the Charging Unit .................................. 3-3
Section 5 Wall Installation .................................................................. 3-4
Standard Wall Plate Mounting ................................................. 3-4
Direct Wall Mounting ................................................................ 3-7
Charging Unit Wall Mounting ................................................. 3-10
Section 6 Attaching and Removing the Belt Clip .............................. 3-12
Section 7 Installing the Handset Battery Pack .................................. 3-13
Section 8 Charging Batteries ............................................................ 3-14
Charging the Handset Battery Pack ...................................... 3-14
Battery Hot Swap ................................................................... 3-14
Charging Spare Battery Packs .............................................. 3-15
Section 9 Low Battery Indicator ........................................................ 3-16
Standby Mode ........................................................................ 3-16
Talk Mode .............................................................................. 3-17
Section 10 Cleaning the Battery Charge Contacts ............................. 3-18
Section 11 Antenna ............................................................................ 3-18
Chapter 4DtermCordless II Handset
Section 1 Handset Controls ................................................................ 4-1

Dterm
™
Cordless II Owner’s Guide iii
NEC Unified Solutions, Inc. Document Revision 3
Section 2 Setting Up and Programming the DTR-4R-1 ...................... 4-4
Programming Mode ............................................................... 4-4
Switching Between the Desktop Multiline Telephone and
the Cordless Telephone Using the Base Unit ........................ 4-5
Switching from Desk to Cordless Using a Softkey .................. 4-6
Section 3 Using the Handset .............................................................. 4-7
Acquiring Link .......................................................................... 4-7
Volume Low ............................................................................. 4-8
Dialing ...................................................................................... 4-8
No Service ............................................................................... 4-8
Section 4 Answering a Call ................................................................. 4-9
Section5MakingaCall UsingtheDterm Cordless II ........................ 4-10
Section 6 Dedicated Feature Operations ......................................... 4-10
Placing a Call on Hold ........................................................... 4-11
Muting a Call .......................................................................... 4-11
Transferring Calls .................................................................. 4-11
Setting up a Conference Call ................................................. 4-12

Document Revision 3 NEC Unified Solutions, Inc.
iv Table of Contents
Chapter 5 Optional Equipment Installation
Section 1 Optional Accessories and Replacement Parts ................... 5-1
Section 2 Installing the Optional Headset ........................................... 5-2
Chapter 6 Troubleshooting

List of Figures and Tables
Dterm
™
Cordless II Owner’s Guide v
Figure 2-1ItemsIncludedwith theDtermCordlessII...............................................2-1
Figure 2-2 Handset Controls and Functions ............................................................ 2-3
Figure 2-3 Base Unit Controls and Functions .......................................................... 2-4
Figure 3-1 Connecting Telephone Cords to the Telephone Jack ............................ 3-2
Figure3-2Connecting the DtermCordless II to theMultilineTerminal.....................3-2
Figure 3-3 Applying Power to the Charging Unit ..................................................... 3-3
Figure 3-4 Polarized Plug ........................................................................................ 3-4
Figure 3-5 Attaching the Wall Mount Stand to the Base Unit .................................. 3-5
Figure 3-6 Placing the AC Adapter Cord Inside the Wall Mount Stand ................... 3-5
Figure 3-7 Placing the Base Unit on the Posts of the Wall Plate ............................. 3-6
Figure 3-8 Plugging the AC Adapter into the AC Wall Outlet .................................. 3-7
Figure 3-9 Inserting Screws into the Wall for Wall Mounting the Telephone ........... 3-8
Figure 3-10 Placing the Telephone Cords into Inside the Wall Mount Stand ............ 3-9
Figure 3-11 Attaching the Wall Mount Unit to the Wall .............................................. 3-9
Figure 3-12 Inserting Screws for Wall Mounting ...................................................... 3-10
Figure 3-13 Wrapping the AC Adapter Cord Around the Strain Relief .................... 3-11
Figure 3-14 Placing the Charging Unit on the Wall ................................................. 3-11

Document Revision 3 NEC Unified Solutions, Inc.
vi Table of Contents
Figure 3-15 Attaching the Belt Clip to the Handset ................................................. 3-12
Figure 3-16 Removing the Belt Clip ......................................................................... 3-12
Figure 3-17 Removing the Battery Cover ................................................................ 3-13
Figure 3-18 Replacing the Battery Pack .................................................................. 3-13
Figure 3-19 Replacing the Battery Cover ................................................................ 3-14
Figure 3-20 Charging Unit ....................................................................................... 3-15
Figure 3-21 Charging the Battery Pack ................................................................... 3-16
Table 3-1 Low Battery .......................................................................................... 3-17
Figure 3-22 Cleaning Battery Charge Contacts ....................................................... 3-18
Figure 3-23 Raising the Base Unit Antenna ............................................................ 3-18
Figure 4-1 Handset Controls ................................................................................... 4-1
Table 4-1 Handset Control Functions ..................................................................... 4-2
Figure 4-2 Cordless and Desk Buttons .................................................................... 4-5
Table 4-2 LCD Display Indicators ........................................................................... 4-7
Table 4-3 No Service Conditions ............................................................................ 4-8
Figure 5-1 Optional Accessories and Replacement Parts ....................................... 5-1
Figure 5-2 Installing the Headset ............................................................................. 5-2
Table 6-1 Troubleshooting ..................................................................................... 6-1

Dterm
™
Cordless II Owner’s Guide 1 - 1
Specifications and Safety
Information Chapter 1
SECTION 1 SPECIFICATIONS
The Dterm Cordless II complies with FCC and IC parts 15 and 68.
General
Base Unit
Handset
Frequency Control Phase Lock Loop
Modulation Spread Spectrum
Operating Temperature 0°~ +50°C (+32°F to +122°F)
Output Power 63 mW
Occupied Bandwidth 1,600 kHz
Data Transmission Speed 688 bps
Receive/Transmit Frequency 902 MHz ~ 928 MHz
Power Requirements 10 Vdc from supplied AC adapter
Size 4-1/4 in. W x 7-1/2 in. D x 2-1/4 in. H
Weight Approximately 15.4 oz.
Receive/Transmit Frequency 902 MHz ~ 928 MHz
Power Requirements Nickel-Cadmium Battery Pack

Document Revision 3 NEC Unified Solutions, Inc.
1 - 2 Specifications and Safety Information
Battery Charger
SECTION 2 BATTERY SAFETY
This equipment contains a rechargeable nickel-cadmium battery.
Do not short-circuit the battery.
Do not charge the rechargeable nickel-cadmium battery used in this
equipment in any charger other than the one designed to charge this battery
as specified in this manual. Using another charger can damage the battery
or cause the battery to explode.
Use only the appropriate type and size battery pack specified in this
manual.
Do not open or mutilate the battery pack. Released electrolyte is corrosive
and can cause damage to the eyes or skin. It may be toxic if swallowed.
Exercise care in handling the battery in order not to short the battery with
conducting materials such as rings, bracelets, and buttons. The battery or
conductor can overheat and cause burns.
Size 2-1/5 in. W x 1-2/3 in. D x 8-2/3 in. H
(with antenna)
Weight Approximately 8.8 oz with battery
Battery Capacity 800 mAh, 3.6V
Talk Mode 6 hours (typical)
Standby Mode 4 days (typical)
Specifications shown are typical and subject to change without notice.
Power Requirements 9V DC from supplied AC adapter
Size 2-1/5 in. W x 1-2/3 in. D x 8-2/3 in. H
(with antenna)
To reduce the risk of fire or injury to persons by the battery,
read and follow these instructions.

Dterm
™
Cordless II Owner’s Guide 1 - 3
NEC Unified Solutions, Inc. Document Revision 3
Charge the battery pack provided with or identified for use with this product
only in accordance with the instructions and limitations specified in the
instruction manual provided for this product.
Observe proper polarity orientation between the battery pack and battery
charger.
Do not dispose of the battery pack in a fire, the cell may explode.
Do not place the batteries in your regular trash. Nickel-cadmium batteries
must be collected, recycled, or disposed of in an environmentally sound
manner. Contact your local waste management officials for other
information regarding the environmentally sound collection, recycling and
disposal of the battery contained in this product.
SECTION 3 IMPORTANT SAFETY INSTRUCTIONS
When using the telephone equipment, basic safety precautions should always
be followed to reduce the risk of fire, electrical shock, and injury to persons,
including the following:
Read and understand all instructions.
Follow all warnings and instructions marked on the product.
Unplug this product from the wall outlet before cleaning. Do not used liquid
cleaners or aerosol cleaners. Use a dry cloth for cleaning.
Do not use this product near water; for example, near a sink or in a wet
area.
Do not place this product on an unstable cart, stand, or table. The
telephone can fall, causing serious damage to the unit.
To protect the product from overheating, do not block or cover any slots or
openings in the base unit. This product should never be placed near or
over a radiator or heat register. This product should not be placed in a built-
in installation unless the proper ventilation is provided.
This product should be operated only from the type of power source
indicated on the marking label.
Do not allow anything to rest on the power cord. Do not locate this product
where the cord will be damaged by people walking on it.
Do not overload wall outlets and extension cords, as this can result in the
risk of fire or electrical shock.

Document Revision 3 NEC Unified Solutions, Inc.
1 - 4 Specifications and Safety Information
Never push objects of any kind into this product through the base unit slots,
as they may touch dangerous voltage points or short out parts that could
result in a risk of fire or electrical shock. Never spill liquid of any kind on the
product.
To reduce the risk of electric shock, do not disassemble this product.
Contact qualified service personnel when some service or repair work is
required. Opening or removing covers may expose you to dangerous
voltages or other risks. Incorrect reassembly can cause electric shock
when the appliance is subsequently used.
Unplug this product from the wall outlet and refer servicing to qualified
service personnel under the following conditions:
• When the power supply cord is damaged or frayed.
• If liquid has been spilled onto the product.
• If the product has been exposed to water or rain.
• If the product does not operate normally when following the operating
instructions. Adjust only those controls that are covered by the
operating instructions. Improper adjustment of other controls can result
in damage, and will often require extensive work by a qualified
technician to restore the product to normal operation.
• If the product has been dropped, or the cabinet has been damaged.
If the product exhibits a distinct change in performance.
Do not use the telephone to report a gas leak in the vicinity or the leak.
To reduce the risk of fire or injury to persons by the battery, read and follow
these instructions.
• Use only the appropriate type and size battery pack specified in the
manual.
• Exercise care in handling the battery in order not to short the battery
with conducting materials such as rings, bracelets, and buttons. The
battery or conductor can overheat and cause burns.
Privacy
Cordless telephones are radio devices. Communications between the
handset and base of the cordless telephone are accomplished by means of
radio waves which are broadcast over the open airways. Because of the
inherent physical properties of radio waves, communication can be received
by radio receiving devices other than your own telephone unit, consequently,
any communications using the cordless telephone may not be private.

Dterm
™
Cordless II Owner’s Guide 1 - 5
NEC Unified Solutions, Inc. Document Revision 3
SECTION 4 IMPORTANT ELECTRICAL CONSIDERATIONS
Unplug all electrical appliances when you know an electrical storm is
approaching. Lightning can pass through your household wiring and damage
any device connected to it. This telephone is no exception.
Caution:
Changes or modifications to this product not expressly approved by NEC
America, Inc., or operation of this product in any way other than as detailed
by this manual, could void your authority to operate this product.
Range
The new telephone is designed to achieve a maximum range of up to 350
feet (depending upon the environment) by transmitting and receiving
according to the highest specifications set forth by the FCC. We have rated
this phone to operate at a maximum distance with the qualification that the
range depends upon the environment in which the telephone is used. Many
factors limit range, and it would be impossible to include all of the variables in
our rating. The maximum range rating of this telephone is meant to be used
as a means of comparison against other range claims.
Telephone Line Problems
The FCC has granted the telephone company the right to disconnect service
in the event that your telephone causes problems on the telephone line. Also,
the telephone company may make changes in facilities and services which
can affect the operation of your unit. However, your telephone company must
give adequate notice in writing prior to such actions to allow you time for
making necessary arrangements to continue uninterrupted service.
If you are having trouble with your telephone service, you must first
disconnect your telephone to determine if it is the cause of your problem. If
you determine that it is the cause, you must leave it disconnected until the
trouble has been corrected.
Do not attempt to unplug any appliance during an electrical
storm.

Document Revision 3 NEC Unified Solutions, Inc.
1 - 6 Specifications and Safety Information
Radio Interference
Radio interference may occasionally cause buzzing and humming in your
cordless handset, or clicking noises in the base unit. This interference is
caused by external sources such as TV, fluorescent lighting, or electrical
storm. Your unit is NOT DEFECTIVE. If these noises continue and are too
distracting, check around your office to see what appliances may be causing
the problem. In addition, we recommend that the base not be plugged into a
circuit that also powers a major appliance because of the potential of
interference. For best performance, ensure that the antenna on the base unit
is fully extended.
In the unlikely event that you consistently hear other voices or distracting
transmissions on your telephone, you may be receiving radio signals for
another cordless telephone or other source of interference. If you cannot
eliminate this type of interference, you need to change to a different channel.
Finally, it should be noted that some cordless telephones operate at
frequencies that may cause interference to nearby TVs and VCRs. To
minimize or prevent such interference, the base of the cordless telephone
should not be placed near or on top of a TV or VCR. If interference is
experienced, moving the cordless telephone farther away from the TV or VCR
will often reduce or eliminate the interference.
More than One Cordless Telephone
If you want to use more than one cordless telephone in your office, they must
operate on different channels and more than 20 feet apart. Press the channel
key to select a channel that provides the clearest communication.
Depending on your environment, the maximum number of cordless devices
used without interference varies.
Multiple base and handset units should not be closer than 20 feet at any time.
Radio interference causes interruptions in conversation. When this happens,
your unit is not defective. When noise continues, move to a different location
while you talk. (You might even need to move the base unit.) When the
situation persists, contact National Technical Assistance Center.

Dterm
™
Cordless II Owner’s Guide 2 - 1
About the Dterm Cordless II Chapter 2
SECTION 1 ITEMS INCLUDED WITH THE Dterm CORDLESS II
Congratulations on your purchase of the Dterm Cordless II. This telephone is
designed and engineered to exacting standards for reliability, long life, and
outstanding performance. To become familiar with the features of the
cordless telephone, read this manual thoroughly.
The Dterm Cordless II includes the following items:
Figure 2-1 Items Included with the Dterm Cordless II
Base Unit Handset Telephone
Cord 2 AC Adapters
Rechargeable
Battery Belt Clip Charging Unit Wall Plate
Adapter
Telephone
Cord

Document Revision 3 NEC Unified Solutions, Inc.
2 - 2 About the Dterm Cordless II
SECTION 2 FEATURES OF THE CORDLESS TELEPHONE
The Dterm telephone provides a variety of features. These features are listed
below.
900 MHz Digital Spread Spectrum
2-line, 16-digit LCD Display
10 Channels
Headset Jack
Channel Selection Control
Ringer Volume Control
Handset Volume Control
Mute Control
Single Key Access to: Conference, Hold, Transfer, Channel and
Redial features
Four Programmable Keys: F1~F4
Separate Charging Stand with Spare Battery Charging Capability
AutoStandby ®
Silent Alarm
Out of Range Protection
Low Battery Protection System
Wall Mountable Separate Base Unit
Wall Mountable Separate Charging Unit
Easy Installation
Compact Handset Design
Use with an NEC Digital Multiline Telephone
Desk/Cordless Softkey Switch
The Dterm Cordless II can be used in conjunction with the, Electra Elite ®,
and Dterm ®Series E Digital Multiline Telephones.

Dterm
™
Cordless II Owner’s Guide 2 - 3
NEC Unified Solutions, Inc. Document Revision 3
SECTION 3 Dterm CORDLESS II CONTROLS AND FUNCTIONS
The primary components of the Dterm Cordless II consist of the handset and
the base unit. Before using the telephone for the first time, you should
become familiarwith the controls and functions of the handset and base unit.
Figure 2-2 Handset Controls and Functions
1. Ringer ON/OFF Switch 10. Conference (CONF) Key
2. Message Display 11. Transfer (TRANSFER)Key
3. Hold (HOLD) Key 12. Redial (REDIAL)or
Desk/Cordless Softkey Switch
Key
4. Talk (TALK) Key 13. Channel (CHAN) Key
5. Numeric Keypad 14. F3
6. F2 15. F4
7. F1 16. Ringer/Volume (R/VOL) Key
8. Microphone 17. Mute (MUTE) Key
9. Headset Jack

Document Revision 3 NEC Unified Solutions, Inc.
2 - 4 About the Dterm Cordless II
Figure 2-3 Base Unit Controls and Functions
18. Cordless 20. Power
19. Desk

Dterm
™
Cordless II Owner’s Guide 3 - 1
Installing the Dterm Cordless II Chapter 3
SECTION 1 SELECTING ALOCATION
Select a location for the Dterm Cordless II to avoid excessive heat or humidity.
The base unit of the Dterm Cordless II can be placed on a desk or tabletop
near a standard 120 Vac outlet and telephone line jack. The base unit can
also be mounted on a standard wall plate using the wall mount adapter. Keep
the base unit and handset away from sources of electrical noise (motors,
fluorescent lighting, computers, PC monitor). Refer to Chapter 1
Specifications and Safety Information for a complete discussion of safety
precautions.
SECTION 2 INSTALLATION PRECAUTIONS
To ensure optimum performance follow these guidelines.
Each base unit must be placed at least five feet apart.
The base antenna should be raised to the vertical position.
Always place the base unit on top of a desk or on higher shelves.
Avoid locations surrounded by metal surfaces.
Place the base away from any electrical component such as a PC,
monitor and other telephone.
SECTION 3 CONNECTING THE TELEPHONE CORDS
When connecting the telephone cords, observe the following precautions.
Never install telephone wiring during a lightning storm.

Document Revision 3 NEC Unified Solutions, Inc.
3 - 2 Installing the Dterm Cordless II
Never touch bare telephone wires or terminals unless the telephone
line has been disconnected at the network interface.
Use caution when installing or modifying telephone lines.
To connect the telephone cords:
1. Connect the cord from the telephone jack to the Line In on the Dterm
Cordless II.
2. Connect a qualified NEC digital Multiline Terminal to the Dterm Cordless
II.
Figure 3-1 Connecting Telephone Cords to the Telephone Jack
Figure 3-2 Connecting the Dterm Cordless II to the Multiline Terminal
To digital Multiline
Telephone
interface card on
KTS/PBX
Line “OUT”
Electra Elite or
Dterm Series E
Multiline Telephone
This manual suits for next models
1
Table of contents
Other NEC Cordless Telephone manuals

NEC
NEC DTL-12BT-1 - DT330 - Plus BCH Operating and installation instructions

NEC
NEC Dterm Cordless II User manual

NEC
NEC AT-50P User manual

NEC
NEC NCS User manual

NEC
NEC DS1000 User manual

NEC
NEC DTL-12BT-1 series User manual

NEC
NEC Aspire User manual

NEC
NEC G277 User manual

NEC
NEC DSX CORDLESS LITE II User manual

NEC
NEC Dterm I Series User manual

NEC
NEC PSII User manual

NEC
NEC DTL-8R-1G User manual

NEC
NEC DTR-IR-2 User manual

NEC
NEC IP3NA-BCH User manual

NEC
NEC G577 User manual

NEC
NEC Dterm Cordless Lite II User manual

NEC
NEC DTR-1R-2 User manual

NEC
NEC Dterm PSIII User manual

NEC
NEC Xen Topaz Instruction manual

NEC
NEC Dterm Cordless II DTR-4R BK User manual