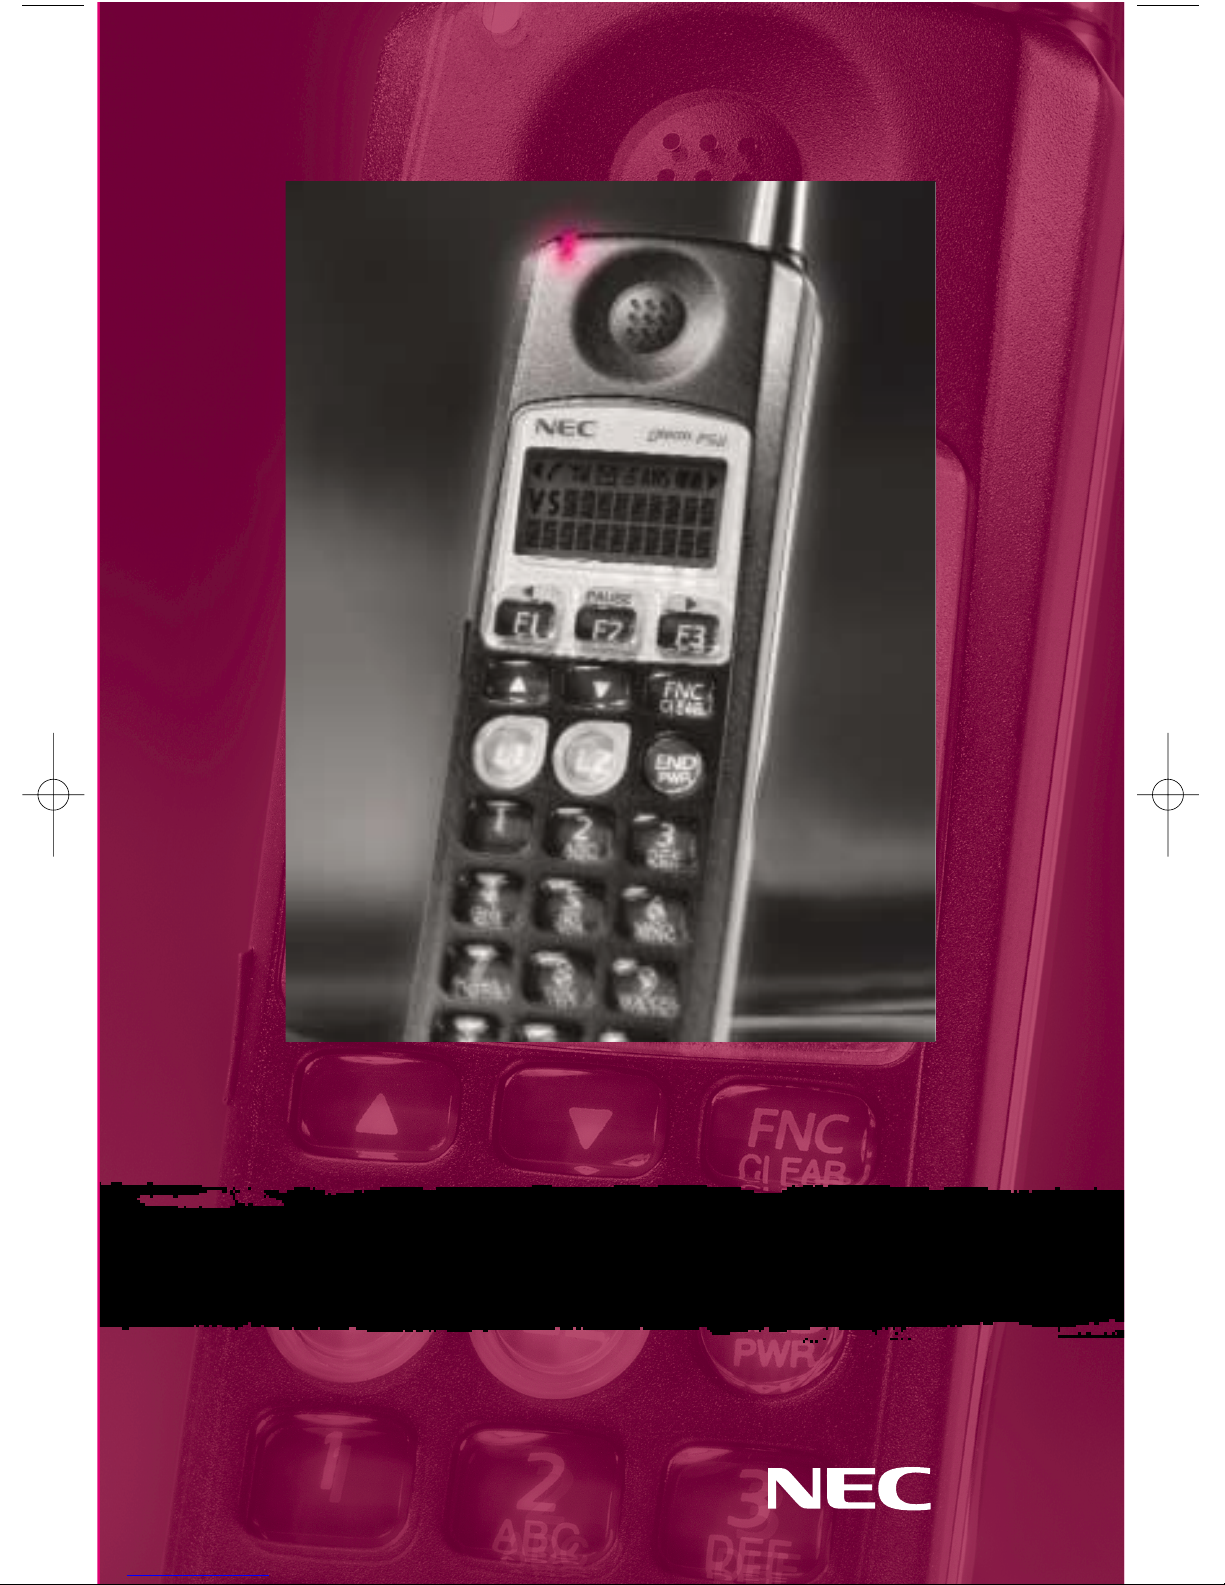
NEC PSII User manual

Electra Elite®Wireless
The PSII Wireless User Guide
NECK-008 Guide Cover Final 5/3/01 9:28 AM Page 3

To recharge a PSII (with the battery
pack inside) place phone here.
To recharge a spare battery pack,
place it here.
CAUTION: The caution label
always faces front.
NOTE: When both the PSII and
the spare battery are in the
charger, the spare battery charges
first, followed by the PSII. Red
indicates charging in process,
green indicates charging is
complete.
Battery lamp indicates the charging
status of the spare battery.
PS lamp indicates the charging status of
the battery inside the PSII.
AC power adapter is supplied with
the PSII charger.
Charging the Battery
NECK-008 Guide Cover Final 5/3/01 9:28 AM Page 4

1
PAGES 2 & 3
Displays and Keys
The PSII Display
PAGES 4 & 5
Basic Operation
PSII Features
PAGES 6 & 7
Entering Names In The
Directory
Directory Dialing
Speed Dial Numbers
Last Number Redial
PAGES 8 & 9
Call Forwarding
Transferring a Call
Calling Party Number
Place a Call On Hold
Set Call Park
Retrieve a Parked Call
Initiate a Conference call
Adjust Call Volume
PAGES 10 & 11
PSII Functions
Program/Erase Softkeys
Softkey Chart
Table of Contents
PAGES 12 & 13
Program/Erase Message Keys
Access Message Keys
Program/Erase VM Speed Dial
Speaker Ring
Keypad Lock
Automatic Answer
Headset Ring
PAGES 14 & 15
Number Display
Key Click
Key Light
LED Flash
Station/Line Ring
Service Alarm
Confirmation Tone
PAGES 16 & 17
Answer Tone
Modem Dial
Call Forwarding Busy
Call Forwarding Doesn’t Answer
Call Forwarding All
Power On Message
PAGES 18 & 19
Password
Protect Directory
Default Set
Reset All
INSIDE BACK COVER
Accessories
NECK-008 Inside Final 5/3/01 9:35 AM Page 1

2
Displays and Keys
Feature Keys
Control specific
features of phone.
FNC/CLEAR
(Function Key)
Press to activate
numerous telephone
functions. Press to
clear entry.
END/PWR
(End Power On/Off
Key) Push once to
end a call. Press for
more than two
seconds to turn
power on and off.
L1 Button
Press to originate or
answer a call.
L2 Button
Not available for
Electra Elite.
Microphone
Fixed, Snub-Nose
Antenna
No need to pull out
or adjust.
LED Ring
Indicator
Red light indicates
incoming call.
LCD Display
Headset Jack
Scroll Keys
Press while in the
standby mode
to access additional
feature levels. Press
and hold for more
than two seconds
during a call to
increase or lower
volume receiver.
Battery
Compartment
(in back)
Programming
Interface
(on bottom)
NECK-008 Inside Final 5/3/01 9:35 AM Page 2

To view digit overflowing the display
to the left or right.
Off-hook, indicating the PSII is off-
hook.
Signal strength, indicating strength or
weakness of signal being received. The
antenna picture display illuminates as
the phone powers up, indicating that
the phone can make a call.
Envelope indicates user has at least one
new voice mail message.
Keylock status illuminates when
Keylock is on.
3
Illuminated ANS indicates that Auto
Answer is active.
Battery indicates charge level. The line
indicates weak charge. Battery without
line indicates strong charge.
Illuminated V indicates that incoming
call vibration notification is active.
Illuminated S indicates that incoming
ring volume is silent.
The PSII Display
NECK-008 Inside Final 5/3/01 9:35 AM Page 3

4
TOTURN THE PHONE ON/OFF
➤Press the END/PWR key and hold for more than two seconds to turn on.
*The PSII will display the start-up greeting: Please Wait
* indicates communication is available.
*NO SERVICE indicates your PSII is out of the service area. No service
indication may also indicate the number of visitors limit has been exceeded
when roaming.
➤Press the END/PWR key and hold for more than two seconds to turn off.
TOORIGINATE A CALL
➤Enter the telephone number.
➤Press L1.
OR
➤Press L1. If number display is on, the PSII will momentarily display the
extension number of the selected line.
➤Enter the telephone number.
TORECEIVE A CALL
➤During ringing, press L1.
➤Begin speaking into the microphone.
TOADJUST RING VOLUME
➤Press FNC/CLEAR.
➤Press F2 to turn off, F3 to turn up or F1 to turn down.
➤Press selection repeatedly until desired setting or SILENCE appears in the
display.
➤Press L1 to enter new volume.
*If volume is turned off, the silent ring icon (S) will appear in the display.
TOSELECT INCOMING CALL VIBRATION NOTIFICATION
➤Press FNC/CLEAR.
➤Enter 06.
➤Press F1 to turn on or F3 to turn off.
➤Press L1 to enter vibration setting.
*The incoming call vibration notification indicator (V) will appear in the
display.
Basic Operation
NECK-008 Inside Final 5/3/01 9:35 AM Page 4

5
Elite Wireless supports 11 preset keys, 10 programmable softkeys and 6
programmable message softkeys. All can be accessed by pressing the F1, F2 or F3
feature keys then pressing the up and down scroll keys as needed to move between
levels. Preset features include:
DIR Directory
SPD Speed Dialing
LNR Last Number Redial
CFW Call Forwarding
TRF Call Transfer
CPN Calling Party Number
HLD Hold
VOL Call Volume Control
or Scroll Display
PAUSE Inserts pause in dialing sequence
S1 – S9 Programmable softkeys
M1 – M6 Programmable message keys
VM Voicemail
TM Text Messaging
NOTE: Text Messaging is not supported on Electra Elite.
F1 F2 F3
Level 0 Pause
Level 1 DIR SPD LNR
Level 2 CPN CFW
Level 3 HLD TRF VOL
Level 4 S1 S2 S3
Level 5 S4 S5 S6
Level 6 S7 S8 S9
Level 7 M1 M2 M3
Level 8 M4 M5 M6
Level 9 TM VM
Features
NECK-008 Inside Final 5/3/01 9:35 AM Page 5

6
TOENTER NAMES IN THE DIRECTORY
➤Press FNC/CLEAR.
➤Enter 03.
➤Press F1.
➤Key in the name using the following chart:
➤When the name is complete, Press L1.
➤Enter the number.
*If a pause is required (after trunk access 9 for an outside line) press F2 to
insert a pause.
➤Press L1 to enter directory.
➤Press L1 again to confirm.
➤Press END/PWR to exit.
Times 12345 12345
Key Upper Lower
1.,1 .,1
2ABC2 abc2
3DEF3 def3
4GHI4 ghi4
5JKL5 jkl5
6MNO6 mno6
7PQRS7pqrs7
8TUV8 tuv8
9WXYZ9wxyz9
0SP–0 SP–0
**( *(
##) #)
PAUSE Change to lower case Change to upper case
FNC/Clear Delete entry Delete entry
NECK-008 Inside Final 5/3/01 9:35 AM Page 6

7
TOUSE DIRECTORY DIALING
➤While in standby mode, press F1.
➤To search the directory in alphabetical order, press SCROLL DOWN.
*You may push SCROLL UP to scan in reverse order.
➤To search the directory by name, key in the first few letters of the person’s last
name then push the down key until the desired selection appears.
➤Once you’ve found the name, press L1 to dial the number.
➤To make another selection, press END/PWR then repeat above steps.
TOENTER SPEED DIAL NUMBERS
➤Press FNC/CLEAR.
➤Enter 04.
➤Press F1.
➤Enter your speed dial number 01 through 20.
➤Press L1 to enter.
➤Key in the name using the chart on page 6.
➤Press L1 to enter name.
➤Key in the digits for that number.
➤Press L1 to enter digits.
➤Press L1 again to confirm.
➤Press END/PWR to exit.
NOTE: Do not remove the battery until at least one minute has elapsed since entering Directory or Speed Dial numbers.
TOUSE SPEED DIAL NUMBERS
➤While in stand-by mode, press F2.
➤Key in the speed dial number 01 through 20.
➤Press L1 to dial the number or press one of the SCROLL keys to scroll
through the list of speed dial entries.
TOACCESS LAST NUMBER REDIAL
➤While the phone is in standby mode, press F3.
➤The PSII will display the last number dialed.
➤If that is the number you wish to dial, press L1.
➤If that is not the number you wish to dial, press SCROLL DOWN to scroll
through the last five numbers dialed.
NOTE: The PSII retains the last five numbers you have called.
NECK-008 Inside Final 5/3/01 9:35 AM Page 7

8
TOUSE CALL FORWARDING
NOTE: Before using this feature, call forward access codes need to be established. Refer to Functions to set access codes.
➤While the phone is in standby mode, press SCROLL DOWN.
*If access codes are not established, display will show CFW Empty.
CALL FORWARD BUSY
➤Press F2 to select call forwarding.
➤Press F1 to set the extension to forward busy calls.
➤Press L1.
➤Dial the destination number to forward the calls or press SCROLL DOWN
key for Call Forward D/A.
CALL FORWARD D/A
➤Press F2 to select call forwarding.
➤Press SCROLL DOWN.
➤Press F1 to set the extension to forward calls which are not answered.
➤Press L1.
➤Dial the destination number to forward the calls or press SCROLL DOWN
key for Call Forward All.
CALL FORWARD ALL
➤Press F2 to select call forwarding.
➤Press SCROLL DOWN twice.
➤Press F1 to set the extension to forward all calls.
➤Press L1.
➤Dial the destination number to forward the calls or press SCROLL DOWN
key for Call Forward N/R.
CALL FORWARD N/R
NOTE 1: Call forward N/R is not supported on Electra Elite. Press SCROLL DOWN key for Call
Forward Busy.
NOTE 2: One default access code is provided for Call Forward Busy / Call Forward No Answer. Check
with your system administrator for additional access codes.
TOTRANSFER A CALL
➤With a call in progress, press F2.
*You will hear a special dial tone.
➤Key in the telephone number you wish to transfer the call to.
➤Press END/PWR to complete the transfer. Your PSII will return to the
standby mode.
NECK-008 Inside Final 5/3/01 9:35 AM Page 8

9
TOUSE CALLING PARTY NUMBER
The PSII retains the numbers of the last five calls received.
➤While the phone is in the standby mode, press the SCROLL DOWN key.
➤Press F1. The PSII displays the number of the person who called you
most recently.
➤Press SCROLL DOWN repeatedly to scroll through the numbers of the last
five people who called you.
➤When you find the number you wish to call, press L1.
*If you wish to call someone who called you from outside the office, enter the
access code (for example “9”) before accessing CPN.
TOPLACE A CALL ON HOLD
➤With a call in progress, press F1.
*You will hear internal dial tone.
➤Press L1 to retrieve the call from hold.
TOSET CALL PARK
➤With call in progress, press F2.
➤Dial the Call Park Set access code 4* and choose the park location (0-9).
➤Press END/PWR to complete the transfer.
TORETRIEVE A PARKED CALL
➤Press L1.
➤Dial the Call Park Retrieve access code 4# and choose the park location (0-9).
➤Talk with party.
TOINITIATE A CONFERENCE CALL
➤With a call in progress, press F2.
*The party is placed on hold.
➤Dial an internal station and announce conference.
➤Press L1 to complete the conference and talk with both parties.
NOTE: Repeat above procedure to add a fourth party. No more than one outside party can participate in a
conference.
TOADJUST CALL VOLUME
➤With call in progress, press F3 to adjust call volume.
➤Press F1 to lower and F3 to increase call volume.
NECK-008 Inside Final 5/3/01 9:35 AM Page 9

10
Digits
Dialed Function F1 F2 F3
01 Ring Volume DWN OFF UP
02 Speaker Ring ON OFF
03 Directory ADD CHG DEL
04 Speed Dial ADD CHG DEL
05 Key Lock ON OFF
06 Vibration ON OFF
07* Auto Answer ON OFF
08 Headset Ring ON AUT OFF
09 Number Display ON OFF
10 Key Click ON OFF
11 Key Light ON OFF
12 LED Flash ON OFF
13* Trunk Ring << >> Default is 2
14* Station Ring << >> Default is 1
15 Service Alarm ON OFF
16 Confirmation Tone ON OFF
17 Answer Tone ON OFF
18 Modem Dial ON OFF
19 Set Softkey SET RST
20 CFW Busy SET RST
21 CFW D/A SET RST
22 CFW All SET RST
23** CFW N/R SET RST
24 Message Keys SET RST
25 Voicemail SET RST
26** Message Storage HNL NL ---
27** Protect TMM SET RST
28 Power On Message SET RST
29 Password SET RST
30 Protect Directory ON OFF
31 Default Set SET
32 Reset All SET
Functions
NOTE: All defaults are in bold type.
*L1 only supported for Elite. If L2 is selected, an error tone is heard.
**Not available for Elite.
NECK-008 Inside Final 5/3/01 9:35 AM Page 10

11
TOPROGRAM/ERASE SOFTKEYS
➤Press FNC/CLEAR.
➤Enter 19.
➤Press F1 to Program or F3 to Reset.
➤Press the number of Softkey to Program/Erase (1-9).
➤Press L1 to confirm.
➤Press L1 again to confirm Program/Erase or END/PWR to cancel.
➤To Program enter up to 3 characters or numbers to display for Softkey.
➤Press L1 to confirm.
➤You may need to precede the access code or extension with a hook-flash. If so,
select F1. Otherwise select F3.
➤Enter up to 40 numbers to dial or access codes to initiate.
➤Press L1 to enter.
➤Press L1 again to confirm.
ACCESS SOFTKEYS
For this example, let’s assume that a PSII’s Softkey codes have been programmed as
follows:
Softkey# Name Number
S1 TIM 100
S2 PRK H4*
S3 RET 4#
S4 911 9911
S5 No entry No entry
S6 No entry No entry
S7 No entry No entry
S8 No entry No entry
S9 MOM 916065551212
NOTE: The “H” in S2’s number refers to a hook-flash sent to the switch used for off-hook dialing.
EXAMPLE: TO USE SOFTKEY 1.
➤With the PSII in a stand-by mode, press the Scroll Down key three times.
➤Press F1.
➤The PSII displays the extension.
➤Press L1 to call. The number in the display disappears, then reappears digit by
digit from the right end of the display as the PSII dials the number.
➤The call number blinks. The PSII automatically shifts to talk mode.
NECK-008 Inside Final 5/3/01 9:35 AM Page 11

12
TOPROGRAM/ERASE MESSAGE KEYS
➤Press FNC/CLEAR.
➤Enter 24.
➤Press F1 to Program or F3 to Reset.
➤Enter the number of Message Key to Program/Erase (1-6).
➤Press L1 to confirm.
➤Press L1 again to confirm Program/Erase or END/PWR to cancel.
➤Enter up to 3 characters or numbers to display for Message Key.
➤Press L1 to confirm.
➤You may need to precede the access code or extension with a hook-flash. If so,
select F1. Otherwise, select F3.
➤Enter up to 40 numbers to dial or access codes to initiate.
➤Press L1 to enter.
➤Press L1 again to confirm.
TOACCESS MESSAGE KEYS
➤While in standby mode, press the Scroll Up key 4 times for key 1-3 or 3
times for key 4-6.
➤Press F1 for Message Key 1 or 4, F2 for Message Key 2 or 5, or F3 for Message
Key 3 or 6.
➤Press L1 to call.
TOPROGRAM/ERASE VM SPEED DIAL
➤Press FNC/CLEAR.
➤Enter 25 for Voicemail.
➤Press F1 to Program or F3 to Reset.
➤To Program, enter your Voicemail extension number then press L1. Or to
Erase, press L1.
➤Press L1 again to confirm.
SPEAKER RING
Allows you to disable incoming calls from ringing while on a call.
TO CHANGE SPEAKER RING:
➤Press FNC/CLEAR.
➤Enter 02.
➤Press F3 to disable speaker ring or press F1 to enable speaker ring.
➤Press L1 to enter.
NECK-008 Inside Final 5/3/01 9:35 AM Page 12

13
KEYPAD LOCK
Allows you to carry your phone without fear that buttons may be inadvertently
pushed, activating the phone.
TO LOCK KEYPAD:
➤Press FNC/CLEAR.
➤Enter 05.
➤Press F1 to lock keys.
➤Press L1 to enter. The keylock status icon ( ) will appear on the LCD display.
NOTE: After locking the keypad keys, you can still receive incoming calls.
TO UNLOCK KEYPAD:
➤Press FNC/CLEAR and hold it down for more than two seconds.
AUTOMATIC ANSWER
Enables you to receive calls without first having to press the L1 button.
NOTE: Automatic Answer is not active when L1 is busy.
TO TURN ON/OFF AUTOMATIC ANSWER:
➤Press the FNC/CLEAR button.
➤Enter 07.
➤Press F1 to select line.
➤Press F1 to turn on or F3 to turn off.
➤Dial the number of seconds you want the phone to ring (0 to 20) before the
call is automatically answered. Or, press L1 to confirm off.
➤Press L1 to enter.
*The Auto Answer icon (ANS) will appear on the LCD display.
NOTE: L1 only supported for Elite. If L2 is selected, an error tone is heard.
HEADSET RING
When using a headset, allows phone to ring through to headset.
TO SELECT HEADSET RING MODE:
➤Press FNC/CLEAR.
➤Enter 08.
➤Press F1 to turn on, F3 to turn off, or F2 to activate automatic mode.
➤Press L1 to confirm.
NOTE: Automatic headset ring causes your phone to ring automatically in the headset whenever a headset is
plugged in.
NECK-008 Inside Final 5/3/01 9:35 AM Page 13

14
NUMBER DISPLAY
Display PSII extension when L1 is pressed.
TO TURN NUMBER DISPLAY ON/OFF:
➤Press FNC/CLEAR.
➤Enter 09.
➤Press F1 to enable or F3 to disable Number Display.
➤Press L1 to confirm.
KEY CLICK
Enables you to hear a beep as you press each key.
TO TURN ON/OFF KEY CLICK:
➤Press FNC/CLEAR.
➤Enter 10.
➤Press F1 to turn on or F3 to turn off Key Click.
➤Press L1 to confirm.
KEY LIGHT
Controls the back-lit display.
TO TURN KEY LIGHT ON/OFF:
➤Press FNC/CLEAR.
➤Enter 11.
➤Press F1 to turn on or F3 to turn off Key Light.
➤Press L1 to confirm.
LED FLASH
Controls LED Ring Indicator. Red Light indicates incoming call.
TO TURN ON/OFF LED FLASH:
➤Press FNC/CLEAR.
➤Enter 12.
➤Press F1 to turn on or F3 to turn off LED Flash.
➤Press L1 to confirm.
NECK-008 Inside Final 5/3/01 9:35 AM Page 14

15
STATION/LINE RING
Allows you to assign ring patterns that tell users whether an incoming call is from
an internal or external source.
TO CHANGE RING PATTERNS:
➤Press FNC/CLEAR.
➤Enter 14 for Station or 13 for Line.
➤Press F1 to select line.
➤Press orkeys to select a different Station/Line Ring pattern.
➤Press L1 to confirm.
NOTE 1: The default Station Ring pattern is 1. The default Line Ring pattern is 2.
NOTE 2: L1 only supported for Elite. If L2 is selected, an error tone is heard.
SERVICE ALARM
Enables you to know when you are in an area without service, if the battery is
running low or if you are approaching the eight-hour usage time-limit.
NOTE: By FCC regulation, a single conversation is limited to eight hours. Of course, you can always hang
up and redial to continue your conversation if necessary.
TO TURN ON/OFF SERVICE ALARM:
➤Press FNC/CLEAR.
➤Enter 15.
➤Press F1 to turn on or F3 to turn off Service Alarm.
➤Press L1 to confirm.
CONFIRMATION TONE
Enables you to hear a tone that lets you know you have made an error or confirms
that you entered information properly.
TO TURN ON/OFF CONFIRMATION TONE:
➤Press FNC/CLEAR.
➤Enter 16.
➤Press F1 to turn on or F3 to turn off Confirmation Tone.
➤Press L1 to confirm.
NECK-008 Inside Final 5/3/01 9:35 AM Page 15

16
ANSWER TONE
Enables you to hear a warning tone for an incoming call before Auto Answer.
TO TURN ON/OFF ANSWER TONE:
➤Press FNC/CLEAR.
➤Enter 17.
➤Press F1 to turn on or F3 to turn off Answer Tone.
➤Press L1 to confirm.
MODEM DIAL
NOTE: The first digit sent by the modem will set Dterm PSII to off-hook and start dialed digits. Some
modems/applications may not work properly.
TO TURN ON/OFF MODEM DIAL:
➤Press FNC/CLEAR.
➤Enter 18.
➤Press F1 to turn on or F3 to turn off Modem Dial.
➤Press L1 to confirm.
CALL FORWARDING BUSY
Enables you to set the access code which is used to establish call forwarding when
your line is busy.
NOTE: Check with your system administrator for the list of access codes.
TO SET THE CALL FORWARDING BUSY ACCESS CODES:
➤Press FNC/CLEAR.
➤Enter 20.
➤Press F1 for Set Code or F3 for Cancel Code.
➤Key in the access code to establish call forwarding when busy.
Example: 43 = Call Forward Busy Set. 44=Call Forward Busy Cancel.
➤Press L1 to enter.
➤Press L1 to confirm.
NECK-008 Inside Final 5/3/01 9:35 AM Page 16

17
CALL FORWARDING DOESN’TANSWER
Enables you to set the access code which is used to establish Call Forwarding when
you do not answer the phone.
NOTE: Check with your system administrator for the list of access codes.
TO SET THE CALL FORWARDING DOESN’T ANSWER ACCESS CODES:
➤Press FNC/CLEAR.
➤Enter 21.
➤Press F1 for Set Code or F3 for Cancel Code.
➤Key in the access code to establish call forwarding when call is not answered.
Example: 43 = Call Forward Doesn’t Answer Set. 44 = Call Forward Doesn’t
Answer Cancel.
➤Press L1 to enter.
➤Press L1 to confirm.
CALL FORWARDING ALL
To set the access code to establish Call Forwarding for All Calls.
NOTE: Check with your system administrator for the list of access codes.
TO SET THE CALL FORWARDING ALL ACCESS CODES:
➤Press FNC/CLEAR.
➤Enter 22.
➤Press F1 for Set Code or F3 for Cancel Code.
➤Key in the access code to establish Call Forwarding for All Calls.
Example: 41 = Call Forward-All Set. 42 = Call Forward-All Cancel.
➤Press L1 to enter.
➤Press L1 to confirm.
POWER ONMESSAGE
Allows you to set a message that displays as the PSII powers up.
TO SET/RESET A POWER ON MESSAGE:
➤Press FNC/CLEAR.
➤Enter 28.
➤Press F1 to Set or F3 to Reset.
➤Press L1 to enter.
NOTE 1: Use the chart on page 6 to key in each letter that makes up the Power On Message. The Power
On Message can have a maximum of 22 characters.
NOTE 2: You may wish to enter your name and phone number as the Power On message.
NOTE 3: When power on message is reset the default message (“Please Wait”) will display.
NECK-008 Inside Final 5/3/01 9:35 AM Page 17

18
PASSWORD
Enables you to set a password. Passwords are 4 characters long. The default
password is 0000.
TO SET A PASSWORD:
➤Press FNC/CLEAR.
➤Enter 29.
➤Press F1 to set a password.
➤Enter old password.
➤Press L1 to confirm old password.
➤Key in new password.
➤Press L1 to confirm the password.
➤Key in new password a second time.
➤Press L1 to confirm.
TO CANCEL A PASSWORD:
➤Press FNC/CLEAR.
➤Enter 29.
➤Press F3.
➤Key in current password.
➤Press L1 to confirm.
*The password is now reset to: 0000.
PROTECT DIRECTORY
Enables you to protect the directory so even if you use Reset All, your directory
will not be erased. This will also prevent all access to the directory.
TO TURN ON/OFF PROTECT DIRECTORY:
➤Press FNC/CLEAR.
➤Enter 30.
➤Press F1 to turn on or F3 to turn off protection.
➤Key in password.
➤Press L1 to confirm.
NECK-008 Inside Final 5/3/01 9:35 AM Page 18
This manual suits for next models
1
Table of contents
Other NEC Cordless Telephone manuals

NEC
NEC DTR-1R-2 User manual

NEC
NEC IP3NA-12TXHBT User manual

NEC
NEC Dterm Cordless II DTR-4R BK User manual

NEC
NEC Dterm Cordless II User manual

NEC
NEC SL1000 User manual

NEC
NEC Dterm Cordless Lite II User manual

NEC
NEC NCS User manual

NEC
NEC Dterm DTZ-8R-1 User manual

NEC
NEC Dterm Analog Cordless User manual

NEC
NEC IP3NA-BCH User manual