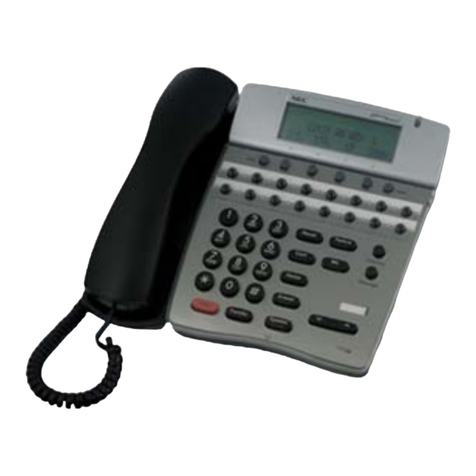
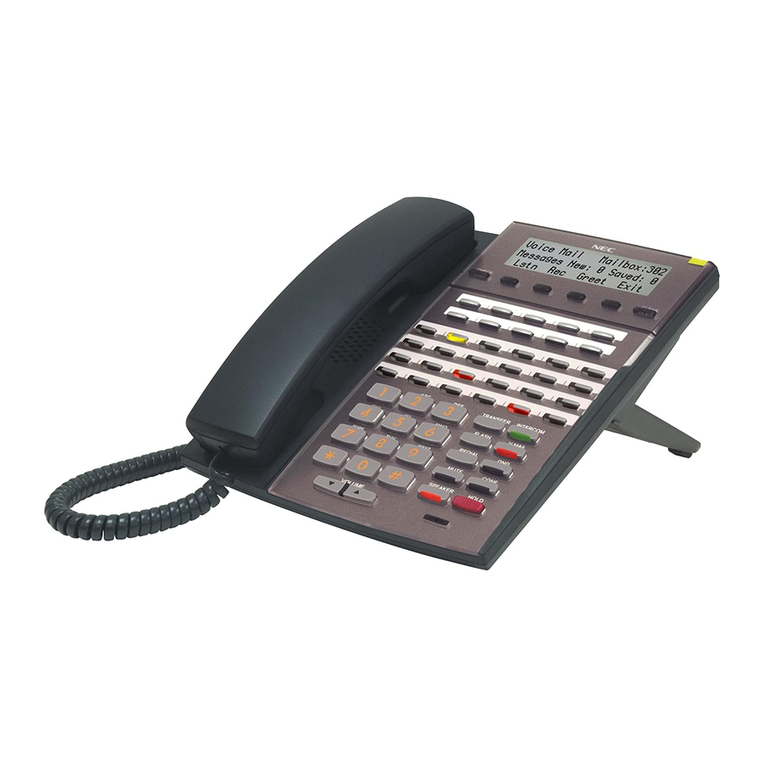
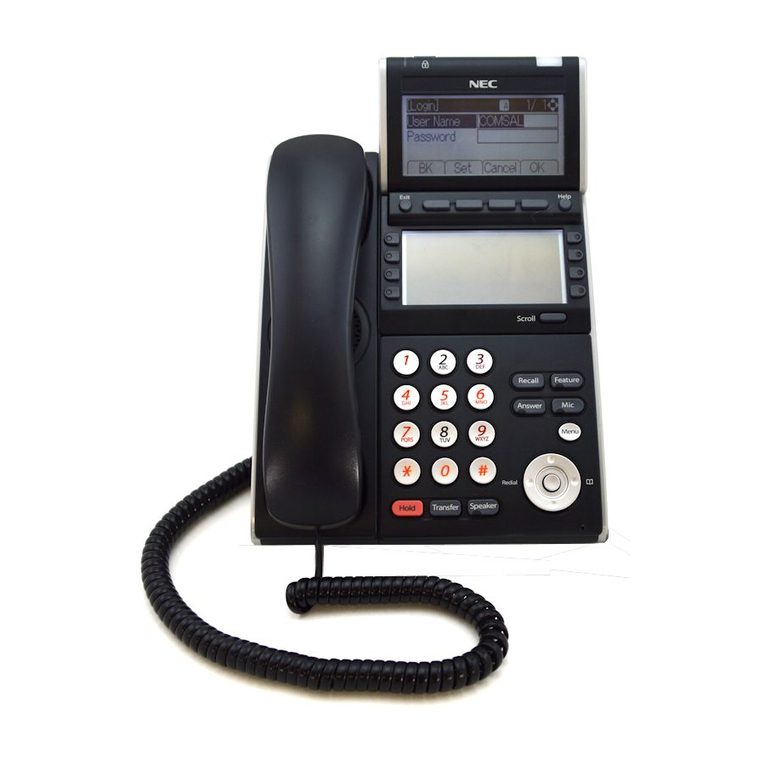
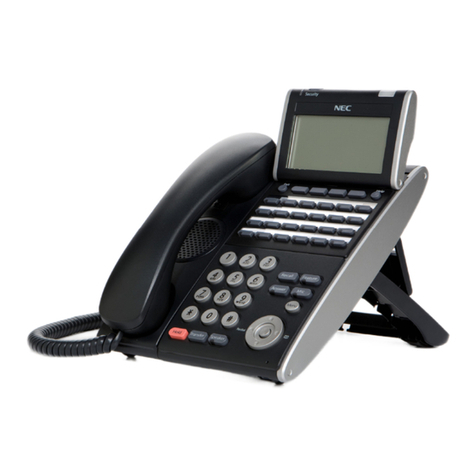
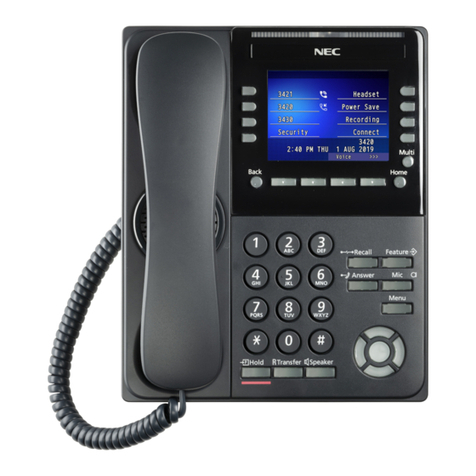
NEC Univerge DT820 User manual

P/N 610-404r1 2/2016
DT820 (ITY-8LD) PHONE
FOR 3C SYSTEM PLATFORMS
PLACING CALLS
The or icon in the display indicates that the terminal is
currently not registered with any server and you cannot make
any calls.
The icon indicates that the network cable is disconnected.
You cannot make any calls.
The icon indicates that the terminal is successfully regis-
tered with a server.
To place calls:
1. Lift the handset, press the Speaker key, or press the NewCall
softkey to receive dial tone.
2. Enter the telephone number of the person you want to call,
including an outside access code (for external calls).
3. Press the Dial softkey to initiate the call, or wait a few sec-
onds for the call to be automatically dialed.
4. When the dialed party answers, use the handset, headset or
MIC to start the conversation.
ANSWERING CALLS
•Using the handset: Lift the telephone handset.
•Using the speaker: Press the Speaker key.
•Using a headset: Press the Answer key.
•If you are in the Personal Directory, Call History or Menu
screens: Press the Line Key to view the caller information,
then use the handset, speaker or headset to answer the call.
PHONE FEATURES
1. Hold - Places current call on hold.
• To resume the held call, press the Hold key, or press the
Resume Soft Key.
• During a held call, you can dial another party by pressing the
New Call Soft Key, which provides dial tone.
• On hold duration is displayed in MM:SS format for the first
hour of the call, and then HH:MM format for the remainder of
the call. The maximum duration is 99:59:59.
2. Transfer - Initiates/completes a transfer.
3. Speaker - Full-duplex speaker phone capability. The LED lon
this key lights when the speaker is active.
4. Recall - Press to receive dial tone.
5. Feature - This key displays a set of menu options that provide
additional capabilities such as Speed Dial key programming
and Microbrowser applications.
12
3
10
13
12
6
7
4
5
9
8
14
15 16
11
15

2
6. Answer - Press this key to answer an incoming call.
7. Mic - Press key to mute the microphone. The LED on this key
flashes when the microphone is muted. Press the key again
to un-mute the microphone.
8. Menu - Accesses user settings and information local to the
phone.
9. Cursor Pad - Use this key to access various features with
simple operation.
•Redial - Pressing this key re-dials the last number dialed.
•Directory - Pressing this key opens Personal Directory
menu.
•dUp/bDown: Used to adjust ringer volume and call vol-
ume.
•Handset, Headset and Speaker call volume: Press (UP)
or (DOWN) key during conversation.
•Ringer Volume: Press (UP) or (DOWN) key while ring tone
is playing.
•Soft Ring Volume: Press (UP) or (DOWN) key while Soft
Ring is playing.
•Enter:
• Press to select the highlighted menu item.
•Cursor Pad Within Menu Screens:
•Up - Move the highlighted area one line up the screen.
•Down - Move the highlighted area one line down the
screen.
•Left - Go back to the previous screen.
•Right - Go to the screen which corresponds to the high-
lighted menu item.
•Enter - Go to the screen which corresponds to the high-
lighted menu item.
10.Line Key - This LED is lit when you have a dial tone or are
on a telephone call. For concurrent calls, press this LED to
switch the focus between calls.
11.DESI-Less (Label-free) Page Display/Programmable
Keys/Speed Dial Keys - LCD that displays programmable
key information. Programmable keys can be Speed Dial
Keys. Press a key to automatically dial the speed dial num-
ber or star code.
12.Softkeys - The softkeys show the available features for your
current activity. Any feature shown at the bottom of the LCD
is available.
13.Exit - This key allows you to exit from the Menu or Help mode
and go back to the telephone main screen.
14.Help - Press this key to display information about the soft-
keys that are in the current LCD display.
15.LCD - Displays call information and options, Menu informa-
tion and softkeys.
16.Call Indicator Lamp -
• If missed call notification for the call indicator lamp is disabled
(default), the lamp flashes for incoming and missed calls, and
displays steady red for message waiting.
• If missed call notification for the call indicator lamp is enabled,
the lamp flashes for incoming calls and missed calls, includ-
ing missed calls where someone has left a voice mail. The
lamp only display steady red if you still have messages wait-
ing after you have cleared your missed calls.
17.Scroll - Press to scroll to the next page of Speed Dial Keys
(maximum 4 pages).
SOFTKEYS
Softkeys are buttons that change function depending on the sit-
uation. Their current function is highlighted immediately above
the button on the LCD screen.
NewCall - Generates dial tone for a call.
Voicemail - Automatically dials the voice mail extension on
your system. This feature may not be available on all systems.
Pickup - Answers calls to other users in your Pickup group from
your phone. This feature may not be available on all systems.
EndCall - Terminates the current call.
Conference/Conf - Initiates/completes a conference.
Resume - Takes the call off Hold status.
Dial - Dials the number.
Delete - Deletes the last digit entered (backspace).
Reject - Transfers call to your Voice Mail or forwarding condi-
tions.
BASIC SETTINGS
• To adjust ringer volume (handset or headset)
Press the up/down db cursor key while on-hook.
• To adjust call volume (handset or headset):
Press the up/down db cursor key in the off-hook status or
during a call.
• To adjust speaker volume
Press the up/down db cursor key during speaker phone
operation, or during a call that is being played on the speaker.
• To adjust LCD contrast
Press the Menu key and select 3User Settings, 5LCD Set-
tings, 1LCD Contrast, then use the softkeys to adjust the LCD
contrast.
• To adjust LCD Backlight Timeout
Press the Menu key and select 3User Settings, 5LCD Set-
tings, 2LCD Backlight Timeout, then use the telephone key-

3
pad to enter a new backlight timeout (in seconds) and press the
OK softkey.
CALL HISTORY
You can view information about Missed Calls, Received Calls
and Placed Calls on your telephone.
The phone stores call information for the most recent 50 calls,
displaying the newest entries first. For multiple phone calls from
the same telephone number, the most recent time and date
information for that number is shown. If you have a Personal
Directory entry that matches a number in your Call History, the
name from the Personal Directory is shown.
The / icon indicates a missed call, and depending on the
administrator’s configuration of your phone, the Call Indicator
Lamp may light. This icon and the Call Indicator Lamp are
cleared after you check the Call History.
To view Missed Calls:
1. Press the Menu key.
2. Select 2Call History.
3. Select 1Missed Calls.
4. Use the Up and Down softkeys or the dUp/bDown
keys on the cursor pad to scroll through the missed call infor-
mation.
To view Received Calls:
1. Press the Menu key.
2. Select 2Call History.
3. Select 2Received Calls.
4. Use the Up and Down softkeys or the dUp/bDown
keys on the cursor pad to scroll through the received call
information.
To view Placed Calls:
1. Press the Menu key.
2. Select 2Call History.
3. Select 3Placed Calls.
4. Use the Up and Down softkeys or the dUp/bDown
keys on the cursor pad to scroll through the placed call infor-
mation.
CALL WAITING/CONCURRENT CALLS
Note:The call waiting feature and maximum number of concur-
rent calls you can receive is determined by your system
administrator.
If you have call waiting on your phone line, you will hear a tone
in your handset and the call indicator lamp flashes when
another call on the line is waiting for consultation.
To answer the other incoming call (Call Waiting):
1. You will hear a tone that indicates you have another call. Also,
the Call Indicator Lamp on the phone will blink.
2. Do one of the following:
•To review the caller information before answering the
call: Press the Line Key, and then press the Answer key to
take the call, or press the Reject softkey to reject the call.
•To answer the call without reviewing the caller informa-
tion: Press the Answer key.
3. When you have completed the call, press the EndCall softkey
to end the call and return to your original call.
4. Press the Resume softkey to resume the original call.
To place a second call (Concurrent call):
If it is enabled by your system administrator, you can place a
new call while you are on another call. They will be treated like
two separate phone calls and you cannot switch between
phone calls.
1. Do one of the following:
• Press the Hold key to place the current call on hold, then
press the NewCall softkey to get dial tone.
• Press the Recall key to get dial tone.
2. Enter the phone number you want to call.
3. Press the Dial softkey to initiate the call, or wait a few sec-
onds for the call to be automatically dialed.
4. When you have completed the call, press the EndCall softkey
to end the call and return to your original call.
5. Press the Resume softkey to resume the original call.
To switch between calls:
• Press the Shuttle softkey to switch between the calls.
TRANSFERRING CALLS
To transfer a call:
• Consult with the other party (Attended Transfer)
1. While on a call press the Transfer key.
2. Use the key pad to dial the telephone number to which the
held call is to be transferred.
3. If you want all three parties to speak together, then a 3-way
call can be established by pressing the Conf or Conference
softkey.
4. If you decide not to complete the transfer, then the call can be
terminated by pressing the EndCall softkey.
5. You can complete the transfer by pressing the Transfer key.
• Transfer without consulting with the other party (Blind
Transfer)
1. While on a call press the Transfer key.
2. Press the Blind softkey, then use the use the key pad to dial
the telephone number to which the held call is to be trans-
ferred.
3. You can complete the transfer by pressing the Transfer key.


4
CONFERENCE CALLS
To conference a call:
1. While on a call, press the Conference or Conf softkey.
2. Use the key pad to dial the telephone number of the party to
be joined in the conference.
3. Press the Dial softkey to initiate the call, or wait a few sec-
onds for the call to be automatically dialed.
4. If you want to transfer the held party instead, press the Trans-
fer key.
5. If you decide not to complete the conference, then the call
can be terminated by pressing the EndCall softkey.
6. You can complete the conference by pressing the Conf or
Conference softkey.
Hang Up while conferencing:
• If you are establishing a conference call and want to hang up
on the person you are calling, press the EndCall softkey.
If you hang up the telephone handset or press the Speaker
key while the phone for the third party is still ringing, the other
two parties will be connected in a blind transfer call.
Note:Do not hang up the telephone handset or press the
Speaker key unless you want the two calls to be con-
nected in a blind transfer call. You can hang up the tele-
phone handset or press the Speaker key after you
connect with all the callers.
CALL PICKUP
To pick up a call:
1. When a new call arrives, press the Pickup softkey.
2. Depending on the type of call you want to pick up, do one of
the following:
• To answer a call ringing on a specific extension:
• Press the Extn softkey.
• Enter the number of the extension you want to pick up.
• Press the Pickup softkey.
• To answer a call from a Pickup Zone:
• Press the Zone softkey.
• Enter the zone number from which you want to pick up the
call.
• Press the Pickup softkey.
• To answer a call from your Pickup Group:
• Press the Group softkey.
DND (DO NOT DISTURB)
Note: This feature may not be available on all phones.
To start Do Not Disturb (DND), press the DND key on your
phone. The or icon is shown.
To end Do Not Disturb (DND), press the DND key on your
phone a second time.
THE PERSONAL DIRECTORY
To access the Personal Directory using the Menu Key:
Do one of the following, depending on your system:
• If there is not a Corporate Directory on your system:
3. Press the Menu key.
4. Select 1 Personal Directory.
• If there is a Corporate Directory on your system:
1. Press the Menu key.
2. Select 1Directory.
3. Select 1 Personal Directory.
To access the Personal Directory using the cursor pad:
Do one of the following, depending on your system:
• If there is not a Corporate Directory on your system:
1. Press the Directory key (right cursor pad key).
2. Select 1 Personal Directory.
• If there is a Corporate Directory on your system:
1. Press the Directory key (right cursor pad key).
2. Select 1 Directory.
3. Select 1 Personal Directory.
Using the Personal Directory:
Use the Up and Down softkeys or the d Up/b Down
keys on the cursor pad to scroll through the Personal Directory,
and use the softkeys to Add, Edit and Delete entries.
To view a specific Personal Directory entry:
1. Use the Up and Down softkeys or the dUp/bDown
keys on the cursor pad to scroll through the Personal Direc-
tory.
2. Press the More softkey twice and then the Detail softkey to
view the details for that entry.
This displays the name and number for the entry, along with
the Speed Dial and Monitor settings.
3. Press the Exit softkey to exit details screen and return to the
Personal Directory.
To add a Personal Directory entry:
1. Press the Menu key.
2. Select 1Personal Directory.
3. Press the More softkey, and then the Add softkey.

5
4. Use the keypad to enter the a name for the Speed Dial key,
then press Enter b on the cursor pad or the OK softkey. Use
the “*” key to switch between uppercase and lowercase key-
pad entry mode.
5. Use the telephone keypad to enter a phone number for the
entry and press Enter b on the cursor pad or the OK softkey.
6. Use the telephone keypad to enter a Speed Dial number (if
desired) for the entry and press Enter b on the cursor pad
or the OK softkey.
Note: Only digits, “* “and “#” are accepted as numerical input in
a Speed Dial.
7. If you have set a Speed Dial Key number for this entry, set the
monitor settings for this entry and press Enter b on the cur-
sor pad or the OK softkey.
8. Press the Save softkey to save your changes.
THE CORPORATE DIRECTORY
If it is enabled on your system, you can access a Corporate
Directory.
To access the Corporate Directory using the Menu Key:
1. Press the Menu key.
2. Select 1Directory.
3. Select 2 Corporate Directory.
To access the Corporate Directory using the cursor pad:
1. Press the Directory key (right cursor pad key).
2. Select 1 Directory.
3. Select 2 Corporate Directory.
Using the Corporate Directory:
Use the Up and Down softkeys or the d Up/b Down
keys on the cursor pad to scroll through the Corporate Direc-
tory. Use the softkeys to Search entries and Dial from the Cor-
porate Directory.
SPEED DIAL KEYS
To configure a Programmable Key as a Speed Dial key:
1. When the phone is in idle state, press the Scroll Key to navi-
gate to the page of the key that you want to configure.
2. Press the Feature key.
3. If required, press the Program softkey to enter Programming
Mode.
4. Press the desired Speed Dial key. The Speed Dial key LED
flashes.
Note: For Speed Dial Keys that have already been configured,
the Speed Dial information is shown.
5. Use the keypad to enter the a name for the Speed Dial key,
then press Enter b on the cursor pad or the OK softkey. Use
the “*” key to switch between uppercase and lowercase key-
pad entry mode.
6. Use the telephone keypad to enter a phone number for the
entry and press Enter b on the cursor pad or the OK softkey.
7. Enter b on the cursor pad or the OK softkey to use this
Speed Dial Key number, or use the keypad to edit the num-
ber.
Note:Only digits, “* “and “#” are accepted as numerical input in
a Speed Dial.
8. Select the monitor settings for the Speed Dial, the press Enter
b on the cursor pad or the OK softkey.
Note:Option 3Visual and Soft Ring is not applicable to Spher-
icall systems.
9. Select Show in Directory if you want to also add this entry to
your Personal Directory, and press Enter b on the cursor
pad or the OK softkey.
10.Press the Save softkey to save the Speed Dial information.
11.Press the Exit softkey to exit the Speed Dial Programming
mode.
12.If required, press the Exit softkey to return to the phone’s
main screen.
To originate a call from a Speed Dial Key:
• Press the Scroll key to navigate to the desired page, then
press the desired Speed Dial Key.
Or
Lift the handset, then press the Scroll key to reach the desired
page, and then press the desired Speed Dial Key.
Or
Press the Speaker key, then press the Scroll key to reach the
desired page, and then press the desired Speed Dial Key.
PRESENCE MONITORING
Monitor Presence Icons in the Directories
Type Status Icon
Line Key Registered
Unregistered
Speed Dial Key
(No Monitoring)
Not Available

6
Monitor Presence LED Colors for Speed Dial Keys
USING THE HELP KEY
You can use the Help key to view information about the softkeys
that are displayed on your phone.
1. Press the Help key.
2. Press the softkey you want to see Help information for. You
can use the Up and Down softkeys or the dUp/b
Down keys on the cursor pad to scroll through the help infor-
mation, if needed.
3. Press the Exit softkey to return to the previous screen.
Help screens may not be available for all the softkeys on your
phone.
BLF Idle
Ringing (SIP@Net)
Ringing (3C system)
Subscription Failed
Online
On the Phone
Held
Busy
Type Status DESI-Less LED
Line Key Registered LED is not lit
Unregistered LED is not lit
Speed Dial Key
(No Monitoring)
Not Available LED is not lit
Type Status Icon
BLF Idle LED is not lit
Ringing (SIP@Net) Blinking Red
Ringing (3C system) Blinking Green
Subscription Failed LED is not lit
Online Green
On the Phone Red
Held Blinking Red
Busy Red
Type Status DESI-Less LED
Other manuals for Univerge DT820
7
This manual suits for next models
1
Table of contents
Other NEC Telephone manuals