Netech MT-200 User manual

1
Congratulations on the purchase of our MT-200 contact
tachometer. We trust you will enjoy many years of
professional results from your product.
Please read the entire instruction manual thoroughly before
initial set-up and operation; the information contained
herein will aid you in operating your MT-200 safely and
with excellent results.
INSPECTION/STANDARD ACCESSORIES
If upon delivery shipping damage is detected, do not
operate the tachometer. Notify shipping carrier immediately
for damage claim instructions. Refer to nameplate
and record the serial number for future reference.
Items included with the MT-200:
• Carrying case
• 3 manganese AA batteries
• Cone adapter & Contact adapter
• Funnel adapter
• 6" circumference wheel
• NIST certificate
• Instruction manual
• Reflective tape (35 pieces)
FEATURES AND BENEFITS
The MT-200 tachometer incorporates the latest
microprocessor technology and offers:
• Multiple measurement types: total revolutions (rev);
revolutions per minute (rpm); surface speed: m/min,
y/min, in/min, ft/min; and length: meters, yards, feet
and inches.
• Compact, pocket-size design
• Non-contact rpm measurements up to 60cm away.
• Contact measurements with included contact adapter
• 14 reading memory: minimum, maximum, final, 10
selectable measurements and an average of memory
measurements, up to ten.
• Efficient design; long battery life and continuous operation.
• Automatic conversion of units.
IMPORTANT SAFETY INSTRUCTIONS
Laser radiation may be harmful to the human eye.
Avoid direct exposure of human eyes to laser light.
Eye damage can result.
Never point the unit at another person.
Keep out of the reach of children.
Avoid indirect exposure via reflective materials such
as glass and mirrors.
When power button is depressed, laser is active.
When using the master wheel, do not use an
extension shaft as the wheel may come off of the
shaft and cause damage or injury.
Although the tachometer is able to achieve higher
measurements than what is listed, the master wheel
has a maximum speed limitation of 5000 ft/min (for
safety reasons).
DISPLAY
1. Low battery display
2. Tachometer’s display
3. Max/Min display
4. Main display
Pocket Tachometer (Laser Non-Contact/Contact)
Model MT-200
InstructionManualfor

2
3
OPERATION
Non-Contact Measurements
Measuring revolutions per minute or total revolutions.
1. Attach a piece of reflective tape on the object to be
measured.
NOTE: Accurate measurement may not be acheived if
the rotating object to be measured is shiny. Cover with
black tape or paint then attach the reflective tape.
2. Press the POWER button to turn the tachometer on.
3. Select RPM (revolutions per minute) or REV (total
number of revolutions) by pressing the UNIT button.
4. Aim the laser beam at the reflective tape.
5. Press and hold down the POWER button to start mea-
suring.
6. Press and hold the POWER button to take another
measurement.
Laser - Do not look into the beam. Use protective
eyeglasses that are rated for 670usec for adequate
eye protection.
Contact Measurements
Measuring rotation speed using the cone or funnel-shaped
contact probe.
1. Attach the contact adapter to the tachometer. Do not
over tighten.
2. Attach the cone or funnel adapter to the tachometer
by placing on the adapter shaft. Align the shaft pin
with the notch of the adapter stem.
3. Press the POWER button to turn the tachometer on.
4. Select RPM (revolutions per minute) or REV (total
number of revolutions) by pressing the UNIT button.
5. Press and hold the POWER button to start measur-
ing.
6. Bring the contact probe into contact with the object
to be measured by touching the contact probe slowly
to the center of the rotating object. If the measuring
range of the tachometer is exceeded, “OVR” will ap-
pear on the tachometer’s display.
7. Press and hold the POWER button to take another
measurement.
8. Press the UNIT button to convert between ranges.
When a high-speed rotating object is measured
for hours using a cone or funnel adapter the
surface of the adapter may become very hot.
Measuring surface speed and distance using the 6"
circumference wheel.
1. Attach the contact adapter to the tachometer. Do not
over tighten.
2. Attach the 6" circumference wheel to the tachometer
by placing the wheel on the adapter shaft. Align the
shaft pin with the notch of the wheel stem.
3. Press the POWER button to turn the tachometer on.
4. Select meters/minute (m/M), yards/minute (Y/M),
inches/minute (I/M), feet/minute (F/M), meters (m),
yards (YRd), feet (FT), or inch (IN) depending on which
units you wish to measure.
5. Bring the 6" circumference wheel into contact with the
object to be measured by slowly touching the wheel
to the moving object.
6. Press and hold the POWER button to start measur-
ing.
7. Press the UNIT button to convert between ranges.
When making surface speed or distance
measurements, ensure that the 6" circumference
wheel’s perimeter is parallel to the object to be
measured.
Note: When using the master wheel, accuracy can be af-
fected as much as 0.3% of reading.
Memory Function
The tachometer’s memory capabilities are as follows:
1. Minimum, maximum and last measurements are re-
corded automatically by the tachometer.
2. Ten selectable measurements can be programmed into
memory by pressing the MEM button while the POWER
button is fully depressed (M1, M2, M3, … M10).
3. The average value of sequentially stored memory, up
to ten, can be viewed by pressing the MEM button.
Note: if the memory button (MEM) is not selected while
the POWER button is pressed the measurement will not
be recorded into its memory location, The memory will be
recorded automatically into memory if the measurement
made is the maximum, minimum or last measurement.
To delete stored memories do one of the following:
1. Press the MEM button for five seconds or more. All
memory will be erased after [CCCCC] is displayed.
2. Changing the units of measurements and then making
additional measurements.
3. Memory will be automatically erased if the tachometer
turns off automatically after five minutes.
Battery Replacement
When “LO BAT” flashes on the display, install new
batteries.
To replace the batteries:
1. Slide open the battery cover (located on the rear of
the tachometer).
2. Remove old batteries and insert three fresh AA size
batteries, observing proper polarity. Do not mix old
and new batteries.
3. Slide the battery cover back into place.

2
3
TROUBLESHOOTING
No laser beam is evident:
• Confirm that the POWER button is operating properly.
• Confirm that the batteries are functioning properly and that they are inserted into the tachometer with correct
polarity.
Inaccurate measurement results:
• If the surface being measured is highly reflective, it may need to be painted darker to ensure that the tachometer
can distinguish between the reflective tape and the background.
• The laser beam may not be hitting the reflective tape, or the taped area may be too small.
• Measuring distance may be to short. The minimum distance for non-contact measurements is 12.7cm
DIMENSIONS AND SPECIFICATIONS
SPECIFICATIONSMODELMT-200DisplayRevolutionsperMinute(RPM)SurfaceSpeed(Using6”Wheel)m/min:yards/min:inch/min:feet/min:Length(Using6”Wheel)m:yards:feet:Totalnumberofrevolutions(rev)MeasuringAccuracyRevolution:SurfaceSpeed,Length:MemoryfunctionUpdateTimeDetectionAutoPOWEROfffunctionBatteriesIncludedLowBatteryIndicatorOverRangeIndicatorOperatingTemperatureConstructionOutsidedimensionsWeightAccessories

4WARRANTY
LIMITED EXPRESS WARRANTY: The manufacturer warrants, to the original purchaser of new products only, that this
product shall be free from defects in workmanship and materials under normal use and proper maintenance for one
year from the date of original purchase. This warranty shall not be effective if the product has been subject to overload,
misuse, negligence, or accident, or if the product has been repaired or altered outside of the manufacturer's authorized
control in any respect which in the manufacturer's judgment, adversely affects its condition or operation.
DISCLAIMER OF ALL OTHER WARRANTIES: The foregoing warranty constitutes the SOLE AND EXCLUSIVE WARRANTY,
and the manufacturer hereby disclaims all other warranties, expressed, statutory or implied, applicable to the product,
including, but not limited to all implied warranties of merchantability and fitness.
LIMITATION OF REMEDY: Under this warranty, the manufacturer's SOLE OBLIGATION SHALL BE TO REPAIR OR REPLACE the
defective product or part, at the manufacturer’s option. The manufacturer reserves the right to satisfy warranty obligation
in full by reimbursing Buyer for all payments made to the manufacturer, whereupon, title shall pass to the manufacturer
upon acceptance of return goods. To obtain warranty service, Purchaser must obtain the manufacturer’s authorization
before returning the product, properly repackaged, freight pre-paid to the manufacturer.
INDEMNIFICATION & LIMITATION OF DAMAGES: Buyer agrees to indemnify and hold the manufacturer harmless from
and against all claims and damages imposed upon or incurred arising, directly or indirectly, from Buyer’s failure to perform
or satisfy any of the terms described herein. In no event shall the manufacturer be liable for injuries of any nature involving
the product, including incidental or consequential damages to person or property, any economic loss or loss of use.
MERGER CLAUSE: Any statements made by the Seller’s representative do not constitute warranties except to the extent
that they also appear in writing. This writing constitutes the entire and final expression of the parties’ agreement.
This manual suits for next models
1
Other Netech Measuring Instrument manuals
Netech
Netech LKG 610 User manual
Netech
Netech DigiMano 2000 User manual
Netech
Netech EXPMT 2000 User manual
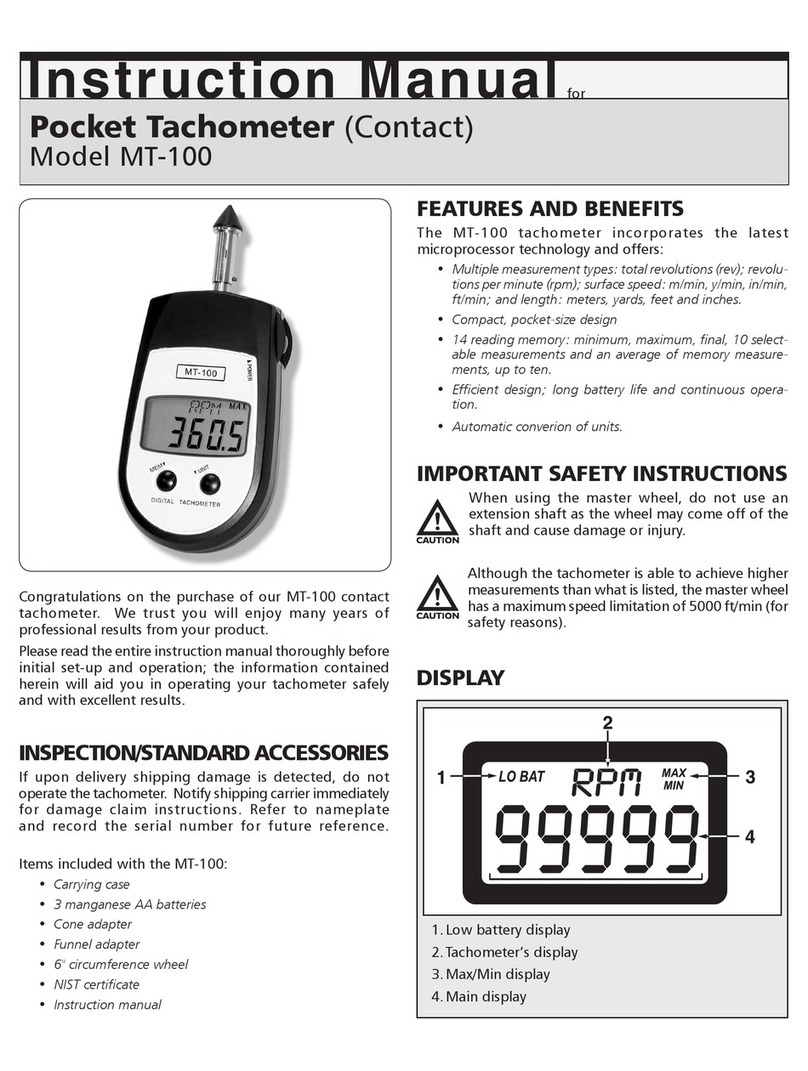
Netech
Netech MT-100 User manual
Netech
Netech MultiPro 2000 User manual
Netech
Netech UniMano 1000 800 Series User manual
Netech
Netech EXPMT 2000 User manual
Netech
Netech DigiMano 2500 Series User manual
Netech
Netech UPM 2000 User manual

Netech
Netech LKG 610 User manual
