manuals.online logo
Brands
  1. Home
  2. •
  3. Brands
  4. •
  5. NETGEAR
  6. •
  7. Modem
  8. •
  9. NETGEAR NIGHTHAWK X4 C7500 User manual

NETGEAR NIGHTHAWK X4 C7500 User manual

Quick Start
AC3200 WiFi Cable Modem Router
Model C7500
X4
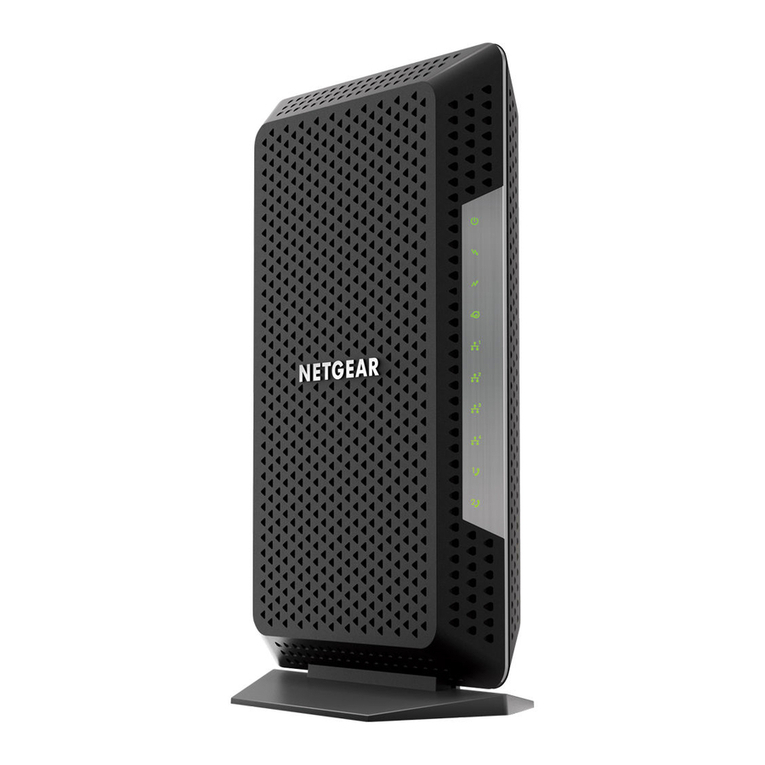
LED Description
Power • Solid white: Power is supplied to the modem router.
• Red: Power is cut off due to a thermal error caused by heat. Move the unit to a
well-ventilated area and power-cycle the unit.
• Off: No power is supplied to the modem router.
Downstream • Solid amber: One downstream channel is locked.
• Solid white: Two or more downstream channels are locked.
• Blinking white: The modem router is scanning for a downstream channel.
• Off: No downstream channel is locked.
Upstream • Solid amber: One upstream channel is locked.
• Solid white: Two or more upstream channels are locked.
• Blinking white: The modem router is scanning for an upstream channel.
• Off: No upstream channel is locked.
Online • Solid white: The modem router is online.
• Blinking white: The modem router is synchronizing with the cable provider’s
cable modem termination system (CMTS).
• Slow blinking amber and white: The modem router reached the trafc meter
limit. (For more information, see the user manual.)
• Off: The modem router is ofine.
2.4 GHz
radio
• Solid white: The 2.4 GHz WiFi radio is on.
• Blinking white: There is WiFi activity on the 2.4 GHz band.
• Off: The 2.4 GHz WiFi radio is off.
5 GHz radio • Solid white: The 5 GHz WiFi radio is on.
• Blinking white: There is WiFi activity on the 5 GHz band.
• Off: The 5 GHz WiFi radio is off.
USB 1 and
USB 2
• Solid white: A USB device is connected and ready.
• Off: No USB device is connected, or someone clicked the Safely Remove
Hardware button and it is now safe to remove the attached USB device.
Ethernet • Solid white: A powered-on device is connected to an Ethernet port.
• Blinking white: The Ethernet port is sending or receiving trafc.
• Off: No device is connected to an Ethernet port.
WiFi On/Off
button with
LED
Pressing this button for two seconds turns the WiFi radios in the modem
router on and off. If this LED is lit, the WiFi radios are on. If this LED is off,
the WiFi radios are turned off and you cannot use WiFi to connect to the
modem router.
Cable Internet
Provider
Support and Activation Contact Information
Cox https://www.cox.com/residential/support/home.html
https://www.cox.com/activate
1-888-556-1193
Mediacom https://support.mediacomcable.com
1-855-Mediacom (1-855-633-4226)
Optimum https://www.optimum.net/support/contact-us
https://install.optimum.com/JointInstall
1-877-810-6750
Sparklight https://support.sparklight.com
1-877-692-2253
Spectrum https://www.spectrum.net/contact-us
https://activate.spectrum.net
1-833-267-6094
Xnity https://www.xnity.com/internetsetup
Use the Xnity app for Xnity activation and then follow the steps in
this document for modem router installation.
Visit netgear.com/support to get your questions answered and access the latest
downloads.
You can also check out our NETGEAR Community for helpful advice at
community.netgear.com.
Customer-owned cable devices might not be compatible with certain cable
networks. Check with your cable Internet provider to conrm that this NETGEAR
cable device is allowed on your cable network.
If you are experiencing trouble installing your modem router, contact NETGEAR
at 1-866-874-8924.
Support and Community
Package contents
Modem router
Ethernet cable Power adapter
LED Description
WPS button
with LED
This button lets you use WPS to join the WiFi network without typing the
WiFi password. The WPS LED blinks during this process and then lights
solid.
January 2021
Coaxial
connector
Power
connector
Before you begin:
• Collect this cable Internet service provider (ISP) account information: your
account mobile phone number, user name, password, and account number.
• Collect this modem router information: the model number, which is C7500,
and the MAC address and serial number from the modem router label.
• If you use Xnity, download the Xnity app from the App store or from
Google Play™. If you already have the Xnity app, make sure you have
updated to the latest version.
Connect your modem router
1. Turn off and disconnect existing modems and routers.
If you are replacing a modem that is currently connected in your home,
unplug the modem and plug the new modem router into the same outlet.
2. Connect a coaxial cable.
Use a coaxial cable to connect the coaxial cable connector on the
modem router to the cable wall outlet. Make sure the cable is tightly
connected.
We recommend connecting directly to the cable wall outlet.
If you must share the connection, use a 3.5dB (1 to 2)
splitter.
3. Connect the power adapter to the modem router and plug the power
adapter into an electrical outlet.
Install the modem router
4. Wait for the Online LED to light solid white for at least one minute.
This process might take up to ten minutes and the modem router might reset
several times.
Note: When the Online LED lights, your modem router is still not connected
to the Internet. You must activate your modem router with your ISP.
If after ten minutes, the LED is still not solid white, verify that the cable outlet is
working, or call your ISP to make sure you have a connection.
Set up and activate your modem router with Xnity
1. If your current modem is leased from Xnity, call Xnity support to remove
your leased modem from your Xnity service.
2. Make sure that your mobile device is using an LTE Internet connection. Do not
connect to a WiFi network.
3. Open the Xnity app and sign in with your Xnity ID.
4. Follow the steps to get online.
5. The activation process takes about ve minutes.
6. On your mobile device, launch a web browser and enter routerlogin.net or
192.168.0.1 in the address eld.
7. Follow the prompts to:
• Agree to the terms and conditions.
• Change your modem router’s admin credentials and set up security
questions.
• Review your WiFi network name and password.
Set up your modem router with another
cable Internet service provider
1. Connect your computer or mobile device to the modem router with WiFi or
Ethernet:
WiFi: Use the WiFi network name (SSID) and password on the modem router
label to connect.
Ethernet: Use an Ethernet cable to connect a computer to an Ethernet port
on the modem router. (Your computer must have an Ethernet port.)
Regulatory and Legal
For regulatory compliance information including the EU Declaration of Conformity, visit
https://www.netgear.com/about/regulatory/.
See the regulatory compliance document before connecting the power supply.
For NETGEAR’s Privacy Policy, visit https://www.netgear.com/about/privacy-policy.
By using this device, you are agreeing to NETGEAR’s Terms and Conditions at
https://www.netgear.com/about/terms-and-conditions. If you do not agree, return the device to your
place of purchase within your return period.
For 6 GHz devices: The operation of this device is prohibited on oil platforms, cars, trains, boats, and aircraft, except
that operation of this device is permitted in large aircraft while ying above 10,000 feet. Operation of transmitters in
the 5.925-7.125 GHz band is prohibited for control of or Communications with unmanned aircraft systems.
NETGEAR, Inc.
350 East Plumeria Drive
San Jose, CA 95134, USA
NETGEAR INTERNATIONAL LTD
Floor 1, Building 3
University Technology Centre
Curraheen Road, Cork,
T12EF21, Ireland
2. Launch a web browser and enter routerlogin.net or 192.168.0.1 in the
address eld.
3. Follow the prompts to:
• Agree to the terms and conditions.
• Change your modem router’s admin credentials and set up security
questions.
• Review your WiFi network name and password.
When the Basic Home page displays, you are ready to activate your Internet
service. Contact your cable Internet service provider.
Note to CATV system installer: This reminder is provided to call the CATV systems installer’s attention
to Section 820-93 of the National Electrical Code, which provides guidelines for proper grounding
and, in particular species that coaxial cable shield shall be connected to the grounding system of the
building as close to the point of cable entry as practical.
© NETGEAR, Inc., NETGEAR and the NETGEAR Logo are trademarks of NETGEAR, Inc. Any
non-NETGEAR trademarks are used for reference purposes only.
Other NETGEAR Modem manuals

NETGEAR LM1200 User manual

NETGEAR

NETGEAR LM1200 User manual

NETGEAR Nighthawk C7100V User manual

NETGEAR

NETGEAR Nighthawk C7100V User manual

NETGEAR DGFV338 - ProSafe Wireless ADSL Modem VPN Firewall... User manual

NETGEAR

NETGEAR DGFV338 - ProSafe Wireless ADSL Modem VPN Firewall... User manual

NETGEAR CM600 User manual

NETGEAR

NETGEAR CM600 User manual

NETGEAR DM111PBL User manual

NETGEAR

NETGEAR DM111PBL User manual

NETGEAR CM1000 User manual

NETGEAR

NETGEAR CM1000 User manual

NETGEAR 341U User manual

NETGEAR

NETGEAR 341U User manual

NETGEAR 341U Specification sheet

NETGEAR

NETGEAR 341U Specification sheet

NETGEAR CM400 User manual

NETGEAR

NETGEAR CM400 User manual

NETGEAR JDGN1000

NETGEAR

NETGEAR JDGN1000

NETGEAR CM500 User manual

NETGEAR

NETGEAR CM500 User manual

NETGEAR A6200 User manual

NETGEAR

NETGEAR A6200 User manual

NETGEAR DM111PSPv2 User manual

NETGEAR

NETGEAR DM111PSPv2 User manual

NETGEAR Nighthawk C7100V User manual

NETGEAR

NETGEAR Nighthawk C7100V User manual

NETGEAR LB2120 Series User manual

NETGEAR

NETGEAR LB2120 Series User manual

NETGEAR DGND3700v2 User manual

NETGEAR

NETGEAR DGND3700v2 User manual

NETGEAR 7550 User manual

NETGEAR

NETGEAR 7550 User manual

NETGEAR WNDRMAC User manual

NETGEAR

NETGEAR WNDRMAC User manual

NETGEAR AC329U User manual

NETGEAR

NETGEAR AC329U User manual

NETGEAR RM356 - Router - EN User manual

NETGEAR

NETGEAR RM356 - Router - EN User manual

NETGEAR AC327U User manual

NETGEAR

NETGEAR AC327U User manual

NETGEAR Orbi Pro SRC60 User manual

NETGEAR

NETGEAR Orbi Pro SRC60 User manual

NETGEAR CM400 User manual

NETGEAR

NETGEAR CM400 User manual

NETGEAR Telstra Wi-Fi 4G Advanced II AirCard 790S User manual

NETGEAR

NETGEAR Telstra Wi-Fi 4G Advanced II AirCard 790S User manual

Popular Modem manuals by other brands

Aztech 206U How to configure

Aztech

Aztech 206U How to configure

ATL AM64/128A user manual

ATL

ATL AM64/128A user manual

ZyXEL Communications PRESTIGE 871 Specifications

ZyXEL Communications

ZyXEL Communications PRESTIGE 871 Specifications

Hitron CGN3 user guide

Hitron

Hitron CGN3 user guide

TRENDnet TFM-560U - DATA SHEETS Quick installation guide

TRENDnet

TRENDnet TFM-560U - DATA SHEETS Quick installation guide

Zhone 6228-I2-xxx Specification manual

Zhone

Zhone 6228-I2-xxx Specification manual

TeamOne TeaM1-5GM user guide

TeamOne

TeamOne TeaM1-5GM user guide

Zoom X7N quick start

Zoom

Zoom X7N quick start

GINEERS M-BUS Series instruction manual

GINEERS

GINEERS M-BUS Series instruction manual

Optical Systems Design OSD136 Operator's manual

Optical Systems Design

Optical Systems Design OSD136 Operator's manual

Sony CBK-WA01 user manual

Sony

Sony CBK-WA01 user manual

Cronyx E1-L user guide

Cronyx

Cronyx E1-L user guide

ATIM ARM-D Series user guide

ATIM

ATIM ARM-D Series user guide

Adsl nation X-Modem quick start guide

Adsl nation

Adsl nation X-Modem quick start guide

Four-Faith F2103 user manual

Four-Faith

Four-Faith F2103 user manual

NetComm NP7042 quick start guide

NetComm

NetComm NP7042 quick start guide

Verizon USB720 user manual

Verizon

Verizon USB720 user manual

Eicon Technology DIVA T/A ISDN Modem reference guide

Eicon Technology

Eicon Technology DIVA T/A ISDN Modem reference guide

manuals.online logo
manuals.online logoBrands
  • About & Mission
  • Contact us
  • Privacy Policy
  • Terms and Conditions

Copyright 2025 Manuals.Online. All Rights Reserved.