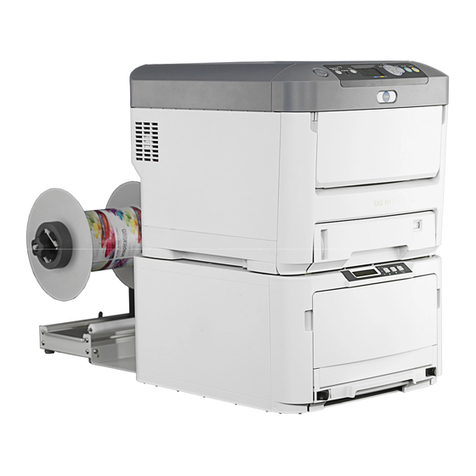
NeuraLabel Sprint User manual

- 2 -
www.neuralabel.com
Unpacking
Step 1
Remove and unpack accessories bags.
Remove upper foam inserts.
Step 2
Lift out printer using left/right handles
built into the lower foam insert.
Step 3
Remove lower foam, plastic
bag and blue packing tape.
Be sure to save your Sprint
box and packing materials.
Step 4
Place printer on table with access to
power, and network or USB connectivity.

- 4 -
www.neuralabel.com
Your Sprint Printer
Power
Button
Operator Panel Lid
Printer Front
Media Exit
Printer Back
Media Entrance
Independent Lockable
Media Guides Mark/Gap Sensor
Accessory Port
Network
USB
Power
Pause Print
Jog Media Forward
Operator Panel
Jog Media Backward
Ink Cartridge and
Printhead Carriage
Media Present Indicator
Pause Indicator
Inside the Printer
Menu Controls
Media Path

- 5 -
www.neuralabel.com
Printer Setup
•Place printer on table with adequate clearance.
•Plug in purple power connector into the back of
the printer.
•Press the power button. A green light indicates
power on. Set the Date and Time.
•Next you will see a Cartridge Alert on the
operator panel indicating that cartridges need
to be placed in the printer.
•Open the printer lid. The ink carriage will move
from its home to its cartridge access position.
•Place the ink cartridges in their respective slots.
They will click into place.
•Close the printer lid. The message “Genuine NL
Cartridges installed” appears. Select OK.
•The printer will begin its initialization routine to
fill the printhead with ink. Note that your
Sprint printer ships with a new “dry” printhead.
•When the printhead is filled, printing can begin.
Power Cord
Power Button
Cartridge Access

- 6 -
www.neuralabel.com
Loading Media
Before You Begin:
Media is loaded in the back side of the Sprint
printer into the guides.
Media is loaded label side up.
The Mark/Gap sensor is in the middle of the track.
Each media guide (Left/Right) is independently
adjustable. The printer will sense the location of
the loaded media.
The media guides have a locking mechanism.
Once the media touches the sensor, it is pulled
into the printer.
You may jog or eject the media when needed
using the jog buttons.
Media is loaded into back of printer
Mark/Gap Sensor Position
Gap/Mark Sensor is in the
center of the track

- 7 -
www.neuralabel.com
Loading Media
To load media into the printer:
•Adjust the left and right guides to the width of
the media, making sure the media gap or mark is
over the sensor located in the track center.
•The media should be snug but should glide in
the guides.
•Latch the guides.
₋Latch the guide in place by pressing down on
the outer part media latch.
₋Unlatch the guide by pulling up on the outer
part media latch.
•Slide the media between the guides until the
leading edge of the media touches the media
sensor. The printer will then pull the media into
the track.
•The media is now loaded and ready for printing.
•Note the position of the loaded media. Note the
media present indicator at the front of the
printer. (see page 4)
Media is loaded into back of printer
Media load position at front of printer
Media guides slide and lock

- 8 -
www.neuralabel.com
Printer Alignment and
Quality Check
Printer Alignment must be done whenever a new printhead is installed in the Sprint
printer. It should be done when setting up a new printer. The Quality Report can be
printed to check the alignment.
The 4”x6” sample media shipped with your printer may be used for printer alignment.
Alternatively two letter-sized cut sheet pieces of paper may be used.
To run the Printer Alignment:
•Load the media into the media guides at the back of the printer.
•From the menu select Setup, then Tools, then Align printer. Use the arrows, OK and
back buttons to navigate the printer’s operator panel.
•When you select Align printer the alignment process begins. After about 60 seconds
an alignment report is printed.
•The alignment process continues. After about another 60 seconds the second
alignment report is printed and the process is complete.
•Note that the total process takes three 4x6 labels. The middle label will remain blank.
To print the Quality Report:
•With media† loaded, press the Home button.
•Select Setup, then Print Reports, then Print Quality Report.
†Printer firmware version 1928 and earlier require
a letter sized sheet of paper for Quality Report.

- 9 -
www.neuralabel.com
Network/USB Setup
•Network: Plug in the printer to your network now using the provided network
cable. Once the printer connects to your network, it will auto assign an address
and display this on the operator panel above the ink cartridge level and in the
network menu. Note that a default IP address may be assigned. It takes about
30 seconds for the printer to obtain a valid network address. If you do not see a
valid network adress, try cycling the power on the printer.
•Network: Check the printer connectivity by bringing up a web browser on your
computer and typing in the IP address. You should see the printer’s web page
appear in your browser.
•USB: Wait to plug in later, after the printer driver is installed.
NeuraLabel Sprint Web Interface

-10 -
www.neuralabel.com
Printer Driver
Get the Driver:
•Download the Sprint printer driver: www.neuralabel.com/driver/sprint
•Unzip the files and follow either set of instructions below to install.
NOTE: At this time only a Windows version of the Sprint Driver is available.
❖USB Install:
•Visit the Control Panel->View devices and printers or the Printers and Scanners Panel.
•Select Print Server Properties. NOTE: You may need to click on an installed printer for this
option to appear.
•Select the Drivers tab and click the Add… button.
•Follow the wizard until you can click Have Disk… and browse to the Sprint.inf file.
•When done the NeuraLabel Sprint will be added to the Installed printer drivers: list.
•Use the USB cable to plug in the Sprint printer to your Windows computer.
•The driver installation will complete automatically.
NeuraLabel Sprint Printer Driver
❖Network Install:
•Use your PC’s Add a printer wizard found in the
Control Panel->View devices and printers or the
Printers and Scanners Panel.
•Step through the wizard. Select your printer or
choose “The printer I want isn’t listed” and enter
the information manually.
•Enter the TCP/IP address assigned to your printer.
•Click Have Disk… to browse to Sprint.inf within your
driver download.
•Name the printer and continue to complete the
steps of the wizard.

-11 -
www.neuralabel.com
Print a Sample Label
Select the Sprint Printer:
•Select File->Print and choose the Sprint Printer.
•Click Properties to bring up the Sprint Properties dialog.
Select the Page Size:
•Choose the Paper/Quality tab, then
the Advanced… button.
•For the sample label choose Paper Size:
4x6in./10x15cm
•Set Borderless Printing: Off
•Leave other settings unchanged and
select OK.
Get the Samples:
•Download the 4”x6” sample PDF Label and View in Adobe Reader or
other pdf viewer. www.neuralabel.com/labels/sprint
•Load the provided 4”x6” sample media into the printer.

-12 -
www.neuralabel.com
Print a Sample Label
Select the Media Type:
•Choose a media type you wish to use. For the
sample labels, select Plain Paper.
Each media type has a slightly different ink and
printing formula.
•Use the default Quality Setting of Best.
•Select OK to return to the print dialog.
Print Labels:
•If using Adobe Reader, your screen will
appear similar to that shown.
•Print a few copies of the sample label.
•Be sure to select Actual size.

-13 -
www.neuralabel.com
Centering the Print
Mark Offset: Centers the print up and down
Sets where the print starts with respect to the gap (or mark). Mark Offset only affects
labels after the first label of a new load. Look at the second label to adjust Mark Offset.
•A larger value moves the print down the page (toward the printer)
•A smaller value moves the print up the page. (Negative numbers allowed.)
•The value is set to inches or mm.
Top Offset: Centers the print on a new media load
Top Offset is relative to the leading label edge and is
dependent on where the label is cut within the gap.
•A larger value moves the print down the page.
•A smaller value moves the print up the page.
Left Offset: Centers the print left and right
The printer will automatically print with respect to
the edge of the media. Left Offset will be
dependent on how much backing is present on the
sides of your labels.
Sets the left/right position of the print facing the
printer front.
•A larger value moves the print left (toward you).
•A smaller value moves the print right.
(Negative numbers allowed.)
Adjust the print using the Labels tab of the NeuraLabel Sprint Printing Preferences.
Mark Offset (MO) and Left Offset (LO)
TIP: Turn Cut Mode to Off when no cutter in printer.

-14 -
www.neuralabel.com
Label Driver Settings
Check for edge of each label
Turns on the Optional
Cutter when available
Sets present/cut features for a
batch of labels or for each label
Print start with respect to the
gap/mark.
Cut with respect to the end of
the label.
Print start with respect to the
edge on a new label feed.
Print start with respect to the
right edge of the media.
(non-continuous direction)
Look for Gaps
Look for Marks
Print without looking
for Gaps or Marks
Select Inches or Millimeters
Set a gap between labels
printed without marks or gaps

-15 -
www.neuralabel.com
Optional Equipment
Unwinder: Your Sprint printer may have come with an Unwinder to hold the
blank label stock. This unwinder plugs directly into the Sprint printer and is
positioned using a base plate.
Rewinder: Your Sprint printer may have come with an Rewinder to hold the
printed label stock. This unwinder plugs directly into the Sprint printer and is
positioned using a base plate.
Other manuals for Sprint
1
Table of contents
Other NeuraLabel Label Maker manuals
NeuraLabel
NeuraLabel 550e User manual
NeuraLabel
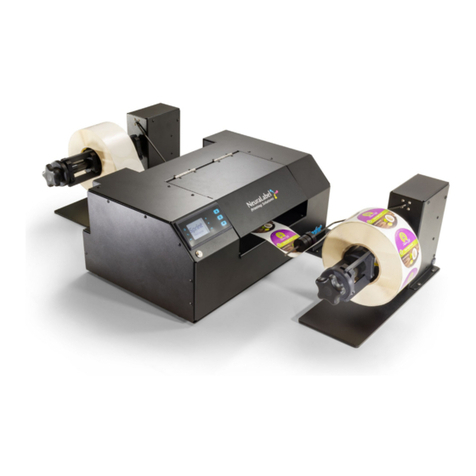
NeuraLabel Sprint User manual
NeuraLabel
NeuraLabel 600e Configuration guide
NeuraLabel
NeuraLabel 500e User manual

NeuraLabel
NeuraLabel 550e User manual
NeuraLabel
NeuraLabel 300x NoTouch User manual
NeuraLabel
NeuraLabel Sirius User manual

NeuraLabel
NeuraLabel 550e Operator's manual

NeuraLabel
NeuraLabel 600e User manual
NeuraLabel
NeuraLabel Sirius 4 User manual


