NeuraLabel Sirius User manual

Page
NeuraLabel Sirius Printer
Installaon and Quick Start Guide
Download Complete Guides at:
www.neuralabel.com/neuralabel‐sirius‐label‐printer‐support
www.neuralabel.com May 2020

Page 3
The packing box and packing materials are needed to transport the
machine. Keep them and do not throw them away
In the Boxes
Printer
Unwinder
Power Cable
Preinstalled in Printer
Toner: Cyan, Magenta,
Yellow, Black, White*
Transfer Belt
Fuser
Things to Prepare (Not Included)
LAN Cable (for network connecon)
USB Cable for Printer to Computer connecon
* Included with Sirius5 only.
This printer supports the operang systems (OS) listed below:
Windows 10/Windows 10 (64‐bit version); Windows 8.1/Windows 8.1 (64‐bit version);
Windows 8/Windows 8 (64‐bit version); Windows Server 2016; Windows Server 2012
R2; Windows Server 2012; Windows 7/Windows 7 (64‐bit version); Windows Server
2008 R2; Windows Server 2008/Windows Server 2008 (x64 version)
*With Windows 10, Windows 8.1 and Windows 8, only the desktop mode is supported.

Page 4
Installaon Space
When selecng an installaon locaon, find one that meets the following
specificaons:
locaon that is level and can support the weight of the machine
(approximately 140 lbs).
locaon near a power socket that can easily accessed.
locaon that meets the equipment installaon space guidelines
shown in the diagram.

Page 5
Unpacking Printer
1. Open the top of the box and re‐
move the accessories.
2. Remove top layer of packing
materials.
3. Remove the handles (4 pieces),
and then remove the top of the
packing box.

Page 6
4. Open out the boom part of the
box, place your hands on the
printers handles and support the
printer as you remove the front
and back packing materials on
the boom.
5. Cut and remove the bands that
secure the printer.
6. Remove the plasc bag.
7. Place the printer in the idenfied
installaon space.

Page 7
8. Remove the desiccant.
9. Grasp the top cover open lever
and open the top cover.
10. Remove the holding tape from the edges
of the top cover (4 pieces).
11. Remove the Pad‐TC from the top
of the print cartridge, and re‐
move the tape securing the liup
lever.
12. Turn the liup lever to lower the
print cartridges.

Page 8
13. Pull out the sheet‐protecon.
14. Close the top cover.

Page 9
4. Remove the plasc bag from the
unwinder, and then remove the ac‐
cessories.
5. Peel offthe tape from two loca‐
ons.
Unpacking Unwinder
1. Open the top of the packing box.
2. Remove the top layer of packing
materials.
3. Remove the unwinder.

Page 10
Installing the Unwinder to the Printer
1. Check whether the adjuster on the
unwinder is raised up. If the ad‐
juster is not raised, before you
mount it on the printer, rotate it to
2. Hold the unwinder close to the
mounng pins and mounng
hole, and then press it against the
right side of the printer and lower
it.
3. Use three screws to secure the
unwinder to the printer. Tighten
the screws in order (1, 2, 3) as
show in the diagram.
4. Extend the adjuster so it contacts
the table and raises the unwinder
core offthe table.

Page 11
Printer Setup
Connecng to a PC
Network Connecon
Manual IP
Network Connecon ‐
Automac IP USB Connecon
Install the printer driver.
Connect the cable.
Turn on the printer.
Set the printer's IP
address
Connect the cable.
Turn on the computer.
On the computer, add the
printer using the
manually assigned IP
address.
On the computer, add the
printer using the auto‐
assigned IP address from
the User Panel.
Ensure printer is installed
on Control Panel.

Page 12
1. Plug in printer to your network now using a network cable. Once the printer con‐
nects to your network, it will auto assign an address and display this on the opera‐
tor panel above the ink cartridge level and in the network menu. If you do not see
this number, try cycling the power on the printer.
2. Check the printer connecvity by bringing up a web browser on your computer
and typing in the IP address. You should see the printer’s web page appear in your
browser.
Network Connecon
Where to Connect Network or USB Cable
How to find IP Address
1. Use the scroll arrows to navigate the “Funcons”
screen.
2. Select [Admin Setup], and press the <OK> buon.
3. Use the numeric keyboard to input the administrator
password. The factory default password is 999999.
Press the <OK> buon aer inpung each character.
4. Press the <OK> buon.
5. Check that [Network Setup] is selected, and then
press the buon.
6. Press the scroll buon several mes to select [IPv4
Address], and then press the <OK> buon.

Page 13
Install the Printer Driver
Download the Sirius printer driver and save to a known locaon on your network
or computer: hps://www.neuralabel.com/neuralabel‐sirius‐label‐printer‐
support
Sirius Support Documents —> Sirius Drivers and Ulies —> Sirius Windows PCL Driver
2. Unzip the files and follow either set of instrucons below to install:
Network Install
Use your PC’s Add a Printer Wizard found in the:
Control Panel —> View Devices and Printers or Printers and Scanners Panel.
2. Step through the wizard. You can select the printer or you can choose “The
printer I want isn’t listed.” and enter the informaon manually.
3. Enter the TCP/IP address assigned to your printer.
4. Click “Have Disk…” to browse to OMW3x05B.inf within your driver download.
5. Name the printer and connue to complete the steps of the wizard.
USB Install
On you PC, go to Control Panel —> View Devices and Printers or the Printers and
Scanners Panel.
Select Print Server Properes.
NOTE : You may need to click on an installed printer for this opon to appear.
3. Select the Drivers tab and click the “Add…” buon.
4. Follow the wizard unl you can click “Have Disk…” and browse to the
OMW3x05B.inf file.
5. When complete, the Sirius5 PCL6 driver will be added to the Installed printer driv‐
ers list.
6. Once driver installaon is complete, use the USB cable to plug in the Sirius printer
to your Windows computer.
7. The driver installaon will complete automacally.

Page 14
Loading Media
1. Open the Flange Locking Lever.
2. Remove the flange.
3. Rotate the Roll Paper Holder Knob to contract the Roll Paper Holder sha.
4. Slide roll paper onto the Roll Paper Holder shaas far as it will go.
5. Rotate the Roll Paper Holder Knob to fix the roll paper core in place.
6. Aligning the Flange with the Roll Paper Holder shaas shown in the illustraon,
aach the Flange.
7. Slide the Flange as far as it will go in accordance with the roll paper width. Ensure
that the flat side of the flange is closest to the media.

Page 15
8. Close the Flange Locking Lever.
9. Lower the Unwinder Cover Open Lever to open the Unwinder Cover. Open the
Unwinder Cover manually in the direcon indicated by the arrow unl it locks.

Page 16
10. Before loading the paper, rotate
the Roll Paper Guide Adjustment
Knob clockwise and move the Roll
Paper Guide towards you.
11. Pull up the F0 Roller Release Lev‐
er.
12. Press the Tension Bar Open Lever
upwards unl it clicks.
13. Pass paper below the Tension Bar
and F0 Roller, and align the lead‐
ing edge of the paper with the
Roll Paper Guide and Paper
Guide.
14. Check the paper status from the
direcon indicated by the arrow.

Page 17
15. Rotate the Roll Paper Posion
Adjustment Dial to adjust the
paper unl it is straight.
16. Lower the F0 Roller Release Lever
to fix the roller in place.
17. Press down on the Tension Bar
Open Lever unl it clicks.
18. Aer loading the paper, rotate
the Roll Paper Guide Adjustment
Knob counterclockwise and align
the Roll Paper Guide to the width
of the paper.
19. Close the Unwinder Cover.
See User Guide for more informaon on loading media that is not connuous label.

Page 18
Print Sample Label ‐Connuous Paper and Connuous Label
1. Open Print File in Adobe Reader ‐Ensure the page dimensions equal the label size.
2. Select [File] then [Print].
3. Select [Properes].
4. On the [Setup] tab, select [User‐defined paper...].
5. Type in a idenfying name in the [Paper Name] box.
6. Fill in the dimensions relave to the label stock in use.
7. Once calibraon is complete, select Media Type and Media Weight based on the
finish and type of material.
Refer to www.NeuraLabel.com/Qualified‐Media
Cauon : Selecng the wrong Media Type and Weight could negavely affect
results. If unsure, contact NeuraLabel Support.
10. Click [Add] and then select [Close].
11. On the Paper Sengs drop down menu., select the paper size that was created.
12. When the sengs are complete, click [OK].
13. Click [Print] in the “Print” screen to print.
*For more informaon on driver sengs and funcons review the User Guide.

Page 19
Print Sample Label ‐Connuous Paper and Connuous Label
(Black Mark)
1. Open Print File in Adobe Reader ‐Ensure the page dimensions equal the label size.
2. Select [File] then [Print].
3. Select [Properes].
4. On the [Setup] tab, select [User‐defined paper...].
5. Type in a idenfying name in the [Paper Name] box.
6. Fill in the dimensions relave to the label stock in use.
7. In the Sensor Sengs drop down menu, select [1. User seng 1].
8. Click [Sensor Adjustment] ‐the printer will use three labels to calibrate.
9. Once calibraon is complete, select Media Type and Media Weight based on the
finish and type of material.
Refer to www.NeuraLabel.com/Qualified‐Media
Cauon : Selecng the wrong Media Type and Weight could negavely affect
results. If unsure, contact NeuraLabel Support.
10. Click [Add] and then select [Close].
11. On the Paper Sengs drop down menu., select the paper size that was created.
12. When the sengs are complete, click [OK].
13. Click [Print] in the “Print” screen to print.
*For more informaon on driver sengs and funcons review the User Guide.

Page 20
Print Sample Label ‐Die‐Cut Label (Black Mark)
1. Open Print File in Adobe Reader ‐Ensure the page dimensions equal the label size.
2. Select [File] then [Print].
3. Select [Properes].
4. On the [Setup] tab, select [User‐defined paper...].
5. Type in a idenfying name in the [Paper Name] box.
6. Fill in the dimensions relave to the label stock in use.
7. In the Sensor Sengs drop down menu, select [1. User seng 1].
8. Click [Sensor Adjustment] ‐the printer will use three labels to calibrate.
9. Once calibraon is complete, select Media Type and Media Weight based on the
finish and type of material.
Refer to www.NeuraLabel.com/Qualified‐Media
Cauon : Selecng the wrong Media Type and Weight could negavely affect
results. If unsure, contact NeuraLabel Support.
10. Click [Add] and then select [Close].
11. On the Paper Sengs drop down menu., select the paper size that was created.
12. When the sengs are complete, click [OK].
13. Click [Print] in the “Print” screen to print.
*For more informaon on driver sengs and funcons review the User Guide.

Page 21
Print Sample Label ‐Die‐Cut Label (Gap)
1. Open Print File in Adobe Reader ‐Ensure the page dimensions equal the label size.
2. Select [File] then [Print].
3. Select [Properes].
4. On the [Setup] tab, select [User‐defined paper...].
5. Type in a idenfying name in the [Paper Name] box.
6. Fill in the dimensions relave to the label stock in use.
7. In the Sensor Sengs drop down menu, select [1. User seng 1].
8. Click [Sensor Adjustment] ‐the printer will use three labels to calibrate.
9. Once calibraon is complete, select Media Type and Media Weight based on the
finish and type of material.
Refer to www.NeuraLabel.com/Qualified‐Media
Cauon : Selecng the wrong Media Type and Weight could negavely affect
results. If unsure, contact NeuraLabel Support.
10. Click [Add] and then select [Close].
11. On the Paper Sengs drop down menu., select the paper size that was created.
12. When the sengs are complete, click [OK].
13. Click [Print] in the “Print” screen to print.
*For more informaon on driver sengs and funcons review the User Guide.
Table of contents
Other NeuraLabel Label Maker manuals
NeuraLabel
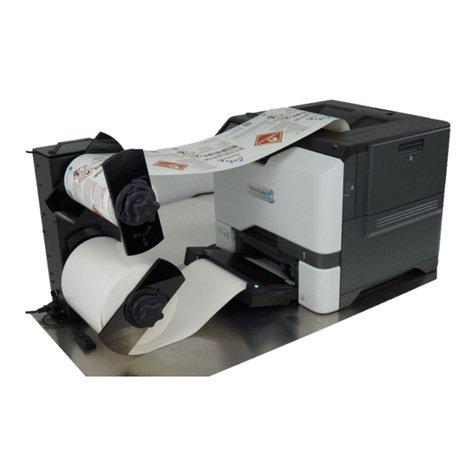
NeuraLabel 550e User manual
NeuraLabel
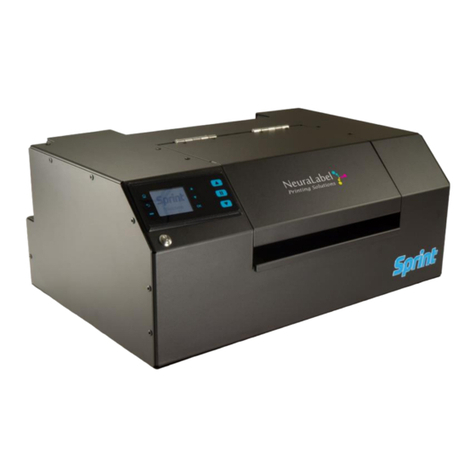
NeuraLabel Sprint User manual
NeuraLabel
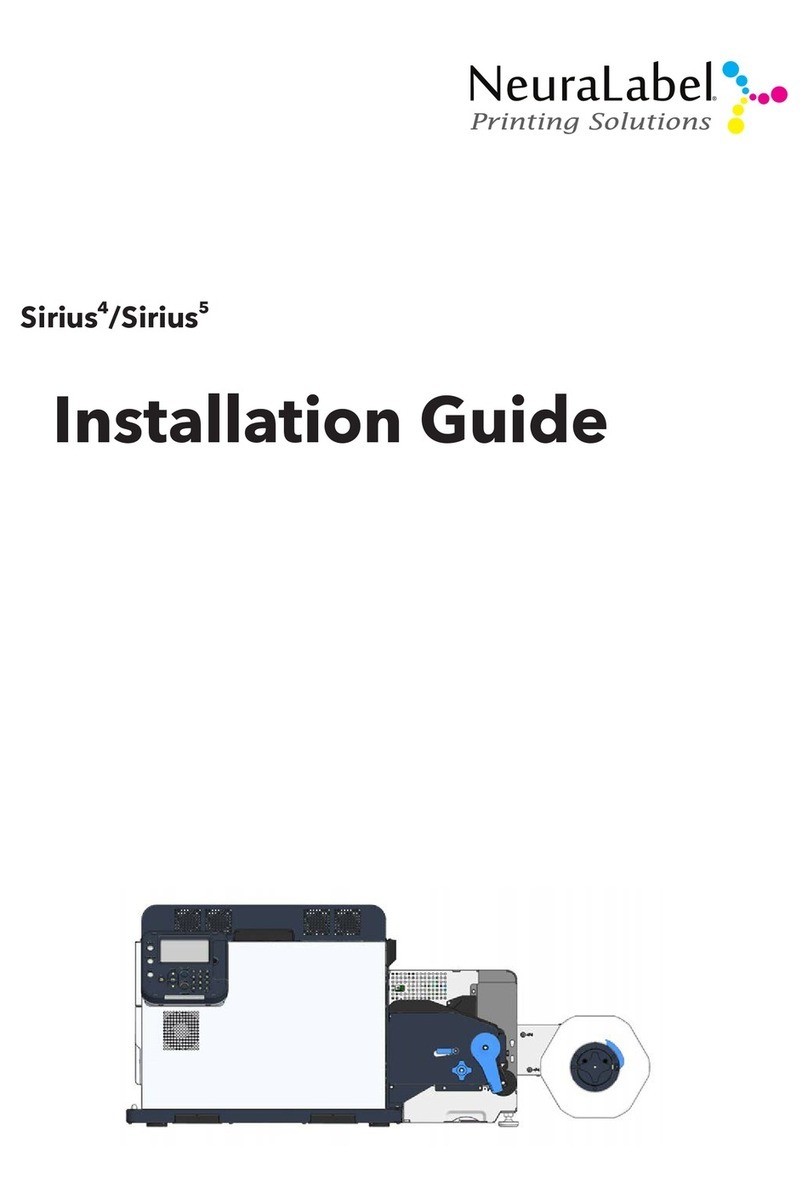
NeuraLabel Sirius 4 User manual

NeuraLabel
NeuraLabel 550e User manual

NeuraLabel
NeuraLabel 550e Operator's manual
NeuraLabel
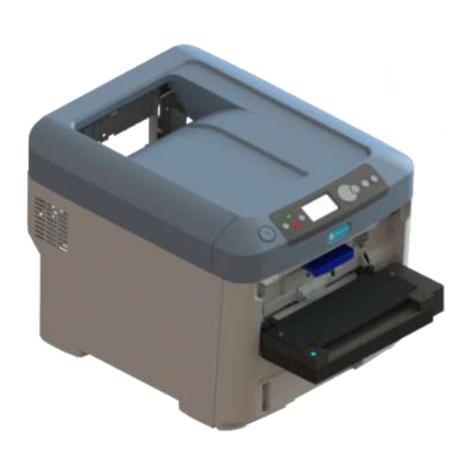
NeuraLabel 600e Configuration guide
NeuraLabel
NeuraLabel 300x NoTouch User manual

NeuraLabel
NeuraLabel 600e User manual
NeuraLabel
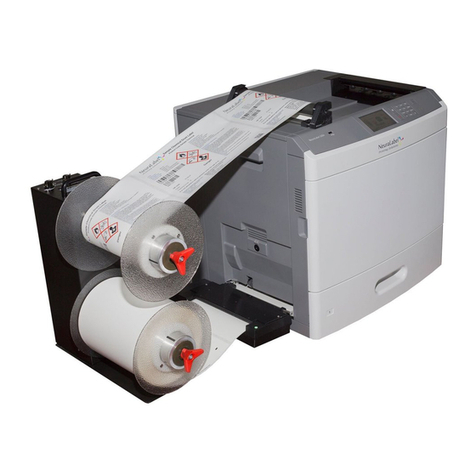
NeuraLabel 500e User manual

NeuraLabel
NeuraLabel Sprint User manual
