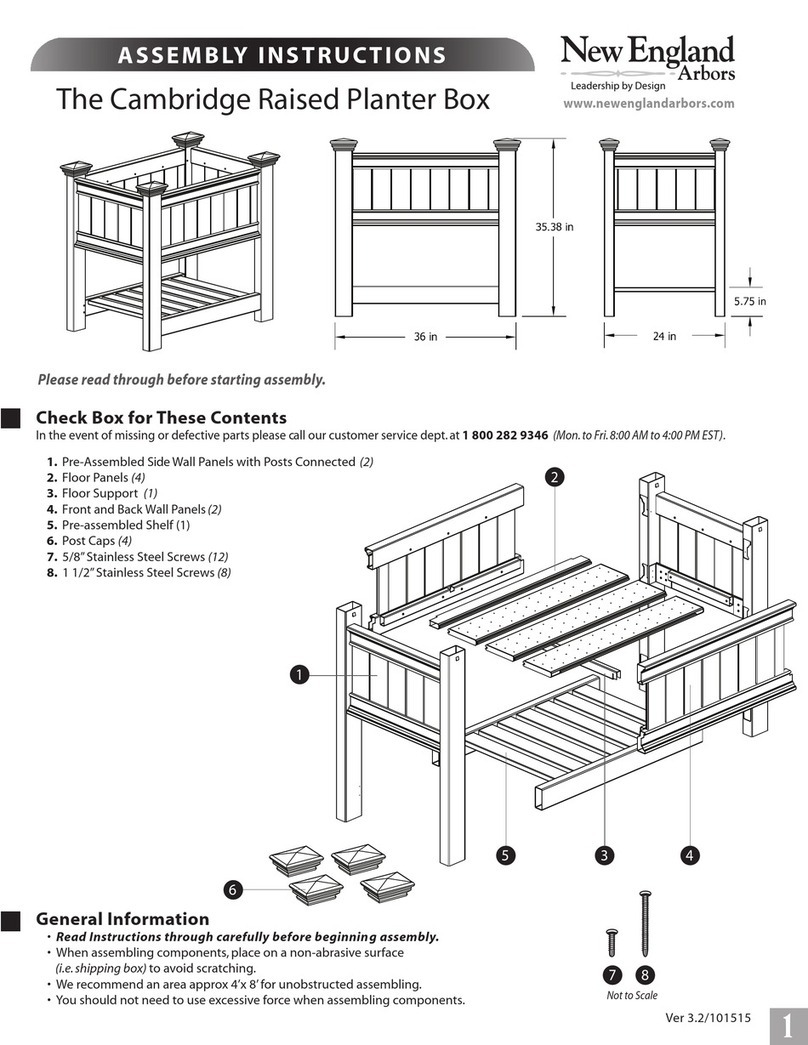
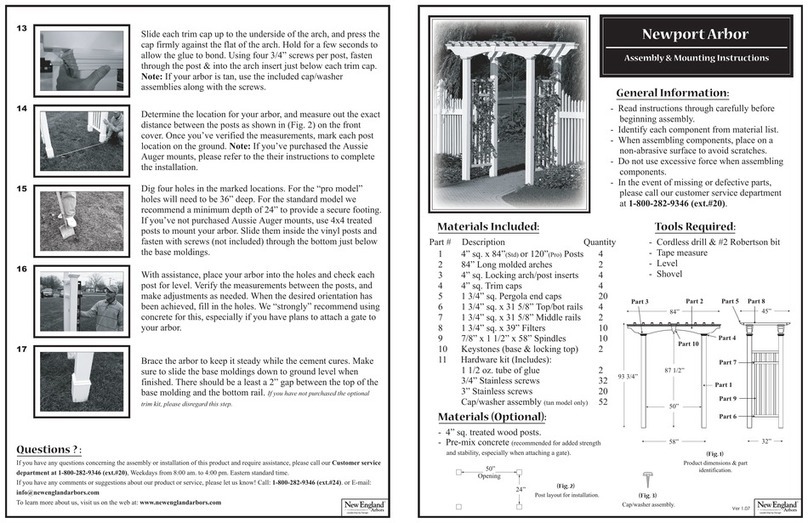
New England Arbors Cottage Picket Wings User manual
Other New England Arbors Lawn And Garden Equipment manuals

New England Arbors
New England Arbors Rosewood Arbor User manual
New England Arbors
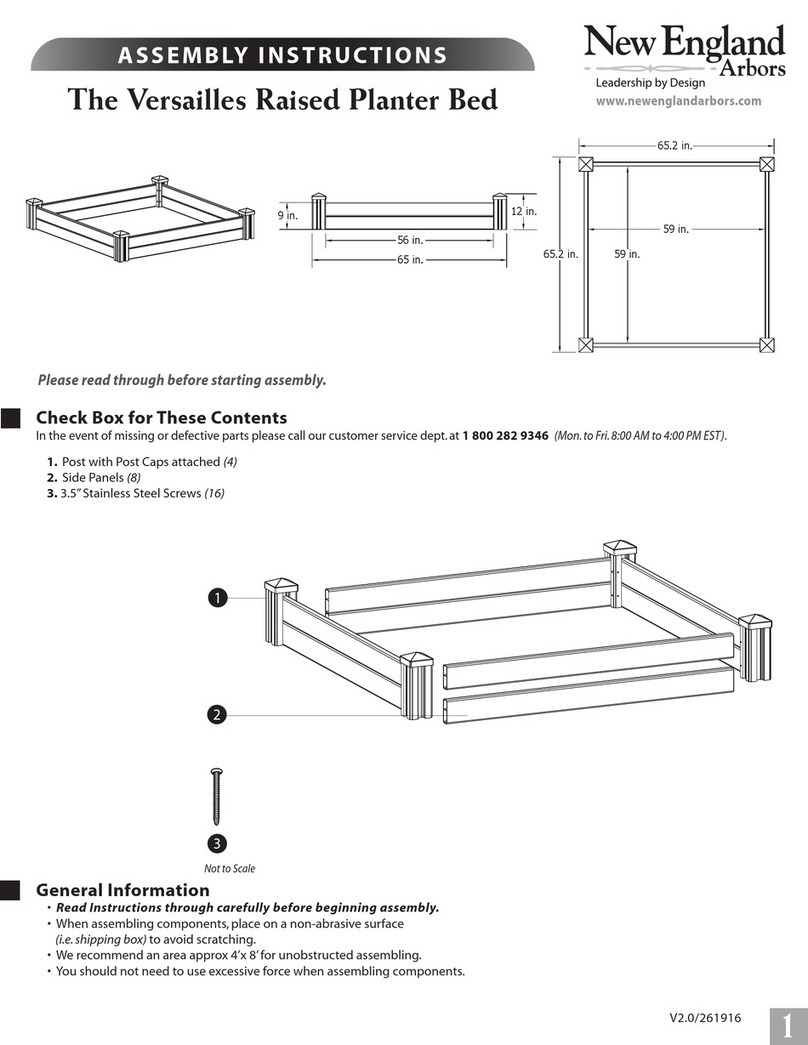
New England Arbors The Versailles Raised Planter Bed User manual

New England Arbors
New England Arbors The Fairfield Deluxe Arbor/Arch User manual

New England Arbors
New England Arbors Nantucket Trellis User manual
New England Arbors
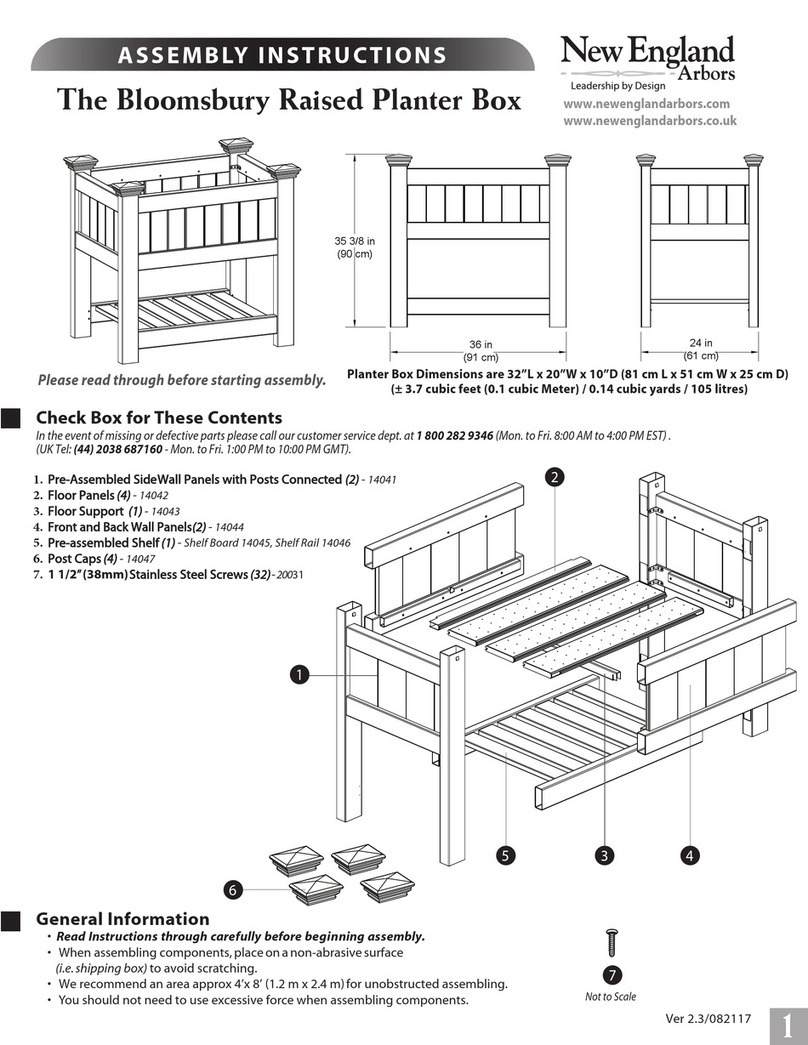
New England Arbors Bloomsbury User manual
New England Arbors
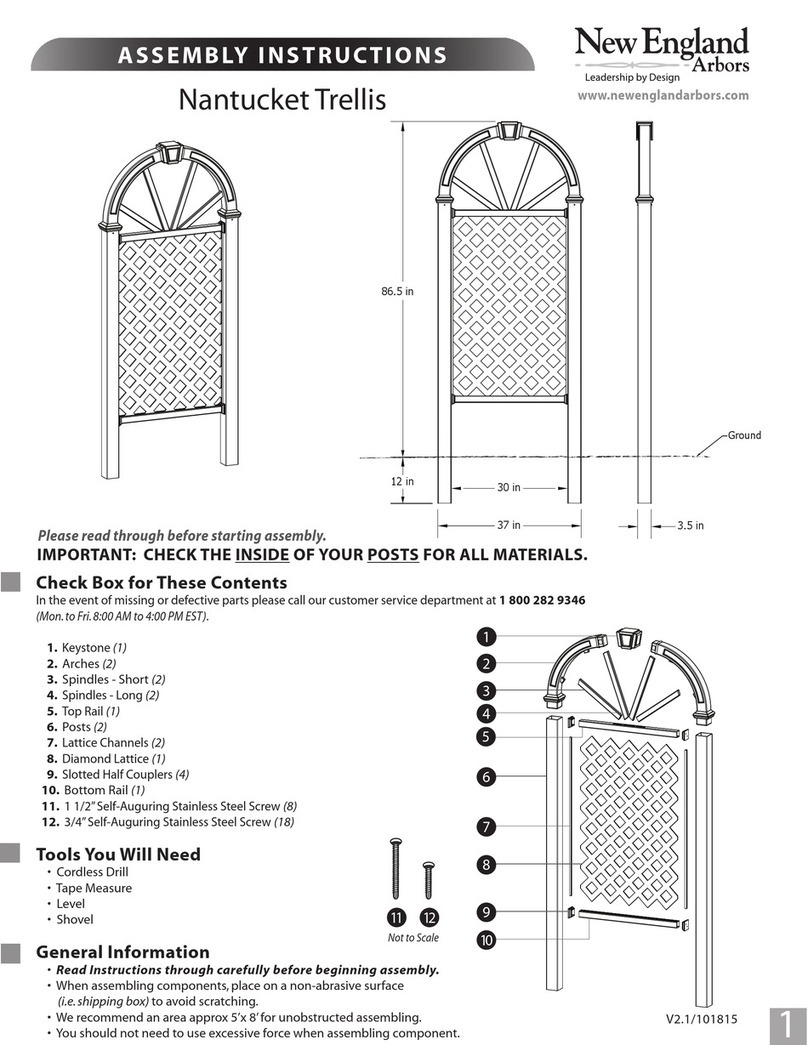
New England Arbors Nantucket Trellis User manual
New England Arbors
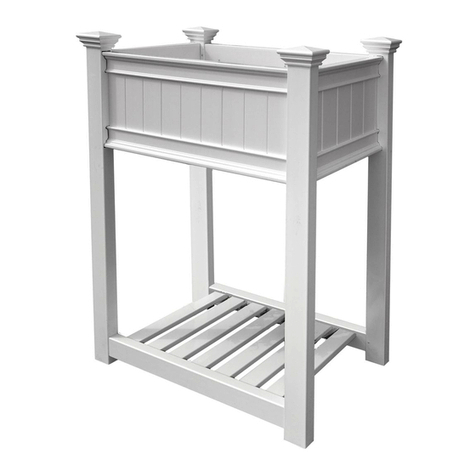
New England Arbors Urbanscape Raised Planter Box User manual

New England Arbors
New England Arbors Heartwood Grande Arbor User manual

New England Arbors
New England Arbors Cardiff Planter Box User manual

New England Arbors
New England Arbors 7.5 x 7.5 Cardiff Pergola User manual

New England Arbors
New England Arbors The Trellis User manual

New England Arbors
New England Arbors Westchester Arbor User manual
New England Arbors
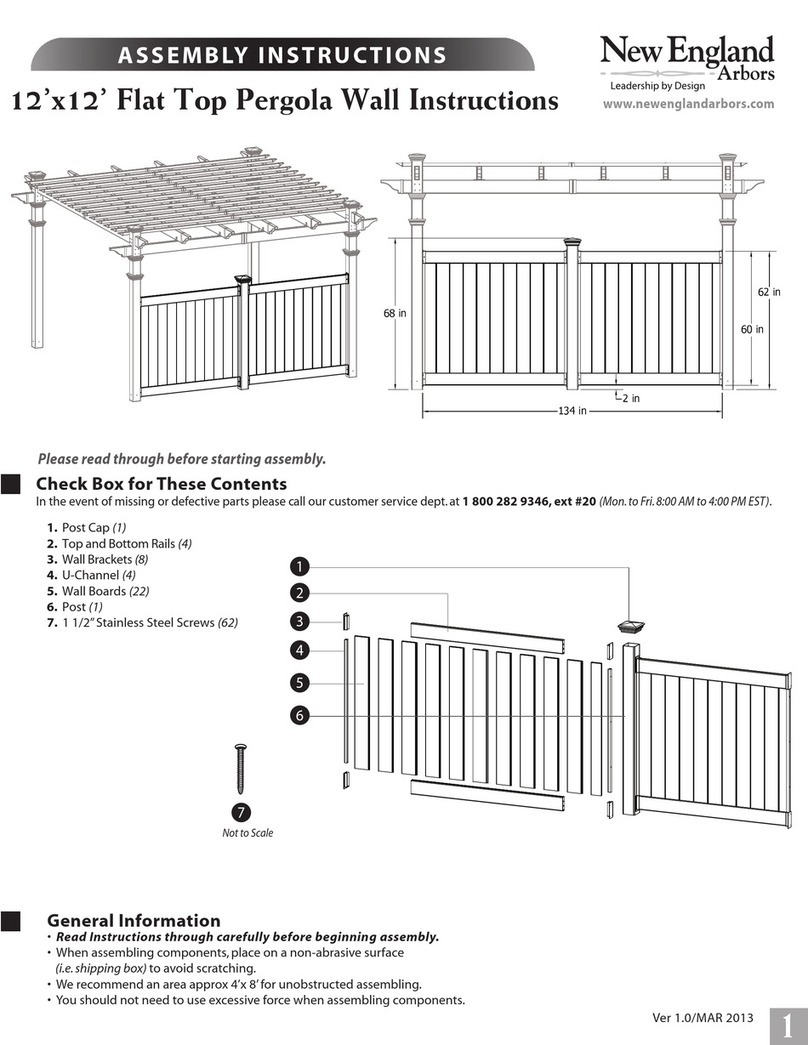
New England Arbors VA42027 User manual

New England Arbors
New England Arbors VA68239 User manual

New England Arbors
New England Arbors White Garden Bed with GroGrid User manual

New England Arbors
New England Arbors Heartwood VA68897 User manual

New England Arbors
New England Arbors Cottage Picket Gate User manual

New England Arbors
New England Arbors Savannah Composite Trellis User manual

New England Arbors
New England Arbors Athens User manual
New England Arbors
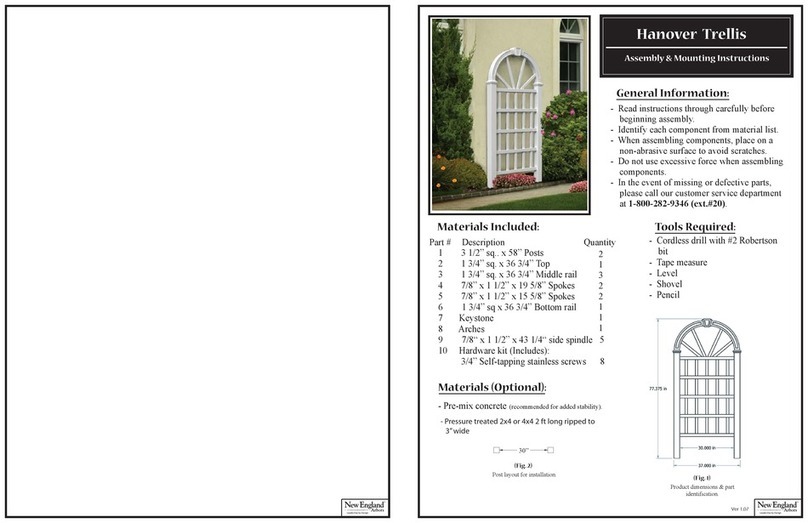
New England Arbors Hanover User manual
Popular Lawn And Garden Equipment manuals by other brands

Sunforce
Sunforce SOLAR user manual

GARDEN OF EDEN
GARDEN OF EDEN 55627 user manual

Goizper Group
Goizper Group MATABI POLMINOR instruction manual

Rain Bird
Rain Bird 11000 Series Operation & maintenance manual

Cub Cadet
Cub Cadet BB 230 brochure

EXTOL PREMIUM
EXTOL PREMIUM 8891590 Translation of the original user manual

Vertex
Vertex 1/3 HP Maintenance instructions

GHE
GHE AeroFlo 80 manual

Land Pride
Land Pride Post Hole Diggers HD25 Operator's manual

Yazoo/Kees
Yazoo/Kees Z9 Commercial Collection System Z9A Operator's & parts manual

Premier designs
Premier designs WindGarden 26829 Assembly instructions

Snapper
Snapper 1691351 installation instructions


