manuals.online logo
Brands
  1. Home
  2. •
  3. Brands
  4. •
  5. Nidec
  6. •
  7. Measuring Instrument
  8. •
  9. Nidec MT-200 User manual

Nidec MT-200 User manual

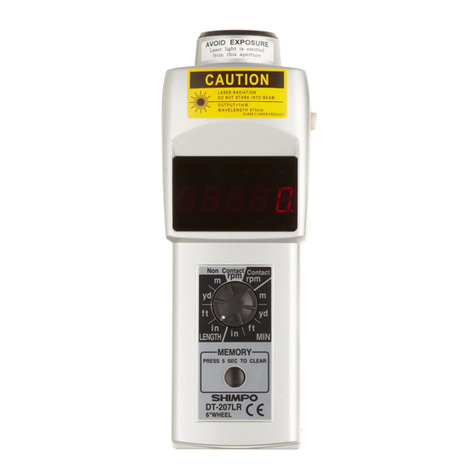
MT-200 Combination Contact/Non-Contact Pocket Tachometer
Operation Manual
Laser radiation may be harmful to the human eye. Avoid direct exposure
of human eyes to laser light. Eye damage can result.
Never point the unit at another person.
Keep out of the reach of children.
Avoid indirect exposure via reflective materials such as glass and
mirrors.
When power button is depressed, laser is active.
When using the master wheel, do not use an extension shaft as
the wheel may come off of the shaft and cause damage or injury.
Although the tachometer is able to achieve higher measurements than
what is listed, the master wheel has a maximum speed limitation of 5000
ft/min (for safety reasons).
SPECIFICATIONS
Display Range:RPM Non-Contact: 6.0 - 99,999 RPM Contact:
6.0 - 25,000 RPM; Revolutions (total) Non-Contact & Contact:
1 - 99,999; Speed Using 6” Cir. Wheel: meters/min: 0.1 - 3,809.8;
yards/min: 1.0 - 4,166.4; inch/min: 36 - 99,999; feet/min: 3.0 -
12,499; Length Using 6” Cir. Wheel: meters: 0.2 - 99,999; yards:
0.2 - 99,999; feet: 0.5 - 99,999
Accuracy: Revolution: 6.0 - 599.9 rpm: ±1 rpm ; 600 - 99,999
rpm: ±0.006% of reading ±0.5 digit; Surface Speed, Length:
±0.4% of reading ±1 digit
Display:5 digit 0.47” (12 mm) high LCD
Memory System:Readings are stored in memory and retained
for 5 minutes (last, max., min., and 10 user logged measurements)
Detection:Laser diode
Update Time:1 second (typical)
Over Range Indicator: Flashing numerals
Power Requirement:3 AA 1.5V batteries
Operating Temperature:32º - 113ºF (0º - 45ºC)
Construction:ABS Resin housing
Product Weight:0.35 lb (160 g); 0.46 lb ( 210 g) With contact
adapter installed
Package Weight:0.85 lb (386 g)
Dimensions:Main unit: 4.55”L x 2.52”W x 1.24”H (115.5 mm x
64 mm x 31.5 mm) Overall Length with contact adapter: 5.9” (149
mm)
Warranty:2-Year
Included Accessories:Three AA Batteries, cone adapter, funnel
adapter, contact adapter, master wheel (6” cir.), reflective tape,
carrying case, NIST certificate
DISPLAY
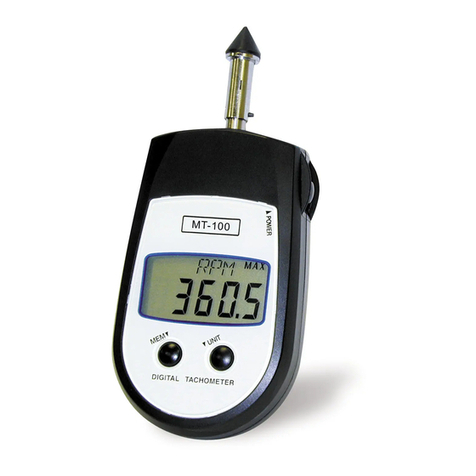
The MT-200 Combination Contact/Non-Contact Pocket Tachom-
eter with microprocessor technology possesses the precision
of the standard Shimpo Tachometer line, yet within a compact,
pocket-style enclosure.These battery-operated tachometers fea-
ture the same rugged, high quality components that have made
Shimpo tachometers the benchmark in the industry. The MT-200
provides users with the capabilities of measuring and recording
speeds of rotational, linear and surface plus total length in both
contact or non-contact modes. The user-friendly, value-packed
units feature memory storage; quick selection unit’s button; length
functions; retrieval of last, maximum and minimum values; plus
each unit comes standard with a free N.I.S.T. calibration certifi-
cate. Each unit ships in a protective carrying case which includes
a cone adapter, funnel adapter and 6” circumference wheel.
1.888.610.7664
info@SHIMPO-Direct.com
-Direct.com
OPERATION
Non-Contact Measurements
Measuring revolutions per minute or total revolutions.
1. Attach a piece of reflective tape on the object to be
measured.
NOTE: Accurate measurement may not be achieved if the rotating
object to be measured is shiny. Cover with black tape or paint
then attach the reflective tape.
2. Press the POWER button to turn the tachometer on.
3. Select RPM (revolutions per minute) or REV (total number of
revolutions) by pressing the UNIT button.
4. Aim the laser beam at the reflective tape.
5. Press and hold down the POWER button to start measuring.
6. Press and hold the POWER button to take another
measurement.
Laser - Do not look into the beam. Use protective
eyeglasses that are rated for 670usec for adequate
eye protection.
Contact Measurements
Measuring rotation speed using the cone or funnel-shaped
contact probe.
1. Attach the contact adapter to the tachometer. Do not over tight-
en.
2. Attach the cone or funnel adapter to the tachometer by plac-
ing on the adapter shaft. Align the shaft pin with the notch of the
adapter stem.
3. Press the POWER button to turn the tachometer on.
4. Select RPM (revolutions per minute) or REV (total number of
revolutions) by pressing the UNIT button.
5. Press and hold the POWER button to start measuring.
6. Bring the contact probe into contact with the object to be mea-
sured by touching the contact probe slowly to the center of the
rotating object. If the measuring range of the tachometer is ex-
ceeded, “OVR” will appear on the tachometer’s display.
7. Press and hold the POWER button to take another measure-
ment.
8. Press the UNIT button to convert between ranges. When a
high-speed rotating object is measured for hours using a cone or
funnel adapter the surface of the adapter may become very hot.
When a high-speed rotating object is measured
for hours using a cone or funnel adapter the
surface of the adapter may become very hot.
Measuring surface speed and distance using the 6” circumfer-
ence wheel.
1. Attach the contact adapter to the tachometer. Do not over tight-
en.
2. Attach the 6” circumference wheel to the tachometer by placing
the wheel on the adapter shaft. Align the shaft pin with the notch
of the wheel stem.
3. Press the POWER button to turn the tachometer on.
4. Select meters/minute (m/M), yards/minute (Y/M), inches/min-
ute (I/M), feet/minute (F/M), meters (m), yards (YRd), feet (FT), or
inch (IN) depending on which units you wish to measure.
5. Bring the 6” circumference wheel into contact with the object to
be measured by slowly touching the wheel to the moving object.
6. Press and hold the POWER button to start measuring.
7. Press the UNIT button to convert between ranges. When mak-
ing surface speed or distance measurements, ensure that the 6”
circumference wheel’s perimeter is parallel to the object to be
measured.
When making surface speed or distance
measurements, ensure that the 6” circumference
wheel’s perimeter is parallel to the object to be
measured.
NOTE: When using the master wheel, accuracy can be affected
as much as 0.3% of reading.
1.91”
(48.5 mm)
6” Circumference Wheel Dimensions
2
1.888.610.7664
info@SHIMPO-Direct.com
-Direct.com
Memory Function
The tachometer’s memory capabilities are as follows:
1. Minimum, maximum and last measurements are recorded au-
tomatically by the tachometer.
2. Ten selectable measurements can be programmed into mem-
ory by pressing the MEM button while the POWER button is fully
depressed (M1, M2, M3, … M10).
3. The average value of sequentially stored memory, up to ten,
can be viewed by pressing the MEM button.
NOTE: If the memory button (MEM) is not selected while the
POWER button is pressed the measurement will not be recorded
into its memory location, The memory will be recorded automati-
cally into memory if the measurement made is the maximum, min-
imum or last measurement.
To delete stored memories do one of the following:
1. Press the MEM button for five seconds or more. All memory will
be erased after [CCCCC] is displayed.
2. Changing the units of measurements and then making addi-
tional measurements.
3. Memory will be automatically erased if the tachometer turns off
automatically after five minutes.
Battery Replacement
When “LO BAT” flashes on the display, install new batteries.
To replace the batteries:
1. Slide open the battery cover (located on the rear of the tachom-
eter).
2. Remove old batteries and insert three fresh AA size batteries,
observing proper polarity. Do not mix old and new batteries.
3. Slide the battery cover back into place.
TROUBLESHOOTING
No laser beam is evident:
• Confirm that the POWER button is operating properly.
• Confirm that the batteries are functioning properly and that they
are inserted into the tachometer with correct polarity.
Inaccurate measurement results:
• If the surface being measured is highly reflective, it may need to
be painted darker to ensure that the tachometer can distinguish
between the reflective tape and the background.
• The laser beam may not be hitting the reflective tape, or the
taped area may be too small.
• Measuring distance may be to short. The minimum distance for
non-contact measurements is 12.7cm
3
1.888.610.7664
info@SHIMPO-Direct.com
-Direct.com
DIMENSIONS
1.888.610.7664
info@SHIMPO-Direct.com
-Direct.com
Other Nidec Measuring Instrument manuals

Nidec PT-120 User manual

Nidec

Nidec PT-120 User manual

Nidec FGV-HXY User manual

Nidec

Nidec FGV-HXY User manual

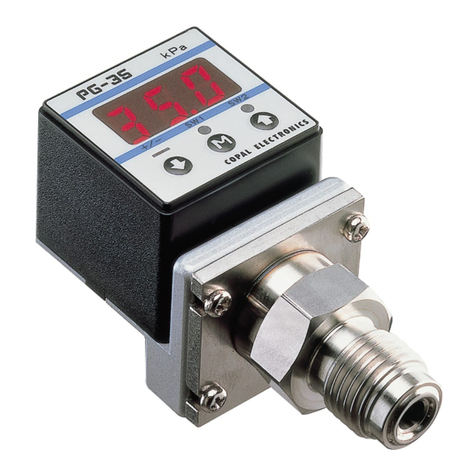
Nidec PG-35 User manual

Nidec

Nidec PG-35 User manual

Nidec PG-100N Series User manual

Nidec

Nidec PG-100N Series User manual

Nidec FG-7000TA User manual

Nidec

Nidec FG-7000TA User manual

Nidec DT-105A Installation manual

Nidec

Nidec DT-105A Installation manual

Nidec MFD-02 User manual

Nidec

Nidec MFD-02 User manual

Nidec SHIMPO G-7000L-S-2 User manual

Nidec

Nidec SHIMPO G-7000L-S-2 User manual

Nidec FG -3000 Series User manual

Nidec

Nidec FG -3000 Series User manual

Nidec ST-1000 Installation manual

Nidec

Nidec ST-1000 Installation manual

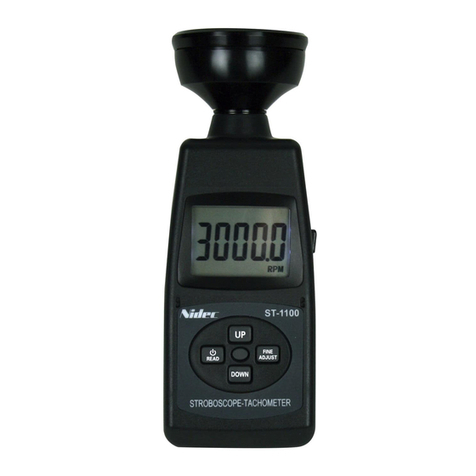
Nidec ST-1100 User manual

Nidec

Nidec ST-1100 User manual

Nidec ST-1100 User manual

Nidec

Nidec ST-1100 User manual

Nidec DT-205LR User manual

Nidec

Nidec DT-205LR User manual

Nidec PG-200 User manual

Nidec

Nidec PG-200 User manual

Nidec FG-7000L User manual

Nidec

Nidec FG-7000L User manual

Nidec Shimpo FG-L1 User manual

Nidec

Nidec Shimpo FG-L1 User manual

Nidec DT-200LR-S12 User manual

Nidec

Nidec DT-200LR-S12 User manual

Nidec ST-1100 User manual

Nidec

Nidec ST-1100 User manual

Nidec PG-100B Series User manual

Nidec

Nidec PG-100B Series User manual

Nidec MF-2 User manual

Nidec

Nidec MF-2 User manual

Nidec Shimpo DT-5TS User manual

Nidec

Nidec Shimpo DT-5TS User manual

Nidec FG-3000R Series User manual

Nidec

Nidec FG-3000R Series User manual

Nidec TNP-0.5 User manual

Nidec

Nidec TNP-0.5 User manual

Nidec FGE-HXY Installation manual

Nidec

Nidec FGE-HXY Installation manual

Popular Measuring Instrument manuals by other brands

Grandway OFI-3 user guide

Grandway

Grandway OFI-3 user guide

Hanna Instruments HI 4015 instruction manual

Hanna Instruments

Hanna Instruments HI 4015 instruction manual

Emerson FB1200 use instructions

Emerson

Emerson FB1200 use instructions

Endress+Hauser Proline Promag 51 operating instructions

Endress+Hauser

Endress+Hauser Proline Promag 51 operating instructions

GW Instek GRF-1300 user manual

GW Instek

GW Instek GRF-1300 user manual

biochrom HB Ultrospec 7500 user manual

biochrom

biochrom HB Ultrospec 7500 user manual

COMED 44 447 80 instruction manual

COMED

COMED 44 447 80 instruction manual

Advanced Fiber Solutions AF-DR-515 user guide

Advanced Fiber Solutions

Advanced Fiber Solutions AF-DR-515 user guide

Trotec LD6000 PTS Original instructions

Trotec

Trotec LD6000 PTS Original instructions

Delmhorst Instrument Co BD-2100 owner's manual

Delmhorst Instrument Co

Delmhorst Instrument Co BD-2100 owner's manual

Endress+Hauser Liquiphant M FTL51C user manual

Endress+Hauser

Endress+Hauser Liquiphant M FTL51C user manual

RND 365-00002 user manual

RND

RND 365-00002 user manual

GREISINGER BaleCheck 200 operating manual

GREISINGER

GREISINGER BaleCheck 200 operating manual

Tru-Test Speedrite Fault Finder quick start guide

Tru-Test

Tru-Test Speedrite Fault Finder quick start guide

Bell and Howell 770 manual

Bell and Howell

Bell and Howell 770 manual

Rane RA 27 Operator's manual

Rane

Rane RA 27 Operator's manual

Keysight Technologies M981 AS Series quick start guide

Keysight Technologies

Keysight Technologies M981 AS Series quick start guide

Tektronix RSA5100A Series Service manual

Tektronix

Tektronix RSA5100A Series Service manual

manuals.online logo
manuals.online logoBrands
  • About & Mission
  • Contact us
  • Privacy Policy
  • Terms and Conditions

Copyright 2025 Manuals.Online. All Rights Reserved.