NIIMBOT K3 User manual

NIIMBOT K3
Product Manual
Label Printer
Sma
NIIMBOT is a brand under Wuhan Jingchen Intelligent ldentication Technology Ltd.
© 2023 NIIMBOT. All Rights Reseed.
Suppo Email : se[email protected]
Ocial Website : www.niimbot.com
Wuhan Jingchen Intelligent ldenticationTechnology Co., Ltd.
Manufacturer's Address : No. 5, Creative Workshop, Creative World,
Yezhihu West Road,Hondshan District,Wuhan, China

Before operating and using the printer, please carefully read the following
precautions to prevent personal inju or equipment damage.
Safety Instructions
Precautions
Place this product on a at and stable suace for use.
If you notice any unusual odors, heat, smoke, discoloration, deformation, or
any other abnormalities while using this product, unplug the power cord
immediately and stop using it.
Do not disassemble this product. For inspection, adjustment, and maintenance,
please contact customer suppo.
Do not drop, strike, or handle this product improperly.
Do not allow water to splash onto the printer.
Before cleaning this product, ensure that the power is turned o and unplug
the power cord from the socket to prevent electrical shock or re.
Do not use paint thinner, benzene, alcohol, or any other organic solvents to
clean this product, as it may damage the suace nish. Use a soft, d cloth
to clean this product.
Use NIIMBOT ocial original labels. This product warranty does not cover any
malfunctions or damage caused by using third-pay labels.
Do not expose label rolls to environments of direct sunlight, high temperatures,
high humidity, or dust. Please store them in a cool place.
Safety Warning
The print head is a heated component and can become ve hot during and
immediately after printing. Do not touch the print head or its surrounding
pas to avoid burns.

01 · 02
Avoid touching the print head and connection plugs to prevent potential
damage from electrostatic discharge.
The paper tearing device has sharp cutting edges. Refrain from using your
ngers or other body pas to touch the paper tearing device to prevent cuts.
Please purchase our product models designed for specic your count or region
through the ocial NIIMBOT store or NIIMBOT authorized channels. Purchasing
a NIIMBOT product through an unauthorized source may expose you to piracy
risks, compatibility issues with your local environment, or other factors that could
aect the product's proper functionality. Additionally, NIIMBOT may not be able
to provide suppo for issues related to products obtained through unauthorized
channels.
Special Notes

Thank you for selecting and using the NIIMBOT K3 Sma Label Printer. This
printer uses thermal printing, requiring no ink or toner. Your only ongoing
expense will be label paper. Count on us for long-term reliable label printing
and excellent post-sales suppo. Please take a moment to read the user
manual for usage and maintenance instructions.
Product Instruction
01
01-1 Package Contents
Sma Label Printer *1
USB Cable *1
Label Paper Roll *1
Power cord *1
(may va in dierent
countries or regions)
Power components*1
Product Manual *1

03 · 04
01-2 Product Function Description
Paper Compament Cover Button
Paper Exit
Paper Feed Button
Power Switch USB Type-B Po
Power Socket
Paper Blade
Print Head
Printing (Drive) Roller
Print Roller Lock
Sensor
Label Paper Holder
Label Paper Guide
Bracket Block (Mainly used for rear express single use)

01-3 Button Function Description
Name
Toggle
Press
Sho Press
Long Press
Operation
Power On/O
Open Paper Compament Cover
Function Description
Standby: Feed One Sheet
Printing: Cancel Printing
Standby: Paper Type Calibration
Double Click Standby: Print Self-Test Page
Power Button
Paper Feed Button
Open Compament Button
OPEN
Indicator Light
-
Blue
Blue
Green
O
Always On
Blinking
Blinking Slowly
Blinking Fast
Always On
Status
Powered O.
Powered on, but not connected.
Firmware upgrading.
Printer connected.
Status Description
Green
Green
Printer connected.
Printing
Always On
Red An issue has occurred; refer to the
“Troubleshooting” Section.
01-4 Indicator Light Description

05 · 06
Installation and Usage
02
02-1 Power Connection
Make sure the printer's power switch is in the "O" (O) position.
1
Connect the power cord to the DC power po on the printer.
2
Plug the other end of the power cord into a suitable AC power outlet.
3
If the AC power outlet is live, the power indicator light will turn blue.
4
Attention:
1. Please use the ocial NIIMBOT power adapter to avoid product damage
or potential hazards.
2. If the printer will not be used for an extended period, unplug the power
cord from the printer.

02-2 Label Paper Installation
Facing the front of the device, press the open compament button to lift
the popped-up paper compament cover upwards.
1
Attention: Do not touch the paper blade with your ngers to avoid inju!
Paper Compament Cover Button
Paper Feed Button
Paper Blade
Label Paper Holder
Please inse both ends
of the label paper onto
the raised circular axis
of the holder.
Print Side
Print (Drive) Roller

07 · 08
Attention: Do not place the label roll at the bottom of the paper compament.
Close the printer's paper compament cover, press it down, and listen for
a "click" sound, indicating that the paper compament cover is locked.
4
Open the label paper spool holder, adjust the label paper's orientation so
that the print side is facing up when passing through the print (drive) roller.
Use your hand to pull the label paper guide open, place the label roll on the
label paper spool holder, and release the guide to ensure the label roll can
rotate freely.
2
Thread the label paper through the label paper guide.
3
Label Paper Guide

Attention:
1. Failure to thread the label paper through the label paper guide may
result in oset printing.
2. If the label paper is not pulled out of the printer, it may cause paper
feed issues and printing malfunction.
02.Download the NIIMBOT APP
Before using the printer, please install the NIIMBOT app from Google Play or
the App Store.
More information available on the NIIMBOT app.
Sign in to NIIMBOT Help Center HardwareMe
01.Download the “NIIMBOT” Desktop Version
02-3 Software Download
You can download and install "NIIMBOT" Desktop version from our ocial
website (www.niimbot.com).
Note: If you need to connect the device to your computer, please use the
ocial-provided data cable or a data cable that suppos data transfer.
Design & Print APP
easy to download and use
NIIMBOT

09 · 10
Installation Steps:
2
1) Turn o the printer (O).
2) Connect the USB data cable to the USB po on the back of the printer
and then connect it to the printer.
3) Turn on the printer.
02.Bluetooth Connection
Press the power button to turn on the printer.
1
Open the "NIIMBOT" APP.
2
Select the printer and follow the on-screen instructions to connect.
3
02-4 Communication Connection
01.USB Connection
This printer suppos the following communication inteace standard:
Type-B cable.
1

Windows Driver Installation
03
03-1 Driver Download
03-2 Driver Installation
Visit the ocial NIIMBOT website (www.niimbot.com) - Download Center -
Third-Pay Driver Download page to download the driver installation le.
Choose your printer.
1

11 · 12
Select USB as the connection method.
2
When you connect your computer to the printer, the USB po will be
automatically detected.
3

The installation is complete.
4

13 · 14
Printer Maintenance
04
Regular maintenance is essential to keep your printer functioning and producing
high-quality labels.
Attention: Before cleaning the printer, make sure to turn o the power and
unplug it.
Use a soft, d cloth to wipe o dust and stains from the main unit. For stubborn
stains, lightly dampen the cloth with water.
Attention: Do not use paint thinner, benzene, alcohol, or any other organic
solvents, as they may cause deformation or damage to the printer's casing.
04-1 External Cleaning
04-2 Cleaning the Print Head
Make sure to turn o the printer before cleaning.
1
Use a cleaning pen to wipe the black area of the print head. Wipe from the
center towards the outer edges to remove adhesive transferred from the
print head's edges to the outside of the label paper path.
2
After cleaning, let the printer d for one minute before closing the cover.
3
Caution: The print head generates high temperatures during printing. To
prevent damage to the print head and the risk of personal inju, do not
touch the print head.

ESD Warning: Follow anti-static precautions when handling the print head
and electronic components under the cover to prevent damage from static
discharge.
Print Head
Print (Drive) Roller
Print Roller Lock
Sensor
04-3 Sensor Cleaning
Dust can accumulate on the sensors; gently brush it away. Use a d cotton
swab or one dipped in alcohol to remove any adhesive or residues if necessa.
1
Use a d cotton swab to remove remaining residues.
2
Repeat steps 1 and 2 as needed until all residues and di are gone.
3
After cleaning, let the printer d for one minute, then close the cover or
load labels.
4

15 · 16
04-4 Print Roller Cleaning and Replacement
Open the cover and remove the label paper.
1
Pull the print roller bearings on the left and right sides of the front of the
printer towards you, release the wings, and rotate them upward.
2
Lift the print roller out of the printer's bottom bracket.
3
Clean the print roller with an alcohol-dipped swab or a lint-free cloth, moving
from the center outwards. Repeat as needed until the roller is clean. For stubborn
substances or label blockages, use a new swab for thorough cleaning.
4

Place the print roller back into the printer's bottom bracket.
5
Release the wing of the left and right print roller bearings, rotate them downward
to the back of the printer, and secure them in place.
6
Let the printer d for a minute, then close the cover or load labels.
7

17 · 18
Troubleshooting
05
01.Indicator Light Red Steady
Possible Cause
Cover not closed
No labels
Label paper not pulled out of
the paper compament
Print head temperature too high
Check and close the cover.
Inse label paper; refer to label paper
installation.
Pull out the label paper from the compament
and close the compament cover.
Follow the prompts on the application.
Stop printing and resume printing after the
print head has cooled down.
Solution
Printing error
02.Follow the prompts on the application.
Possible Cause
Printer not powered on
Device connections have
exceeded the limit
Bluetooth is not enabled
on your phone
Connect the power and turn on the power
button.
Device connections have exceeded the limit.
Bluetooth is not enabled on your phone.
Solution

03.USB cannot detect the printer
Possible Cause
Printer not powered on
USB Cable not connected
Connect the power and turn on the power button.
Refer to the “USB Connection” Section.
Solution
04.Printer Doesn't Print or Stops Printing
Possible Cause
Printer not
powered on
Paper feed issue
USB cable is loose
Bluetooth
disconnected
If the printer status light is not on, check and ensure the
power cable is properly connected.
Refer to “Paper Feed Issues with Label Paper”.
Make sure the USB cable at the back of the printer or
the computer is not loose
Make sure that the Bluetooth connection between the
application and the printer is working properly.
Solution
Table of contents
Other NIIMBOT Label Maker manuals

NIIMBOT
NIIMBOT B18 User manual

NIIMBOT
NIIMBOT D110 User manual
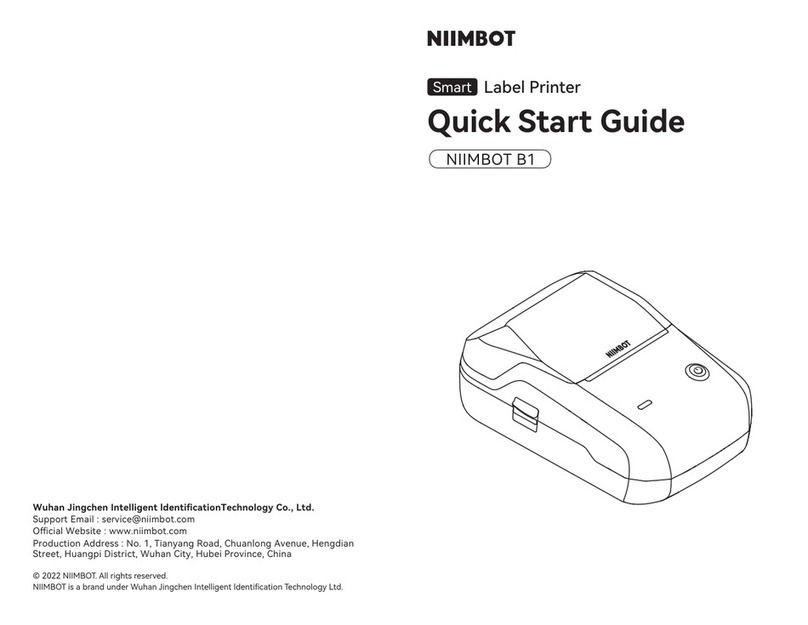
NIIMBOT
NIIMBOT B1 User manual
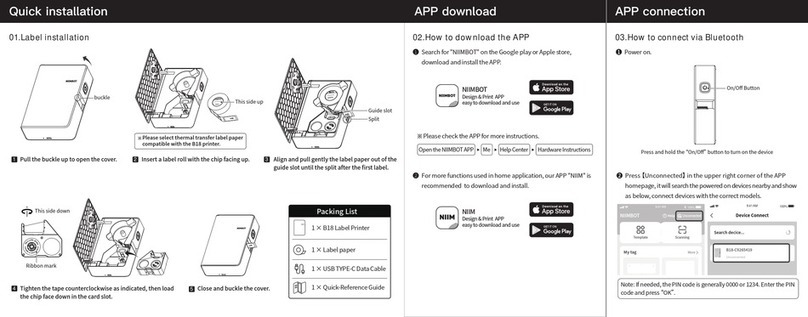
NIIMBOT
NIIMBOT B18 User manual

NIIMBOT
NIIMBOT B18 User manual
NIIMBOT
NIIMBOT D101 User manual
NIIMBOT
NIIMBOT B3S Installation guide

NIIMBOT
NIIMBOT B3S User manual

NIIMBOT
NIIMBOT H1 User manual

NIIMBOT
NIIMBOT B21 Installation guide


