manuals.online logo
Brands
  1. Home
  2. •
  3. Brands
  4. •
  5. Nitta
  6. •
  7. Industrial Equipment
  8. •
  9. Nitta CFTG-60FS-4.5 User manual

Nitta CFTG-60FS-4.5 User manual

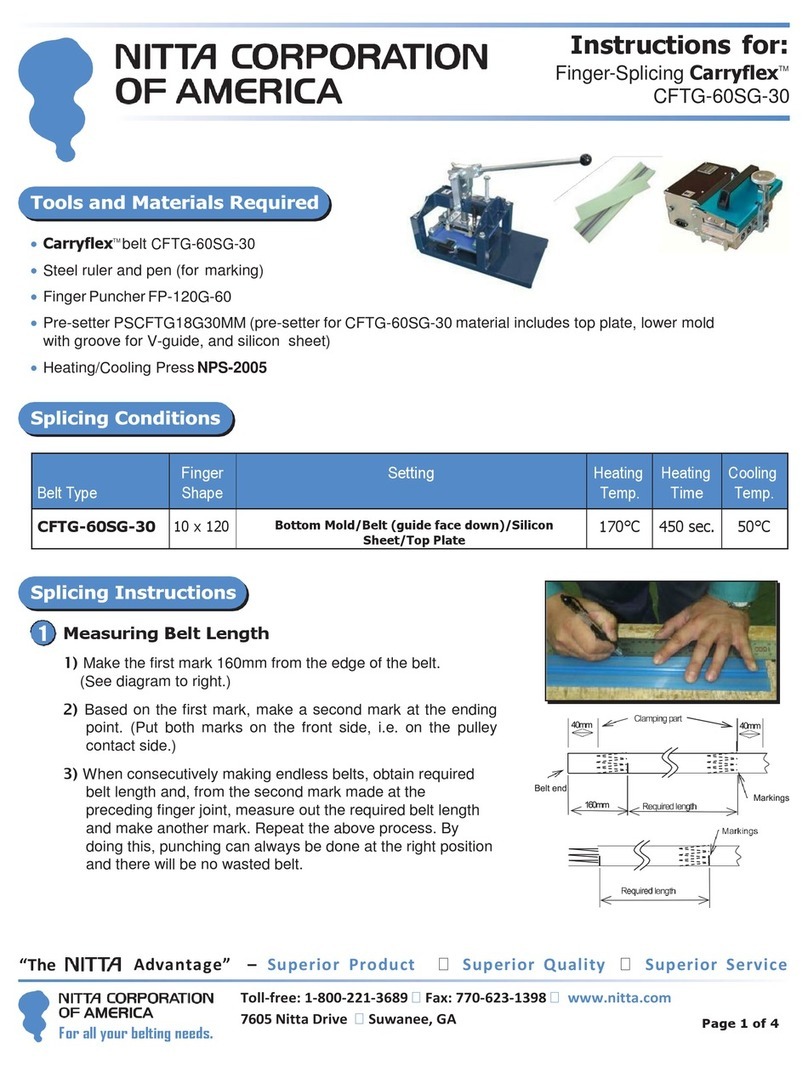
Endless Procedure for:
Nitta CFTG-60FS-4.5 Material,
Using FP-200T and NPS-2005A-1B
(Fast Cook Procedure)
CFTG-60FS-4.5 belting material
Steel ruler and pen (for marking)
Scissors or clippers (for cutting belt and trimming fingers)
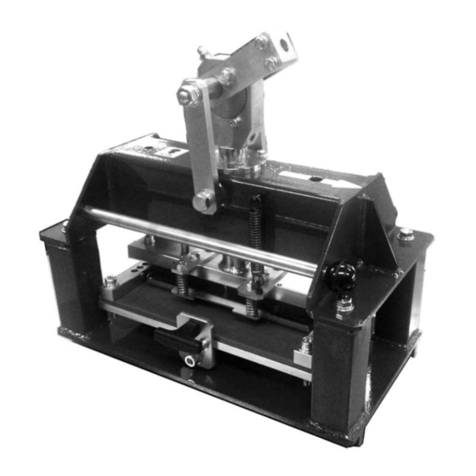
Finger Puncher FP-200T; includesT-wrench
45mm-wide green resin pre-setter
Heating/Cooling Press NPS-2005A-1B
CF-45 Fabric
Note: For detailed instructions on how to use the FP-200T
finger puncher and NPS-2005A-1B press, please consult
their Operation Manuals.
Belt Type
Finger
Shape
Setting
(Upper Plate Side / Belt / Bottom Plate Side)
Heating
Temp.
Heating
Time
Cooling
Temp.
CFTG-60FS-4.5
10 x 200
CF-45 Fabric / polyurethane side of belt / rubber side of belt
185°C
300sec.
80°C
Page 1 of 4
7605 Nitta Drive, Suwanee, GA 30024 •Toll-free: 1-800-221-3689
Phone: 770-497-0212 •Fax: 770-623-1398 •[email protected] •www.nitta.com
Nitta Corporation of
America is registered
to ISO 9001:2008
SPLICING CONDITIONS
TOOLS AND MATERIALS REQUIRED
PART I –PREPARING FINGER ENDS USING FP-200T
1
CUT BELT TO LENGTH NEEDED PLUS 270MM, THEN MAKE 270MM MARK ON EACH END:
When measuring belt length, add 270mm to allow for the finger joint. Using scissors or clippers,
cut belt to length needed plus 270mm, then mark 270mm in from each end on the polyurethane
side.
2
FEED BELT INTO PUNCHER, ALIGNING MARK ON BELT WITH OUTSIDE EDGE OF CLAMP:
Loosen clamping bars and insert one end of belt polyurethane side up. 270mm mark should be
placed to the outside of clamp.
Polyurethane
Side of Belt Up
EndlessProcedurefor:
NittaCFTG-60FS-4.5Material,UsingFP-200TandNPS-2005A-1B
Pge 2 of 4
7605 Nitta Drive, Suwanee, GA 30024 Toll-free: 1-800-221-3689 c[email protected] www.nitta.com
3
FASTEN CLAMPS:
Fasten bolts on both clamps with T-wrench.
Note: Do Not overtighten bolts to avoid cross threading and
prevent damage to blue cutting sheet.
4
NOTE DIRECTION OF BELT, THEN PUNCH BELT:
Be sure to note direction of belt in puncher. Position blade support
table so that guide pin
is aligned with
outside holes on either endof
clamps. Then, push handle all the way down to punch belt. Return
handle to original position. Move support table to next set of holes,
and repeat process until belt is fully punched.
5
REMOVE BELT AND REMNANT:
Loosen clamping bars and remove punched end of belt from finger puncher, followed by remnant
from punching. Comparing the punched end of the belt with the remnant, note that the puncher
produces interlocking fingers with the opposite side.
6
FEED OTHER END OF BELT INTO OTHER END OF PUNCHER, THEN PUNCH BELT:
Feed other end of belt polyurethane side up into puncher in
opposite direction
from Step 4,
clamping into place as shown in Steps 2 and 3. Then, punch end of belt following instructions in
Step 4.
Polyurethane
Side of Belt Up
7
REMOVE BELT AND REMNANT:
Loosen clamping bars and remove punched end of belt from finger puncher, followed by remnant
from punching.
EndlessProcedurefor:
NittaCFTG-60FS-4.5Material,UsingFP-200TandNPS-2005A-1B
Pge 3 of 4
7605 Nitta Drive, Suwanee, GA 30024 Toll-free: 1-800-221-3689 csales@nitta.com www.nitta.com
7605 Nitta Drive, Suwanee, GA 30024 Toll-free: 1-800-221-3689 c[email protected] www.nitta.com
8
TRIM TIPS OF FINGERS ON EACH END OF BELT:
Using scissors or clippers, cut 5 to 10mm off the tips of each finger on both ends of the belt. This
will help when matching the belt ends in the pre-setter to ensure a good splice.
PART II –MAKING ENDLESS BELT USING NPS-2005A-1B
PLACE BELT ENDS IN LOWER MOLD OF PRE-SETTER:
Loosen clamps on lower mold of pre-setter and slide finger-prepared ends together (rubber side
down)
centered between marks on mold. Use a thin metal edge (such as steel ruler or
screwdriver) to push tips of fingers or aramid fibers back between fingers if needed. Fasten
clamps to hold belt in place.
3
COVER BELT WITH CF-45 Fabric
Cover top of belt material (polyurethane side up) with CF-45 Fabric Sheet.
2
Make sure press is closed. Plug press into correct power source to begin pre-heat-cycle. After
running a diagnostic check for about 6 seconds, the press will begin to pre-heat to its
programmed temperature of 185°C.
If
set temperature is incorrect, then reference press manual
to set temperature of 185°C and set time to 300 seconds.
Pre-heating will take about 10 minutes.
Be
careful only to touch the control panel for now and
avoid touching the start switch (yellow button
beside control panel).
Current Temperature
Programmed Temperature
EndlessProcedurefor:
NittaCFTG-60FS-4.5Material,UsingFP-200TandNPS-2005A-1B
Pge 4 of 4
7605 Nitta Drive, Suwanee, GA 30024 Toll-free: 1-800-221-3689 [email protected] www.nitta.com
5
PLACE MOLD IN PRESS:
Open press and insert mold with belt. Make sure the mold is placed between the metal position
guides and that the marks on the mold are located within the heating plate.
7
ONCE PRESS COOLS, REMOVE BELT AND INSPECT:
Once temperature reaches 80°C, disconnect press. Turn knob counterclockwise, release clamp,
and open press. Remove mold from press, then loosen mold clamps and remove belt from mold.
Peel away CF-45 Fabric. Inspect belt to be sure there are no large bubbles on surface, cord
filaments sticking out, or cracks or grooves between fingers. If all is okay, trim any excess
polyurethane material from edge using scissors.
6
CLAMP PRESS SHUT AND TIGHTEN, THEN PUSH START SWITCH:
Close press. Fasten hook and
turn pressure knob clockwise until it slips.
Push the start button
to initiate the press cycle. Make sure the green heating indicator light above the start button is
turned on. The heating cycle will finish after 5 minutes, and then the cooling fans will turn on. Let
the cooling fans run until current temperature drops to 80°C (about 12 minutes).
Pilot Lamp
Start Switch
4
COVER ALL WITH UPPER MOLD OF PRE-SETTER:
Place upper plate of pre-setter on top of CF-Fabric sheet, centering over splice area.

Other Nitta Industrial Equipment manuals

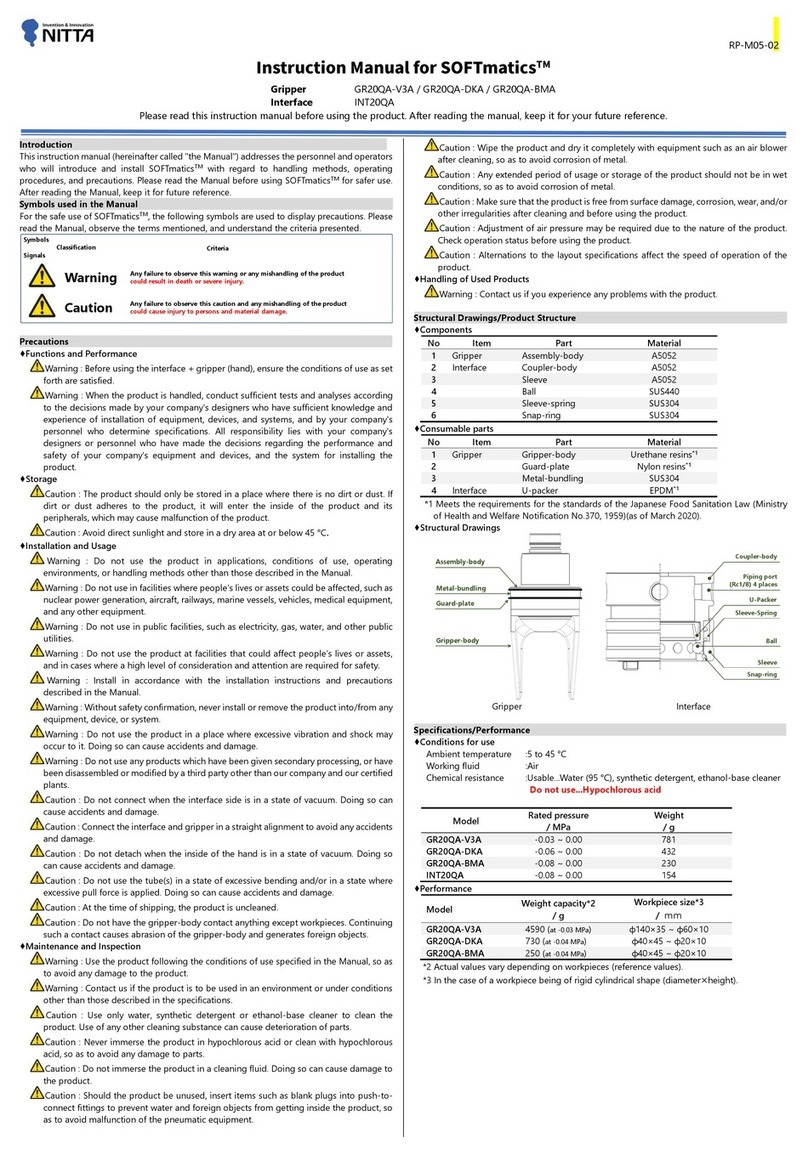
Nitta SOFTmatics GR20QA-V3A User manual

Nitta

Nitta SOFTmatics GR20QA-V3A User manual

Nitta NITTAOMEGA type M165-K User manual

Nitta

Nitta NITTAOMEGA type M165-K User manual

Nitta SEB User manual

Nitta

Nitta SEB User manual

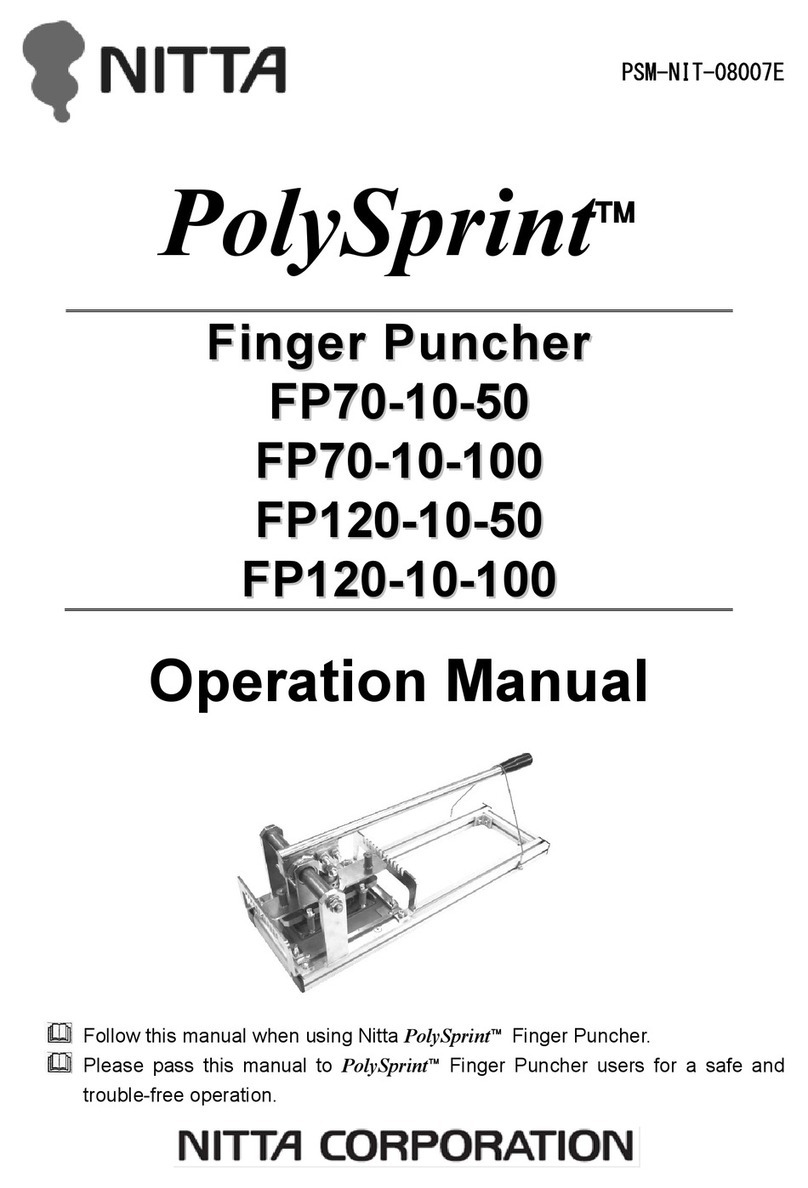
Nitta PolySprint FP70-10-50 User manual

Nitta

Nitta PolySprint FP70-10-50 User manual

Nitta FP-200T User manual

Nitta

Nitta FP-200T User manual

Nitta Carryflex CFTG-60SG-30 User manual

Nitta

Nitta Carryflex CFTG-60SG-30 User manual

Nitta SOFTmatics User manual

Nitta

Nitta SOFTmatics User manual

Nitta NPS-1205C User manual

Nitta

Nitta NPS-1205C User manual

Nitta FP-200 User manual

Nitta

Nitta FP-200 User manual

Popular Industrial Equipment manuals by other brands

ABB +Q957 user manual

ABB

ABB +Q957 user manual

G.B.C BASIC EDGE 50 instruction manual

G.B.C

G.B.C BASIC EDGE 50 instruction manual

Tronair Batpak 11-6602-1000 Operation & service manual

Tronair

Tronair Batpak 11-6602-1000 Operation & service manual

Pilz PNOZ mi2p Operation manual

Pilz

Pilz PNOZ mi2p Operation manual

Clemco Zero BNP 6012 manual

Clemco

Clemco Zero BNP 6012 manual

Erskine Attachments V-Plow Operator's manual

Erskine Attachments

Erskine Attachments V-Plow Operator's manual

ABB HT610965 Operation manual

ABB

ABB HT610965 Operation manual

Morra MH 540 user manual

Morra

Morra MH 540 user manual

Eaton S090ST manual

Eaton

Eaton S090ST manual

GRIGGIO G 240 P4 instructions

GRIGGIO

GRIGGIO G 240 P4 instructions

Nexen AIR CHAMP HT45 user manual

Nexen

Nexen AIR CHAMP HT45 user manual

WTE V5 installation manual

WTE

WTE V5 installation manual

ABB HT845232 Operation manual

ABB

ABB HT845232 Operation manual

SMC Networks CJP Series Operation manual

SMC Networks

SMC Networks CJP Series Operation manual

JohnDow Industries JDI-AFT58 Operator's manual

JohnDow Industries

JohnDow Industries JDI-AFT58 Operator's manual

IMB MB9016A instruction manual

IMB

IMB MB9016A instruction manual

Clarke CUMB1 Assembly & operating instructions

Clarke

Clarke CUMB1 Assembly & operating instructions

amiad Arkal Spin Klin 2 user guide

amiad

amiad Arkal Spin Klin 2 user guide

manuals.online logo
manuals.online logoBrands
  • About & Mission
  • Contact us
  • Privacy Policy
  • Terms and Conditions

Copyright 2025 Manuals.Online. All Rights Reserved.