Nitta PolySprint FP70-10-50 User manual

PSM-NIT-08007E
PolySprint™
Operation Manual
Follow this manual when using Nitta PolySprint™ Finger Puncher.
Please pass this manual to PolySprint™ Finger Puncher users for a safe and
trouble-free operation.
F
Fi
in
ng
ge
er
r
P
Pu
un
nc
ch
he
er
r
F
FP
P7
70
0-
-1
10
0-
-5
50
0
F
FP
P7
70
0-
-1
10
0-
-1
10
00
0
F
FP
P1
12
20
0-
-1
10
0-
-5
50
0
F
F
P
P
1
1
2
2
0
0
-
-
1
1
0
0
-
-
1
1
0
0
0
0

- 1 -
Contents
1. Safety Precautions ・・・・・・・・・・・・・・・・ 2
2. Confirmation of Product ・・・・・・・・・・・・・・ 3
3. Specifications ・・・・・・・・・・・・・・・・・・ 4
4. Use Environment ・・・・・・・・・・・・・・・・・ 4
5. Storage Environment ・・・・・・・・・・・・・・・ 4
6. Name of Each Part ・・・・・・・・・・・・・・・・ 5
7. How to Make a Finger Joint ・・・・・・・・・・・・ 6
8. Troubleshooting ・・・・・・・・・・・・・・・・・ 9
9. Maintenance ・・・・・・・・・・・・・・・・・・・ 9
10. Maintenance Record ・・・・・・・・・・・・・・・・ 12
11. Inspection ・・・・・・・・・・・・・・・・・・・・ 12
12. Warranty and after-sales service ・・・・・・・・・ 13

- 2 -
1. Safety Precautions
Please go over these safety precautions carefully to secure a correct and safe
operation of the PolySprint™ Finger Puncher FP120(70)-10-100(50)
Disregarding instructions marked with this symbol may lead
to death or serious injury.
Disregarding instructions marked with this symbol may lead
to injury or property damage.
WARNING
Do not use the PolySprint™ Finger Puncher for any application other than
the intended purpose of making belts endless.
Use for any unintended purpose may cause an unexpected accident.
A person with experience and skills should always operate, maintain and
inspect the PolySprint™ Finger Puncher.
Handling by an inexperienced person may cause injury.
Do not dismantle or remodel the PolySprint™ Finger Puncher under any
circumstance. Please note the Finger Puncher uses a sharp blade.
Dismantling or remodeling the PolySprint™ Finger Puncher may cause
physical injury.
For repair or inspection, please contact Nitta, your local distributor or agent in
your area.
Use a dry cloth for cleaning the PolySprint™ Finger Puncher. To prevent
fire, do not use alcohol, benzine, thinner or any other inflammable solvent.
Put the wire on the cutting lever surely, and take the cutting lever to the
carrying of this machine.
In that case, please have the position where the machine becomes the
horizontal.
Failure to do this may cause injury.
This machine is not intended for the physical, sensory or mental
handicapped persons use. They must have the supervision of a person
responsible for their safety, if they use this machine.
Failure to do this may cause injury.
Do not allow the child to handle this machine. Keep this machine in the
place where child's hand does not reach.
Failure to do this may cause injury.
CAUTION
WARNING
WARNING
WARNING
WARNING
WARNING
WARNING
WARNING
WARNING

- 3 -
1. Safety Precautions- Continued-
Caution
Do not use the PolySprint™ Finger Puncher under the following conditions:
・ Under a corrosive gas environment
・ Under an ambient temperature of 5℃ or below
・ Under an ambient temperature of 40℃ or above
・ Under a high humidity environment (humidity surpassing 85%)
・ In places exposing the puncher to steam or water drops
To prevent physical injury, use the PolySprint™ Finger Puncher on a stable
working bench or table that will not collapse.
Before using the PolySprint ™ Finger Puncher, be sure to inspect the
puncher in accordance with the procedure described on page 12 to help
prevent injury.
2. Confirmation of Product
Thank you for choosing our PolySprint™ Finger PuncherFP120(70)-10-100(50).
Check that the product is exactly what you have ordered. Use of the
wrong product may cause injury.
2-1)Confirmation of Product
Confirm the following items upon accepting delivery of your order. Contact Nitta, your local
distributor or agent in your area if you find any deficiency or defect in your item.
① Are descriptions on the face plate the same as those of your order item? Please
confirm the model type.
② Has the product been damaged during transportation?
③ Has a nut or screw slackened?
2-2)How to Read Face Plate
2-3)Inquiries
When making inquiries, please inform our sales representative of the model type and the
production serial number.
②Production serial number
FP70-10-100
080001
CAUTION
CAUTION
CAUTION
CAUTION
①Model type

- 4 -
3. Specifications
3-1)Outline of Finger Puncher
① PolySprint™ Finger Puncher is exclusively designed for manually punching finger
spliceable Nitta PolySprint™ belts with a cutting blade assembly.
② PolySprint™ Finger Puncher is compatible with the following endless specifications:
Type Finger geometry Belt wide Belt thickness
FP70-10-50 70mm length×10mm pitch 50mm or less
6mm or less
FP70-10-100 100mm or less
FP120-10-50 120mm length×10mm pitch 50mm or less
FP120-10-100 100mm or less
3-2)Major Specifications of Finger Puncher
Type FP70-10-50, FP120-10-50 FP70-10-100, FP120-10-100
Outer Dimension
180 mm W x 611 mm Lx 208 mm* H
*When the lever is horizontal.
230 mm W x 611 mm Lx 208 mm* H
*When the lever is horizontal.
Weight 9.0kg 10.5kg
4. Use Environment
Ambient Temperature 5-40℃ (no condensation)
Ambient Humidity 15-85%RH
Place of Use Indoors (free from dust, water)
Environment No inflammable, combustible or corrosive gas; no steam
Use the PolySprint™ Finger Puncher under the above conditions.
5. Storage Environment
Ambient Temperature 5-40 ℃ (no condensation)
Ambient Humidity 15-85%RH
Place of Use Indoors (free from dust, water)
Environment No inflammable, combustible or corrosive gas; no steam
When the PolySprint™ Finger Puncher is not in use, it should be stored
under the above conditions.
CAUTION
CAUTION

- 5 -
6. Name of Each Part
Handle
Wire
Pitch gage for
front
side
Eject plate
Pitch gage for back side
Belt guide
Cutting arm
Wing nut
Cutting blade
Clamp bar
Slide base

- 6 -
7. How to Make a Finger Joint
7-1) Required Tool (tool prepared in advance)
a. Finger Puncher
b. Tape Measure or Ruler
(for measurement of belt length)
c. Ballpoint Pen or Felt Pen (for marking)
7-2) How to Measure Belt Length
① Set the belt along a tape measure or ruler and
make the first mark 200mm from the edge of the
belt. (See diagram to left.)
② Based on the first mark, make a second mark at
the ending point of the required belt length. (Put
both marks on the front side, i.e. on the operator
side.)
③ When consecutively making endless belts,
obtain required belt length and from the second
mark made at the preceding finger joint,
measure out the required belt length and make
another mark. Repeat the above process. By
doing this, punching can always be made at the
right position and there will be no wasted belt.
Second Mark
200mm L= Endless length
BELT
a
b.
c.
L= Endless length
First Mark
Operator
Second Mark

- 7 -
7-3) How to Make a Finger Joint
① The cutting arm is turned forward.
Please never feel after the eject
plate. It is likely to injure it by
the cutting blade.
② The wing nuts which are the fixation of the
clamp bar are loosened.
The wing nuts are loosened until the belt passes
under the clamp bar.
③ Insert the belt between the eject plate of the
finger puncher and the cutting sheet, and line up
the first mark on the belt with the corner of the
belt guide, and the wing nuts are tightened, and
the belt are fixed.
※ Insert the belt along the belt guide.
※ tighten the wing nuts evenly.
Insert
Cutting Sheet
Fit the fast mark with the
corner of the belt guide.
WARNING
Clamp bar

- 8 -
7-3) How to Make a Finger Joint - Continued-
④ The cutting arm is rotated to the cutting seat
side, and Insert the protrusions of the slide base
to the ditches of the pitch gauge.
⑤ Hold the finger puncher in place with one hand
and push down the handle with the other hand
to punch the belt.
※ After it is confirmed that the protrusions of
the slide base inserted the ditches of the
pitch gauge, the belt is punched.
⑥ The wing nuts are loosened, and line up the
second mark on the belt with the corner of the
belt guide, and the wing nuts are tightened, and
the belt are fixed.
⑦ The operation described to ④ -⑥ is done again,
and punch out the belt to obtain the required
endless length.
※ When punching a long belt, you can insert
the rear–edge of the belt from the other side
of the finger puncher to avoid pulling the
entire belt through the finger puncher.
クランプバー
Pitch Gauge for back side
Pitch Gage for back side
Fit the fast mark with the
corner of the belt guide.

- 9 -
8. Troubleshooting
If there are any finger joints which are not cut out properly when a belt is punched,
follow the directions described in the “Maintenance” section on pages 9-11.
If the problem is not solved after following these directions, please contact Nitta,
your local distributor or agent in your area for advice.
9. Maintenance
9-1) How to Perform Maintenance
You can change the position of the cutting sheet and both sides of the cutting
sheet can be used. Adjusting the position may solve any problems where a
portion of the finger joint is not cut out.
The cutting sheet is consumable. Specify the cutting sheet for Finger Puncher
when you order a new one.
9-2) Required Tool
✛ Driver
9-3-1) How to change the position of the cutting sheet
① The wing nuts which are the fixation of the
clamp bar are loosened.
※ Do not pull out wing nuts. Just loosening
wing nuts are enough.
② The truss screws which are the fixation of the
cutting sheet are loosened.
※ Do not pull out truss screws. Just loosening
truss screws are enough.

- 10 -
9-3-1) How to change the position of the cutting sheet - Continued-
③ Change the position of the cutting sheet by
sliding it forward or back in the hole on the
cutting sheet.
※ At the time of shipping, the cutting sheet is
set in the center of the hole on the cutting
sheet.
※ The picture at left shows an example of
sliding the cutting sheet forward in the hole.
※ Both sides of the cutting sheet can be used
and it can be set in any of the three positions;
forward, center and back.
※
④ Securely tighten the four loosened truss screws.
※ Fit the corner of the cutting sheet with the
corner of the belt guide.
9-3-2) How to reverse the cutting sheet
① Loosen the wing nuts, and the wing nuts, the
clamping bar, and springs are detached.
※ Be careful not to lose them taken out of the
finger puncher.
② The truss screw which is the fixation of the
cutting seat is detached.

- 11 -
9-3-2) How to reverse the cutting sheet -Continued-
③ Detached the belt guide and the cutting seat.
④ Reverse the cutting sheet to turn the unused
side up and insert it back to the finger puncher.
⑤ The cutting seat and the belt guide are installed
with the truss screw.
※ Fit the corner of the cutting sheet with the
corner of the belt guide.
⑥ Installed the springs, the clamp bars and the
wing nuts.
Shown on the next page is a table for keeping maintenance records.
The corner is matched
mutually.

- 12 -
10. Maintenance Record
When shipped
from Nitta
The cutting sheet
was slid forward.
The cutting sheet
was slid back.
The cutting sheet
was reversed and
set in the center.
The cutting sheet
was slid forward.
The cutting sheet
was slid back.
The cutting sheet
was replaced and
set in the center.
The cutting sheet
was slid forward.
The cutting sheet
was slid back.
The cutting sheet
was reversed and
set in the center.
The cutting sheet
was slid forward.
The cutting sheet
was slid back.
The cutting sheet
was replaced and
set in the center.
The cutting sheet
was slid forward.
The cutting sheet
was slid back.
The cutting sheet
was reversed and
set in the center.
The cutting sheet
was slid forward.
The cutting sheet
was slid back.
The cutting sheet
was replaced and
set in the center.
The cutting sheet
was slid forward.
The cutting sheet
was slid back.
The cutting sheet
was reversed and
set in the center.
The cutting sheet
was slid forward.
The cutting sheet
was slid back.
11. Inspection
Inspection items date/staff date/staff date/staff date/staff date/staff
The puncher body is free of
damage or destruction.
All screws of the puncher body
are tightened.
The belt can be completely
punched out.
Make a copy of this page and use it for inspection prior to each use.

- 13 -
12. Warranty and after-sales service
1. Warranty period
The warranty period is for one full year after the delivery of the order at your
appointed place.
2. Warranty coverage
1) Should the product malfunction due to causes for which our company is
responsible during the abovementioned warranty period, our company will
provide a replacement product or repair the product free of charge. However,
even within the warranty period the following cases shall not be covered by the
warranty. Please note that even if our company provides a replacement product
or repairs the product, the warranty period will be calculated from the initial date
on which the product was delivered.
① Malfunction arising from any inappropriate conditions, environment, handling
and usage which are not described in the Operation Manual and the Endless
Splicing Procedure.
② Malfunction due to a cause arising from something other than the product,
such as your own device.
③ Malfunction arising from any remodeling or repairing by other than our own
company.
④ Malfunction arising from any reasons unpredictable due to our level of
chemistry and technology before shipment.
⑤ Malfunction arising from fire, earthquake, flood, other disasters, voltage error,
or other external factors for which our company bears no responsibility.
⑥ Malfunction where it can be confirmed that, if perishables stipulated by the
Operation Manual and the Endless Splicing Procedure had been maintained
and/or replaced correctly, prevention of the malfunction would have been
possible.
2) The warranty does not apply to perishables. When perishables which have a
limited lifetime are repaired, and should those perishables be determined by our
company to have reached the end of their lifetime, the perishables will be
replaced for a fee.
① Parts which fall under the category of perishables: “cutting sheet”.
② Parts which fall under the category of perishables having a limited lifetime:
“Thomson blade”.
3) The warranty coverage is limited to what is stated in 1) above, and the warranty
does not cover secondary damages (equipment damage, opportunity loss, profit
loss) and any other damage incurred by the user as a result of a malfunction of
the product.
4) After the warranty period, if after examination the product is repairable, our
company will repair it upon request.

- 14 -
Memo

- 15 -
Oct,2020 Rev8 FP120(70)-10-100(50)-E
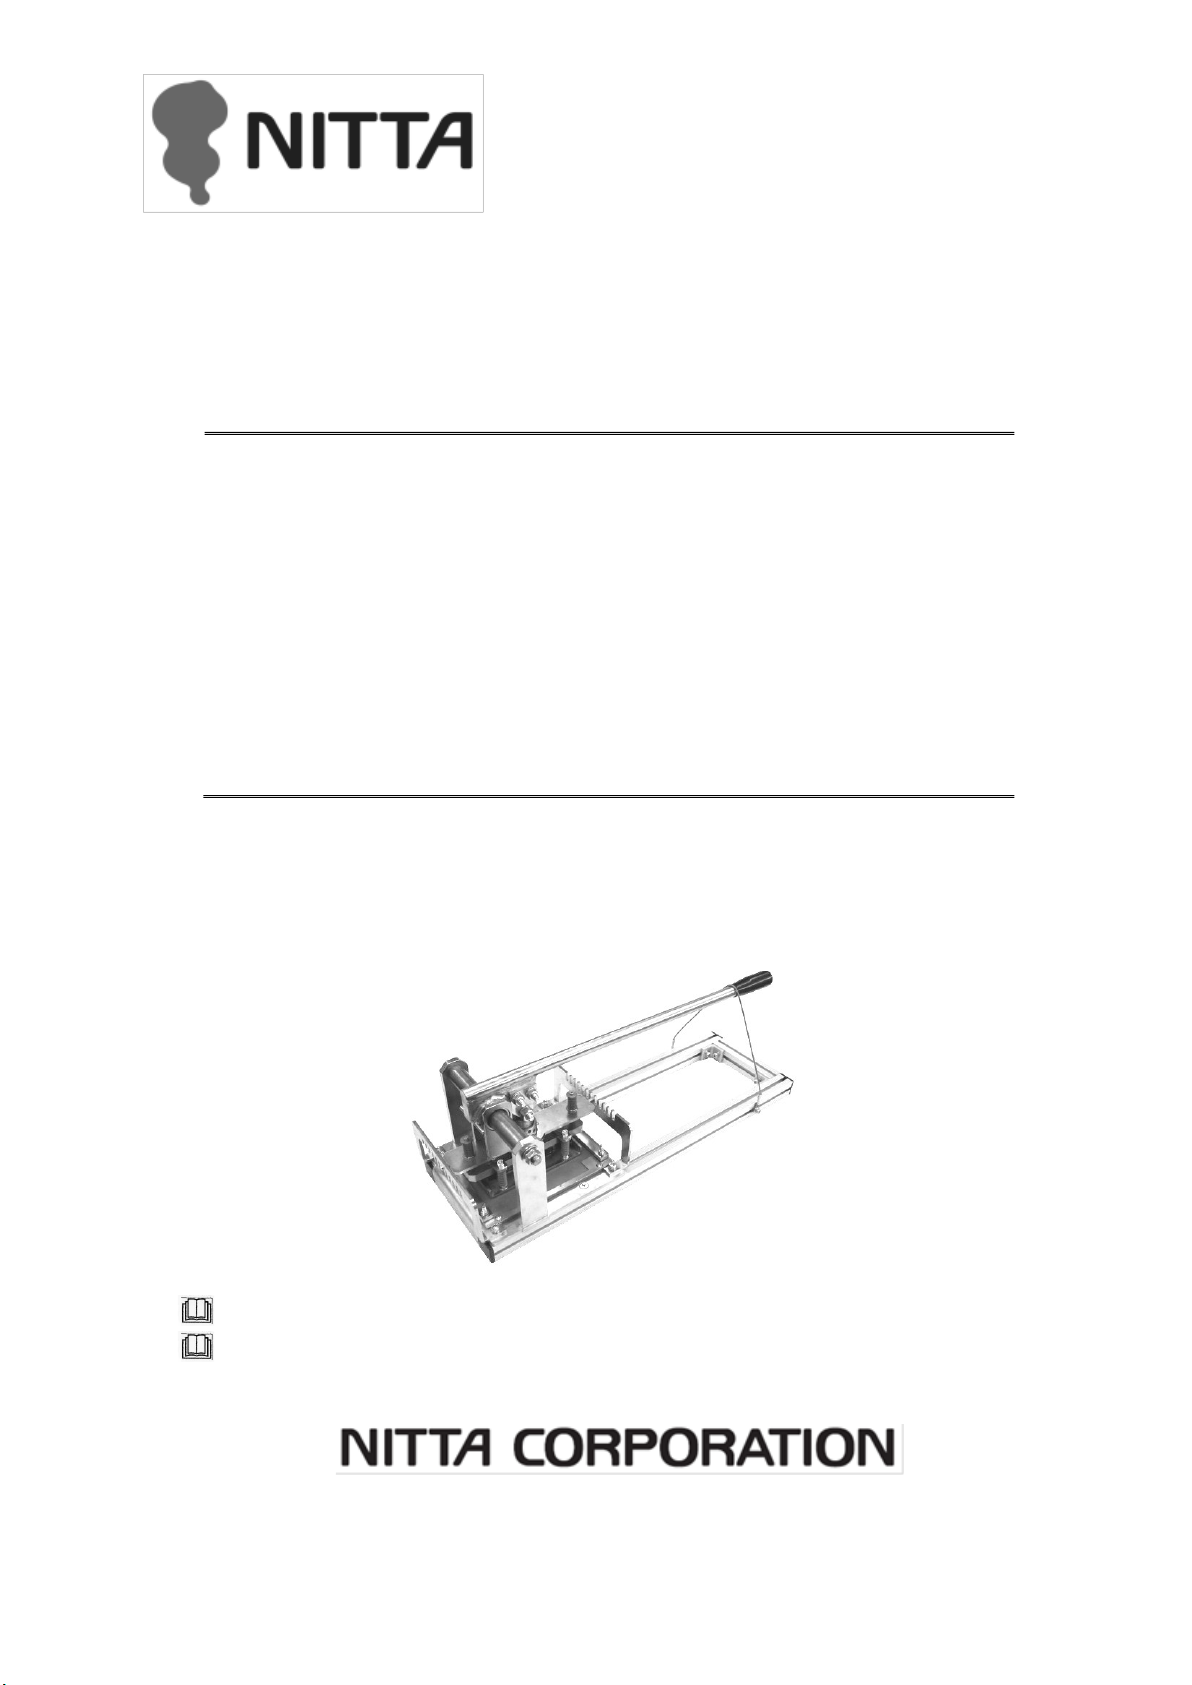
This manual suits for next models
4
Table of contents
Other Nitta Industrial Equipment manuals

Nitta
Nitta SEB User manual

Nitta
Nitta NITTAOMEGA type M165-K User manual

Nitta
Nitta CFTG-60FS-4.5 User manual

Nitta
Nitta FP-200 User manual

Nitta
Nitta FP-200T User manual

Nitta
Nitta NPS-1205C User manual

Nitta
Nitta SOFTmatics GR20QA-V3A User manual

Nitta
Nitta Carryflex CFTG-60SG-30 User manual

Nitta
Nitta SOFTmatics User manual
Popular Industrial Equipment manuals by other brands

Armstrong
Armstrong BVSW Series INSTALLATION, OPERATION & MAINTENANCE DATA SHEET

PCB Piezotronics
PCB Piezotronics 333B45 Installation and operating manual

Jct
Jct JH Series operating manual

Brodie
Brodie AddPak Installation & operation manual

HES
HES HS2510-N user manual

ABB
ABB TPS61-R Series Assembly instructions