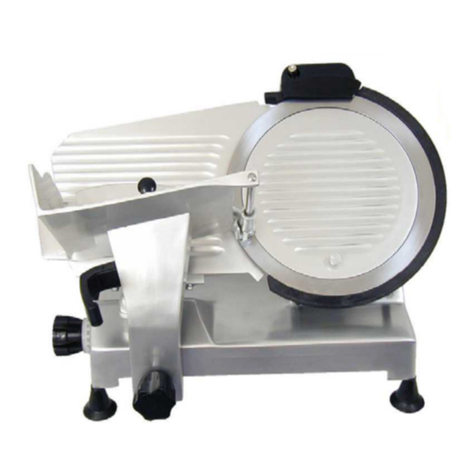
Noaw A300 Specification sheet

1
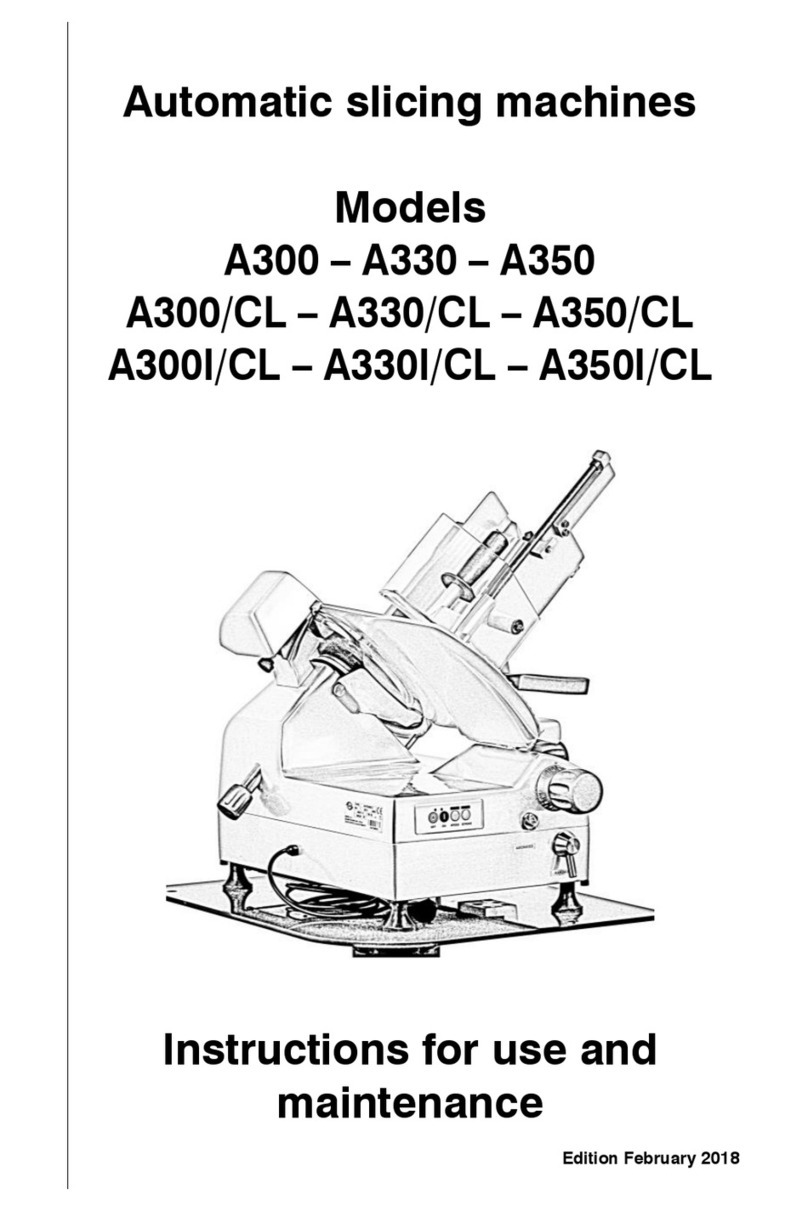
AUTOMATIC SLICING MACHINE
Instruction for use and maintenance
Noaw s.r.l.
Via Colombera, 27
21048 Solbiate Arno (VA)
Tel. +39 0331 219 723 - fax. +39 0331 216 197
http://www.noaw.it - www.noawsrl.com

2

3
GENERAL INFORMATION
MACHINE LIMITS, SAFETY REGULATIONS
The machine has been designed and produced in accordance with EEC directives 98/37
EEC, 2006/95 EEC, 89/336 EEC and the European norm EN 1974 (Slicing machines –
Hygiene and safety specifications.
LIMITS OF THE MACHINE
The machines have been designed and made for slicing food, of the type and size as
specified in paragraph “Technical features and products that can be sliced”. This manual
reports the technical and constructive features of the machines as well as installation
instructions, use and maintenance.
ENVIRONMENTAL CONDITIONS OF USE
The slicers cannot be used in opened places and/or exposed to the atmospheric agents:
they must be placed in a secure environment which has safe conditions as established
by the norms in force so that personnel can operate in the best possible conditions.
The machines must not be used where there are spray of water, vapour or smoke or
corrosive and/or abrasive powders, in the presence of flames and/or heat with
temperatures above those permitted and with the risk of fire or explosions and where the
use of explosion-proof and spark-proof components are prescribed.
- Operation temperature from -5°C to +40°C
- Max relative humidity 95%
GENERAL SAFETY REGULATIONS
The slicing machine must be used only by an adequately trained person who has carefully
read the contents of this manual.
The operators must be over 18 years of age, in perfect mental-physical conditions, have
the right attitude and capacity and necessary knowledge to utilize and keep the normal
maintenance of simple mechanical and electrical components.
For a better use of the machine follow the instructions below:
Install the machine according to the instructions in the paragraph “Installation”;
Install the machine so that it is far from people who must not use it, especially
children;
Do not become distracted while using the machine;
Do not let personnel who have not carefully read and understood the contents of this
manual using the machine;
Do not use loose clothing or open sleeves;
Do not let anyone come close during cutting operations;
Do not remove the transparent protection and do not change or exclude the
mechanical and electrical protections;
Slice only permitted products; do not try slicing any products that are not allowed;
The area around the machine, where the food is laid and the floor where the
operator works, must always be kept clean and dry;
Do not use the machine as a support surface and do not place any object on it that
does not pertain to normal cutting operations;
Do not use the slicing machine when, after a normal use, the distance between the
cutting edge of the blade and the blade protection ring is over 6 mm, call a qualified
and authorized person to replace the blade;
Do not use the machine with electrical connections of a “temporary” nature, with
temporary or not insulated wires, do not use extension cords;
Periodically check the state of the mains cable and the cable gland on the machine
body, when necessary have it replaced without delay by qualified personnel;
4
Immediately stop the machine in the case of a defect, anomalous function,
suspected breakage, incorrect movements, unusual noise, smells, smoke, disconnect
it from the power supply line and call in qualified authorized personnel;
Before each cleaning and/or maintenance, disconnect the machine from the power
supply line;
Always use protective gloves for cleaning and maintenance;
The use of accessories for cutting is not allowed unless supplied by the maker
specifically for the machine;
For any extraordinary maintenance (replacing grinding wheel, blade, etc.) please
contact the manufacturer or qualified and authorized personnel.
MANUFACTURER'S WARRANTY AND RESPONSIBILITY
The guarantee of a good function and a complete conformity of the machines, that are to
be used accordingly, depends on the correct application of the instructions contained in
this manual.
The manufacturer declines all direct and indirect responsibility deriving from:
Not following the instructions in the manual;
Untrained personnel using the machine;
Using the machine so that it does not conform to specific regulations in force in the
country of installation;
Unauthorized changes and/or repairs to the machine;
The use of accessories and spare parts that are not original;
Outstanding events.
If the machine is sold or given away, this automatically means that the manufacturer is
no longer responsible for the machine in question except for anything regarding the EEC
directive 85/374 (responsibility for any construction faults of the product).
GENERAL DESCRIPTION
Automatic slicing machines which are totally fused in aluminium alloy and protected by
anodic treatment.
Designed for high production levels, they can cut great amounts of products. The slicing
machines are equipped with two electric motors (one for blade rotation, one for carriage
movement) which allow both automatic and manual cutting.
They can equipped with a slice counting device with pre-selector which means the
desired number of slices can be selected, when the selected number is reached the
carriage stops; the carriage run can also be regulated so it can be adapted to the size of
the product on the food plate.
The life of the machine depends strictly on working conditions and the care
taken when using the machine.
Carefully follow the instructions for use and the maintenance norms listed
below.
Products that can be sliced: all types of cold cuts (cooked, raw, smoked), boneless
meats (cooked or raw at a temperature of not less than +3°C), bread and cheeses(those
that can be sliced, such as Gruyere, Fontina, etc.).
Products that cannot be sliced: frozen food, deep frozen food, food with bones (meeat
and fish), any other product not for consumption.

5
MACHINE COMPONENTS AND COMMANDS
1. Push button control panel
2. Protective cover of
grinding device
3. Blade safety ring
4. Food press device
5. Transparent safety guard
6. Food press handle
7. Food plate
8. Food plate handle
9. Slice tray
10. Slice thickness
regulation knob
11. Function mode selector
knob (manual/automatic)
12. Support feet
13. Slice protector
14. Power supply cord
15. Food tray support
16. Plate support locking
knob
17. Thickness gauge plate
18. Tie rod
19. Gauge plate support
20. Technical data plate
21. Blade cover disc
22. Lubrication hole

6
TECHNICAL FEATURES
A300
A330
A350
Blade diameter
mm
300
330
350
Blade revolution
g/min
300
300
300
230V motors
kW
0.39
0.39
0.39
400V motors
KW
0.42
0.42
0.42
Carriage run
mm
290
290
290
Slice thickness
mm
0÷14
0÷14
0÷14
N° slice per minute
n°
40÷50
40÷50
40÷50
Weight
Kg
46
46
46
Cutting capacity (Ø)
mm
210
220
230
Cutting capacity ()
mm
210x240
220x240
230x250
A
mm
520
520
520
B
mm
690
695
700
C
mm
600
600
600
D
mm
250
250
310
E
mm
290
290
330
F
mm
350
350
350
G
mm
560
560
560

7
INSTALLATION
The slicing machine must be placed on a horizontal flat surface which is stable and non-
slip, suitable for sustaining the weight of the machine and the food; a support column
with top is available on request.
We advise a height of the work top of about 800-900mm.
Check that nothing gets in the way of the carriage run and loading food on to the plate.
The machine must be installed near an EEC regulation socket derived from a plant
conforming to the norms in force (magnetic thermal differential protection, grounding)
Before connection ensure that the features of the electric power supply system
are the same as those indicated on the data plate of the machine.
In the case of three-phase machines the socket must be a five-polar type:
three-phases, neutral, ground.
The machines are equipped with an electrical cable about 2 metres long, foreseen for a
plug-socket power system so that it is easy to detach the same from the electric system
in the foreseen conditions (maintenance, end of shift, anomalies…).
The presence of the power supply cord must be marked if people walk through this area.
It is forbidden to use extension cords and/or multiple sockets.
CHECKING THE ROTATION DIRECTION OF THE BLADE (THREE-PHASE MODELS)
When you plug on the electrical cable, check that the light above the off button comes on
and then start the blade by pressing the button ON.
Check that it turns counterclockwise when looking at the machine from the blade
cover disc side (21).
If the blade turns in the opposite direction (clockwise) immediately stop the machine and
call a professionally qualified person to change the position of the wires of two of the
phases at the plug terminals.
Check that the food plate (7) and food press both slide (4).
Check the function and the regulation of the thickness gauge plate (17).
PUSH BUTTON CONTROL PANEL
1. Off button
2. Light of off button
3. On button
4. Light of on button
5. Speed button
6. Light of speed button (from 1 to 3 led)
One led on: low speed
Two led on: intermediate speed
Three led on: high speed
7. Stroke button (for carriage run)
8. Light of stroke button (from 1 to 3 led)
On led on: short carriage run
Two led on: intermediate carriage run
Three led on: long carriage run

8
USING THE MACHINE
Check that the slicer is properly connected to the electrical line and that the slice
thickness regulator is positioned on “0”.
The off button light must be on and you have to see one led on of the STROKE button
light.
Manual use:
Turn the function mode selector knob (11) counterclockwise;
Put the product to be sliced on the food plate (7) up to against the thickness gauge
plate (17) and block it;
Start the blade by pressing ON button.
Regulate the thickness of the slice as necessary (10) and start manual operation by
moving the carriage with the handle of the food plate (8).
Use the handle of the food press if the weight and the size of the product do not
allow a proper cutting.
Automatic use (push button control panel):
Turn the function mode selector knob (11) clockwise;
Put the product to be sliced on the food plate (7) up to against the thickness gauge
plate (17) and block it;
Start the blade pressing the ON button;
Regulate the thickness of the slice as necessary (10) and then start the food plate
carriage by pressing the SPEED button;
When you start the carriage movement there is only one led on for SPEED light, and
you can increase the speed pressing once or twice the SPEED button.
When you start the carriage movement there is only on led on for the STROKE light
and if you want to increase the carriage run you have to press once or twice the
STROKE button.
Note: when you push the OFF button, you stop the blade and the carriage movement.
But the slicer keeps the settings regarding speed and stroke, so when you push the ON
button the slicer restarts with the same carriage run and speed before the stopping.
If you want to stop the carriage movement, you can turn the function mode selector
knob (11) counterclockwise or you can press the SPEED button in order to have no led on
the lamp of the light speed.
You can return to the automatic mode turning again the function mode selector knob,
with the previous settings of speed and stroke.
Note: you can loose the settings only plugging off the electrical cable.
Warning: the circuit board has a thermal protector. If the circuit board reach the 80°C
temperature (if you use the slicer continuously for 4 hours without turning off, maybe it
could happen), the slicers turns off. So you have to plug off the electrical cable and you
can’t use it for 5 minutes. Then you can re-start top use it as written above.

9
CLEANING AND LUBRICATION
Before carrying out the cleaning and/or lubrication operations disconnected the machine
from the electricity supply and turn the slice thickness regulator to zero.
The machine must be cleaned at least once a day, more often if necessary, using only a
soft cloth dampened with hot water and a neutral washing up detergent, if needed a bush
with semi-rigid bristles can be used for the plate and the pointed food press.
Rinse off detergent using a clean cloth dampened with fresh water.
During these operations take all precautions and ware protective gloves.
Cleaning the blade: completely unscrew (counterclockwise) the blade cover disc locking
knob (21) and remove the disc; press a damp cloth over the surface of the blade and
move form the middle out towards the edge.
Warning: Use protective gloves and take extreme caution during this operation.
DANGER OF CUTTING!
Replace the blade cove disc promptly when the cleaning operations are over.
Don’t use air, water or vapour spray an do not remove other protective devices
or the food press plate.
Every week squirt a small amount of oil in the lubrication hole (1) for lubricating the food
plate carriage guides; the transversal movement of the food press (2) must be oiled in
the same way. Manually slide the units and clean as necessary removing any excess
lubricant.
Warning: only use white Vaseline oil. Do not use vegetables oils.

10
MAINTENANCE AND REPAIRS
The maintenance operations which the operator is allowed to perform are the following:
Blade grinding, periodically;
The periodicity and duration of the grinding depend on the use of the machine
(working times and type of products).
Lubrication carriage run guides, weekly;
Lubrication transversal movement of food press, weekly;
Verification of the condition of the electrical supply cable and the fairlead on the base
of the machine, periodically.
Maintenance operations to be carried out exclusively by qualified personnel authorized by
the manufacturer are the following:
Blade replacement;
Replacement of the grinder;
Replacement of the belt/s motor/s;
Replacement of electrical components under the base;
Repair of structural parts, repairs and/or replacement of mechanical components
under the base.
BLADE GRINDING
The grinding operation is to be carried out after having cleaned the machine as explained
in the previous paragraphs.
Warning: blade grinding can be carried out until the distance between the blade edge and
the inside edge of the guard does not exceed 6 mm, corresponding to a decrease of
about 10 mm on the dimensional value of the original diameter. Once this is exceeded
the blade must be replaced by qualified personnel only, as authorized by the
manufacturer.

11
Sharpen the blade on models AUT.300 –AUT.350
Blade grinding must be carried out as soon
as a decrease in cutting capacity is
noticed.
Proceed as follows:
Check that the slicer is properly
connected to the electrical line and
that the slice thickness regulator is
positioned on “0” (must be ON the
light of OFF button);
Turn the function mode selector knob
(11) counterclockwise (manual
mode);
Loosen (do not remove) the locking
knob (3) of the grinding device;
Lift up it as shown in the figure and
rotate it at 180°;
Reposition it in its housing and relock
the knob (3);
Start the blade pressing ON button;
Sharpen the blade by pressing and
holding down the grinding wheel
button (4) for about 10 seconds;
Press and hold down the button of the
trimming wheel (5) for about 2-3
seconds;
WARNING: do not trim too much so as
to avoid twisting the blade edge.
Stop the blade movement pressing ON
button;
Loosen the locking knob (3);
Raise and rotate the grinding group
clockwise by 180° and then reposition
it in its housing;
Screw the knob back (3);
Clean the slicing machine.

12
Sharpen the blade on models AUT.839 –AUT.849
Blade grinding must be carried out as soon
as a decrease in cutting capacity is
noticed.
Proceed as follows:
Check that the slicer is properly
connected to the electrical line and
that the slice thickness regulator is
positioned on “0” (must be ON the
light of OFF button);
Turn the function mode selector knob
(11) counterclockwise (manual
mode);
Raise the cover (3);
Take out the knob (4) and push on it
turning the grinding device over and
brining the grinding wheels into the
grinding position;
Release the knob (4) hooking the
grinding device tightly;
Start the blade pressing ON button;
Sharpen the blade by pressing and
holding down the lever (5) for about
10 seconds so the grinding wheel is
working;
Press the lever (5) again for about 2-3
seconds to engage the trims grinding
wheel;
WARNING: do not trim too much so as
to avoid twisting the blade edge.
Stop the blade movement pressing ON
button;
Raise the locking knob (4) and turn
the grinding device over putting it
back into its original position;
Release the knob (4) and lower the
cover (3);
Clean the slicing machine.

13
Power supply diagram 230V-50/60Hz single-phase

14
Power supply diagram 400V-50Hz three-phase
Other manuals for A300
1
This manual suits for next models
2
Table of contents
Other Noaw Kitchen Appliance manuals

Noaw
Noaw NS300M Troubleshooting guide

Noaw
Noaw 250/14 Troubleshooting guide

Noaw
Noaw TWS Service manual

Noaw
Noaw NS350HDA Specification sheet

Noaw
Noaw LEADER 350G/LI Specification sheet

Noaw
Noaw NS220 User manual

Noaw
Noaw 300/10H Troubleshooting guide

Noaw
Noaw 30E Specification sheet

Noaw
Noaw NS220 Specification sheet

Noaw
Noaw A370G/L Specification sheet