manuals.online logo
Brands
  1. Home
  2. •
  3. Brands
  4. •
  5. Nordcap
  6. •
  7. Display Case
  8. •
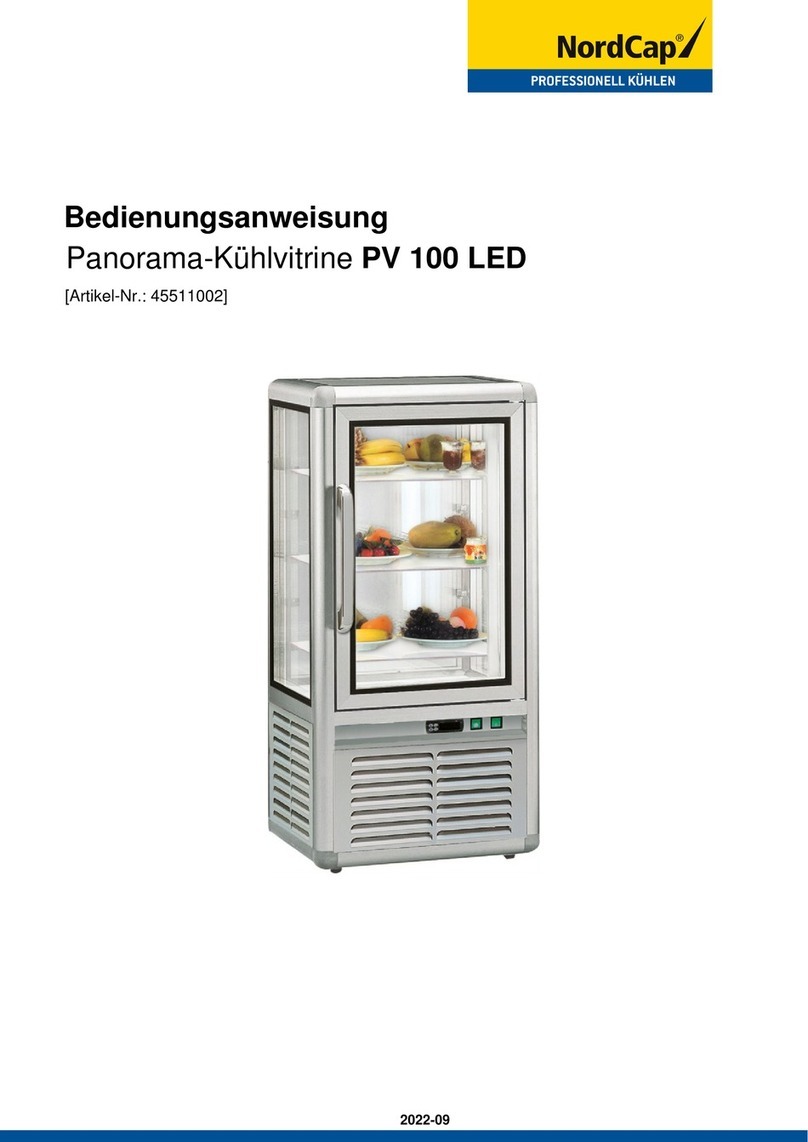
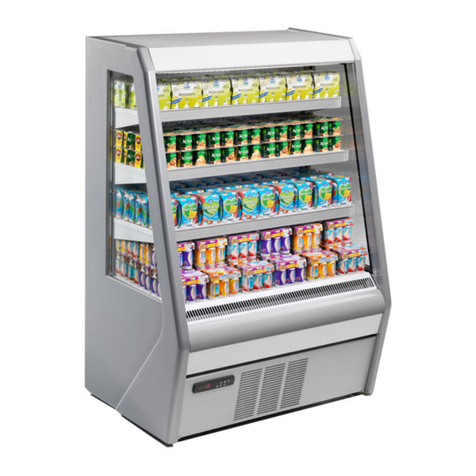
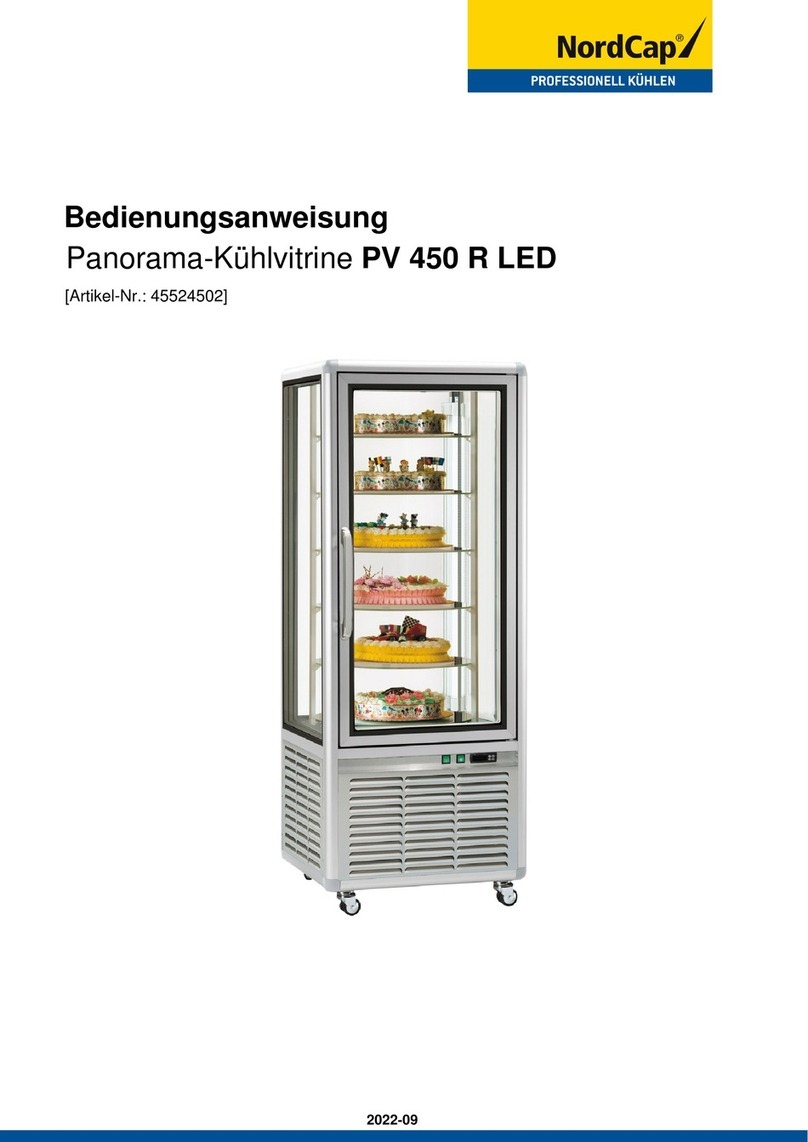
  9. Nordcap PV 450 LED User manual

Nordcap PV 450 LED User manual

This manual suits for next models

1

Other Nordcap Display Case manuals

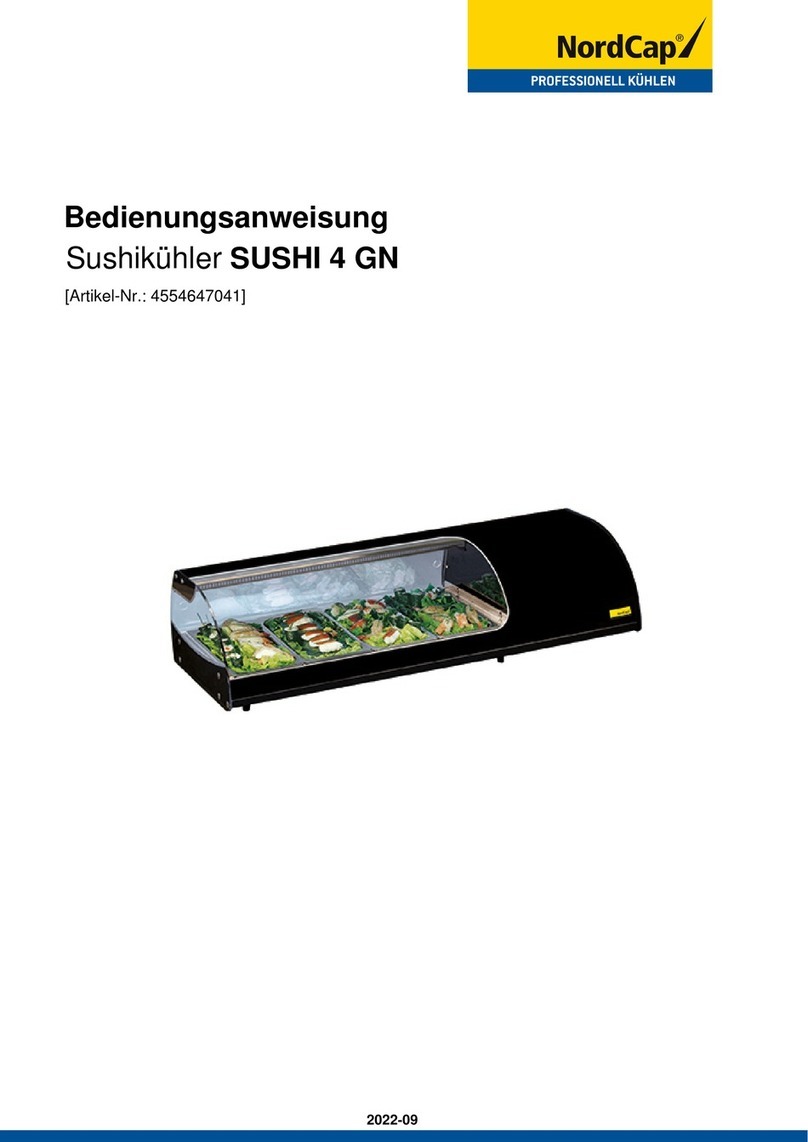
Nordcap SUSHI 4 GN User manual

Nordcap

Nordcap SUSHI 4 GN User manual

Nordcap TAPAS 4 GN User manual

Nordcap

Nordcap TAPAS 4 GN User manual

Nordcap SUSHI 6 GN User manual

Nordcap

Nordcap SUSHI 6 GN User manual

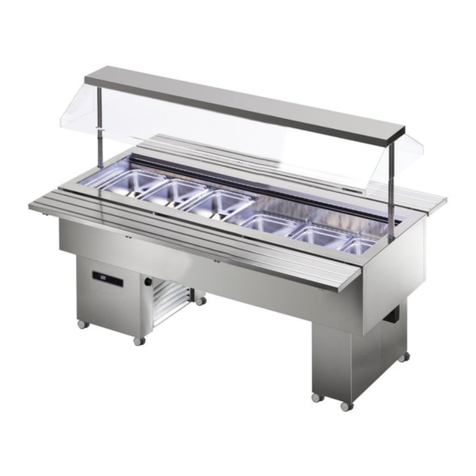
Nordcap ISOLA 4 M INOX UM Manual

Nordcap

Nordcap ISOLA 4 M INOX UM Manual

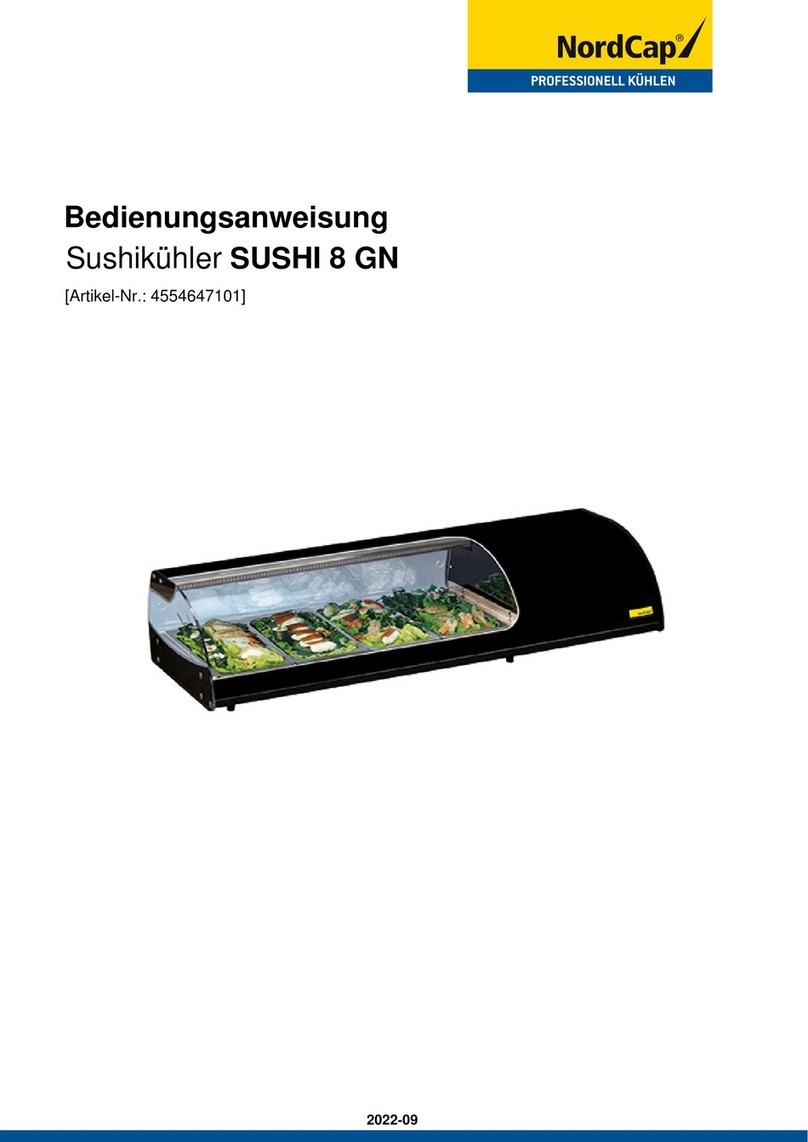
Nordcap SUSHI 8 GN User manual

Nordcap

Nordcap SUSHI 8 GN User manual

Nordcap 467 Series User manual

Nordcap

Nordcap 467 Series User manual

Nordcap TAPAS 6 GN User manual

Nordcap

Nordcap TAPAS 6 GN User manual

Nordcap LUXOR SLIM User manual

Nordcap

Nordcap LUXOR SLIM User manual

Nordcap TAPAS 8 GN User manual

Nordcap

Nordcap TAPAS 8 GN User manual

Nordcap KAI User manual

Nordcap

Nordcap KAI User manual

Nordcap Alaska User manual

Nordcap

Nordcap Alaska User manual

Nordcap LUXOR DOUBLE User manual

Nordcap

Nordcap LUXOR DOUBLE User manual

Nordcap PV 350 LED User manual

Nordcap

Nordcap PV 350 LED User manual

Nordcap ISOLA 4 M UM Manual

Nordcap

Nordcap ISOLA 4 M UM Manual

Nordcap ALASKA 180-800-CNS User manual

Nordcap

Nordcap ALASKA 180-800-CNS User manual

Nordcap SUSHI 10 GN User manual

Nordcap

Nordcap SUSHI 10 GN User manual

Nordcap ISOLA 4 M UM Manual

Nordcap

Nordcap ISOLA 4 M UM Manual

Nordcap COOL-LINE Delizie M User manual

Nordcap

Nordcap COOL-LINE Delizie M User manual

Nordcap PV 450 R LED User manual

Nordcap

Nordcap PV 450 R LED User manual

Nordcap ISOLA 4 M UM Quick start guide

Nordcap

Nordcap ISOLA 4 M UM Quick start guide

Nordcap ISOLA 4 M INOX UM User manual

Nordcap

Nordcap ISOLA 4 M INOX UM User manual

Nordcap ISOLA 4 M INOX UM Quick start guide

Nordcap

Nordcap ISOLA 4 M INOX UM Quick start guide

Nordcap PV 250 LED User manual

Nordcap

Nordcap PV 250 LED User manual

Nordcap GENIUS 2 H145-L63 User manual

Nordcap

Nordcap GENIUS 2 H145-L63 User manual

Popular Display Case manuals by other brands

Displays2go RPFIRESFTY Assembly instructions

Displays2go

Displays2go RPFIRESFTY Assembly instructions

FPG IN 3B08 product manual

FPG

FPG IN 3B08 product manual

Federal CRR4828 Installation & operation instructions

Federal

Federal CRR4828 Installation & operation instructions

True TCGD-50 installation manual

True

True TCGD-50 installation manual

Hatco FLAV-R-SAVOR FSCD Series Installation and operating manual

Hatco

Hatco FLAV-R-SAVOR FSCD Series Installation and operating manual

Bonnet Neve SKYLIGHT User instructions

Bonnet Neve

Bonnet Neve SKYLIGHT User instructions

Tecnodom EVO SELF User and maintenance manual

Tecnodom

Tecnodom EVO SELF User and maintenance manual

Delfield F15SC48N Specification sheet

Delfield

Delfield F15SC48N Specification sheet

Costan VIVALDI User instructions

Costan

Costan VIVALDI User instructions

Skope FDM Series user manual

Skope

Skope FDM Series user manual

KMW KIM 108 Series operating manual

KMW

KMW KIM 108 Series operating manual

saro FIONA instruction manual

saro

saro FIONA instruction manual

Delfield F15SC48D Specification sheet

Delfield

Delfield F15SC48D Specification sheet

Nuttall Flexeserve Hub 600 Operation manual

Nuttall

Nuttall Flexeserve Hub 600 Operation manual

Hussmann GSVM 4060D Installation & operation manual

Hussmann

Hussmann GSVM 4060D Installation & operation manual

Polar Refrigeration CP728 instruction manual

Polar Refrigeration

Polar Refrigeration CP728 instruction manual

Costan WHALE 2000 G LG300 User instructions

Costan

Costan WHALE 2000 G LG300 User instructions

Structural Concepts GP441RG.6122 Installation and operating manual

Structural Concepts

Structural Concepts GP441RG.6122 Installation and operating manual

manuals.online logo
manuals.online logoBrands
  • About & Mission
  • Contact us
  • Privacy Policy
  • Terms and Conditions

Copyright 2025 Manuals.Online. All Rights Reserved.

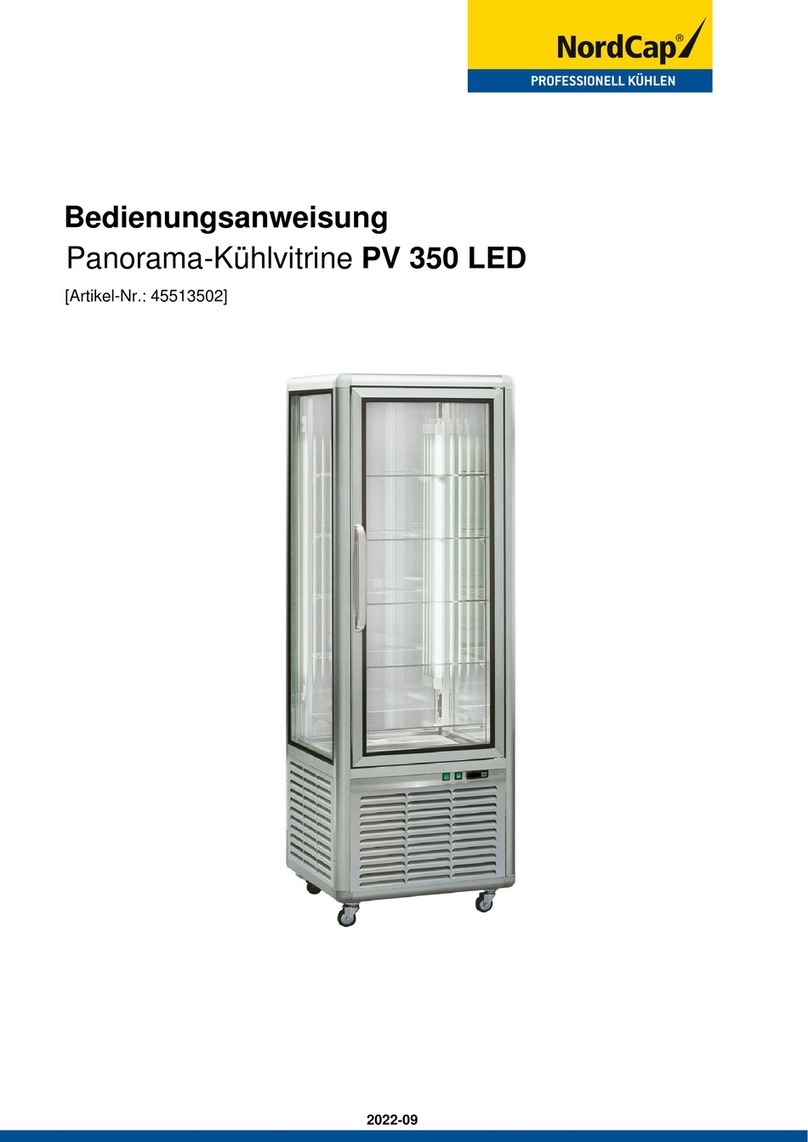
Bedienungsanweisung
Panorama-Kühlvitrine PV 450 LED
[Artikel-Nr.: 45514502]
2022-09
567
8
OK
NO
1
MANUALE
ISTRUZIONI
2
3
2
A
C
B
35
4
2
1
2
B
C
2
3
3
1
257
68 3
94
3=Sbrinamento manuale, Manual defrosting ,
, ,Manuelles Abtauen Descongelaciòn manual
Dégivrage manuel.
9=Risparmio energetico, Energy saving,
, , EconomieEnergiesparen Ahorro de energìa
d'énergie
REGOLAZIONE
L’apparecchiatura è dotata di comandi di regolazione posti sul davanti. . : Serve ad accendere la1 luce
luce interna. . : Serve ad accendere l’impianto refrigerante. . .2 refrigerazione 3. Sbrinamento manuale 4
Display Termostato: Indica la temperatura all’interno dell’apparecchiatura. : Regola la temperatura
all’interno dell’apparecchiatura Il “SET” o “P” premuto una volta consente di visualizzare laA) Tasto 5.
temperatura impostata, che potrà essere modificata agendo sul ”UP” o sul ”DOWN”. .Tasto 6 Tasto 7 8
Rotazione: 9 Risparmio energeticoServe per azionare i piani rotanti. . : Attiva / Disattiva la funzione di
risparmio energetico
BIS AUX: Quando lavora in positivo, premendo (tasto 8) la ventilazione interna è permanente quindi
aumenta anche l'umidità relativa. Al contrario (Quando non è attivo AUX) la ventilazione interna è
controllata da un termostato.
1
257
68 3
94
3=Sbrinamento manuale, Manual defrosting ,
, ,Manuelles Abtauen Descongelaciòn manual
Dégivrage manuel.
9=Risparmio energetico, Energy saving,
, , EconomieEnergiesparen Ahorro de energìa
d'énergie
XW60
XW90
Quando attivo (Tasto 9), la temperatura nella
macchina aumenta di 1°C (generalmente usata alla
chiusura notturna).
When turned on ( button 9) the temperature inside
the cabinet increases of 1 °c ( generally used
during night closure)
Wenn aktiv ist (Taste 9), die Temperatur in der
Vitrine erhöht sich um 1 C°(allgemein wird während
der Nachtschließung verwendet).
Cuando activado (BOTON 9), la temperatura al
interior del armario sube de 1 °C.
(GENERALMENTE UTILIZADO DURANTE EL
CIERRE DE NOCHE)
Lorsqu'il est activé (touche 9), la température dans
la vitrine augmente de 1 ° C ( habituellement utilisé
pendant la fermeture nocturne).
CONTROLS
The appliance features adjusting controls, located at the front of the cabinet. to switch on the1. Light :
light inside the display cabinet. to switch on the refrigeration system.2. Refrigeration : 3. Manual
defrosting. 4. Display: Thermostat:to display the temperature in the appliance. to adjust the
temperature in the appliance. Press button once to display the temperature set-point,a) 5 “SET or P”
which can be changed by pressing button or button . to set the rotating6 “UP” 7 “DOWN” 8. Rotation :
shelves into motion. enable / disable the energy conservation function.9. Energy conservation:
BIS AUX: BIS: When it works with positive temperature, pressing (button 8) the internal ventilation is
permanent, and in this way also the relative humidity increases. “On the contrary, when the AUX is not
active, the internal ventilation is controlled by a thermostat.
EINSTELLUNG
Das Gerät ist mit Bedienungssteuerungen ausgerüstet, die sich auf der Vorderseite befinden.
1. Lichtschalter: 2. Kühlschalter:Zum Einschalten der Innenbeleuchtung. Zum Einschalten der
Kühlanlage. Gibt die Temperatur im Inneren des Geräts an.3. Manuelles Abtauen 4. Anzeige:.
Thermostat: 5 “SET oderReguliert die Innentemperatur des Geräts. A) Das einmalige Drücken der Taste
P” 6 “UP” 7ermöglicht das Ablesen der voreingestellten Temperatur, die durch Drücken der Taste oder
“DOWN” 8. Rotationsschalter: 9.geändert werden kann. Zur Betätigung der Drehablagen.
Energiesparen: aktivieren / deaktivieren der Energiesparen-Funktion.
BIS: AUXWenn es in Plus Kuehlung funktioniert, ebim druecken der Taste (8), die Innenbelüftung ist
dauerhaft, daher erhöht sich auch die relative Luftfeuchtigkeit. Im Gegenteil, die interne Belüftung wird
durch einen Thermostat gesteuert.
4
REGULACIÓN
El equipo dispone de mandos de regulación situados en la parte frontal. Sirve para encender la1. Luz:
luz interna. Sirve para encender la instalación refrigeradora.2. Refrigeración: 3. Descongelaciòn
manual 4. Pantalla: Termostato:. Indica la temperatura del interior del equipo. Regula la temperatura del
interior del equipo. Si se pulsa la tecla (una vez) se visualiza la temperatura programada,A) 5 “SET o P”
que podrá modificarse con las teclas y Sirve para accionar las6 “UP” 7 “DOWN”. 8. Rotación:
estanterías giratorias. activar / desactivar la funciòn de ahorro de energìa.9. Ahorro de energìa:
BIS AUX: Cuando funciona a temperatura positiva, pulsando (botón 8) la ventilación interna es
permanente, entonces también aumenta la humedad relativa. Al contrario la ventilación interna es
controlada por un termostato.
RÉGLAGE
La vitrine est dotée de commandes de réglage situées à l'avant. il sert à allumer la lumière1. lumière :

interne. il sert à allumer le système de réfrigération. il2. réfrigération : 3. . 4. écran :dégivrage manuel
indique la température à l'intérieur de la vitrine. il régle la température interne de la vitrine.Thermostat :
A) 5 « SET ou P »Appuyer une fois sur la Touche pour visualiser la température programmée qu'il sera
possible de modifier au moyen de la Touche ou de la Touche il sert à6 « UP » 7 «DOWN». 8. Rotation :
actionner les tablettes pivotantes. Activer / mettre à l'arrêt la fonction9. économie d'énergie :
d'économie d'énergie
BIS: Lorsque vous travaillez en temperature positif, en appuyant sur le bouton AUX (8) la ventilation
interne est permanente , pour cette raison augmente aussi l'humidité relative. Au contraire, la ventilation
interne est commandé par un thermostat.
SZABÁLYOZÁS
A berendezés egy elől található, védett kezelőtáblán elhelyezett szabályozó vezérlőrendszerrel
rendelkezik. a belső világítás bekapcsolására szolgál. A1. Fénycsőmegszak.: 2. Hűtés megszak.:
hűtőberendezés bekapcsolására szolgál. A berendezés belsejében3. Hőfokmérő/Hőfokszabályozó:
lévőhőmérsékletet ellenőrzi. Az egyszer lenyomott gomb lehetővé teszi a beállított4-ös "SET vagy P"
hőmérséklet kijelzését, amely a gomb vagy a gomb megnyomásával5-os “UP”6-es “DOWN”
módosítható. A II-n kell beállítva lennie akkor, amikor a hűtőszekrény pozitív (0°C-8. Ventiláció kapcs.:
nál magasabb) hőmérsékleten üzemel.
BIS : Amikor pozitív hőmérséklet tartományban dolgozik, az gombot(8) megnyomva a belsőAUX
ventiláció állandó lesz és a relatív páratartalom is növekszik. Ellenkezőesetben a belsőventilációt a
termosztát vezérli.
B
B
SOSTITUZIONE DELLA GUARNIZIONE
MAGNETICA DELLA PORTA
1. 2Aprire la porta. . Afferrare con le mani la guarnizione
ed estrarla dall'incastro nel profilo della porta.
Sostituirla con la nuova guarnizione, avendo cura3.
di premere in successione su tutto il perimetro
REPLACING THE DOOR'S MAGNETIC GASKET
1. 2Open the door. . Take hold of the magnetic
gasket and pull it out of the frame. Insert the3.
new gasket and press it firmly down all around
AUSTAUSCH DER MAGNETISCHEN TÜRDICHTUNG
1. 2.Die Tür öffnen. Die Dichtung mit den Händen aus
dem Türprofil herausziehen. Eine neue Dichtung3.
einsetzen, die sorgfältig überall festgedrückt
werden muss
SUSTITUCIÓN DEL BURLETE MAGNÉTICO
DE LA PUERTA
1 2.. Abrir la puerta. Sujetar con las manos
el burlete y sacarlo del encaje del perfil de la puerta.
.Sustituirlo con un burlete nuevo, cuidando3
de apretar sucesivamente todo el perímetro
REMPLACEMENT DU JOINT MAGNÉTIQUE
DE LA PORTE
1. 2.Ouvrir la porte. Saisir le joint et l'extraire du
profil de la porte. . Le remplacer par un nouveau3
joint en ayant soin de bien le fixer en appuyant
sur tout le périmètre
AZ AJTÓ MÁGNESES TÖMÍTÉSÉNEK CSERÉJE
1 2.. Nyissák ki az ajtót. Kezükkel szorítsák meg a tömítést
és húzzák ki az ajtó profiljában levőfoglalatból. . Pótolják3
azt az új tömítéssel,amelyet fokozatosan nyomjanak az
egész keretre
5
MIN
15 CM
!
!Our products are for internal
use only –do not install
outside restaurants, shops.
NON rimuovere
il lubrificante
per il primo mese
di vita.
DO NOT remove
the lubricant
for the first month
of life.
das Schmiermittel
NICHT entfernen
für den ersten Monat
des Lebens.
I nostri prodotti sono da interni -
non installare all'esterno dei
locali/negozi.
!Unsere Produkte eignen sich für
Innenräume –nicht im
Aussenbereich von Räumen /
Geschäften anbringen.
!
Nuestros productos son para el
interior, non instalarlos en el
exterior de los locales/tiendas.
!Nos produits sont conçus pour
utilisation à l'intérieur: ne pas
installer à l'extérieur
des locaux/magasins.
!A termékeink beltéri
felhasználásúak –ne építsék be
azokat helységek/üzletek
külterébe.
!
If the supply cord is damaged, it must be replaced
by the manufacturer, its service agent,
or similarly qualified persons in order to avoid a
hazard.
Se il cavo di alimentazione è danneggiato,
deve essere sostituito dal produttore, dal suo
centro di assistenza o da personale qualificato
per evitare rischi
Wenn die Anschlussleitung beschädigt ist, darf sie
nur von einem autorisierten Kundendienst
ausgewechselt werden, um Gefahr zu vermeiden.
Si le câble d'alimentation est endommagé, il doit
être remplacé par le fabricant, des représentants
ou des professionnels agréés afin d'éviter
les dangers.
Si el cable de alimentación está dañado,
debe ser reemplazado por el fabricante, por su
Centro de servicio o personal calificado.
para evitar riesgos
Cuidado: no llenar totalmente los estantes
exposidores para permitir un correcto flujo de
aire frio interior.
Attention: ne pas remplir complétement les
étagères expositives pour permettre un
écoulement correct de l’air froide interne.
Achtung: Fuellen Sie bitte die Expositions
Regale nicht komplett auf, um eine korrekte
Zirkuliereng von kalter Luft zu haben
Attention: do not fill up completely the
exposition shelves in order to permit a correct
internal cold air flow
Attenzione, non riempire completamente i
ripiani espositivi per consentire un corretto
deflusso dell’aria fredda interna.
!
-------------------------------------------------------------------
-------------------------------------------------------------------
-------------------------------------------------------------------
-------------------------------------------------------------------
6
GBT
GBT
GBT
GBT
GBT
SBRINARE - DEFROST
OK NO
Sbrinare ogni due settimane
Defrost every two weeks
Abtauen jede zwei Wochen
Descongele cada dos semanas
Dégivrage toutes les deux semaines
*
*
*
*
*
BACINELLA DI EVAPORAZIONE AUTOMATICA
La maggior parte delle unità dispone di una bacinella di evaporazione automatica.
Anche l'acqua di sbrinamento può causare guasti considerevoli poiché può bucare il tubo che
fornisce il calore necessario per l'evaporazione dell'acqua o deteriorare la resistenza elettrica.
Quindi si raccomanda di prestare attenzione a questa bacinella e procedere alla sua pulizia
periodicamente.
AUTOMATIC EVAPORATION BASIN
The majority of units, have a basin of automatic evaporation.
Even the defrost water can cause considerable damage, since it can pierce the tube
that provides the heat necessary for the evaporation of water or deteriorate the electrical
resistance.
So please pay attention to this basin and clean it periodically.
AUTOMATISCHE VERDUNSTUNGSTASSE
Die meisten Einheiten haben eine Tasse mit automatischer Verdunstung.
Auch das Tauwasser kann erhebliche Schäden verursachen, da das Rohr dass
die notwendige Wärme für die Verdampfung gibt lochen kann oder es zu einer Verschlechterung
des elektrischen Widerstandes bringt.
Also bitte achten Sie auf diese Tasse und reinigen Sie diese regelmaessig.
BENDEJA DE EVAPORACION AUTOMATICA
La mayorìa de los equipos disponen de una bandeja de evaporaciòn automatica.
El agua de dishielo tambièn puede provocar averìas de consideraciòn, ya que puede picar la
tuberìa que aporta el calor necesario para evaporar el agua o deteriorar la resistencia eléctrica.
Se recomienda pues, prestar atenciòn a esta bandeja y proceder a su limpieza con periodicidad.
PLATEAU D'ÈVAPORATION AUTOMATIQUE
La majoritè des apparells disposent d'un plateau d'évaporation automatique,
L'eau du dégivrage peut également occasionner des pannes importantes, étant donné qu'ella
peut percer la tuyauterie qui apporte la chaleur nécessaire permettant l'évaporation de l'eau ou
ancore abimer la résistance électrique.
Il est recommandè de prendre soin de ce plateau et de le nottoyer périodiquement.
!
!
!
!
!
7
!
!
!
!
!
!
!
!
Il buon funzionamento della macchina causato da inosservanza di quanto spiegato e/onon
mostrato in questo manuale, declina ogni tipo di responsabilità.
We decline any responsibility if the bad performance of the equipment is caused by non
compliance to what is shown and/or explained in this manual.
Das nicht reibungslose Betrieb des Geraetes, verursacht durch Nichtbeachtung wie in
diesem Handbuch dargestellt ist, übernimmt keine Haftung.
Le mauvais fonctionnement de la machine causés par le non-respect comme expliqué et /
ou illustrés dans ce manuel, décline toute la responsabilité
Esta compañía declina toda responsabilidad si el mal funcionamiento del equipo es causado
por el incumplimiento de lo que se muestra y/o se explica en este manual.
8
LUCE CALDA
WARM LIGHT
=>
=>LUCE FREDDA
COOL LIGHT
1
2
3
1=VERDE-GREEN
2=MARRONE-BROWN
3=BIANCO-WHITE
13
2
1=VERDE-GREEN
2=MARRONE-BROWN
3=BIANCO-WHITE
(optional)
potentiometer
(optional)
potenziometro
Cioccolato: Attenzione, se suona l'allarme, chiudere le porte della vetrina refrigerata!
In questo modo eviterete problemi dovuti al surriscaldamento della resistenza.
Attention, if the alarm sounds, close the doors of the refrigerated display case!Chocolate:
In this way you will avoid problems due to overheating of the resistance.
¡Atención, si suena la alarma, cierre las puertas de la vitrina refrigerada!Chocolate:
De esta forma evitarás problemas por sobrecalentamiento de la resistencia.
Achtung, wenn der Alarm ertönt, schließen Sie die Türen der Kühlvitrine!Schokolade:
Auf diese Weise vermeiden Sie Probleme durch Überhitzung des Widerstands.
Attention, si l'alarme retentit, fermez les portes de la vitrine réfrigérée!Chocolat:
De cette façon, vous éviterez les problèmes dus à la surchauffe de la résistance.
9
3
3
Almeno una volta al mese
At least once a month
Mindestens einmal pro Monat
Por lo menos una vez al mes
Au moins une fois par mois
!
!
!
!
!
1
2
2
10