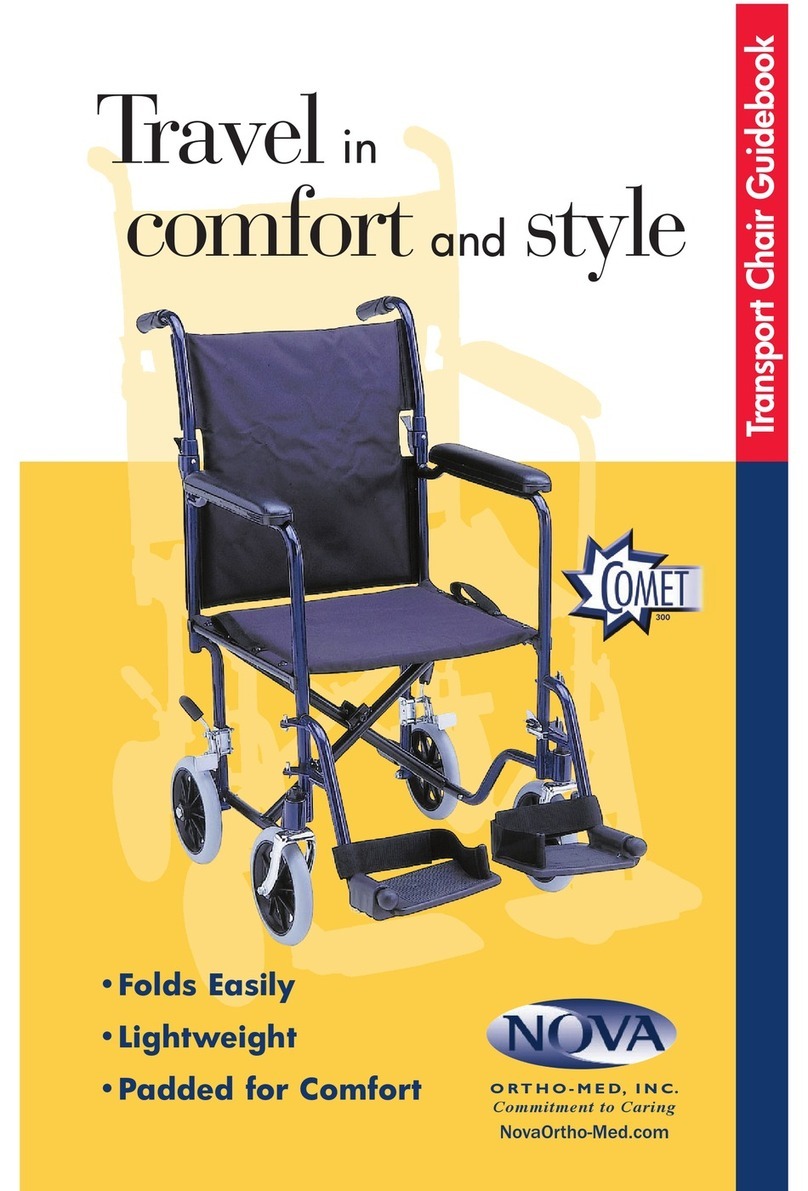
Nova GO! mobility 377-R User manual

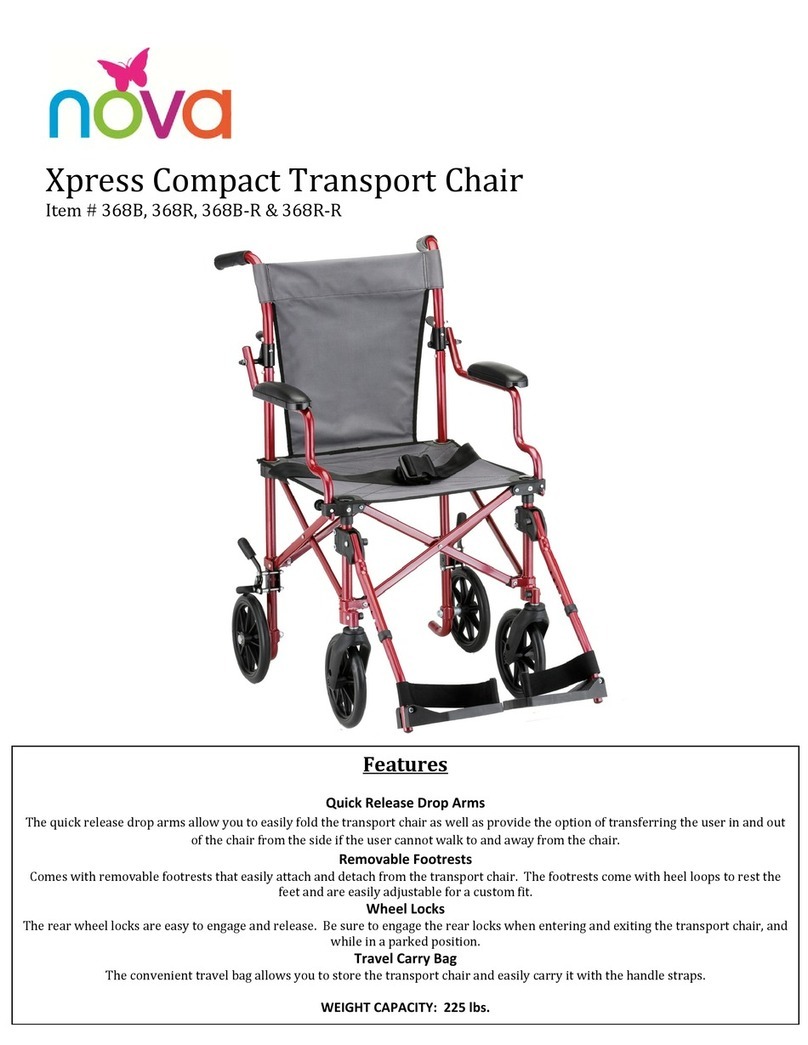
Features
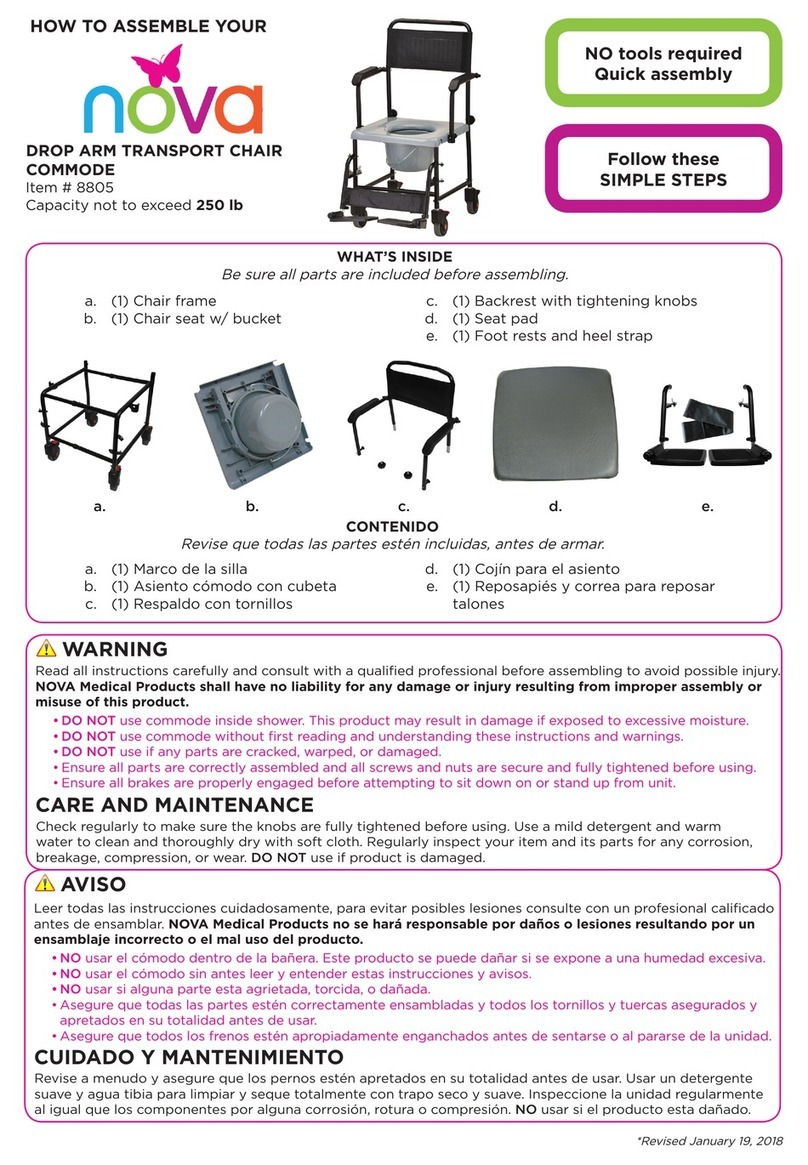
• Lightweight aluminum compact frame weighs only 19 lbs. (without footrests)
• Large 8” wheels provide increased maneuverability
• Provides quick and easy transfer for shopping, appointments or sporting events
• Quick release fold down back allows the chair to be transported and stored in compact areas
• Quick adjust footrests swing away for safe patient transfer
• Removable wheels allow chair to fit into a convenient travel bag (21.25”l x 22.5”w x 9.5”d)
• Padded armrests
• Limited Lifetime Warranty
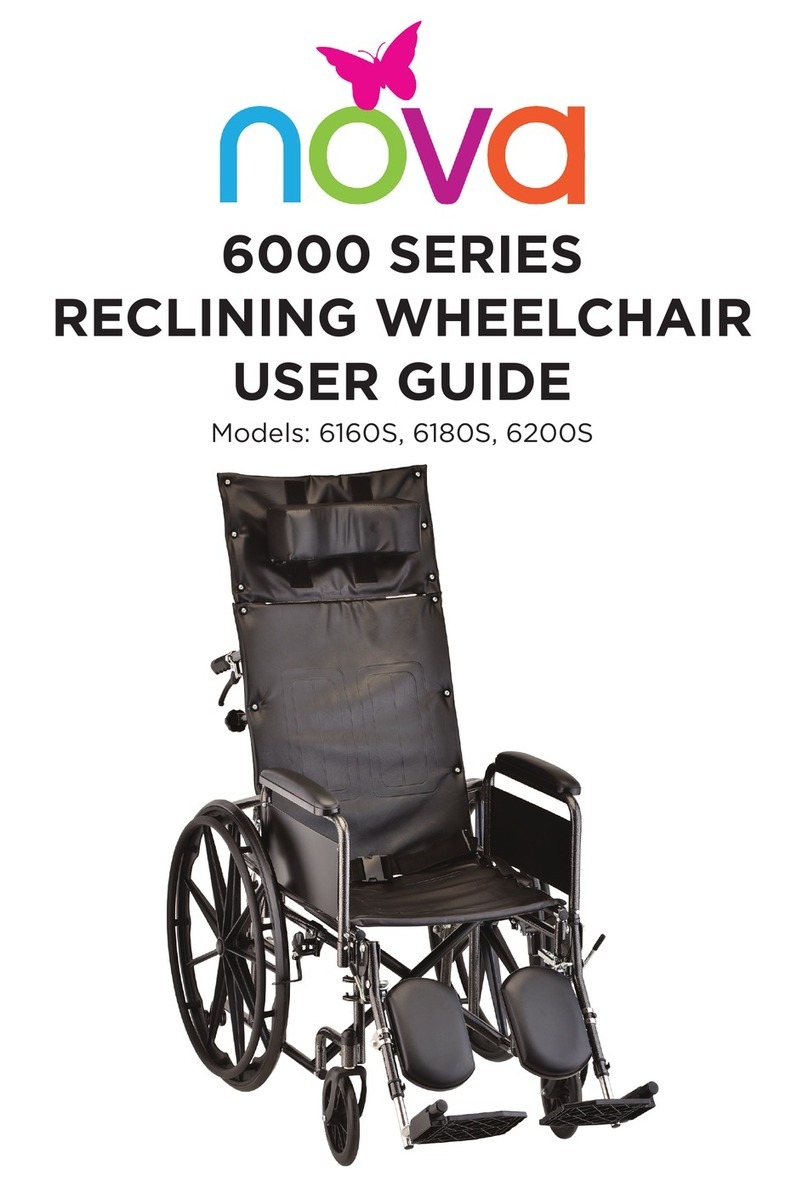
377-R User Guide
Weight Capacity/Peso Max. Usuario 250 lbs.
Weight/Peso 19 lbs.
Seat Width/Anchura de Asiento 18”
Seat Depth/Profundidad del asiento 16”
Seat Distance from Floor/
Distancia del asiento al piso 19”
Arm Height from Seat/Altura total
(del brazo al asiento) 9”
Overall Height/Altura total 37.5”
Overall Width (Opened)/Anchura total 23”
Overall Width (Closed)/Anchura Plegada 8.5”
Specifications/Dimensiones
Funciones
• El marco de la silla hecho de aluminio pesa solo 19 lbs, sin los reposapiés
• Las ruedas de 8” mejoran la manejabilidad
• Permite transportar fácil y rápidamente a eventos deportivos, para ir de compras, o citas
• El respaldo plegado permite que la silla sea transportada y guardada en lugares compactos
• Los reposapiés pueden ser ajustados fácilmente, para que el usuario se mueva con cuidado
• Las ruedas desmontables, permiten que la silla quepa en su bolsa de viaje (21.25’’l x 22.5”w x 9.5’d’)
• Los reposabrazos son acojinados
• Garantía de por vida limitada
Our mission is to change the
world - every day - every way
User Guide and video available online at
www.novamedicalproducts.com

2 Front Wheels
2 Rear Wheels
4 Castor Assembly Screws
--
2 Ruedas Traseras
2 Reudas Delanteras
4 Tornillos de Edsamblaje
de ruedas
Left Footrest
--
reposapiés izquierdo
Frame
--
marco de la silla
377-R Parts
Right Footrest
--
reposapiés derecho
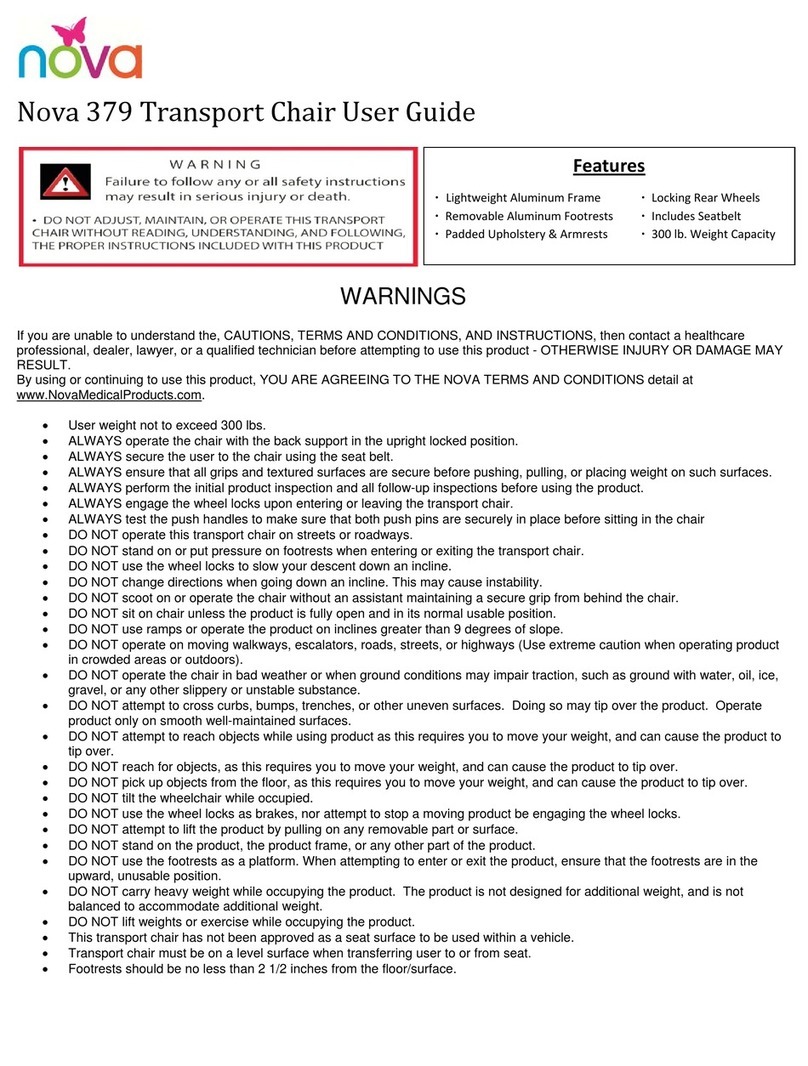
Safety Warnings
• User weight not to exceed 250 lbs.
• This transport chair has not been approved as a seat
surface to be used within a vehicle.
• Do not operate this transport chair on streets or
roadways.
• Do not attempt inclines unassisted.
• Engage the wheel locks upon entering or leaving the
transport chair.
• Transport chair must be on a level surface when transferring user to or from seat.
• Footrests should be no less than 2 1/2 inches from the floor.
• Do not stand on or put pressure on footrests when entering or exiting the transport chair.
• Do not lean over the top of the chair back or to the side of the chair; this can cause the transport chair to tip over.
• Do not use the wheel locks to slow your descent down an incline.
• When going down an incline, changing directions can cause instability.
• Always test the push handles to make sure that both push pins are securely in place before sitting in the chair.
• Only operate the chair with the push handles in the upright locked position.
• Do not scoot on or operate the chair without an assistant maintaining a secure grip from behind the chair.
• Always secure the user to the chair using the seat belt.
• DO NOT push down on the rear handles to attempt to raise the front wheels up when user is in the chair. This could
result in the breaking of the folding release back and the user falling backwards.
Advertencias de seguridad
• El peso máximo es de 250 lbs.
• Esta silla de ruedas es para transporte y no para ser
usada como silla dentro de un vehículo.
• No use la silla de transporte en el pavimento
o en la calle.
• No trate de usar la silla en superficies inclinadas
sin ayuda.
• Use los frenos de ruedas cuando se siente o levante de la silla de transporte.
• La silla de transporte debe mantenerse en una superficie a nivel cuando una persona se siente o levante del asiento.
• Los reposapiés deben permanecer a 2.5’’ del piso.
• No se levante ni apoye todo su peso en los reposapiés mientras se siete o levante de la silla.
• No se recline sobre el respaldo o de lado de la silla, esto puede causar que se ladee.
• No use los frenos de rueda para reducir la velocidad durante una bajada.
• Cuando esté de bajada, un cambio de dirección puede causar un desequilibrio.
• Asegure que las manillas para empujar estén en lugar antes de sentarse.
• Utilice la silla cuando las manillas para empujar estén bien puestas.
• No se mueva o entre en marcha con la silla sin tener un asistente que pueda manejar la silla.
• Siempre asegure el usuario dentro de la silla con el cinturón de seguridad.
• No empuje las manillas hacia abajo para tratar de levantar la silla mientras el usuario esté sentado. Esto puede causar
que se quiebre el respaldo y caiga la persona.

Assembly Instructions
Step 1: Carefully remove all the components from the carton and examine all parts for damage from
shipping. If any parts are missing or damaged please call Nova Customer Service at 1-800-557-6682
and press 1. DO NOT use the transport chair until all parts are received.
Step 2: Place the frame on a non scratch surface and flip the folding push handles up until the push pins engage into the
frame.
Step 3: Open the frame by pulling outward on the padded armrests. (see image 1)
Step 4: Lean the chair backwards so that it rests on the ends of the folding push handles.
Step 5: Insert the front castor stem into the frame by depressing the push pin in and sliding the stem in until the push
pin engages into the frame hole. (see image 2) Repeat for second assembly
Step 6: Insert the castor assembly screw into the frame and through the castor stem. Tighten the screw until it is fully
secure and flush against the frame. (see image 3) Repeat for the second assembly.
Step 7: Turn the frame over so that it rests on the front of the frame. (see image 4)
Step 8: Select the rear right castor assembly (wheel and brake go on the outside of the frame) and insert
it into the frame by depressing the push pin in and sliding the stem in until the push pin engages into
the frame. (see image 5) Repeat for the second assembly.
Step 9: Insert the castor attachment screw into the frame and through the stem and tighten until the plastic
knob is secure and flush against the frame. (see image 6) Repeat for the second assembly.
Step 10: Attach the footrests by inserting the hinge pins into the holes on the hinge plate. (image 11) Swing the footrest
forward until the release lever locks into place. (image 12) Repeat for opposite side.
Instrucciones de ensamblaje
Primer paso: Cuidadosamente saque todos los elementos de la silla, y examine los para ver si están dañados debido al
envío. Si alguna pieza falta o está dañada por favor llame al 1-800-557-6682 para el Servicio de
reclamaciones de Nova, y oprima el número 1. No use la silla hasta que reciba todas las partes.
Segundo paso: Coloque el marco en una superficie que no se pueda raspar, voltee las manillas hasta que estén
atrancadas.
Tercer paso: Para abrir el marco, jale los reposabrazos hacia al frente. (vea imagen 1)
Cuarto paso: Empuje la silla hacia abajo para que descanse en las manillas.
Quinto paso: Meta el tornillo para la rueda delantera en el tubo, y empuje lo hasta que se atranque con el marco.
(vea imagen 2) Repita este paso para el segundo ensamblaje de ruedas.
Sexto paso: Meta el tornillo de ensamblaje de rueda dentro del tubo del marco y atornille hasta que esté seguro.
(vea imagen 3) Repita este paso con en el segundo tornillo.
Séptimo paso: Voltee el marco para que descanse en su parte de enfrente. (vea imagen 4)
Octavo paso: Meta el ensamblaje de la rueda trasera derecha (la rueda y el freno deben estar por fuera del marco y
empuje lo hasta que la base se atranque con el marco. (vea imagen 5) Repita este paso con el segundo
ensamblaje trasero.
Noveno paso: Meta el tornillo dentro del tubo del marco y atornille hasta que esté seguro (vea imagen 6)
Repita este paso con el segundo tornillo.
Noveno Diez: Adjunte los reposapiés e inserte las clavijas de la bisagra en los agujeros de la lamina de la bisagra ( v e a
imagen 11) Mueva el reposapiés hacia delante hasta que la palanca de desembrague de la cerradura se asegure
Repita este paso con el segundo tornillo.(vea imagen 12)
image 1 image 2 image 3 image 4
image 5 image 6 image 11 image 12

User Instructions
To Sit Down
Step 1: Engage the rear wheel locks by pushing down on the brake handle until the brake shoe presses firmly on the
wheel and prevents the chair from rolling.
Step 2: Flip the footrests into an upright position so that the user can stand between the footrests with the back of her/
his legs touching the seat upholstery.
Step 3: From behind the chair, assist the user by slowly lowering them into the chair.
To Rise from Seated Position
Step 1: Engage the rear wheel locks located above the wheel by pushing down on the brake handle until the brake shoe
presses firmly on the wheel and prevents the chair from rolling.
Step 2: Flip both footrests into an upright position.
Step 3: Place both feet firmly on the ground and rise slowly from the chair with the assistance of a caregiver.
To Transfer from Seated Position
Step 1: Place the chair alongside the desired seating device.
Step 2: Engage the rear wheel locks located above the wheel by pushing down on the brake handle until the brake shoe
presses firmly on the wheel and prevents the chair from rolling.
Step 3: Flip the both footrests into an upright position.
Step 4: Carefully transfer from the chair to desired seating area with the assistance of a caregiver.
To Fold
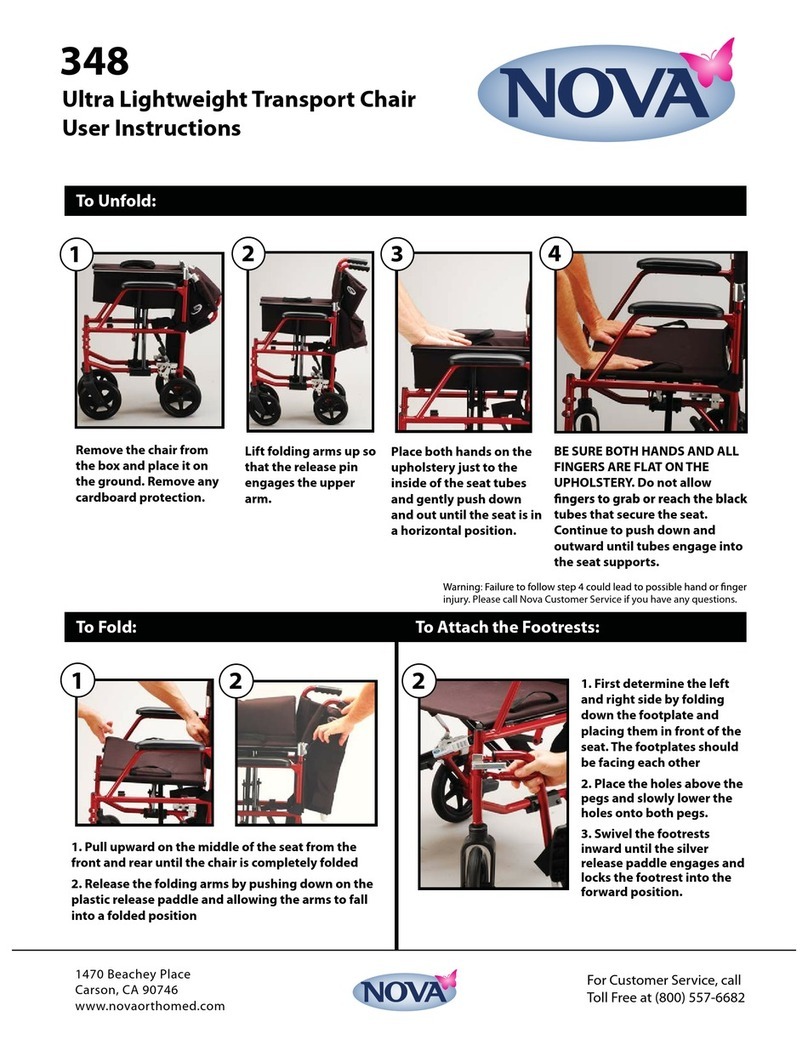
Grab the nylon straps located on the side of the seat and pull upward. These straps can also be used to carry the chair.
(see image 7)
To Unfold
Push the seat down and outward on the seat just inside of the seat support tubes (see images 8 & 9).
To Release the Folding Push Handles
Push down on the release lever to disengage the push pin from the frame and gently lower the handle down. (see image 10)
Instrucciones para el usuario
Para sentarse
Primer paso: Para activar los frenos traseros jale la palanca de freno hasta que se atranque en la rueda y la silla no se
mueva.
Segundo paso: Tire los reposapiés hacia arriba para que el usuario pueda pararse.
Tercer paso: Por detrás de la silla, ayude al usuario a sentarse lentamente.
Para levantarse
Primer paso: Para activar los frenos traseros jale la palanca de freno hasta que se atranque en la rueda y la silla no se
mueva.
Segundo paso: Tire los reposapiés hacia arriba.
Tercer paso: Mantenga los pies en el piso, a nivel, y lentamente levántese de la silla con la ayuda de un asistente.
Para Moverse a otro asiento
Primer paso: Coloque la silla al lado del próximo asiento.
Segundo paso: Para activar los frenos traseros jale la palanca de freno hasta que se atranque en la rueda y la silla
no se mueva.
Tercer paso: Tire los reposapiés hacia arriba.
Cuarto paso: Cuidadosamente muévase de la silla al próximo asiento con la ayuda de un asistente.
Para doblar
Agarre las bandas de nilón al lado de la silla y jale las hacia arriba. Estas bandas también pueden ser utilizadas para
cargar la silla. (vea imagen 7)
Para desdoblar
Empuje el asiento para abajo y hacia afuera en los tubos de apoyo del asiento. (vea imagen 8 & 9)
Para liberar las manillas de doblar
Oprima la palanca para liberar las manillas que mantienen la silla doblada. (vea imagen 10)

image 7 image 8 image 9 image 10
General Care
Wipe all metal parts at least once a week using a soft cloth. Dry chair immediately if it is exposed to moisture. Abrasive
cleaners or materials will scratch the surface of the chair.
Tires
Minimal maintenance is required for rubber tires. Wipe with a damp cloth occasionally. If tires become cracked or worn,
replace immediately.
Front Castors
Inspect castors periodically and lubricate them when necessary. To lubricate, remove the fork and grease the castor
bearings. Remove the wheel from the fork and grease the wheel bearings. The wheel and fork can be reassembled by
tightening the nuts until there is no play remaining, but the wheel rolls freely. The fork will revolve freely when adjusted
correctly. The castor will flutter if the nut is too loose or be difficult to steer if the nut is too tight.
Castor Attachment Screws
Periodically check to make sure the screws are tight and securely holding the castor assembly to the frame.
Wheels
Inspect monthly for correct tightness. If the wheel seems to be loose or wobbly, release the lock nut and tighten the axle
bolt. Lean the chair to one side and spin adjusted wheel to check for correct adjustments.
Wheel Locks
Wheel locks should be checked for correct locking action before use. Pushing the handle completely forward activates
the wheel locks. If the wheel locks are working correctly they will be embedded into the tire at least 1/8”. To adjust
wheel locks, loosen nut on carriage bolt. Slide clamp toward rear wheel until lock shoe is embedded at least 1/8” into
rear tire when lock handle is engaged. Tighten nut to secure into position.
• Do not attempt to repair the transport chair yourself.
• Call the store where you purchased the transport chair. Most dealers do repairs and will order parts for you.
• If your dealer is unable to help you, please call Nova at 1-800-557-6682.
Warranty Information
Nova stands firm on our commitment to providing the highest quality products, as well as exceptional service. This product
was built to precise standards and thoroughly inspected prior to shipment. This warranty represents our confidence in the
materials and workmanship of our product. Nova extends this warranty only to the original purchaser of this product. The
warranty does not extend to any subsequent purchaser or owner. The warranty is void upon any sale or transfer of owner-
ship or use by other person. Nova warrants its products are free from defects in material and workmanship under NORMAL
use for the period commencing upon the date of purchase and continuing for the following specified period of time after
that date:
Metal Frame: Limited Lifetime Warranty
Non Metal/Metal Parts: One Year Warranty (Wheels, Footrests, Armrests, Upholstery, hardware)
This warranty does not cover problems due to user negligence, misuse of the product, failure to adhere to product
instructions, or normal wear and tear. Items that have been subject to negligent abuse, modified without prior written
authorization are not covered within this warranty.
For warranty service, please contact the dealer from whom you purchased your Nova product. In the event that you do
not receive satisfactory service, please call us directly at the number below. Be prepared to indicate the nature of the
defect, the product serial number, and the name and location of where you purchased the product. You will also be
required to provide a receipt of your purchase. DO NOT return any products to our office without prior consent.
Repair or replacement is the only remedy under this limited warranty. This warranty does not include any labor or shipping
charges incurred in replacement part installation or repair of product.
THIS WARRANTY IS EXCLUSIVE AND IN LIEU OF ALL OTHER EXPRESS WARRANTIES, IMPLIED WARRANTIES, IF ANY,
INCLUDING THE IMPLIED WARRANTIES OF MERCHANTABILITY AND FITNESS FOR A PARTICULAR PURPOSE, NOVA
SHALL NOT BE LIABLE FOR ANY SEQUENTIAL OR INCIDENTAL DAMAGES WHATSOEVER.

Customer Help Line:
1-800-557-6682
www.NovaMedicalProducts.com
P.O. Box 3039, Gardena, CA 90247
Mantenimiento general
Limpiar todas las partes metálicas con un trapo por lo menos una vez cada semana. Inmediatamente seque la silla si
algún líquido le caí. Materiales o limpiadores ásperos rasparan el asiento.
Ruedas de hule
El mantenimiento de las ruedas de hule es mínimo. Limpiar las ruedas con un trapo húmedo. Si las ruedas se desgastan,
reemplace las rápidamente.
Ruedas delanteras
Inspeccione que el ensamblaje de ruedas funcione. Quite la rueda de la llave, ponga le aceite al rodamiento. De nuevo
ensamble la llave y la rueda apretando los tornillos, hasta que estén apretados, pero la rueda pueda moverse. La llave se
moverá fácil, si está puesta correctamente. La rueda hará lo mismo.
Los tornillos del ensamblaje de ruedas
Revise periódicamente que los tornillos estén apretados y que mantengan las ruedas seguras al marco.
Ruedas
Cada mes revise la tensión de las ruedas. Si está suelta, simplemente apriete el tornillo del eje. Ladee la silla para un
lado y dele vuelta para revisar que la rueda esté en marcha.
Frenos de ruedas
Los frenos de las ruedas deben ser revisados antes de usar la silla. Oprima la palanca hacia enfrente para activar los
frenos. Si funcionan adecuadamente, se encajan 1/8’’ a la rueda. Para ajustar los frenos, afloje el tornillo. Empuje la
palanca del freno hasta que enganche 1/8’ de la rueda trasera. Luego, apriete el tornillo para asegurar el ajustamiento.
• No trate de reparar la silla de ruedas de transporte usted mismo
• Llame la tienda donde compró el productor. Casi todos los comerciantes harán las reparaciones y les pedirán partes
para la silla.
• Si el comerciante no les puede ayudar, por favor llámenos al 1-800-557-6682
Garantía de por vida limitada
Nova, mantiene su dedicación en fabricar los productos de la más alta calidad, junto a un servicio excelente. Este
producto fue hecho rigurosamente y inspeccionado antes de ser enviado. Esta garantía representa nuestra seguridad en
la artesanía y los materiales de nuestro producto. Nova solo ofrece esta garantía al primer propietario de este producto.
Esta garantía no puede ser ofrecida a otro comprador o propietario. La garantía es anulada al ser comprada o dada o
usada por otra persona que no sea el comprador original. Nova garantiza que todos nuestros productos estén sin
defectos y que el diseño sea usado correctamente desde la fecha de ser comprados hasta las siguientes fechas:
Marco de metal: Garantía de por vida limitada
Partes metálicas/no metálicas: 1 año de garantía limitada (Ruedas, reposapiés y reposabrazos, ferretería, tapicería)
Esta garantía no cubre daños debidos al mal uso, el no seguir las instrucciones de este producto, rasgados causados
por uso normal, o falta de cuidado por la persona que use el producto. Productos que han sido abusados, cambiados, o
alterados sin autorización no serán cubiertos por esta garantía.
Para servicios de garantía, por favor comuníquese con el comerciante donde compró el producto de Nova. En causa de
que no reciba un servicio satisfactorio, por favor llámenos directamente al número de abajo. Esté preparado a identificar
el defecto, el número serial del producto, y el nombre y lugar de donde compró nuestro producto. También será
requerido que demuestre el comprobante de su compra. No regrese cualquier producto a nuestra oficina sin ser
aprobado. El único remedio bajo esta garantía es que el producto sea reemplazado o reparado. Esta garantía no cubre
los cargos del envío o de la reparación de alguna parte.
ESTA GARANTÍA ES EXCLUSIVA Y EXISTE EN LUGAR DE CUALQUIER OTRA GARANTÍA, INCLUSO LAS GARANTÍAS
QUE SEAN MENCIONADAS. EN ABSOLUTO, NOVA NO SERÁ RESPONSABLE DE ALGÚN DAÑO DÉSPUES DE LA
REPARACIÓN.
Numero para ayuda: 1-800-557-6682
www.NovaMedicalProducts.com
P.O. Box 3039, Gardena, CA 90247
Table of contents
Other Nova Wheelchair manuals
Popular Wheelchair manuals by other brands

Sunrise Medical
Sunrise Medical Jay J3 Back Owner's manual supplement

Seca
Seca 952 Instruction manual and guarantee

Alber
Alber erivo R10 Instructions for use

rainbow care
rainbow care ZINGER user guide

Stand Aid
Stand Aid 1600 instructions

DeVilbiss Healthcare
DeVilbiss Healthcare drive D-LITE Instructions for use

Aspire
Aspire EVOKE 2 JNR user manual

Invacare
Invacare Motion Concepts MaTRx Seating Series installation instructions

Nuprodx
Nuprodx MULTICHAIR BIG WHEEL Series ASSEMBLY & PACKING INSTRUCTIONS

HD Rehab
HD Rehab Motion 15680 Assembly instructions

Neatech
Neatech speedstar xtreme user manual

DJMed
DJMed M2 El-Tip manual