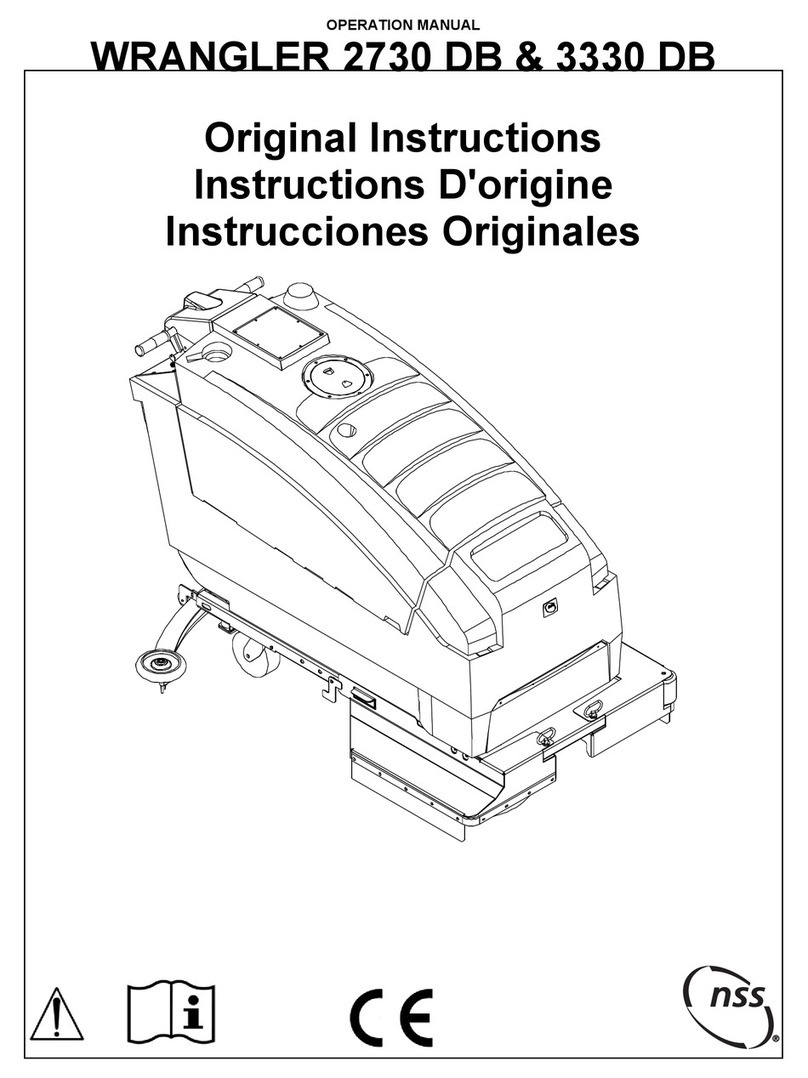
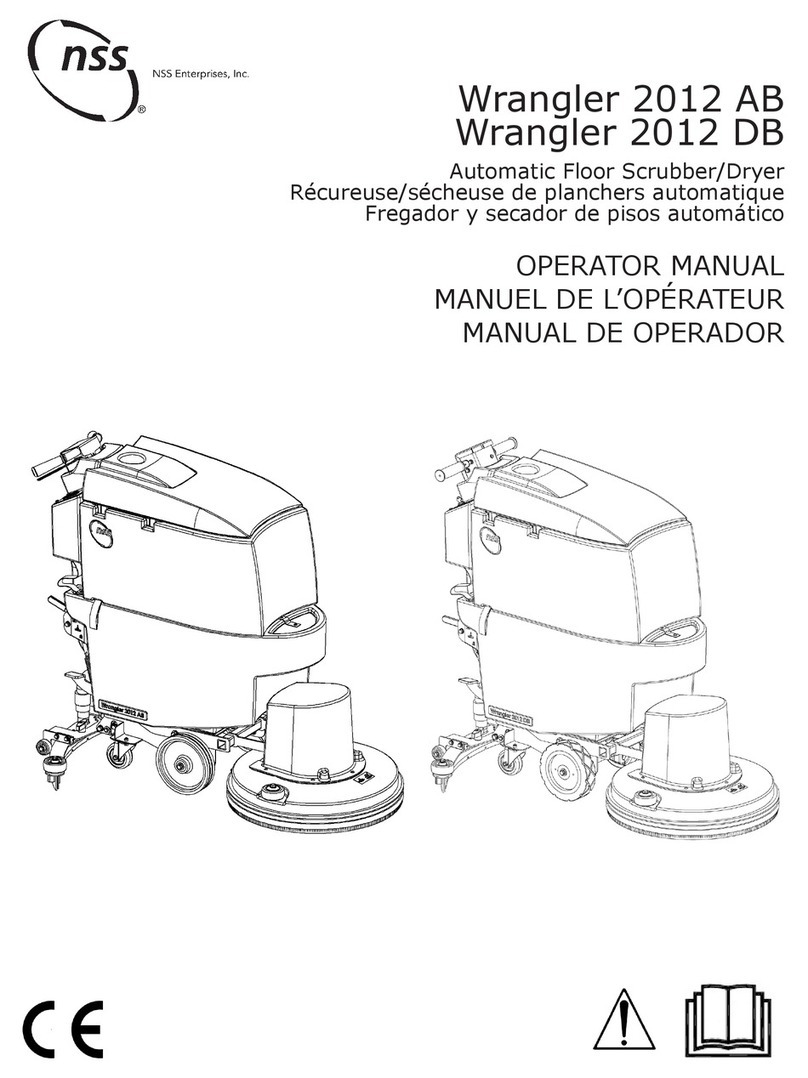
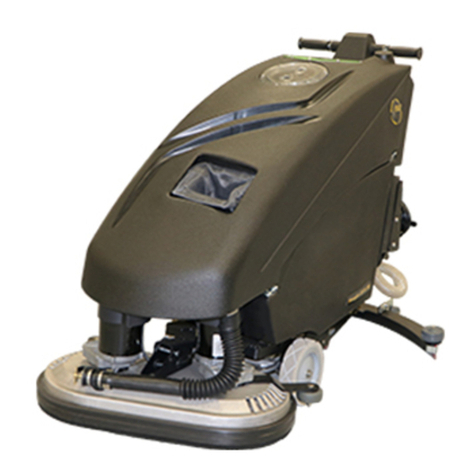
NSS WRANGLER 1708CB User manual

OPERATION MANUAL
WRANGLER 1708CB/2008CB
IMPORTANT SAFETY INSTRUCTIONS
WARNING: Failure to observe these instructions can cause
personal injury to machine operator or bystanders.
WARNING: Fire or explosion hazard.
NEVER operate this machine in an
explosive atmosphere (grain dust,
flammable liquids or fumes, etc.).
WARNING: Fire or explosion hazard.
NEVER attempt to pick up flammable or
combustible materials or use such
materials in tank.
INTENDED USE
This machine is designed for scrubbing floors in an
indoor environment. NSS does not recommend
using this machine for any other purpose.
FOR SAFETY:
•ALWAYS read and understand all instructions before
operating or servicing machine.
•ALWAYS use this machine ONLY as described in this
manual.
•NEVER attempt to operate this machine unless you
have been trained in its operation.
•NEVER allow an untrained person to operate this
machine.
•NEVER attempt to operate this machine if it is not
working properly or has been damaged in any manner.
•NEVER disconnect or modify any switches or safety
devices (circuit breaker).
•NEVER drop or insert any object into any machine
opening.
•NEVER operate this machine with any air opening
blocked. Keep all air openings free of dust, lint, hair,
etc.
•NEVER pick up anything that is burning or smoking,
such as cigarettes, matches or hot ashes.
•NEVER spray this machine with water or any liquids.
•NEVER allow the vacuum motor or battery charging
plug to get wet or a short may occur.
•NEVER operate this machine when the battery charger
is plugged in.
•NEVER operate this machine with the side skirt
removed.
•NEVER allow this machine to be used as a toy. Close
attention is necessary when used by or near children.
•ALWAYS wear clean tennis shoes or “non-slip” shoes.
Leather soled shoes will become extremely slippery
when wet.
•ALWAYS keep face, fingers, hair or any other
body part or loose clothing away from any machine
opening or moving part (revolving brush, pad
driver, or vacuum motor).
•ALWAYS turn the machine off when attaching pads
or brushes.
•ALWAYS remove keys when this machine is left
unattended.
•ALWAYS be sure that the ramp is secured to the
vehicle before attempting to load/unload.
•ALWAYS use extreme caution when operating the
machine on a ramp or loading/unloading this
machine into or out of a truck/trailer. Use extreme
caution if the ramp is wet, oily, or covered with
cleaning chemicals.
•NEVER stop or turn the machine on a ramp or
incline.
•NEVER attempt to climb a grade or operate this
machine on a ramp or incline of more than 8
degrees.
•NEVER park or store the machine near a dock, on
ramps, near a furnace, boiler, open flame, or other
high heat source.
•NEVER allow this machine to freeze.
•NEVER expose the machine to rain, snow, or
extreme temperatures.
•NEVER store any items on this machine.
•ALWAYS store this machine indoors in a dry, cool
area.
ALL REPAIR SERVICE MUST BE PERFORMED BY AN NSS AUTHORIZED DISTRIBUTOR/
SERVICE STATION USING ONLY NSS ORIGINAL EQUIPMENT PARTS.
SAVE THESE INSTRUCTIONS

IMPORTANT SAFETY INSTRUCTIONS
BATTERY POWERED EQUIPMENT
WARNING: Failure to observe these instructions can cause
personal injury to machine operator or bystanders.
Read and understand all
instructions before installing
or charging batteries.
No smoking, open
flames, or sparks while
working with batteries.
Contains acid.
Avoid contact.
Poison. Causes severe
burns. Avoid contact.
WARNING: Batteries emit hydrogen, which can cause fire or explosion.
NEVER smoke, light a match, or cause a spark during operation or charging.
ALWAYS charge in a well-ventilated area away from open flame.
GENERAL
•ALWAYS read and understand all instructions
before installing or charging batteries.
•NEVER attempt to install or charge batteries
unless you have been trained to do so.
•NEVER allow an untrained person to install or
charge batteries.
•ALWAYS remove all jewelry when working on
or near the batteries.
•ALWAYS turn off all switches during installation
and service.
•ALWAYS disconnect the battery leads before
performing any service or repair.
•ALWAYS wear eye protection and protective
clothing to avoid contact with battery acid.
•NEVER lay anything on top of batteries as
arcing may occur.
•IF CONTACT WITH BATTERY ACID
OCCURS, follow these instructions:
•SKIN –rinse area with water.
•EYES –Flush with water for 15 minutes.
•INTERNAL –Drink water or milk. Follow with
Milk of Magnesia, beaten egg or vegetable oil.
Call a physician immediately.
BATTERY INSTALLATION
•ALWAYS use two people to install, as batteries are
heavy.
•ALWAYS turn off all machine switches.
•ALWAYS position batteries as shown on the machine
installation decal to maintain machine balance.
•ALWAYS connect batteries as shown on the machine
installation decal to avoid shorting out the batteries and
the electrical system.
BATTERY CHARGING
•ALWAYS read instructions on charger carefully.
•ALWAYS use the NSS supplied charger with proper
voltage rating.
•ALWAYS check to ensure the battery water level
covers the battery plates before charging.
•ALWAYS check water level after charging and add
water if necessary to bring level to the bottom of the fill
hole.
•NEVER overfill batteries
as battery and machine damage may result.
•ALWAYS wipe any acid from the top of batteries using
a soap solution.
ALL REPAIR SERVICE MUST BE PERFORMED BY AN NSS AUTHORIZED DISTRIBUTOR/
SERVICE STATION USING ONLY NSS ORIGINAL EQUIPMENT PARTS.
SAVE THESE INSTRUCTIONS

3
MACHINE INSPECTION
•Carefully unpack the Wrangler 1708/2008 and recycle
all packing materials.
•Inspect machine for damage or missing
components. If damage is found, contact the local
freight company and file a freight claim.
DAILY USE
The Wrangler 1708/2008 is very maneuverable and is
designed to scrub floors as you operate the machine
from behind. Always dust mop the floor before
scrubbing. You may also need to preclean some types
of spills or stains before scrubbing. Plan your work so
that you make long, straight paths with the fewest
amount of turns possible. Remove as many obstacles
as possible from the area to be scrubbed. The Wrangler
1708/2008 is designed for light to medium scrubbing.
Consult your local NSS distributor for more complete
procedures and chemical advice.
MACHINE COMPONENTS AND
OPERATION
Battery Package (see safety instructions)
The Wrangler 1708/2008 is a 24 volt system with two
(2) 12 volt, 115 amp hour batteries. Consult your local
NSS authorized distributor for application
recommendations.
To install the batteries:
•Batteries are heavy, use two people to install.
•Turn off all the switches.
•Empty all liquids from recovery tank.
•Step on foot pedal at front of machine to release tanks.
Lift tanks up and tilt back to rest on handles.
•Refer to wiring diagram on bottom of tanks. Align
batteries in compartment as shown on diagram.
•Install battery cables as shown on wiring
diagram. Tighten all bolts and hex nuts with a wrench.
•CAUTION: Do not touch two terminals with a wrench.
•Loose or improper battery connections will cause
battery or machine damage and possible
personal injury.
To charge the batteries:
•Charge machine after every shift or whenever batteries
are 75% expended.
•Turn off all the switches.
•Disconnect battery connectors below user control
panel.
•Connect lower connector from batteries to
connector from automatic battery charger.
•Needle on charger gauge should jump within 30
seconds to working level.
•Needle on machine battery gauge should not move
when machine is plugged into charger –batteries will
not be charged.
•NSS supplied battery chargers are automatic and
will shut off when charging cycle is complete.
Solution Tank
The solution tank is the lower part of the machine
body. The tank has a capacity of 8 gallons (30
litters) and is filled by pouring the water and cleaning
chemicals through the mesh covered opening and
filter at the front of the machine. Drain the solution
tank through the solution valve or the sight hose at
the rear of the machine.
To prepare the solution tank:
•Never use water over 140°F (60°C).
Excessively hot water may damage components
such as the tanks.
•Pour all liquids through mesh filter at the front of
the solution tank.
•Put 1 to 2 gallons of clean water into the solution
tank first to help dilute the chemicals and prevent
excess sudsing.
•Do not put strip solution in solution tank. Apply
with mop and bucket and rinse with clean water in
solution tank.
•Consult your local NSS distributor for complete
chemical advice. Dilute the cleaning chemicals
according to the manufacturer’s instructions.
•Add the cleaning chemicals to the solution tank
and fill with water as needed.
Recovery Tank
The recovery tank is the upper part of the machine
body. The tank has a capacity of 10 gallons (38
liters). The recovery tank is closed by a rectangular,
clearview lid assembly. The recovery tank has a
foam-sensitive float shut-off assembly. As the water
or foam level rises, the float ball will rise and shut off
the air flow of the vacuum motor to the squeegee. It
does not shut off the vacuum motor. Drain the
recovery tank through the black hose at the rear of
the machine.
To prepare the recovery tank:
•Always use a defoamer to protect the vacuum
motor of this machine. Every time you empty the
recovery tank, we recommend that you add at
least 4 to 6 ounces of defoamer chemical into the
recovery tank before resuming work. Vacuum the
defoamer into the empty recovery tank through the
squeegee vac hose.
•Make sure the recovery tank drain hose is tight on
the plug.
4
Squeegee Assembly
The squeegee assembly is packed in a box inside of
the main shipping carton. Remove the squeegee
assembly from the box and inspect for concealed
damage. The squeegee assembly has a wide, flat
frame to help prevent damage, two ( 2) mounting
knobs, and two (2) small wheels to prevent “rollover”
in reverse.
To install the squeegee assembly:
•Place the squeegee lift arm in the storage (up)
position.
•Loosen the two mounting knobs and slide the
squeegee assembly onto the mounting plate. The
roller wheels must face the operator.
•Hand tighten the mounting knobs. Do not use tools
to tighten the knobs as this will defeat the
“breakaway” design.
To adjust the squeegee assembly:
As the machine is used, the squeegee blades will
wear or need to be replaced due to damage. Some
adjustment may be needed.
•Squeegee blades should lay over slightly (like a
window squeegee) when the machine is moving
forward or in reverse.
•Adjust the blade angle by turning the wing nut on
the pivot arm clockwise/counterclockwise.
•Do not add any weights or other pressure to the
squeegee mechanism. It will not improve the
performance or service life.
To install a brush or pad driver and pad:
There are a wide range of pads or brushes available
for the many cleaning applications of this machine.
Consult your local NSS distributor for application
recommendations.
•Turn off all switches and empty all liquids from the
recovery and solution tank.
•Raise the brush motor into the “up”
position. The foot pedal is at the rear left of the
machine. Step on the pedal and slide it to the right
into the notch.
•Step on the foot pedal latch at the front of the
machine chassis.
•Lift the machine body by the opening for the
solution tank. Tilt the machine body backward until
the handles rest on the floor.
For BRUSH Attachment:
•Align the notches of the brush with the lugs of the
drive casting.
•Turn the brush clockwise to lock onto the drive
casting.
•Turn the brush counter-clockwise to remove.
For PAD DRIVER and PAD Attachment:
•Remove pad driver assembly from drive casting
on end of brush motor shaft by turning the driver
counter-clockwise.
•Turn the pad driver upside down on the floor.
Remove the pad holding cup.
•Remove the center cutout of the 17” (43cm) or 17”
(43cm) pad if present and place pad on the face of
the pad driver. The pad must be centered on the
driver to prevent wobbling or bouncing.
•Install and secure the pad holding cup to the pad
driver. Turn the pad driver over so that the pad
faces the floor.
•Align the notches of the pad driver with the lugs of
the drive casting.
•Turn the pad driver clockwise to lock onto the drive
casting.
Control Panel
The operator control panel is located at the rear area
of the machine. This panel has components that
control various machine functions.
Starting from the left side:
•The circuit breaker is for both the brush motor and
the vacuum motor.
•The first switch turns the brush motor on and off .
•The next switch turns the vacuum motor on and
off.
•The battery meter shows the state of charge of the
batteries during operation.

5
ROUTINE MAINTENANCE
At the completion of every use you must perform
these simple procedures to ensure proper machine
operation and cleaning performance.
Daily Maintenance
•Recharge batteries at end of every shift or when
75% expended.
•Empty and rinse clean the recovery tank.
• Leave lid off recovery tank to prevent moisture from
building up.
•Remove and rinse clean the squeegee
assembly.
•Remove and rinse clean the pad driver or brush.
•Inspect machine components for wear or
damage. Repair or replace as needed.
Weekly Maintenance
•Verify all daily maintenance has been performed.
•Inspect all battery liquid levels. Adjust to proper
level as needed. Add only water.
•Check all battery terminals and cable
connections. Tighten as needed.
•Clean any corrosion from battery terminals and
cables.
•Check solution flow to pad driver/brush. Flush
clean solution tank and hose with a mixture of
8oz. (250ml) vinegar to one gallon (4 liters) warm
water.
•Inspect squeegee hose for clogs and holes. Be
sure red access cap inside tank is in position.
Monthly Maintenance
•Verify all daily and weekly maintenance has been
performed.
•Lubricate the axle bearings of the two large 8”
(20cm) wheels. Use a high grade water-resistant
grease.
•Lubricate the caster with moisture resistant
foaming-type spray.
MANDATORY Periodic Maintenance
It is important for you to maintain a record of the
amount of machine operating hours in order to
perform this machine maintenance. It is mandatory
that the following maintenance procedure be
performed at the described interval. This procedure
should be performed by an authorized NSS
distributor or service center. Failure to perform this
procedure may result in poor machine performance,
machine component damage and failure.
•Inspect brush drive motor and vacuum motor
carbon brushes for wear at 750 hours.
•Replace brush drive motor carbon brushes when
they are 1/2” (13mm) in length.
•Replace the vacuum motor carbon brushes when
they are 7/16” (11mm) in length. This can be
done one time and then the vacuum motor must
be replaced.

6
TROUBLE-SHOOTING
PROBLEM CAUSE SOLUTION
No solution flow. Clogged filter. Clean filter.
Low battery charge. Charge the batteries.
The solution valve is closed. Open the solution valve.
Obstruction in the solution hose. Remove the obstruction.
Solution valve or linkage damaged. Repair/replace the valve linkage.
Solution hose kinked. Check for kinks at valve and remove.
Solution tank is empty. Fill the tank.
Solution flow does The solution valve is open. Close the solution valve.
not stop. Solution valve or linkage damage. Repair/replace the valve linkage.
Solution valve is dirty. Clean the solution valve.
Damaged seat and washer in valve. Replace valve.
The valve stem is dirty. Clean and lubricate valve stem.
Hose disconnected or damaged Reinstall or replace hose.
between sol. tank & valve.
Will not pick up any Squeegee is up. Lower squeegee.
water from floor. Squeegee hose is off. Reinstall hose.
Vac motor switch is off. Turn vac motor switch “on”.
Recovery tank is full. Empty tank.
Vacuum shut-off float is stuck. Open float valve/remove obstruction.
Obstruction/damage in the squeegee, Remove obstruction/repair damage.
squeegee hose or standpipe.
Leaking over gasket. Remove old gasket/replace.
Vac motor is not running. Have an authorized serviceman repair.
Recovery drain hose not plugged properly. Install drain hose plug properly.
Will not pick up all of the Debris on squeegee blades. Clean squeegee
water from the floor. Squeegee blade is worn/damaged. Reverse/replace squeegee blade.
Obstruction/damage in the squeegee, Remove obstruction/repair damage.
squeegee hose, or standpipe.
Squeegee angle needs adjustment. Adjust angle.
Vacuum motor worn out. Repair/replace vac motor.
Recovery tank drain hose damaged. Repair/replace recovery drain hose.
Batteries do not seem Overcharging batteries. Monitor run time and adjust charging
to run long enough. frequency accordingly.
Tops of batteries are dirty/wet. Clean/dry, charge batteries.
Battery terminals are dirty, damaged, Clean terminals and connectors,
or loose. replace damaged cables. Charge.
Electrolyte level is too low. Add distilled water and charge.
Batteries are not fully charged. Charge batteries for 8 hours.
Charger is damaged. Have an authorized serviceman repair.
Battery is defective or worn out. Check cell voltage while discharging.
Cleaning is not even. Brush/pad is worn. Replace brush/pads.
Damage to brush assembly, casters Have an authorized serviceman repair.
or solution valve.
Machine does not run. Circuit breaker tripped. Reset circuit breaker.
Loose battery connection. Tighten battery connection.
NOTE: If any problems remain after taking the above steps, contact your local authorized
distributor/service station for further evaluation and repair.

7
NOTES:

NSS®Enterprises, Inc.
3115 Frenchmens Road, Toledo, Ohio 43607
PHONE (419) 531-2121 FAX (419) 531-3761
NSS ® Enterprises, Inc. European Distribution Centre
Unit II, Pinfold Trading Estate * 55 Nottingham Road
STAPLEFORD, NOTTINGHAM NG9 8AD ENGLAND U.K.
PHONE: (44) 0115 939 1568 * FAX: (44) 0115 949 0615
WRANGLER 1708CB/2008CB Orig. 10/97 Rev A 06/02 9091718
This manual suits for next models
1
Table of contents
Other NSS Scrubber manuals

NSS
NSS CXC 200 User manual

NSS
NSS CHAMP ZS 35 User manual

NSS
NSS CHAMP 2417 RB User manual

NSS
NSS Rally 55 User manual

NSS
NSS WRANGLER 2616 DB User manual

NSS
NSS champ 2929 rb User manual

NSS
NSS eForce 26 User manual

NSS
NSS Wrangler 2012 AB User manual

NSS
NSS Wrangler 3330 DB User manual

NSS
NSS WRANGLER 1708CE User manual