NuWave Nutri-Pot 6Q Quick guide

Owner’s Manual & Complete Recipe Book
NuWave Nutri-Pot®6Q
Digital Pressure Cooker
2Owner’s Manual
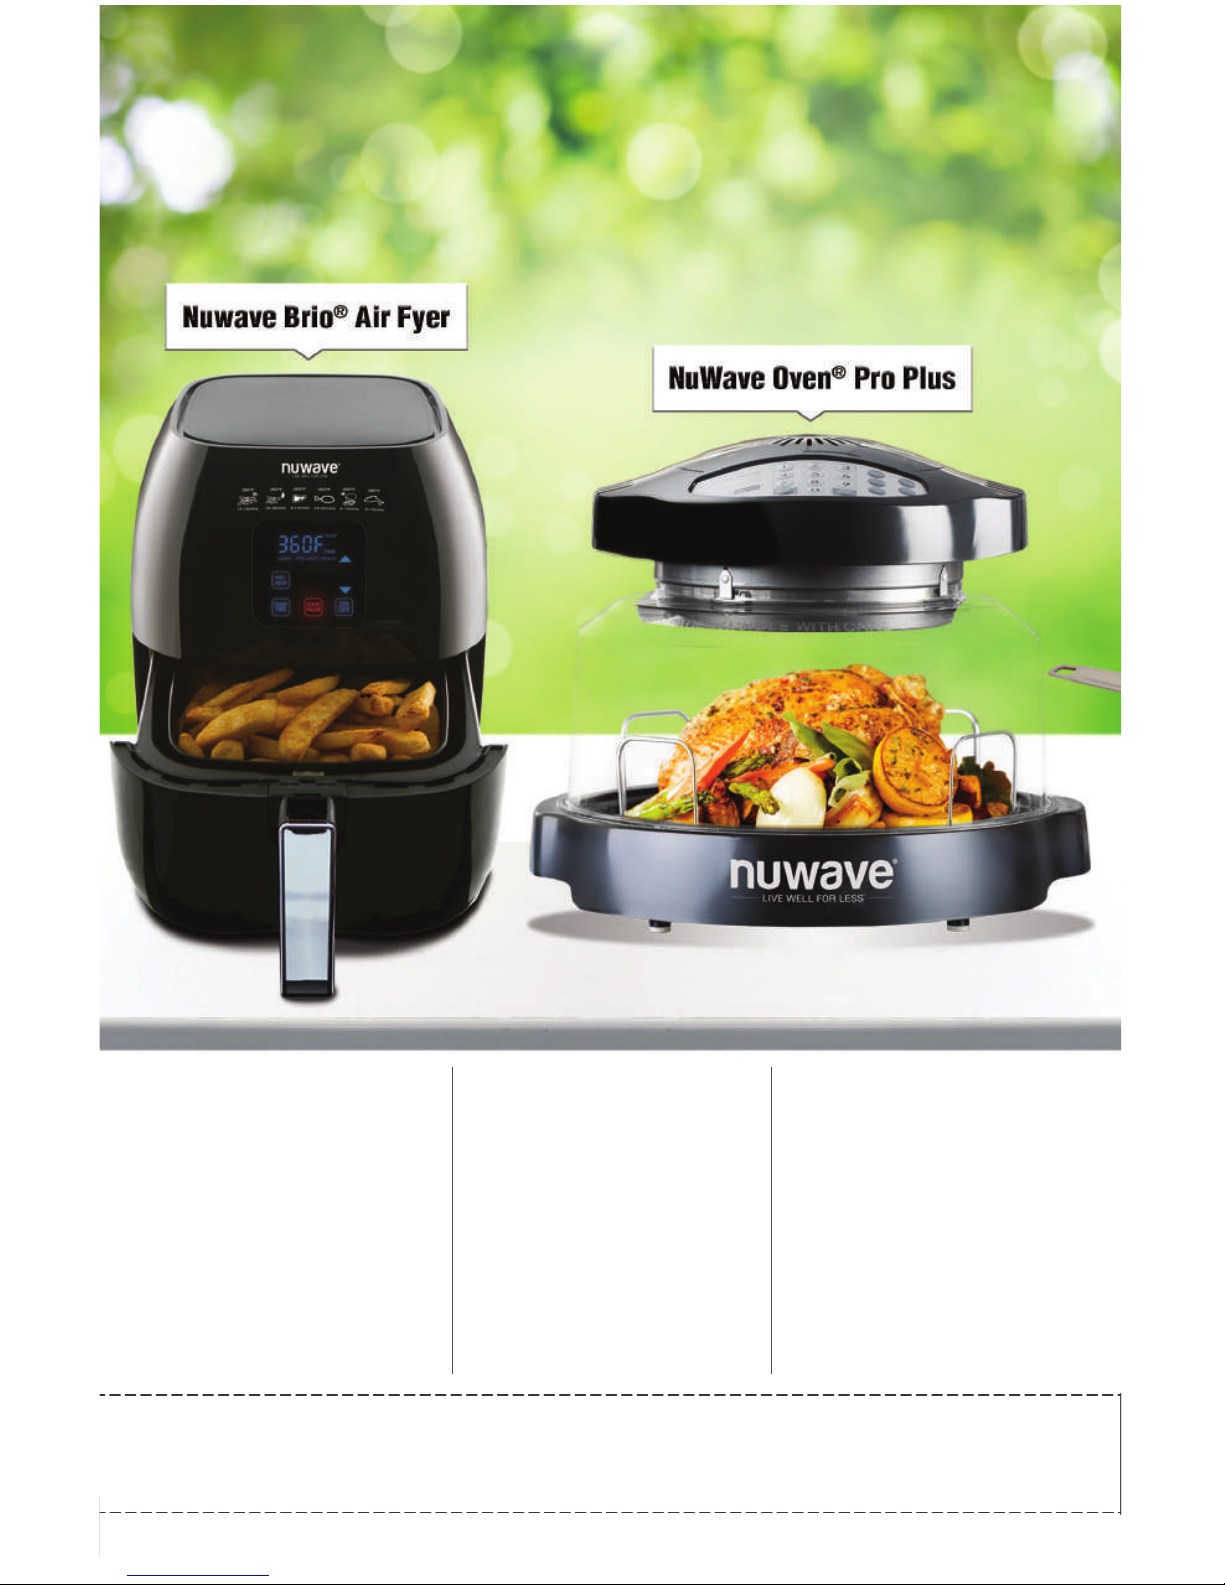
NuWave Brio®
Digital Air Fryer
NuWave
Oven®Pro Plus
Super-heated air cooks
your food to crispy,
tender perfection.
The digital touch screen
gives you precise
temperature control.
Cook healthier meals
faster and more
efficiently with Triple
Combo Cooking Power.
NuWave
Electric Skillet
Coated with Duralon®
Healthy Ceramic Non-
Stick for easy cleanup.
Includes a premium
tempered glass lid.
More about our innovative products, visit:

3
Owner’s Manual
NuWave Nutri-Pot®6Q
Digital Pressure Cooker
Easily cook rice, poultry, vegetables, and more
all with the press of a button! The Nutri-Pot’s
safety release valve and hinged lid make for
convenient and safe operation.
NuWave PIC®
(Precision Induction Cooktop)
Cook faster, safer and
more efficiently than you
ever could on your gas
or electric stovetop.
1-877-689-2838
www.NuWaveNow.com

4Owner’s Manual
NuWave Flavor-Lockers™
with Vacuum-Seal Technology
NuWave Nutri-Master®
Slow Juicer
Keep food fresh for 21 days! Remove
the oxygen with a few easy pumps.
Slow the growth of mold by removing
trapped oxygen.
The Nutri-Master with a low 48 RPM
is incredibly quiet and powerful
enough to extract juice from nut and
hard vegetables.
More about our innovative products, visit:

5
Owner’s Manual
Duralon®Healthy Ceramic Non-Stick Cookware
Coated with Duralon Healthy Ceramic Non-Stick for easy
cleanup, this versatile cookware is perfect for use in the oven
as well as on gas, electric, and even induction cooktops.
1-877-689-2838
www.NuWaveNow.com

6Owner’s Manual
TABLE OF CONTENTS
OWNER’S MANUAL
Important Safeguards .............7-8
Additional Safeguards ...........9-10
Care & Maintenance ................ 11
Parts Descriptions .................. 112
Product Features ................13-14
Operating Instructions .........15-16
Silicone Gasket Installation ......16
Save These Instructions ..........17
Control Panel ........................18-20
Preset Guide ..............................21
Functions ..............................21-24
Time .........................................22
Texture .....................................22
Delay ........................................23
Warm .......................................23
Sear .........................................24
Slow Cook ................................24
Pressure Canning .................25-28
Troubleshooting Guide .............29
Warranty .....................................30
Pressure Cooking Notes ...........31
Soups
Andouille Sausage & Cabbage
Soup.........................................33
Barley Beef Soup .....................34
Chicken & Rice Soup ...............35
Poultry
Cassoulet Chicken ...................37
Chicken a la King .....................38
Salsa Chicken and Rice ...........39
Beef
Beef Mac & Cheese .................41
Beef Short Ribs ........................42
Spicy Beef and Cabbage .........43
BBQ & Meats
Baby Back Ribs........................45
BBQ Pulled Pork ......................46
Honey BBQ Meatloaf ...............47
Pork Shoulder with Sauerkraut .....48
Pot Roast .................................49
Swiss Steak .............................50
Braised Lamb Shanks ..............51
Sailor’s Mussels .......................52
Veggies, Pastas & Sauces
Hash Brown Frittata .................54
Blistered Cherry Tomato Stuffed
Peppers....................................55
Stuffed Squash ........................56
Classic Chill .............................57
Risotto with Italian Sausage &
Parmesan.................................58
Jambalaya................................59
Garlic Cheddar Mashed
Potatoes ...................................60
Mariana Sauce .........................61
Rice and Beans........................62
Tortellini ....................................63
Baking
Box Cake Mix ...........................65
Orange Cheesecake ................66
Brownies ..................................67

7
Owner’s Manual
IMPORTANT SAFEGUARDS
When using electrical units, basic safety precautions should
always be followed including the following:
1. Do not touch hot surfaces. Use handle.
2. To protect against electrical shock, do not immerse cord, plugs, or the unit in
water or other liquid.
3. Close supervision is necessary when any unit is used by or near children.
4. Unplug from outlet when not in use and before cleaning. Allow unit to cool
before adding on or removing off parts.
5. Do not operate any unit with a damaged cord or plug, after the unit
malfunctions or it has been damaged in any manner. In case the unit is
malfunctioning, please contact Customer Service at 1-877-689-2838 or
via email help@nuwavenow.com.
6. The use of other accessories that are not intended to be use with this unit is
not recommended. Doing so may damage the unit and can cause accidents.
7. NOT INTENDED FOR OUTDOOR USE.
8. Do not let cord hang over edge of table or counter, or touch hot surfaces.
9. Do not place on or near a hot gas or electric burner and or in a heated oven.
10. Extreme caution must be used when moving a unit containing hot oil or other
hot liquids.
11. Always attach the plug to the unit rst, then plug the cord into the wall outlet.
To disconnect, turn any control “OFF”, then remove plug from the wall outlet.
12. Always check the pressure release devices for clogging before use.
13. DO NOT place any object above the pressure release valve as this is steam
being released from the NuWave Nutri-Pot® Digital Pressure Cooker.
14. DO NOT USE THE UNIT FOR OTHER THAN INTENDED USE.
READ ALL INSTRUCTIONS

8Owner’s Manual
IMPORTANT SAFEGUARDS (Continued)
CAUTION
a) A short power-supply cord should be provided to reduce
risks resulting from becoming entangled in or tripping over
a longer cord.
b) Longer detachable power-supply cord are available and may
be used if care is exercised in their use.
c) If a long detachable power-supply cord is used:
1) The marked electrical rating of the detachable power-supply
cord should be at least as great as the electrical rating of
the unit.
2) If the unit is of the grounded type, the extension cord should
be a grounding type 2-wire cord; and
3) The longer cord should be arranged so that it will not drape
over the counter top or table top where it can be pulled on
by children or tripped over unintentionally.

9
Owner’s Manual
ADDITIONAL SAFEGUARDS
1. If you cook meat with skin, such as sausage, swelling can occur when
cooked under pressure. Piercing skin after cooking can lead to bursts of
hot liquid.
2. Do not lean over the NuWave Nutri-Pot Digital Pressure Cooker at any
time while it is cooking.
3. The NuWave Nutri-Pot Digital Pressure Cooker should not be used for any
medical purposes. It is not designed to reach the required temperature for
sterilization.
4. The Silicone Gasket creates a pressure seal between lid and pot. Keep the
gasket completely clean and free from any cracks or deterioration.
5. It is extremely important to ll the NuWave Nutri-Pot Digital Pressure
Cooker with liquid prior to operation. Never cook without liquid as doing so
can cause it to overheat and damage the safety mechanisms. In case of
overheating, never remove the NuWave Nutri-Pot Digital Pressure Cooker
from the heat source. Instead, shut it off immediately and let it cool.
6. Make sure all parts of the pressure regulator and ventilated pipe are clean
and properly assembled.
7. Do not alter the safety mechanisms or attempt to repair the NuWave Nutri-
Pot Digital Pressure Cooker as this will void the warranty. Please adhere to
the Maintenance Instructions specied for use.
8. Use only the appropriate replacement parts from NuWave® to maintain
proper functionality and safety. Visit www.NuWaveNow.com for
replacement parts and pieces.
9. Do not place the unit close to ammable materials and heating units
or wet environments.
10. Height of ingredients that is to be put into inner pot should comply with
“Operation Instructions”.
11. Do not break the Silicone Gasket. Do not replace it with other rubber
gaskets, nor use a tension belt to make it seal.
12. Check and wash anti-clog lter and pressure release valve regularly to
avoid being blocked.
13. Do not open the lid when the Floater Valve is down.
14. Do not put anything on or use other object to replace the Pressure
Release Valve.
15. Never use a towel to clog the gap between the lid and edge of the Housing.
16. The bottom of the inner pot and heating plate should be kept clean. Do not
put the inner pot on other heat sources. Do not replace the inner pot with
other containers.

10 Owner’s Manual
ADDITIONAL SAFEGUARDS (Continued)
17. Only use wood or plastic ladle spoons so not to ware the non-stick coating
in the inner pot.
18. Do not attempt to move the unit while it is cooking. Only after the unit
cools down completely can the it be moved. Move the unit using the body
handles, do not try to hold in from the lid handle.
19. Do not disassemble on your own or try to replace with non-special
worn parts.
20. Make sure the air/pressure discharges completely before opening the lid.
21. Fit on water collection box before use and add clean lid each use.
22. You may experience some smoke coming out the unit during the rst few
uses, this is normal.
23. Contact our Customer Service Department at 1-877-689-2838 or via
email help@nuwavenow.com for the following:
• If the main power cord is damaged.
• In the case the unit emits a continuous amount of smoke while is use.
Other manuals for Nutri-Pot 6Q
1
Table of contents
Other NuWave Kitchen Appliance manuals

NuWave
NuWave Duet User manual

NuWave
NuWave Nutri-Pot 10Q User manual

NuWave
NuWave 31201 Technical specifications

NuWave
NuWave PIC Pro User manual

NuWave
NuWave Nutri-Po 13Q User manual

NuWave
NuWave Bravo XL 20801 User manual

NuWave
NuWave Nutri-Pot 13Q Quick guide

NuWave
NuWave Nutri-Pot 6Q Quick guide

NuWave
NuWave PIC TITANIUM User manual

NuWave
NuWave Olio User manual


Popular Kitchen Appliance manuals by other brands

Tayama
Tayama TYG-35AF instruction manual

AEG
AEG 43172V-MN user manual

REBER
REBER Professional 40 Use and maintenance

North American
North American BB12482G / TR-F-04-B-NCT-1 Assembly and operating instructions

Presto
Presto fountain popper instruction manual

Westmark
Westmark 1035 2260 operating instructions


