NuWave Olio User manual

Owner’s Manual & Complete Recipe Book
NuWave Olio™
Rice & Multi-Cooker
20
Cup

NuWave
Oven®Pro Plus
Super-heated air cooks
your food to crispy,
tender perfection.
The digital touch screen
gives you precise
temperature control.
Cook healthier
meals faster and
more efficiently
with Triple Combo
Cooking Power.
NuWave PIC®
(Precision Induction
Cooktop)
Cook faster, safer,
and more efficiently
than you ever could
on your gas or
electric stovetop.
For more about our innovative products, visit:
NuWave Brio®6-Qt
Digital Air Fryer
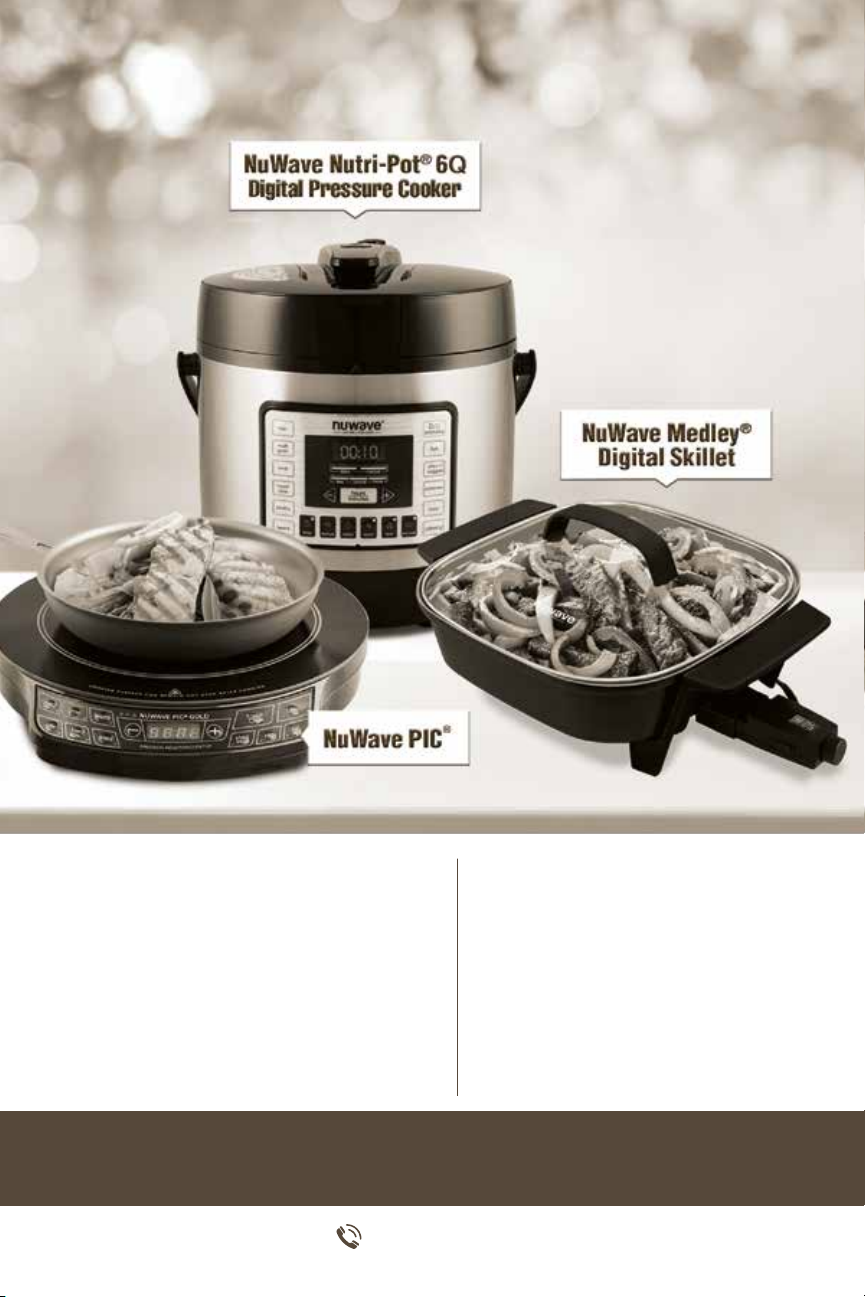
NuWave Nutri-Pot®6Q
Digital Pressure Cooker
1-877-689-2838
www.nuwavenow.com
NuWave Medley®
Digital Skillet
Coated with Duralon®Healthy
Ceramic Non-Stick coating for
easy cleanup. Includes a premium,
vented, tempered glass lid.
Easily cook rice, poultry, vegetables
and more all with the press of a
button! The Nutri-Pot’s safety release
valve and hinged lid make for
convenient and safe operation.
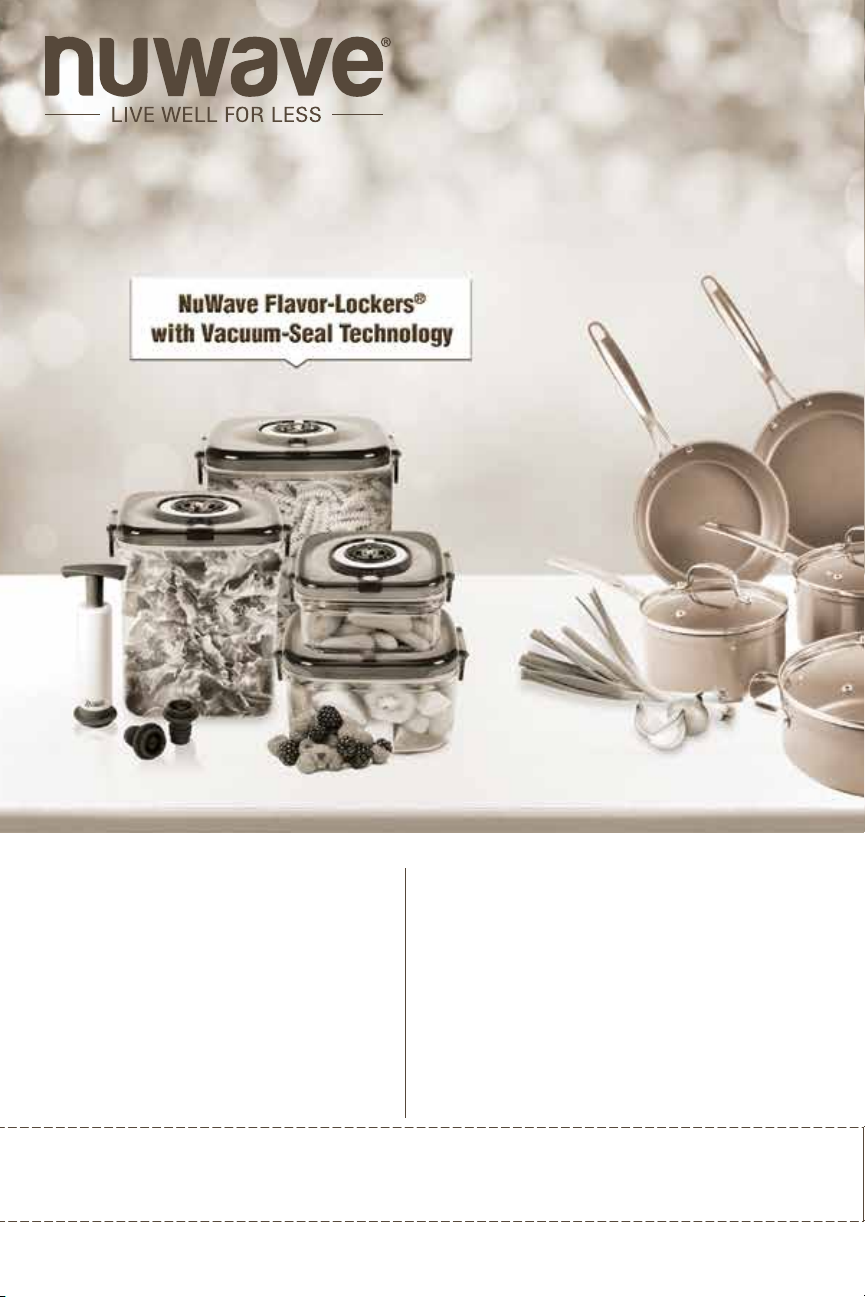
NuWave Flavor-Lockers®
with Vacuum-Seal Technology
Keep food fresh for up to 21 days!
Slow the growth of mold by removing
trapped oxygen with a few easy pumps.
NuWave Duralon®Healthy
Ceramic Non-Stick
Cookware
Coated with Duralon Healthy
Ceramic Non-Stick coating for
easy cleanup, this versatile
cookware is perfect for use in
ovens or on gas, electric, and
even induction cooktops.
For more about our innovative products, visit:

NuWave Nutri-Master® Slow Juicer
The Nutri-Master, with a low 48 RPM, is both
incredibly quiet and powerful enough to extract
juice from nuts and hard vegetables.
1-877-689-2838
www.nuwavenow.com

6Owner’s Manual
TABLE OF CONTENTS
OWNER’S MANUAL
Important Safeguards .................... 8
Additional Safeguards...............9-10
Parts Descriptions........................ 11
Operating Instructions.............12-18
Care & Maintenance .................... 19
Troubleshooting ........................... 20
Limited Warranty.....................21-22
Recipes........................................... 23
Arancini........................................ 24
Arroz con Leche........................... 25
Bone Broth................................... 25
Boston Cream Pie........................ 26
Cannellini South with Greens....... 27
Chai Tea....................................... 27
Congee ........................................ 28
Creamy Polenta with Zucchini ..... 28
Farro with Roasted Mushrooms... 29
Fried Rice..................................... 30
Greek Lemon & Chicken Soup
(Avgolemono)............................... 31
Hummus....................................... 32
Italian Orange & Hazelnut Cake .. 33
Key Lime Pie................................ 34
Mashed Potatoes......................... 35
Oatmeal with Maple,
Nuts & Berries.............................. 35
One-Pot Chili................................ 36
One-Pot Pasta Primavera............ 36
Pastry Cream............................... 37
Poke Bowl.................................... 37
Puerto Rican Rice........................ 38
Quinoa Breakfast Bowl ................ 38
Ramen with Crispy Pork Belly...... 39
Rice Cooker Shrimp Boil.............. 40
Salmon Sashimi Bowl .................. 41
Sofrito...........................................42
Spicy California Shrimp Stack...... 43
Spicy Shrimp Bibimbap................ 44
Sriracha Egg Salad Wrap ............ 45
Steamed Broccoli with Lemon
& Parmesan ................................. 46
Steamed Whole Fish with Ginger,
Scallions, & Soy Sauce................ 47
Spanish...........................................48
Manual e Instrucciones...........49-63

7
Owner’s Manual
Welcome to NuWave®
Olio™Rice & Multi-Cooker
Congratulations on purchasing your NuWave Olio Rice & Multi-Cooker.
This manual contains detailed instructions and images to help you get
started using your rice cooker. It is also lled with great recipes and time-
saving tips to help you prepare delicious gourmet meals in a fraction of
the time. Cooking is fast and easy with the Olio Rice & Multi-Cooker from
NuWave, LLC.
With this versatile rice cooker appliance, you can cook fresh meats and
vegetables at the same time! You can steam, sauté, slow-cook, and bake,
allowing you to save time, energy, and money. The NuWave Olio Rice & Multi-
Cooker is efcient, safe, fast, and easy to clean. And because you can adjust
times and temperatures to best t your recipes, you can make almost any kind
of food without the risk of under or overcooking.
For more revolutionary products
from NuWave, visit us at: www.nuwavenow.com

8Owner’s Manual
IMPORTANT SAFEGUARDS
READ ALL INSTRUCTIONS
WARNING: When using the Olio, basic safety precautions should always
be followed:
1. To protect against risk of electrical shock, do not immerse cord, plug, or any
part of the main unit in water or any other liquids.
2. Close supervision is necessary when Olio is used by or near children. The
Olio is not intended for use by children, persons with reduced physical,
sensory, or mental capabilities, or those with lack of expertise or knowledge
of this unit.
3. Unplug Olio from outlet when not in use, before putting on or taking off
parts, and before cleaning.
4. Do not operate any appliance with a damaged cord or plug or after the
appliance malfunctions or is dropped or damaged in any manner. Contact
Customer Service at intsales@nuwavenow.com for information on
examination, repair, or adjustment.
5. Do not let cord hang over the edge of table or counter. Do not let cord
contact hot surfaces, including from a stove.
6. NOT INTENDED FOR OUTDOOR USE.
7. Do not place on or near a hot gas, electric burner and or in heated oven.
8. Do not place the unit close to flammable materials and heating units
or wet environments.
9. Alteration or modication of any part of the Nutri-Pot or the use of
attachments not recommended by the manufacturer may cause re, injury,
or damage to property. Use only appropriate replacement parts from
NuWave. Visit www.nuwavenow.com for replacement parts and pieces.
10. Do not lean over the Olio at any time while it is cooking.
11. Steam will release out of the unit while in use. This is normal.
12. In case of overheating, shut it off immediately and let it cool.
13. Never use a towel to clog the gap between the Lid and edge of the Housing.
14. Only use wood or plastic ladle spoons so as not to wear the non-stick
coating in the Inner Pot.
15. Do not attempt to move the unit while it is cooking. Only after the unit cools
down completely can it be moved. Move the unit using the body handles; do
not try to hold in from the Lid handle.
16. Keep manual handy for future reference.

9
Owner’s Manual
ADDTIONAL SAFEGUARDS
SAVE THESE INSTRUCTIONS:
Read and understand the entire manual before using this appliance.
1. The NuWave Olio Rice & Multi-Cooker should not be used for any
medical purposes.
2. The Silicone Gasket creates a seal between Lid and pot. Keep the Gasket
completely clean and free from any cracks or deterioration.
3. Height of ingredients that is to be put into Inner Pot should comply with
“Operating Instructions.”
4. Do not break the Silicone Gasket. Do not replace it with other rubber
gaskets, nor use a tension belt to make it seal.
5. The bottom of the Inner Pot and heating plate should be kept clean.
6. Do not put the Inner Pot on other heat sources.
7. Do not disassemble on your own or try to replace with non-special worn parts.
Electrical Information
This appliance is supplied with a short power cord to reduce the risk
of entanglement or tripping. Extension cords may be used if care is
exercised in their use. If an extension cord is used:
1. The marked electrical rating of the extension cord should be at least
as great as the electrical rating of the appliance.
2. The longer cord should be arranged so that it will not drape over
the countertop or tabletop where it could be pulled on by children or
tripped over unintentionally. The appliance should be operated on
a separate electrical outlet from other operating appliances due to
wattage limitations. Certain models of the appliances may have a
polarized plug (one blade is wider than the other). To reduce the risk
of an electric shock, this plug is intended to fit into a polarized outlet
one way. If the plug does not fit fully into the outlet, reverse the plug.
If the plug still does not fit properly, contact a qualified electrician. Do
not attempt to modify the plug in any way.
SEE CARE & MAINTENANCE BEFORE USE

10 Owner’s Manual
ADDITIONAL SAFEGUARDS (Continued)
Correct Disposal of This Product
This marking indicates that this product should not be
disposed of with other household wastes throughout
the EU. To prevent possible harm to the environment or
human health from uncontrolled waste disposal, recycle it
responsibly to promote the sustainable reuse of material
resources. To return your used device, please use return
and collection systems or contact the retailer where the
product was purchased. They can handle environmentally
safe recycling.
WARNING: Never use the Olio with loose, damaged, or missing parts.
NOTICE: THE FAILURE TO FOLLOW ANY OF THE IMPORTANT SAFEGUARDS,
ADDITIONAL SAFEGUARDS, OR THE INSTRUCTIONS FOR SAFE USE IS A
MISUSE OF YOUR OLIO THAT CAN VOID YOUR WARRANTY AND CREATE THE
RISK OF SERIOUS INJURY.
Table of contents
Other NuWave Kitchen Appliance manuals

NuWave
NuWave 31201 Technical specifications

NuWave
NuWave PIC TITANIUM User manual

NuWave
NuWave PIC Flex User manual

NuWave
NuWave Nutri-Pot 10Q User manual

NuWave
NuWave Nutri-Pot 13Q Quick guide

NuWave
NuWave Nutri-Pot 6Q Quick guide

NuWave
NuWave 31820 User manual

NuWave
NuWave NuWave Medley XL User manual

NuWave
NuWave Bravo XL 20801 User manual

NuWave
NuWave Nutri-Po 13Q User manual


Popular Kitchen Appliance manuals by other brands

Tayama
Tayama TYG-35AF instruction manual

AEG
AEG 43172V-MN user manual

REBER
REBER Professional 40 Use and maintenance

North American
North American BB12482G / TR-F-04-B-NCT-1 Assembly and operating instructions

Presto
Presto fountain popper instruction manual

Westmark
Westmark 1035 2260 operating instructions


