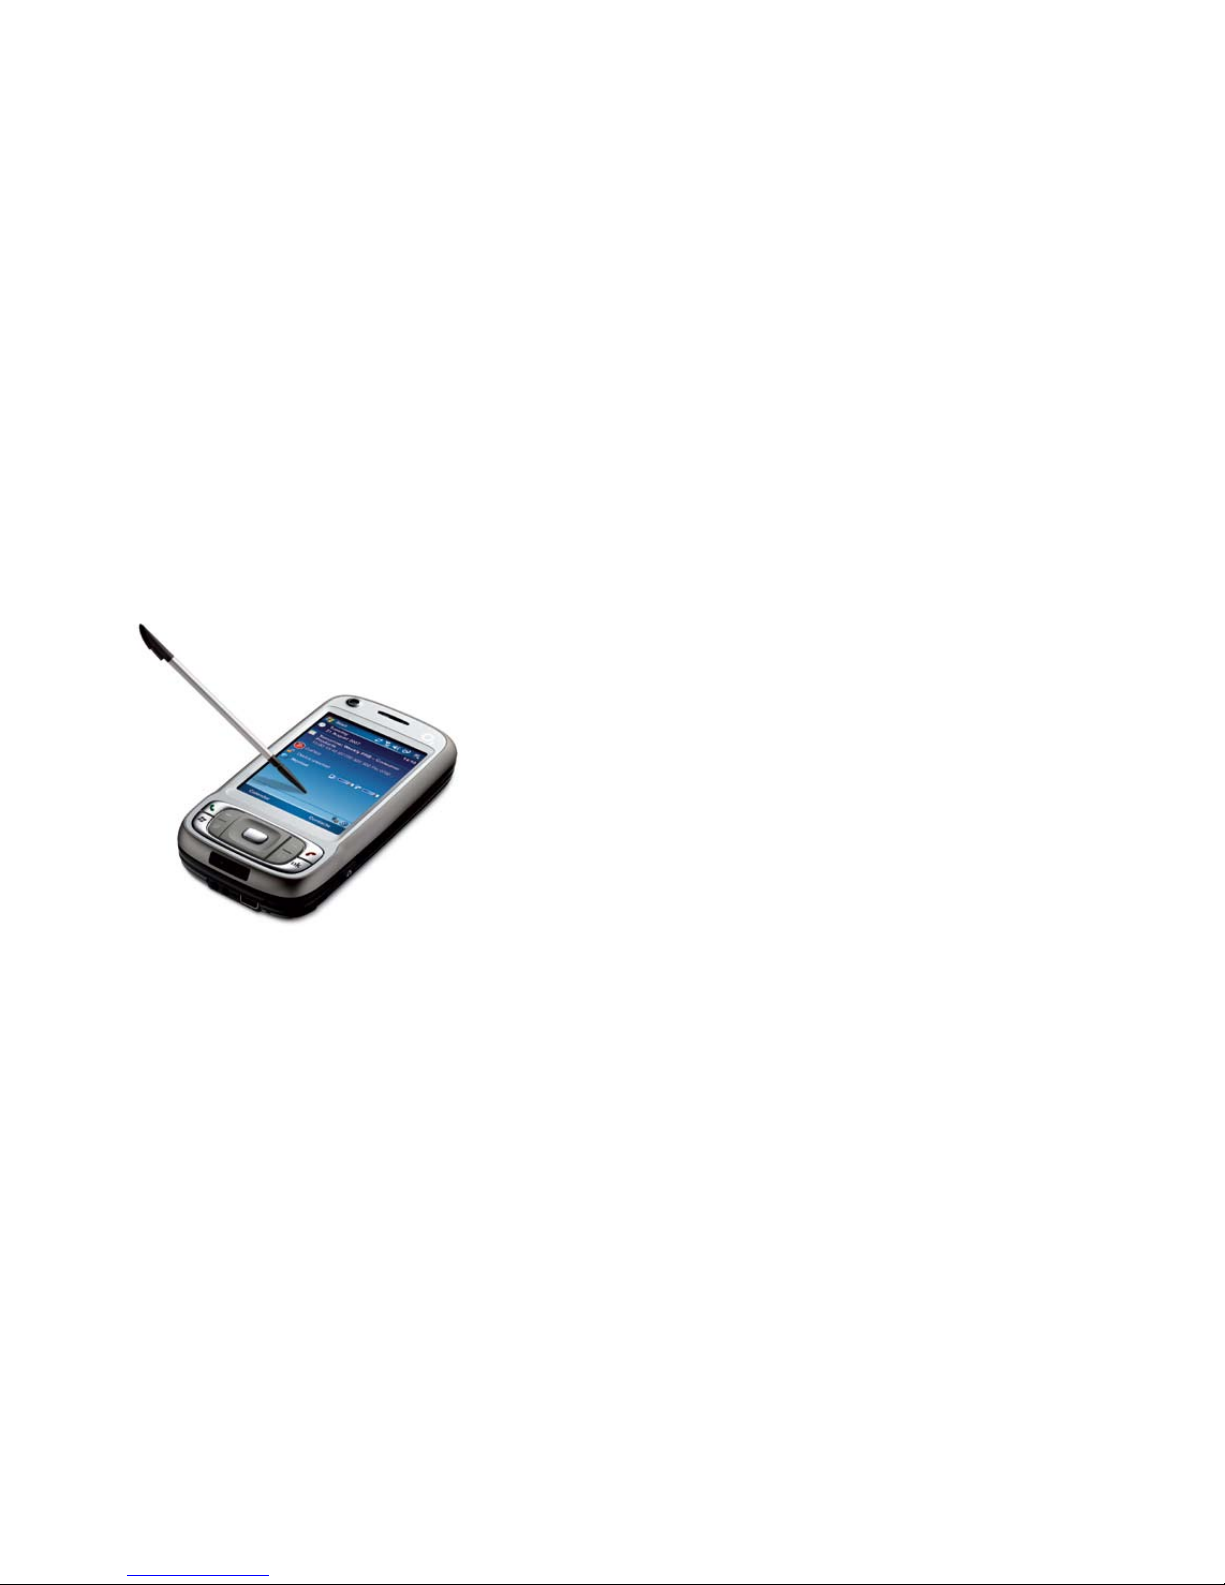
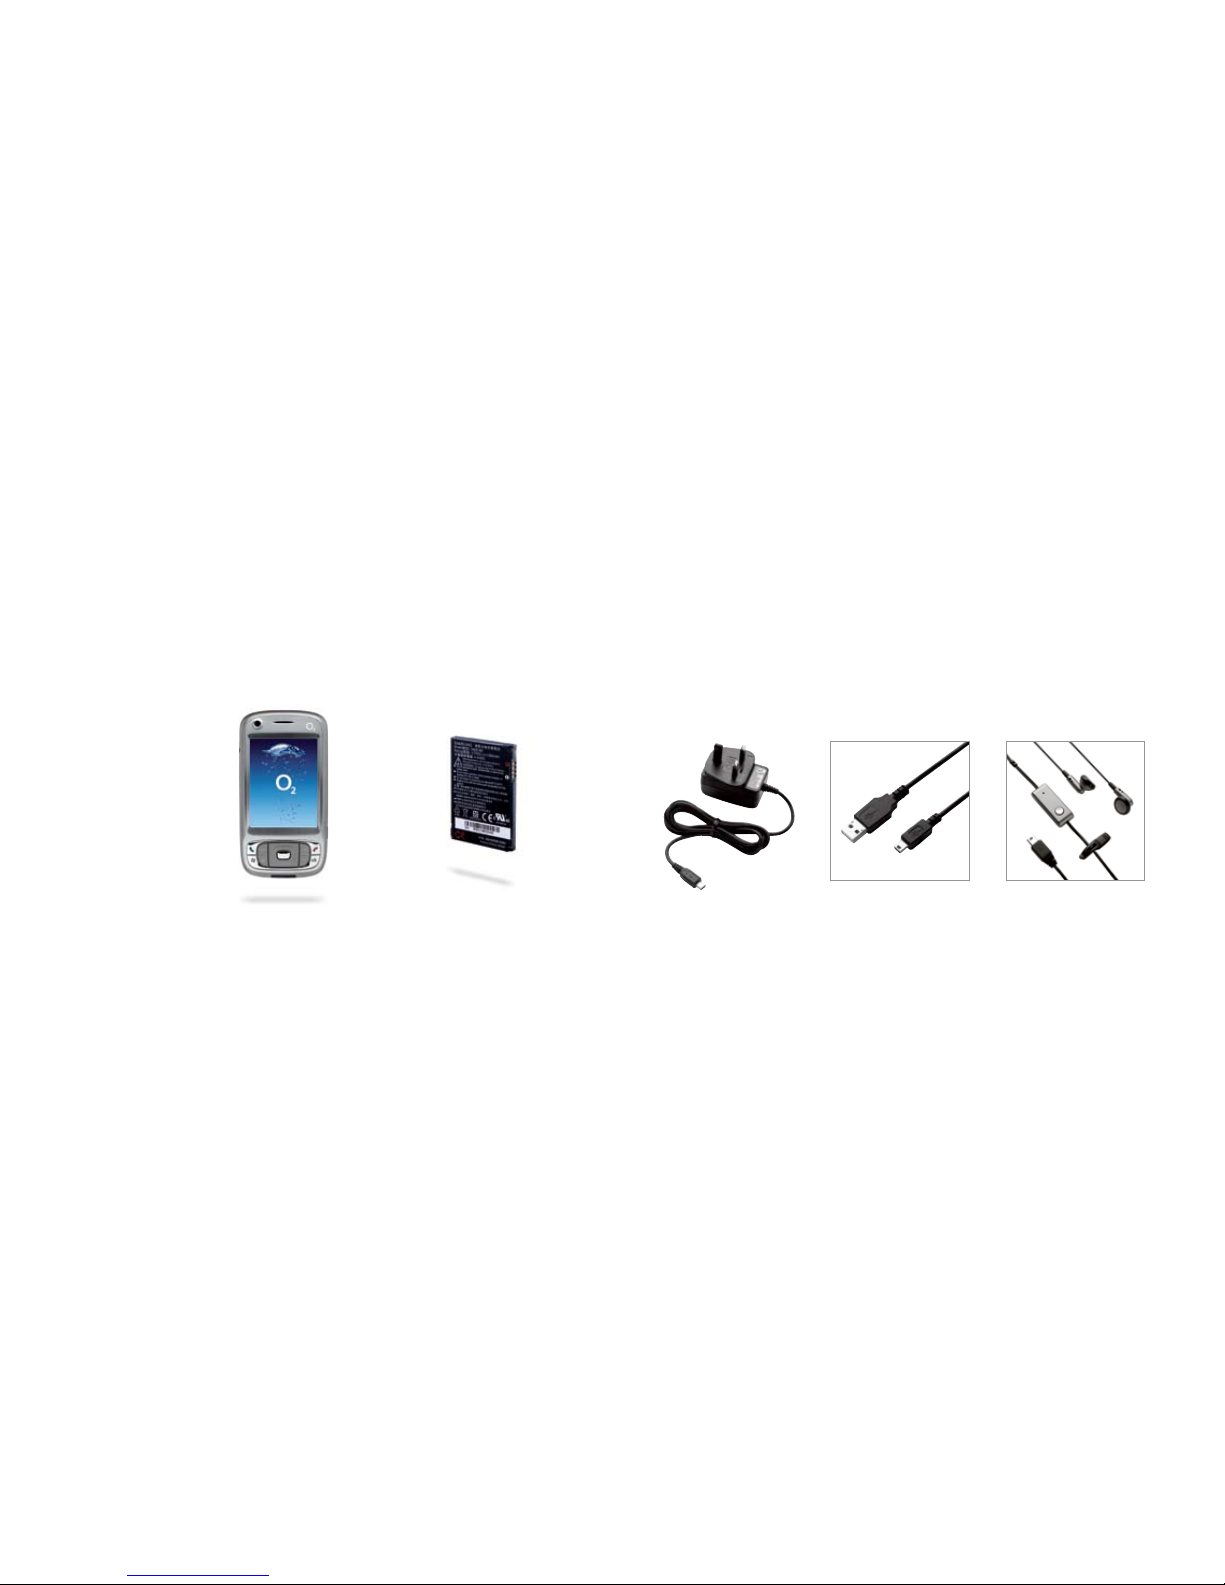
O2 Xda Stellar User manual

A quick guide to your
Xda Stellar

Contents
Section 1
Getting started 02
Install the SIM card 02
Install the MicroSD™card 03
Installing the battery 04
To turn the device on or off 05
Synchronise your PDA
Phone and PC 06
To set up synchronisation
software on your PC 06
To set up ActiveSync on
Windows XP 06
To set up Windows
mobile device centre
on Windows Vista™06
To send a text message 10
To make a call 10
To personalise your Xda Stellar 10
Go online and surf the web 11
Send and receive e-mail 11
Secure your Xda Stellar 12
Take a picture 13
Section 2
What’s in the box 16
A tour of your Xda Stellar 20
Status indicators 28
Section 3
Help and troubleshooting 32

2
3
Install the SIM Card
First, make sure you turn off your
Xda Stellar before opening the
SIM card door, otherwise it may
damage the device.
Slide out the keyboard. Then slide
the SIM card door-lock to the
left and flip the door open. Next,
insert the SIM card, then close and
lock the SIM card door.
Install a microSD™ card
(this is not included in box)
The microSD card slot is behind
the rubber cover. Open the cover
and then insert the microSD card.
Make sure the gold contacts
are facing down and then close
the cover.
If you need to remove the microSD
card, simply press it and it will pop
out of the slot.
Getting started

4
5
Installing the battery
You will receive the new battery
partially charged. So before
you start using your Xda Stellar
you will need to fully charge
the battery.
Charge the battery by plugging
in the AC adapter plug to an
electrical outlet. Plug the USB end
to the sync connector port at the
bottom of the device.
The battery will be fully charged
after about three hours.
To install the battery, slide the
back cover of your Xda Stellar
upward to remove it. Place the
battery in the slot and replace
the cover.
To turn the device on or off
It’s easy. Just press and hold the
POWER button for about three to
five seconds. This will turn your
Xda Stellar on or off. You’ll see a
message on the screen when it’s
switching off. Tap Yes to turn off
the device.
To enter information
Your Xda Stellar offers various
options to input information
onscreen. It also has a slide-out
QWERTY keyboard.

6
7
Synchronise your PDA
Phone and PC
It’s easy to synchronise your
computer with your device.
This enables you to keep
information like contacts, tasks,
and appointments up-to-date
on your Xda Stellar.
To set up synchronisation
software on your PC
The synchronisation software
you need will depend on your
computer’s Operating System (OS).
Either use Microsoft ActiveSync®
4.5 (or later) or Windows Mobile®
Device Centre to synchronise your
device with your computer.
To set up ActiveSync on
Windows XP
1. Install ActiveSync 4.5 on your PC
from the Getting Started Disc.
2. Connect your Xda Stellar to
your computer. You’ll see that
the Synchronisation Setup
Wizard automatically starts
and will guide you to create a
synchronisation partnership.
Click Next to proceed.
3. To synchronise your device
with your computer, clear
the ‘Synchronise directly with
a server running Microsoft
Exchange’ check box and then
click Next.
4. Select the information types
that you want to synchronise,
then click Next.
5. Click Finish.
To set up Windows mobile
device centre on Windows
Vista™
1. Connect your device to your
computer. Windows Mobile
Device Centre will open.
On the screen, click Set up
your device.
2. Select the information you want
to synchronise and click Next.
3. Type in a name for your PDA
phone and click Set Up.

8
9
To send a text message
You can send out short text
messages from your Xda Stellar
to other mobile phones:
1. Tap Start > Messaging > SMS
MMS.
2. Tap Menu > New > SMS.
3. Enter the mobile phone
number* in To and then write
your message. Tap Send.
*Or tap To if you want to choose
a contact from your SIM card or
contacts list.
To make a call
To make a call, simply do one of
the following:
• Press the Talk button below the
screen to open the dialler.
• Using the keyboard, start typing
the name of the person you
want to call or their phone
number. This will immediately
start to search your contacts.
To use your Xda Stellar hands-
free, connect your device with
the wired headset or Bluetooth®
headset (not included).
Please refer to the User Manual
if you are unsure how to connect
a Bluetooth headset to your
Xda Stellar.
To personalise your
Xda Stellar
You can personalise the screen
appearance of your Xda Stellar.
If you want to change the Today
screen:
Tap Start > Settings > Personal
tab > Today.
If you want to set the date and
time:
Tap Start > Settings > System
tab > Clock & Alarm > Time tab.
If you need to manage your power
settings:
Tap Start > Settings > System
tab > Power > Advanced tab.

10
11
Go online and surf the web
To get online, turn on Wi-Fi® on
your device.
If there is no Wi-Fi hotspot in your
area, you can still connect to the
Internet by using the GPRS or dial-
up service of your wireless service
provider.
Please refer to the User Manual to
learn how to connect using GPRS
or dial-up settings.
If you are using Wi-Fi:
1. Tap Start > Programs > Comm
Manager and tap the WLAN
button.
2. Select the wireless network you
want to connect to and tap OK.
3. Select The Internet and tap
Connect
Note: If you are connecting to a
secured wireless network, you may
first need to enter a key to get a
network connection.
Use Internet Explorer® Mobile (tap
Start > Internet Explorer) to surf
the Web.
Send and receive e-mail
You can set up your Xda Stellar
to send and receive e-mails using
your preferred e-mail service.
To send or receive e-mail:
1. Tap Start > Messaging > New
E-mail Account.
2. Type in your E-mail address and
tap Next.
3. If this doesn’t work then
manually enter the settings in
the following screens.
4. Type in Your Name and
Account. Tap Next
5. Type in the User name and
Password for the e-mail
account. Tap Next.
6. Select the frequency to send
and receive e-mail. Tap Finish.
You can also synchronise your
device with your company’s
Microsoft Exchange server to
receive work e-mails. Please refer
to the User Manual if you want
to access your company e-mail
account using your Xda Stellar.

12
13
Take a picture
Use your Xda Stellar to capture
those precious moments.
The photo is automatically saved
in your device after you shoot. Or
you can choose to delete it in the
Review screen. Press to send
the photo via MMS or e-mail.
Please refer to the User Manual
to learn more about using the
camera.
1. Press the CAMERA button
all the way in. The screen
will automatically switch to
landscape mode when you use
the camera.
2. Tap to change the camera
settings.
3. Press ENTER to take the shot.
The camera comes with an auto-
focus function to capture sharp
and crisp photos and videos of
your subjects. You will need to
either press the CAMERA button
half-way or all the way to take a
photo, depending on the option
you have chosen in Shoot Option.
The User Manual that comes with
your Xda Stellar offers a more
complete guide.
Secure your Xda Stellar
You can protect your device from
unauthorised access by using the
SIM PIN, the device lock or the
key lock.
A. To enable SIM PIN
You will first need to enter a
password to enable the SIM PIN
before you can use the phone
features of the device.
To use the SIM PIN, tap Start >
Settings > Personal tab > Phone
and select Require PIN when
phone is used.
B. To enable device lock
The device lock requires a
password to unlock the device
after it has been left idle for a set
period of time.
To enable this
1. Tap Start > Settings >
Personal tab > Lock.
2. Select the ‘Prompt if device
unused for’ check box and
enter the time you want.
3. Select the Password type.
4. Enter and confirm the
password, then tap OK.
C. To enable key lock
The key lock prevents accidental
key presses when the device is in
your pocket or bag.
You can lock the keys by holding
down the red “End Key” below
the screen for 3 seconds.

Section 2

16
17
What’s in the Box
AC charger
for recharging your Xda battery.
Connection cable
to connect your Xda to a PC for
synchronising data and charging.
Hands-free stereo headsetXda Stellar Xda Stellar battery
to power your Xda.

18
19
Microsoft Windows Mobile
Getting Started CD
including Microsoft Outlook 2002
and Microsoft Active Sync v4.2
applications.
Applications CD
including GPRS monitor and
Blackberry Connect 4
Quick Start Guide
this booklet.
Microsoft Windows Mobile 6
user guide available on the
Applications CD.
Warranty card for Europe
O2 may change the contents of the Xda Stellar box in the future.
The images here are purely to illustrate what’s in the box – the actual contents may look slightly different.

20
21
A tour of your Xda Stellar
59
2
4
3
10
78
6
11. Earpiece
2. Second camera
3. Left and right soft keys
Press to execute the command
shown in the label above the
button.
4. Talk button
Press to answer an incoming call
or dial a number.
5. Start button
Press to open the Start menu.
6. Internet Explorer
Press to activate Internet Explorer
7. Navigation button
Press up, down, left, or right
to move through menus and
programme instructions.
Press the centre of the navigation
button to carry out the selection.
8. Messaging button
Press to open the messaging
application for text messages,
multimedia messages and e-mail.
9. OK button
Press to confirm the OK option in
the top right corner of the screen
to confirm actions and close
applications and screens.
10. End button
Press to end a call or return to the
Today screen.

22
23
14
15
11
12
13
11. Touch screen
Tap the screen with the stylus
to write, draw or select.
12. Stylus
You can use the stylus to write,
draw or select items on the
touch screen.
13. Status Indicators
The Today screen displays
important information, such as
upcoming appointments and
status indicators. Some of the
status icons that you may see
on your Xda Stellar are listed
on pages 28–29.
14. GPS antenna connector
You can connect an external
GPS antenna to get a better
GPS signal.
15. Camera
Use the camera to take still photos
and record video clips.

24
25
16
17
18
20
19
19. Power button
Press Power to turn off the display
temporarily. This will switch it to
Sleep mode. You can still receive
calls and messages when your
Xda Stellar is in Sleep mode.
Press and hold for about five
seconds to turn off the power
completely. This makes all
the functions, including the
phone, unavailable.
20. Camera button
Press to launch the camera and
press again to take a photo or
video clip, depending on the
specified capture mode.
16. Voice Command
Press to start Voice Speed Dial;
press and hold to record a
voice note.
17. Jog Wheel
When in the Today screen or using
applications, scroll up or down to
navigate through menus, program
instructions; press the wheel to
carry out selection.
During a call or playing music,
scroll up or down to adjust the
volume. And when receiving an
incoming call, scroll down to
silence the ring tone.
18. OK Button
Press to confirm your data entries,
or to exit the program in use.

26
27
22 2321
21. Strap holder
This lets you attach a strap for
carrying your Xda Stellar.
22. Sync connector/
earphone jack
Use this connector to synchronise
data by connecting the provided
USB Sync cable or to recharge the
battery via the provided
AC charger. You can also use the
USB stereo headset for hands-
free conversation or to listen
to audio media.
23. Reset Button
With the stylus, press the reset
button to soft-reset your device.
24. Keyboard
For full information on your
QWERTY keyboard please
refer to your User Manual.
24

28
29
No signal
Phone is turned off
No phone service
Searching for phone service
GPRS available
GPRS connecting
GPRS in use
Roaming
Connection is active
Connection is not active
Synchronisation in progress
Status indicators
*The USB to PC icon appears on the Today screen when you are connected to your computer with a USB connection.
For more information about USB to PC, refer to the user manual.
Synchronisation error
No SIM card inserted
Battery is fully charged
Battery power is very low
Battery charging
Device is locked
Device is unlocked
Bluetooth headset detected
GPRS Monitor currently active
Serial USB connection active
The USB to PC icon*
ActiveSync notification
Wi-Fi function is enabled but the Xda Stellar
is not yet connected to a wireless network
Wireless network(s) detected
Connecting to wireless network
(arrows moving)
Connected to wireless network
Synchronising via Wi-Fi
Vibration mode
Sound on
Sound off
Alarm
Status icon Meaning
New email or text messages; SMS
notification of voicemail
New multimedia (MMS) message
New MSN message
There are more notifications
Tap the icon to view all
Speakerphone on
Voice call in progress
Calls are forwarded
Call on hold
Missed call
Maximum signal strength
Status icon Meaning Status icon Meaning Status icon Meaning

Section 3

32
33
Help and troubleshooting
Help online
Need technical help with your
Xda Stellar?
For help with using or setting up
your Xda visit our dedicated Xda
web site at www.o2.co.uk/xda
Talk to us
Your service provider will be able
to help if you have any general
questions about your Xda Stellar;
questions about charges on
your account or activation of
O2services. You’ll find their
contact details printed on your
monthly bill.
If you’re a corporate customer,
we recommend you contact your
internal help desk first.

o2.co.uk
O2 (UK) Limited, 260 Bath Road, Slough, Berks, SL1 4DX.
Registered in England No.1743099. Registered office as above.
© O2 (UK) Limited 2001-2007. Correct at time of going to press (09/07)
The Bluetooth ® word and logos are owned by the Bluetooth SIG, Inc.
Windows Mobile is a trade mark or registered trade mark of Microsoft
Corporation in the United States and/or other countries.
O2CN246N LN 0907.
Table of contents
Other O2 Cell Phone manuals