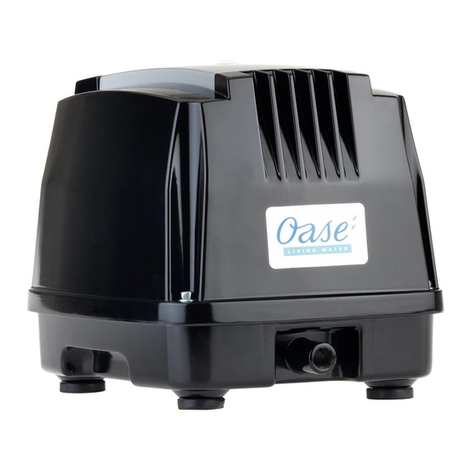
Oase AquaOxy 400 User manual
Other Oase Lawn And Garden Equipment manuals

Oase
Oase OxyMax 100 User manual
Oase
Oase FM-Master WLAN How to use
Oase
Oase InScenio FM-Profimaster User manual
Oase
Oase InScenio 230 User manual
Oase
Oase AquaOxy 1000 User manual

Oase
Oase AquaOxy 1000 User manual
Oase
Oase InScenio FM-Master Series User manual

Oase
Oase Biotec 5.1 User manual
Oase
Oase AquaOxy 55 User manual
Oase
Oase Vitronic 11 W User manual
Oase
Oase Skimmer 250 User manual

Oase
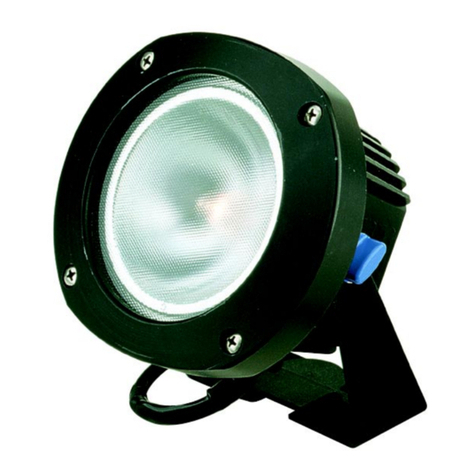
Oase GA InScenio FM Master WLAN User manual
Oase
Oase Lunaqua 35 User manual

Oase
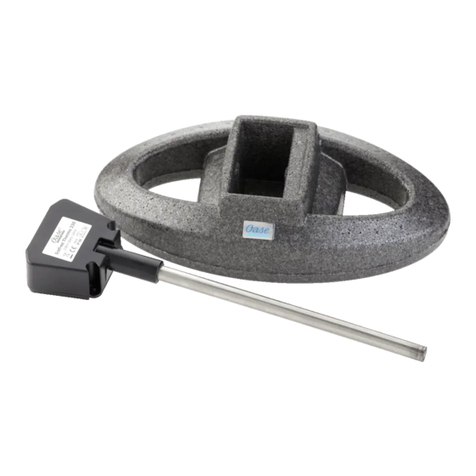
Oase FM-Master WLAN User manual
Oase
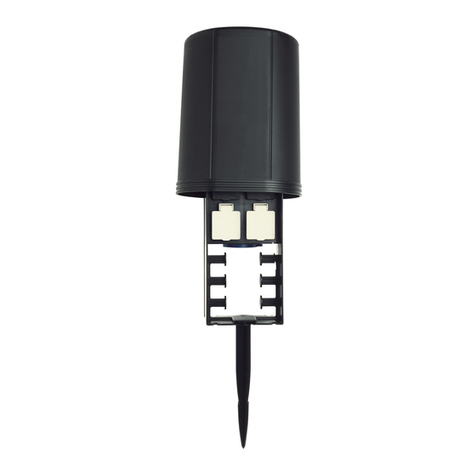
Oase IceFree Thermo 330 Quick guide
Oase
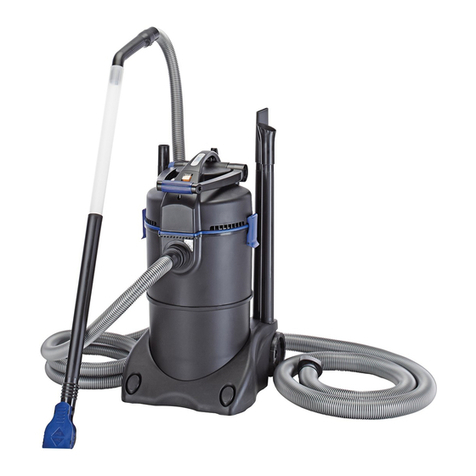
Oase InScenio FM-Master 1 User manual
Oase
Oase PondoVac 3 User manual
Oase
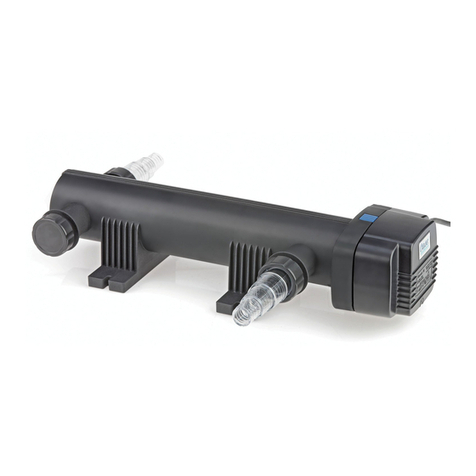
Oase Vitronic 18 User manual
Oase
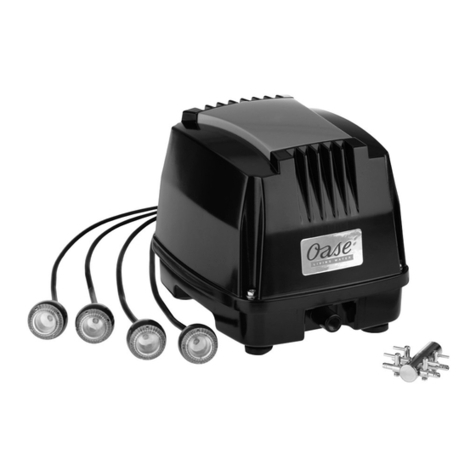
Oase AquaOxy 4800 CWS User manual
Oase
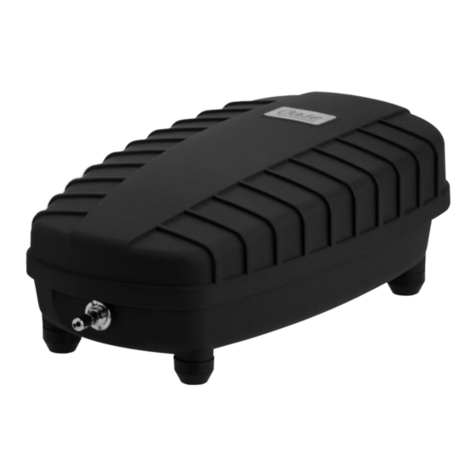
Oase AquaOxy 240 User manual
Popular Lawn And Garden Equipment manuals by other brands

Vertex
Vertex 1/3 HP Maintenance instructions

GHE
GHE AeroFlo 80 manual

Millcreek
Millcreek 406 Operator's manual

Land Pride
Land Pride Post Hole Diggers HD25 Operator's manual

Yazoo/Kees
Yazoo/Kees Z9 Commercial Collection System Z9A Operator's & parts manual

Premier designs
Premier designs WindGarden 26829 Assembly instructions

AQUA FLOW
AQUA FLOW PNRAD instructions

Tru-Turf
Tru-Turf RB48-11A Golf Green Roller Original instruction manual

BIOGROD
BIOGROD 730710 user manual

Land Pride
Land Pride RCF2784 Operator's manual

Makita
Makita UM110D instruction manual

BOERBOEL
BOERBOEL Standard Floating Bar Gravity Latch installation instructions
