manuals.online logo
Brands
  1. Home
  2. •
  3. Brands
  4. •
  5. Ocean Matrix
  6. •
  7. Extender
  8. •
  9. Ocean Matrix OMX-01HMBT0009 User manual

Ocean Matrix OMX-01HMBT0009 User manual

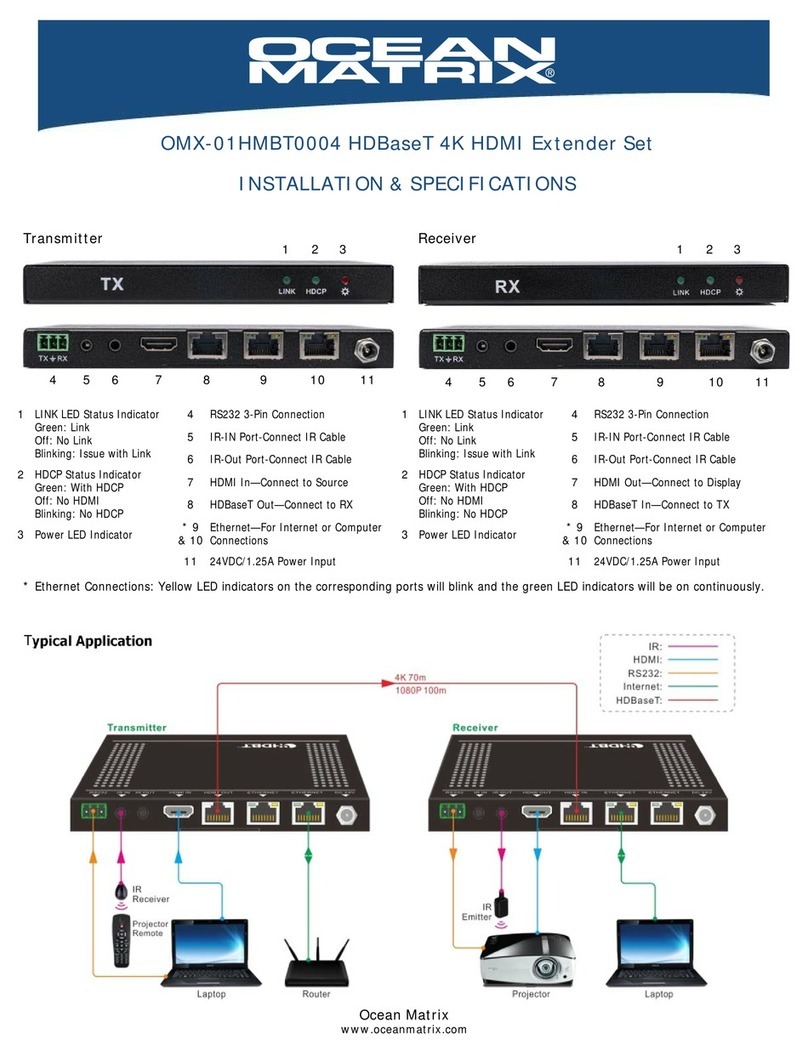
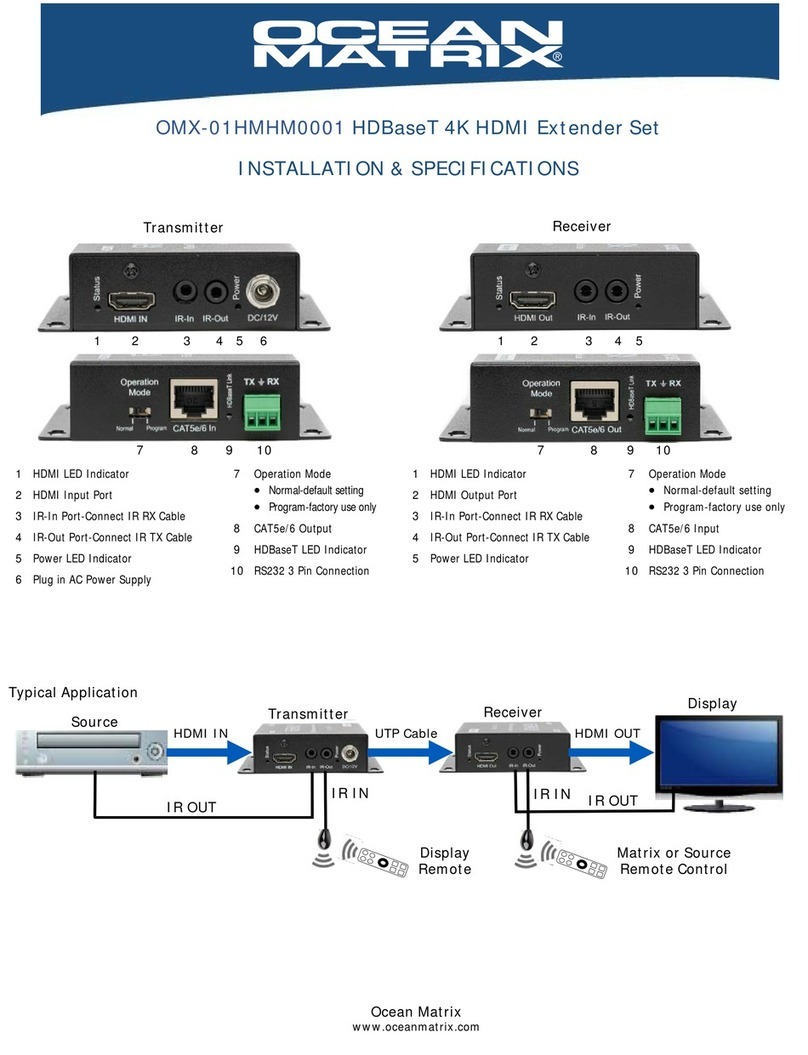
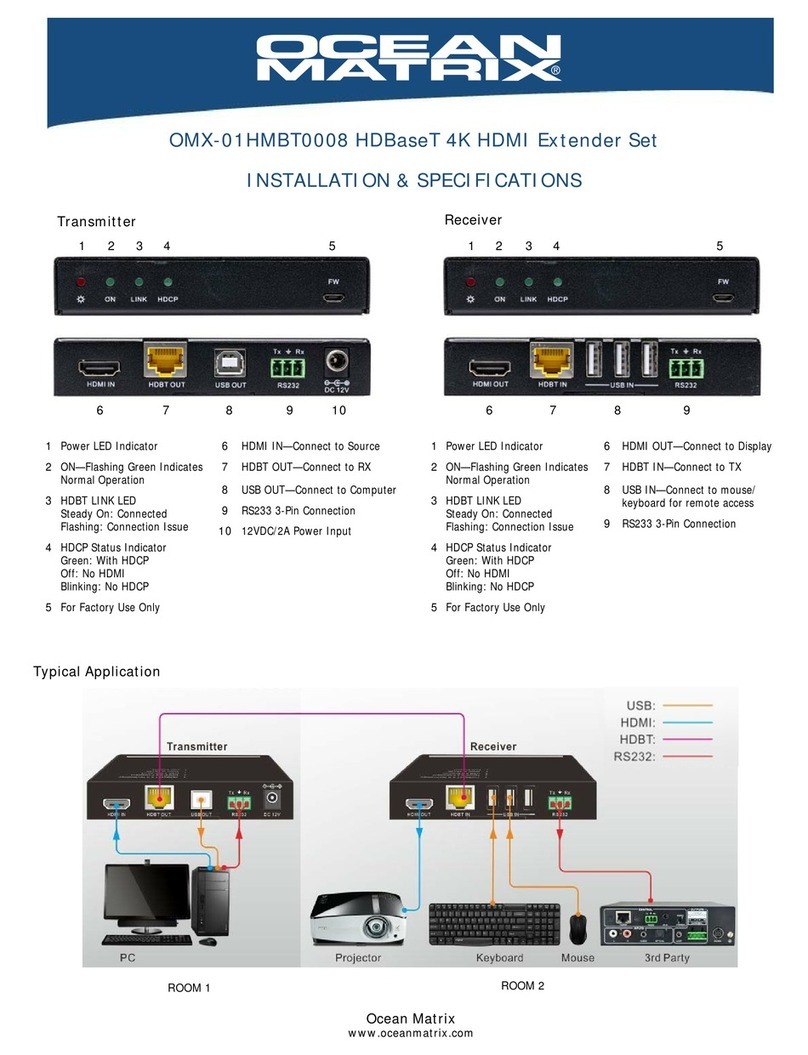
Typical Application
Transmitter Receiver
1 Power LED Indicator
2 Test Pattern-Push Button with
paperclip to enable. Left LED turns
blue & generates an image of
1080P/60Hz color bar to output.
Press again, LED flashes and gen-
erates an image of 4K/60Hz 4:4:4
color bar. Press & hold to exit.
3 1080P-4K –Push Button with pa-
perclip to enable upscaling. LED
will be blue. Press & hold to exit
4 EDID-4-Pin Dip Switch. See EDID
Management to set.
5 Factory Use Only
6 HDMI IN—Connect to Source
7 ARC TOSLINK OUT-Connect
speaker or amplifier
8 IR IN—Connect RX
9 IR OUT-Connect IR Emitter
10 RS232-3Pin Terminal Block
11 HDBT OUT: Connect to RX.
LINK LED turns orange when
link is made and HDCP LED
turns green to indicate HDCP
12 Plug in AC Power Supply
7 8 9
1 3 4 5
6
2
OMX-01HMBT0009 HDBaseT 4K HDMI Extender Set
INSTALLATION & SPECIFICATIONS
10 11 7 8 96 10 11
1 3 4
5
2
1 Power LED Indicator
2 ARC Mode-Push Button with
paperclip to enable. Left LED
turns blue. Press again to exit.
3 ARC Audio In-Connect audio
source
4 Factory Use Only
5 HDMI OUT-Connect Display
6 Audio Breakout-ARC TOSLINK Mode
must be off for audio de-embedding.
There is no audio output at this
port when ARC Mode is ON.
7 IR IN-Connect RX
8 IR OUT-Connect IR Emitter
9 RS232-3Pin Terminal Block
10 HDBT IN-Connect to TX. LINK LED
turns orange when link is made and
HDCP LED turns green to indicate
HDCP
11 Plug in AC Power Supply
12
Ocean Matrix
www.oceanmatrix.com
2
DIP SWITCH OPERATION
EDID Management
Switches 1, 2, 3
Ocean Matrix OMX—01HMBT0009
Ocean Matrix
www.oceanmatrix.com
The source device obtains its EDID from the first connected display. To ensure video resolution compatibility among multiple displays, set the EDID to a fixed
value using the DIP switch. See the bottom of the device for settings.
ON Position = 1
OFF Position = 0
Switch Setting Video Resolution Audio Format
000
001 1080P 2CH (LPCM 2 CH)
010 3840x2160@30Hz 2CH (LPCM 2 CH)
011 3840x2160@30Hz Multi-CH (LPCM 8CH, Dolby TrueHD, DTS-HD , Dolby Digital5.1, DTS 5.1, Dolby Digital Plus)
100 3840x2160@30Hz 22CH (LPCM 2 CH)
101 3840x2160@30Hz Multi-CH (LPCM 8CH, Dolby TrueHD, DTS-HD , Dolby Digital5.1, DTS 5.1, Dolby Digital Plus)
110 3840x2160@30Hz HDR Multi-CH (PCM 2CH, PCM5.1, Dolby Digital 5.1, DTS 2CH
111 User-Defined EDID Refer to Information Below
Pass Through Pass Through
User-Defined EDID
The specific EDID can be customized by following the steps below:
1. Rename the user-defined EDID according the following format. EC_xx_xxxxx_xxxx_xxx.bin
EC: Fixed value
xx: EDID ID. It is “15”.
xxxxx: Video resolution.
xxxx: Refresh rate.
xxx: Audio format.
Example: EC_15_3840x2160_60Hz_ Dolby.bin
1. Connect the FW port of the transmitter to the PC with a USB cable, and then power on the transmitter. The PC will automatically detect a virtual disk:
BOOTDISK.
2. Double-click to open the disk, to a file READY.TXT
3. Copy the user-defined EDID (such as EC_15_3840x2160_60Hz_Dolby.bin) to the “BOOTDISK” disk.
4. Reopen the disk to check the filename READY.TXT. If the filename automatically becomes “SUCCESS.TXT” then the user-defined EDID was imported
into the transmitter and saved as its corresponding EDID ID successfully.
5. Remove the USB cable, and then reboot the transmitter.
6. Now the new EDID can be ready by setting the DIP switch status to 111.
 To set HDCP Active Mode, put Switch 4 in the ON position. The HDMI output will be HDCP 1.4, if the input video has HDCP content. If no HDCP
content, there will be no HDCP output.
 To set HDCP Passive Mode, put Switch 4 in the OFF position. The unit automatically follows the HDCP version of source device.
HDCP Switch 4
3
Ocean Matrix
www.oceanmatrix.com
Ocean Matrix OMX—01HMBT0009
ARC MODE
Enable or disable ARC mode on the front of the receiver.
Push Button with paperclip to enable ARC mode.
LED illuminates blue.
Press again to exit.
ARC Mode Display Audio Transmission Path
ARC Supported Display audio is transmitter to the receiver via HDMI cable, then to the ARC Audio OUT on the transmitter
ARC is Not Supported Connect the display to the ARC Audio IN of receiver with audio cable. TV audio is transmitted to the receiver, then
to the ARC Audio OUT on the transmitter. An STP cable is recommended for optimal performance.
OFF N/A Audio Breakout on receiver is connected to a speaker or amplifier for HDMI source audio de-embedding
ON
ARC Mode On
ARC Mode Off
4
SAFETY PRECAUTIONS
 To prevent fire or shock hazard, do not expose this equipment to dust or high humidity. Do not use in an
unprotected outdoor installation or in areas classified as overly damp or wet.
 The installation temperature should be kept between 32°F to 140°F (0°C to 60°C). Avoid direct sunlight exposure or extreme
changes of temperature over a short period of time.
 Do not place the unit on an unstable base and avoid heavy impact.
 Proper ventilation is required for permanent installation. Do not block or cover enclosure openings as they protect the unit from
overheating.
 Prior to cleaning, turn the power off and unplug the unit from all connections. Use a damp cloth. Do not use liquid or aerosol
cleaners.
 Do not overload outlets and extension cords as this may result in a risk of fire or electric shock.
 Enclosure entry is dangerous. Never push objects of any kind, including liquids, through openings as they may touch dangerous
voltage points or short-out parts that could result in a fire or electric shock.
 Do not open or service this unit yourself as opening or removing covers may expose you to dangerous voltage and other hazards.
 There are no user-serviceable parts inside the unit. If the unit requires service contact your authorized dealer, or authorized repair
service company.
Rev1a
Ocean Matrix
812 Kings Highway •SaugerƟes, NY 12477
www.oceanmatrix.com
FCC Caution
This device complies with part 15 of the FCC Rules. Operation is subject to the following two conditions: (1) This device may not
cause harmful interference, and (2) this device must accept any interference received, including interference that may cause
undesired operation.
Class A Interference Statement
This equipment has been tested and found to comply with the limits for a Class A digital device, pursuant to part 15 of the FCC
Rules. These limits are designed to provide reasonable protection against harmful interference when the equipment is operated
in a commercial environment. This equipment generates, uses, and can radiate radio frequency energy and, if not installed and
used in accordance with the instruction manual, may cause harmful interference to radio communications. Operation of this
equipment in a residential area is likely to cause harmful interference in which case the user will be required to correct the
interference at his own expense.
Federal Communications Commission (FCC) Compliance Notices
FEATURES
Extends Two-Way IR Signals
RS232 & CEC Pass Through
Transmission Distance: 1080P up to 230 Feet, 4K up to 131 Feet
Two-Way PoC
Rugged Black Powder-Coated Metal Enclosure
CE, FCC Certified
Includes: (1) 3Pin Terminal Block,(4) Mounting Ears & (4) Screws,
(1) RS232 Cable (3Pin to DB9), (1) 24V/1.25A power supply
EDID Management
Supports ARC & Audio De-embedding – TOSLINK/SPDIF Out on Receiver
SPECIFICATIONS
Compliance HDMI 2.0, HDCP 2.2/1.4
Video Bandwidth 18Gpbs
HDMI Video Resolutions up to 4Kx2K@60Hz 4:4:4
Audio Formats PCM, Dolby Digital, Dolby True-HD,
DTS, DTS-HD
Frequency Response 20Hz-20KHz, +/- 3dB
Power Consumption 12W
Power Input 100-240VAC, 50/60Hz
Dimensions (HxWxD) 0.77 x 5.7 x 3.3 in
Weight TX 9.7 oz, RX 10.23 oz
Other Ocean Matrix Extender manuals

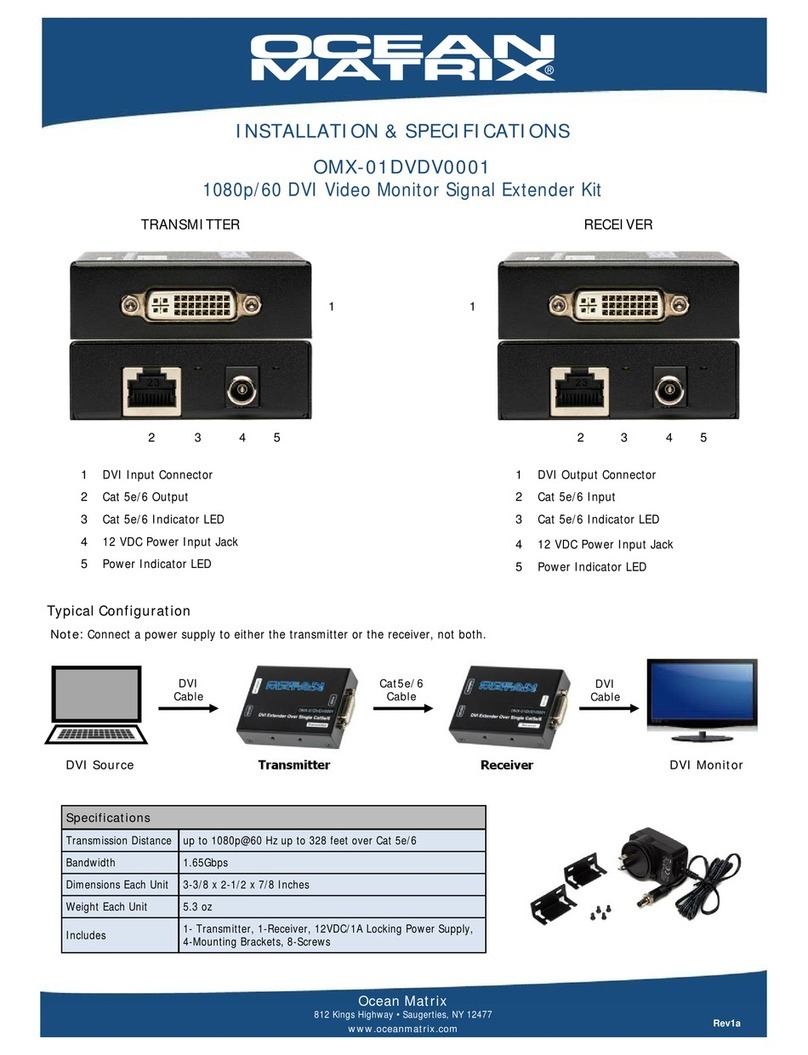
Ocean Matrix OMX-01DVDV0001 User manual

Ocean Matrix

Ocean Matrix OMX-01DVDV0001 User manual

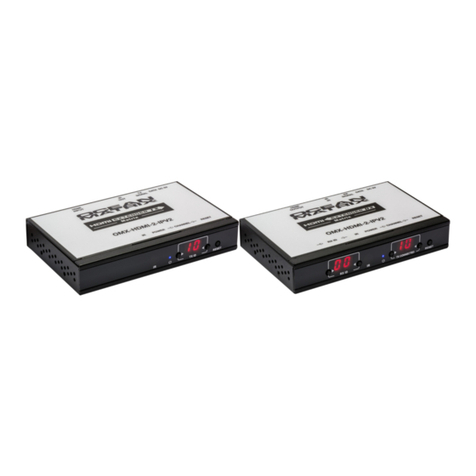
Ocean Matrix OMX-HDMI-2-IPV2 User manual

Ocean Matrix

Ocean Matrix OMX-HDMI-2-IPV2 User manual

Ocean Matrix OMX-01UBUB0001 User manual

Ocean Matrix

Ocean Matrix OMX-01UBUB0001 User manual

Ocean Matrix OMX-01HMHM0002 User manual

Ocean Matrix

Ocean Matrix OMX-01HMHM0002 User manual

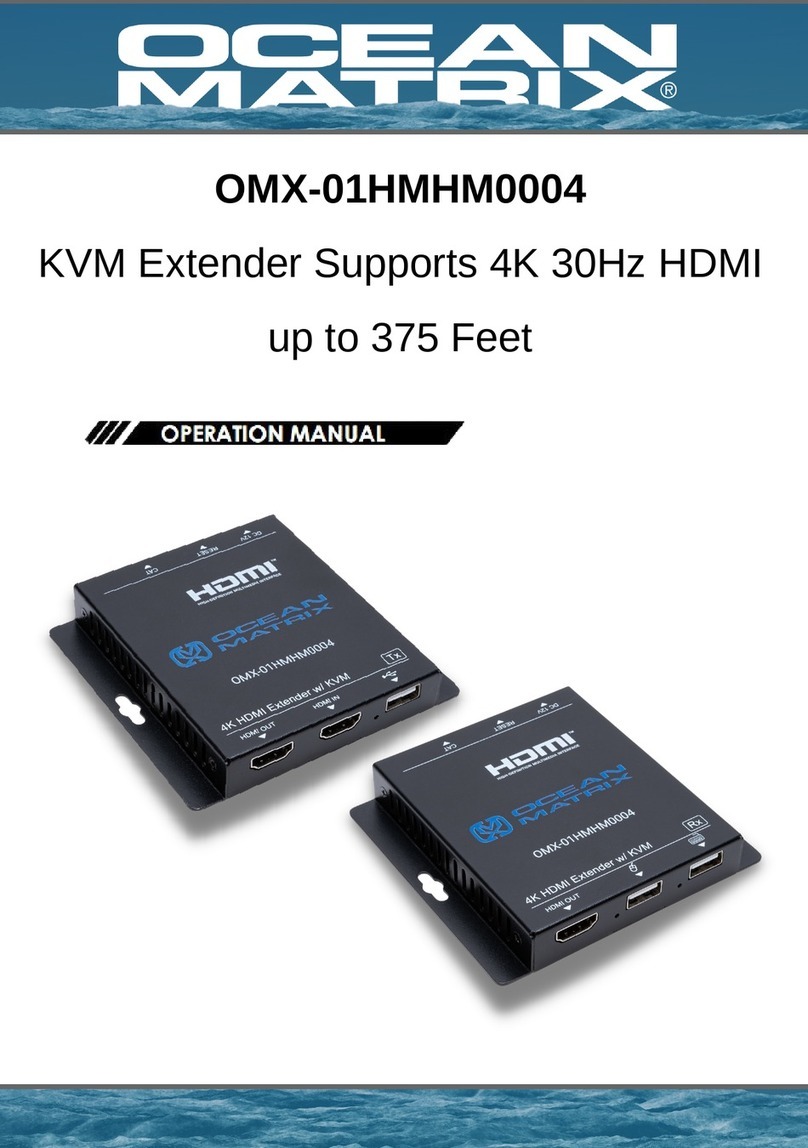
Ocean Matrix OMX-01HMHM0004 User manual

Ocean Matrix

Ocean Matrix OMX-01HMHM0004 User manual

Ocean Matrix OMX-HDMI-CAT6X User manual

Ocean Matrix

Ocean Matrix OMX-HDMI-CAT6X User manual

Ocean Matrix OMX-01KVKV0002 User manual

Ocean Matrix

Ocean Matrix OMX-01KVKV0002 User manual

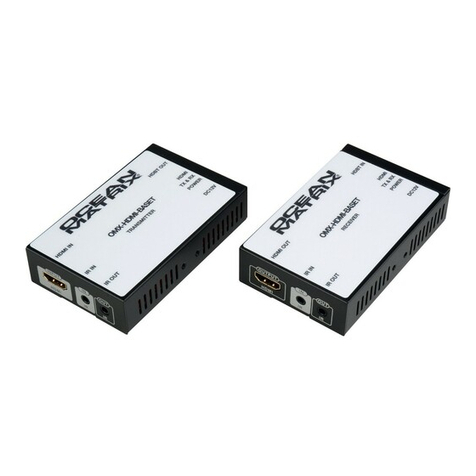
Ocean Matrix OMX-01HMBT00010 User manual

Ocean Matrix

Ocean Matrix OMX-01HMBT00010 User manual

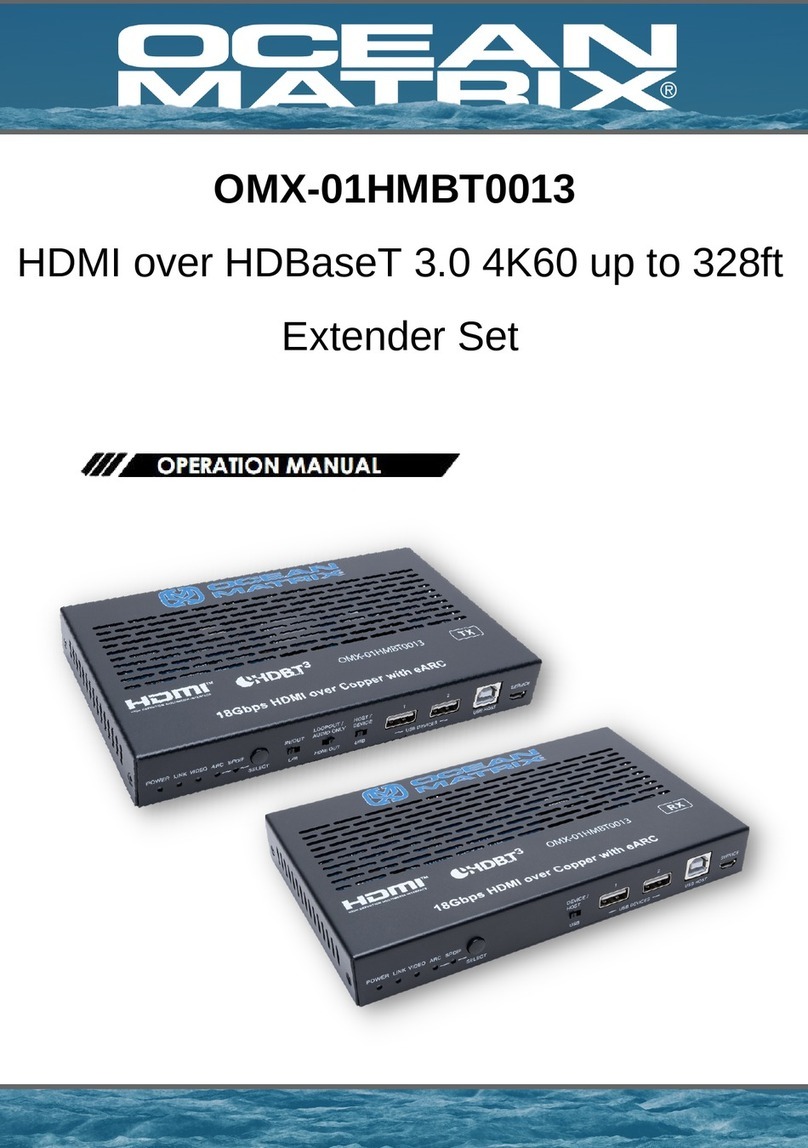
Ocean Matrix OMX-01HMBT0013 User manual

Ocean Matrix

Ocean Matrix OMX-01HMBT0013 User manual

Ocean Matrix OMX-HDMI-2-IP Assembly instructions

Ocean Matrix

Ocean Matrix OMX-HDMI-2-IP Assembly instructions

Ocean Matrix OMX-10HMIP0004 User manual

Ocean Matrix

Ocean Matrix OMX-10HMIP0004 User manual

Ocean Matrix OMX-01HMBT0004 User manual

Ocean Matrix

Ocean Matrix OMX-01HMBT0004 User manual

Ocean Matrix OMX-10HMIP0005 User manual

Ocean Matrix

Ocean Matrix OMX-10HMIP0005 User manual

Ocean Matrix OMX-01HMHM0007 User manual

Ocean Matrix

Ocean Matrix OMX-01HMHM0007 User manual

Ocean Matrix OMX-HDMI-HDB1X8 User manual

Ocean Matrix

Ocean Matrix OMX-HDMI-HDB1X8 User manual

Ocean Matrix OMX-HDMI-2-IP User manual

Ocean Matrix

Ocean Matrix OMX-HDMI-2-IP User manual

Ocean Matrix OMX-01HMBL0001 User manual

Ocean Matrix

Ocean Matrix OMX-01HMBL0001 User manual

Ocean Matrix OMX-01HMBT0007 User manual

Ocean Matrix

Ocean Matrix OMX-01HMBT0007 User manual

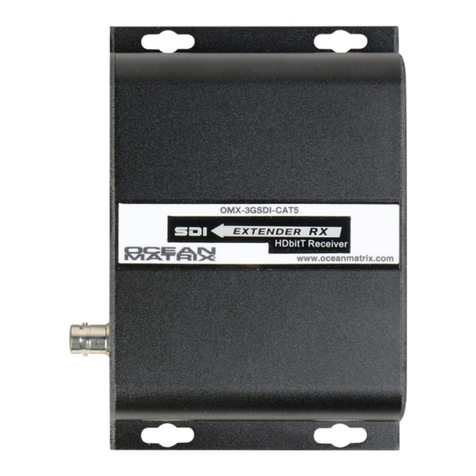
Ocean Matrix OMX-3GSDI-CAT5 User manual

Ocean Matrix

Ocean Matrix OMX-3GSDI-CAT5 User manual

Ocean Matrix OMX-01HMBT0010 User manual

Ocean Matrix

Ocean Matrix OMX-01HMBT0010 User manual

Ocean Matrix OMX-01HMET0001 User manual

Ocean Matrix

Ocean Matrix OMX-01HMET0001 User manual

Ocean Matrix OMX-01HMHM0001 User manual

Ocean Matrix

Ocean Matrix OMX-01HMHM0001 User manual

Ocean Matrix OMX-01HMET0003 User manual

Ocean Matrix

Ocean Matrix OMX-01HMET0003 User manual

Ocean Matrix OMX-01HMBT0005 User manual

Ocean Matrix

Ocean Matrix OMX-01HMBT0005 User manual

Popular Extender manuals by other brands

HighPoint Rocket EJ340 Quick installation guide

HighPoint

HighPoint Rocket EJ340 Quick installation guide

Hawking HWUR54G Product tutorial

Hawking

Hawking HWUR54G Product tutorial

TERK Technologies LF-30S owner's manual

TERK Technologies

TERK Technologies LF-30S owner's manual

Binary B-660-EXT-444-100AS installation manual

Binary

Binary B-660-EXT-444-100AS installation manual

Lindy RS232 user manual

Lindy

Lindy RS232 user manual

D-Link DAP-1520 Quick start setup guide

D-Link

D-Link DAP-1520 Quick start setup guide

Linksys WRE54G - Wireless-G Range Expander Repeater user guide

Linksys

Linksys WRE54G - Wireless-G Range Expander Repeater user guide

LINK-MI SX-EX60-3DIR operating instructions

LINK-MI

LINK-MI SX-EX60-3DIR operating instructions

Mars Labs Titan CPX Expander user manual

Mars Labs

Mars Labs Titan CPX Expander user manual

Extron electronics DTP DVI 4K 230 D Series Setup guide

Extron electronics

Extron electronics DTP DVI 4K 230 D Series Setup guide

Lightware HDMI-TPS-TX226 user manual

Lightware

Lightware HDMI-TPS-TX226 user manual

Manhattan 525695 user manual

Manhattan

Manhattan 525695 user manual

Blackbird 43396 user manual

Blackbird

Blackbird 43396 user manual

GeMNeXT EXT-UHBT100-R user manual

GeMNeXT

GeMNeXT EXT-UHBT100-R user manual

Monacor security HDEXT-600 Operating	 instruction

Monacor

Monacor security HDEXT-600 Operating instruction

HRT UVB1-CP user manual

HRT

HRT UVB1-CP user manual

HDanywhere EX50 manual

HDanywhere

HDanywhere EX50 manual

LINK-MI LM-EW53 Operation manual

LINK-MI

LINK-MI LM-EW53 Operation manual

manuals.online logo
manuals.online logoBrands
  • About & Mission
  • Contact us
  • Privacy Policy
  • Terms and Conditions

Copyright 2025 Manuals.Online. All Rights Reserved.