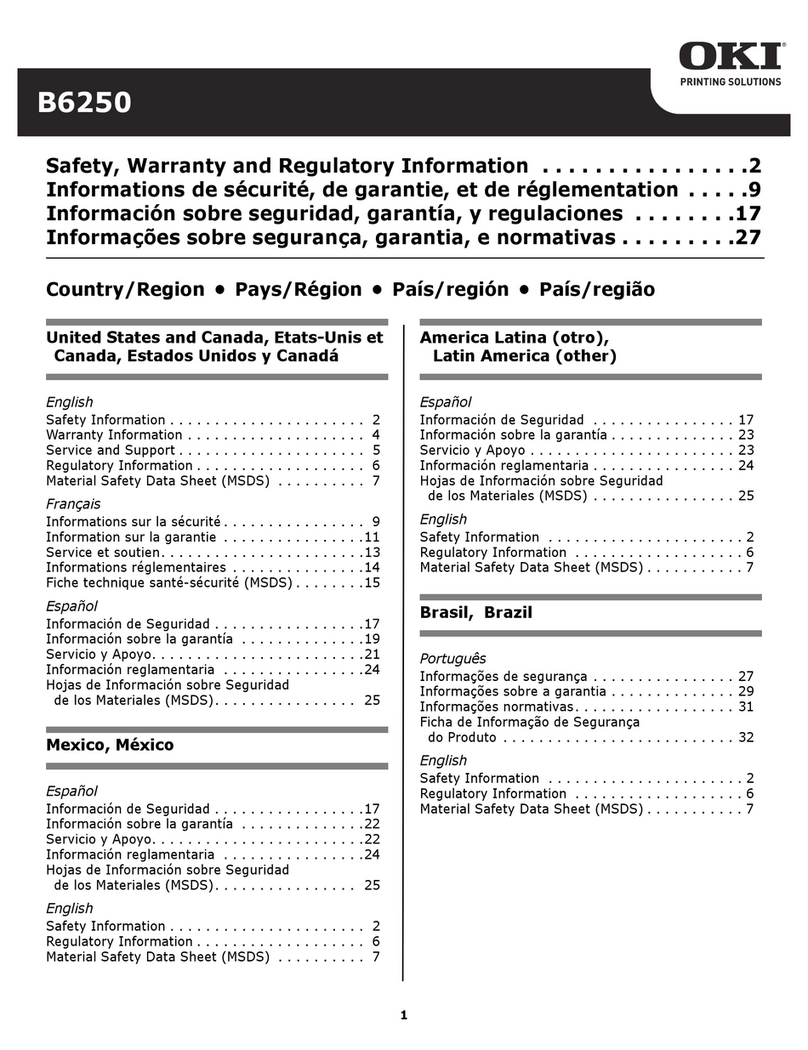
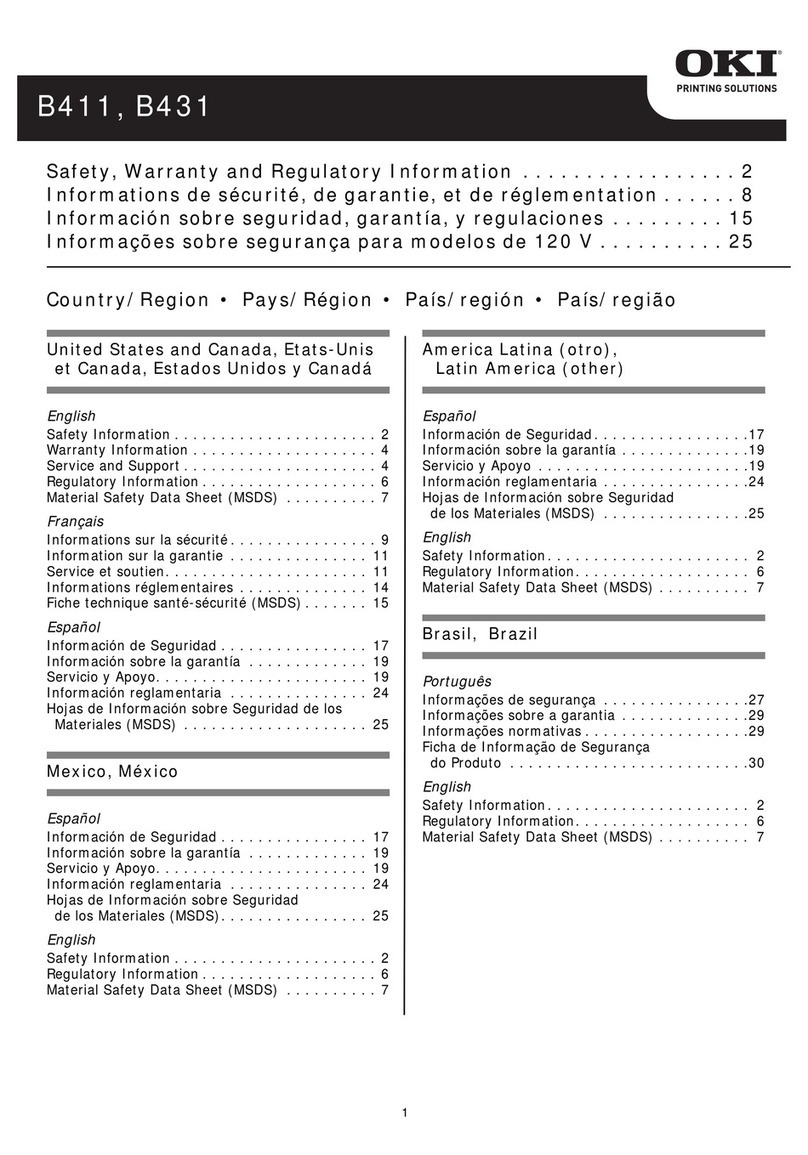
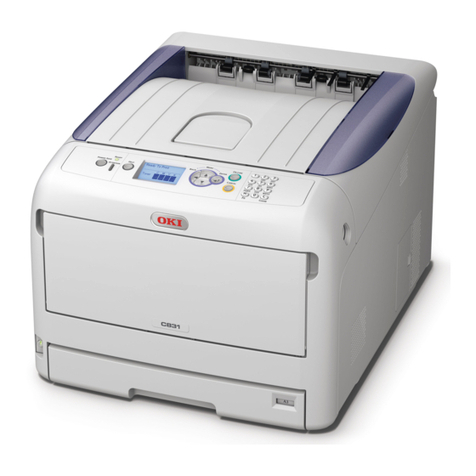
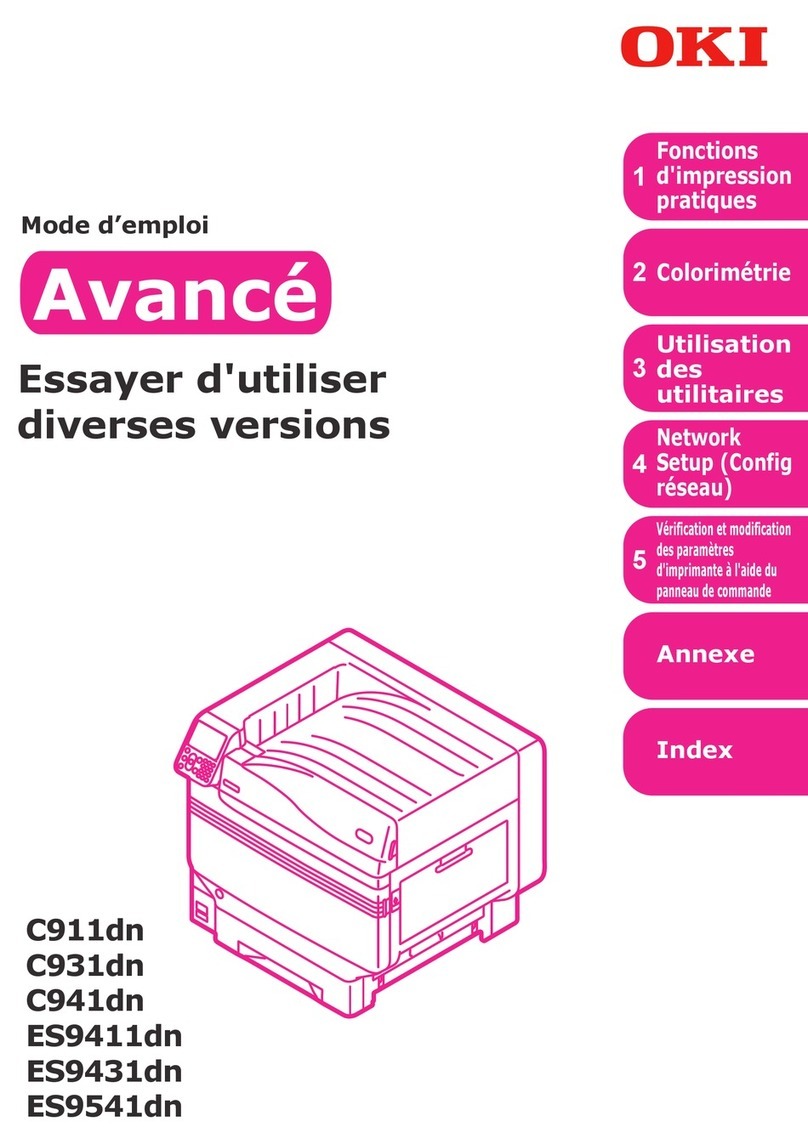
Oki MPS9650c Service manual

Handy Reference
Guide de référence pratique
Referencia Rápida
59402501 my.okidata.com
MPS9650c

2
Using the Printer Menu . . . . 5
Changing Settings . . . . . . . . . . . . 5
Menu Summary . . . . . . . . . . . . . 6
Changing Paper (Media)
Settings . . . . . . . . . . . . . . . . . . 7
Changing Default Settings . . . . . . 8
Print Media . . . . . . . . . . . . . . 9
Paper Weight . . . . . . . . . . . . . . . 9
Loading Trays 1–5. . . . . . . . . . . 11
Loading the MP Tray . . . . . . . . . 12
Exit Paths . . . . . . . . . . . . . . 14
Face Down (Top Exit) . . . . . . . . 14
Face Up (Side Exit) . . . . . . . . . . 15
Recommended Media . . . . . 16
Paper, Card Stock . . . . . . . . . . . 16
Labels, Envelopes,
Transparencies . . . . . . . . . . . . 17
Paper (Media) Jams . . . . . . 18
Tray Side Cover . . . . . . . . . . . . 19
Printer Side Cover . . . . . . . . . . . 20
Printer Top Cover . . . . . . . . . . . 21
Duplexer . . . . . . . . . . . . . . . . . 26
Maintenance . . . . . . . . . . . .31
Cleaning the LED Heads . . . . . . . 31
Cleaning the Paper Tray
Feed Rollers . . . . . . . . . . . . . . 33
Reports . . . . . . . . . . . . . . . .37
Printing Reports . . . . . . . . . . . . 37
Error Messages . . . . . . . . . .38
Help Button . . . . . . . . . . . . . . . 38
Service Information . . . . . .39
Contents
59402501

3
Utilisation du menu
d'impression ......................40
Modifier le paramètres . . . . . . . . 40
Sommaire du menu. . . . . . . . . . 41
Modification des paramètres
papier . . . . . . . . . . . . . . . . . . 42
Modification des paramètres
par défaut . . . . . . . . . . . . . . . 43
Support d'impression . . . . . 44
Grammage des supports . . . . . . 44
Chargement des plateaux 1-5 . . . 46
Chargement du bac
multifonction . . . . . . . . . . . . . 47
Sorties . . . . . . . . . . . . . . . . 49
Face vers le bas (sortie du
dessus) . . . . . . . . . . . . . . . . . 49
Face vers le haut (sortie
latérale). . . . . . . . . . . . . . . . . 50
Supports recommandés . . . 51
Papier, Cartonné . . . . . . . . . . . . 51
Étiquettes, Enveloppes,
Transparents . . . . . . . . . . . . . 52
Bourrages papier
(support) . . . . . . . . . . . . . .53
Couvercle latéral de bac. . . . . . . 54
Couvercle latéral de
l'imprimante . . . . . . . . . . . . . . 55
Capot supérieur de
l'imprimante . . . . . . . . . . . . . . 56
Duplexer . . . . . . . . . . . . . . . . . 61
Entretien . . . . . . . . . . . . . . .66
Nettoyage de la matrice
à DEL. . . . . . . . . . . . . . . . . . . 66
Nettoyage des rouleaux
d'alimentation du plateau
de papier . . . . . . . . . . . . . . . . 68
Rapports . . . . . . . . . . . . . . .72
Impression de Rapports . . . . . . . 72
Messages d'erreur . . . . . . . .73
le bouton Help . . . . . . . . . . . . . 73
Information de service . . . .74
Table des matières
4
Cómo utilizar el menú de la
impresora...........................75
Cambiar configuración . . . . . . . . 75
Resumen del menú . . . . . . . . . . 76
Cómo cambiar la configuración
del papel . . . . . . . . . . . . . . . . 77
Cambio de los valores
predeterminados . . . . . . . . . . . 78
Medios de impresión . . . . . 79
Gramaje del papel. . . . . . . . . . . 79
Bandejas de papel 1-5 . . . . . . . . 81
Cómo cargar papel en la
Bandeja multiuso . . . . . . . . . . 82
Rutas de salida . . . . . . . . . . 84
Cara Abajo (Salida superior). . . . 84
Cara Arriba (Salida lateral). . . . . 85
Medios de impresión
recomendados. . . . . . . . . . 86
Papel, Cartulina . . . . . . . . . . . . 86
Etiquetas, Sobres,
Transparencias . . . . . . . . . . . . 87
Atascos de papel (Medios) .88
Tapa lateral de la bandeja . . . . . 89
Tapa lateral de la impresora . . . . 90
Tapa superior de la
impresora. . . . . . . . . . . . . . . . 91
Unidad duplex. . . . . . . . . . . . . . 97
Mantenimiento . . . . . . . . .101
Limpieza de la Cabezales LED . . 101
Limpieza de los rodillos de
alimentación de las
bandejas de papel . . . . . . . . . 103
Informes . . . . . . . . . . . . . .107
Cómo imprimir los informes . . . 107
Mensajes de error . . . . . . .108
el tecla Help . . . . . . . . . . . . . . 108
Información sobre los
Servicios de apoyo al
cliente. . . . . . . . . . . . . . . .109
Contenido

5 • English
Using the Printer Menu
Changing Settings
1. Press
Enter
.
2. Use the
∇
key to scroll down to the
Function you wish to change.
3. Press
Enter
.
4. Continue to use the
∇
and
Enter
keys to drill down to the item you
wish to change.
5. Use the
∇
key to move down to the
setting you wish to engage.
6. Press
Enter
.
An asterisk appears next to the
setting.
7. Press
ON LINE
to exit the Menu
mode.
For more information, see the on-line
User's Guide on the Documentation
CD provided with your printer or at
http://my.okidata.com
.
C96_Ready
ToPrint.jpg
C96_Fu
nctions_
Menu_a.
jpg

6 • English
– Configuration
•Page Count, Supplies Life
•Network and System Settings,
etc.
– Print Information
•Printer & Network Configurations
•Print Demo Page
•Lists, etc.
– Print Secure Job
(Password Protected)
Appears only if the optional Hard
Disk Drive (HDD) is installed.
•Print out confidential documents
downloaded to the HDD
–Menus
•Set the size, weight and type of
media for the various feed trays
– Admin Setup
(Password Protected)
•Various Network Setups
•Print Setup
•PS and PCL Setups
•IBM and Epson Setups
•Color Setup
•Memory and Flash Memory
Setups
•HDD and System Setups
•Reset/Save/Restore Settings
– Calibration
•Density adjustments
•Registration
•Color tuning
– Print Statistics
(Password Protected)
Using the Printer Menu
Menu Summary

7 • English
Why Change?
Wrong media settings can cause:
• poor quality printing
•flaking
• damage to the printer
Media Weight
The default media weight setting for
all trays is AUTO.
Individual Print Jobs
If you are using special media for only
one print job, you can adjust the
media settings in the driver. Load the
media in the appropriate tray (usually
the MP tray). In your application, click
File
→
Print and adjust the media
settings as necessary.
All Print Jobs (Defaults)
1. Press
Enter
.
2.
∇
key
→
Menus. Press
Enter
.
3. With Tray Configuration
highlighted, press
Enter
.
4.
∇
key
→
tray to be configured.
Press
Enter
.
5. Use the
∇
and
Enter
keys to scroll
through the submenus and to make
your setting changes.
6. Press
ON LINE
to exit the Menu
Mode.
Using the Printer Menu
Changing Paper (Media) Settings

8 • English
Reset to Factory Defaults
1. Press
Enter
.
2. Use the
∇
key to scroll down to
Admin Setup. Press
Enter
.
Enter Password appears
3. Use the
Δ
and
∇
keys to set the
first digit in the password. Press
Enter
.
Note
: The default Password is
0000.
4. Repeat the previous step until all
four digits of the password are
entered.
5. Press
Enter
.
6.
∇
key
→
Settings. Press
Enter
.
7. Highlight Reset Settings. Press
Enter
.
8. Press
Enter
.
The printer resets and goes back to
the Ready to Print state.
Using the Printer Menu
Changing Default Settings

9 • English
Print Media
Paper Weight
Note: For information on paper parameters as they relate to input trays
and output areas see the on-line User’s Guide on the Documentation
CD provided with your printer or at http://my.okidata.com.
Note: Select the appropriate settings in either the printer
menu or in the printer driver.
Note:Printerdriver settings override printer menu settings.
US Bond
Setting US Bond (metric)
Auto (default)17 to 57-lb. (64 to 216 g/m
²
)
Light 17-lb. (64 g/m
²
)
Medium Light 18 to 19-b. (68 to 71 g/m
²
)
Medium 20 to 24-lb. (75 to 90 g/m
²
)
Medium Heavy 25 to 28-lb. (94 to 105 g/m
²
)
Heavy 29 to 34-lb. (109 to 128 g/m
²
)
Ultra heavy 1 35 to 50-lb. (132 to 188 g/m
²
)
Ultra heavy 2 51 to 58-lb. (192 to 218 g/m
²
)
Ultra heavy 3 [MP Tray only]59 to 80-lb. (222 to 301 g/m
²
)

10•English
Index
Note: To determine if a paper weight is US Bond or Index, check the
metric equivalent.
Example: 35 lb. US Bond = 132 g/m
²
35 lb. Index = 64 g/m
²
For more information, go to
www.paper-paper.com/weight.html
Setting Index (metric)
Auto (default)35 to 118.6-lb. (64 to 216 g/m
²
)
Light 35-lb. (64 g/m
²
)
Medium Light 37 to 40-lb. (68 to 71 g/m
²
)
Medium 42 to 50-lb. (75 to 90 g/m
²
)
Medium Heavy 52 to 56-lb. (94 to 105 g/m
²
)
Heavy 60 to 71-lb. (109 to 128 g/m
²
)
Ultra heavy 1 73 to 104-lb. (132 to 188 g/m
²
)
Ultra heavy 2 106 to 141-lb. (192 to 218 g/m
²
)
Ultra heavy 3 [MP Tray only]123 to 166-lb. (222 to 301 g/m
²
)
Print Media
Paper Weight (cont.)

11•English
Loading Media in Trays 1-5
For more information, see the on-line
User's Guide on the Documentation
CD provided with your printer or at
http://my.okidata.com
.
1.
2.
3. Print side down:
Note: For Letterhead stationery:
Long edge feed—face
down, top toward the
back of the printer.
Short edge feed—
face down, top to
the right:
C96_RearPaperStopper.jpg
fan_paper_F2_10.jpg
C96_LoadPape
rTray1_rev.jpg
Print Media
Loading Trays 1–5

12•English
Loading Media, MP Tray
For more information, see the on-line
User's Guide on the Documentation
CD provided with your printer or at
http://my.okidata.com
.
1.
2.
3.
4. Print side up
.
C96_Open
MPTray1.j
pg
C96_Ope
nMPTray2
.jpg
fan_paper_F2_10.jpg
C96_LoadPaper
MPTray.jpg
Print Media
Loading the MP Tray

13•English
Note: Letterhead Stationery (Letter,
A4 or B5):
Long edge feed—aim the top
toward the back of the printer:
Short edge feed—aim the top into
the printer:
Note: Transparencies & Labels:
•Printsideup.
• Default = long edge feed.
Envelopes:
•Flapsidedown, aimed into
the printer:
manl_le.jpg
manl_se.jpg
C96_Load
PaperMPT
ray_Labels
_crop.jpg
C96_Load
PaperMPT
ray_Envel
opels_crop
.jpg
Print Media
Loading the MP Tray (cont.)

14•English
This is the tray that is normally used.
The tray holds up to 500 sheets of
20-lb. (75 g/m²) paper.
The Face-Up exit tray (see the next
page) must be used for special media
or for heavy papers.
C96_FaceDownExit.jpg
Exit Paths
Face Down (Top Exit)

15•English
The side (face-up) exit tray provides a
straight-through print path. Use the
straight-through path when printing
labels, heavy card stock,
transparencies, or when printing from
the MP Tray. It holds up to 200 sheets
of 20-lb. (75 g/m²) paper.
Opening the Face-Up Exit Tray
1.
2.
3.
C96_StraightThruStackerOpen1.jpg
C96_StraightThruStackerOpen2.jpg
C96_Straight
ThruStacker
Open3.jpg
Exit Paths
Face Up (Side Exit)

16•English
Recommended Media
Paper, Card Stock
Media Type Recommended
Paper Letter:
•OKI
®
52208001 Bright White, 32-lb. US Bond
• HammerMill
®
Laser Print Radiant, White, 24-lb. US Bond
•Xerox
®
4024, 20-lb. US Bond
Tabloid/Tabloid Extra:
• Oki 52206102, 52206103 Bright White, 32-lb. US Bond
• HammerMill Laser Print Radiant, White, 24-lb. US Bond
Banners:
• Oki 52207901, 8.5" x 35.4", 32-lb. US Bond, 25 sheets
• Oki 52206002, 8.5" x 35.4", 32-lb. US Bond, 100 sheets
• Oki 52206001, 12.9" x 35.4", 32-lb. US Bond, 100 sheets
Thick (Cards) Letter:
• Oki 52205601 series Card Stock
• Wausau Exact Index: 49108 (90-lb.) or 49508 (110-lb.)
To prevent damage to the printer, it is very important to check
the printer’s media settings before printing on thick paper.

17•English
Media Type Recommended
Labels Letter:
Avery
®
5161
A4:
Avery 7162, 7664, 7666
Use labels designated for laser printers. Labels must cover
the entire carrier sheet.
Envelopes COM-10:
Oki 52206301, 52206302
For the best print results, use only the recommended
envelopes. Never use envelopes with metal clasps, snaps,
windows, or V-flap seals.
Transparencies
Letter:
• Oki 52205701
•3M
®
CG3720
For the best print results, use only the recommended
transparencies. Never use office transparencies designed for
use by hand with marker pens. These will melt in the fuser
and cause damage.
Recommended Media
Labels, Envelopes, Transparencies

18•English
Paper (Media) Jams
In General
If you are experiencing frequent
paper jams, check the following
items.
• Is the printer level?
• Is the media you are using within
specification? Media that is too light
or too heavy will often cause jams.
• Are the settings (printer and
driver) appropriate for the media
being used?
• Do not use creased or curled
media.
• Remove the media from the tray.
Fan and align the stack. Replace
the media.
• Envelopes are jamming. Make sure
the stack is properly aligned. Load
envelopes flap down, top edge
toward the printer.
• Clean the feed rollers (see
page 33).
Note:
For more information, see the
on-line User's Guide on the
Documentation CD provided with
your printer or at
http://my.okidata.com.
fan_pap
er_F2_1
0.jpg

19•English
1. Squeeze the catch (1) and open the
side cover.
2. Hold the tab (2), then turn the
paper guide outward
3.
4.
2
Paper (Media) Jams
Tray Side Cover

20•English
1. Pull the release lever and open the side cover.
2. 3.
2
Paper (Media) Jams
Printer Side Cover
Other manuals for MPS9650c
2
Table of contents
Languages:
Other Oki Printer manuals

Oki
Oki B6300 Series User manual

Oki
Oki C3200n Service manual

Oki
Oki C5100n User manual

Oki
Oki ML 186 User manual

Oki
Oki OKIPAGE 14i Use and care manual

Oki
Oki C9600hdn Use and maintenance manual

Oki
Oki Microline 186 User manual

Oki
Oki C831n User manual

Oki
Oki 2426 Series User manual

Oki
Oki C5100n Firmware update