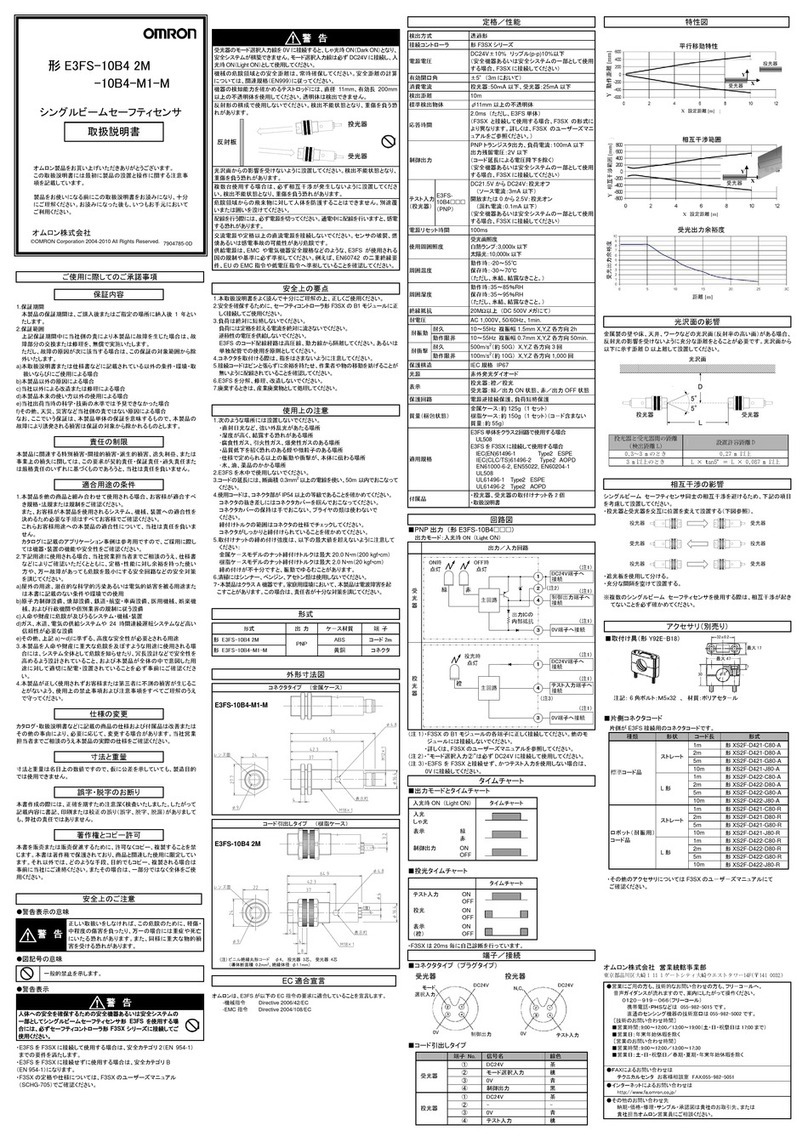
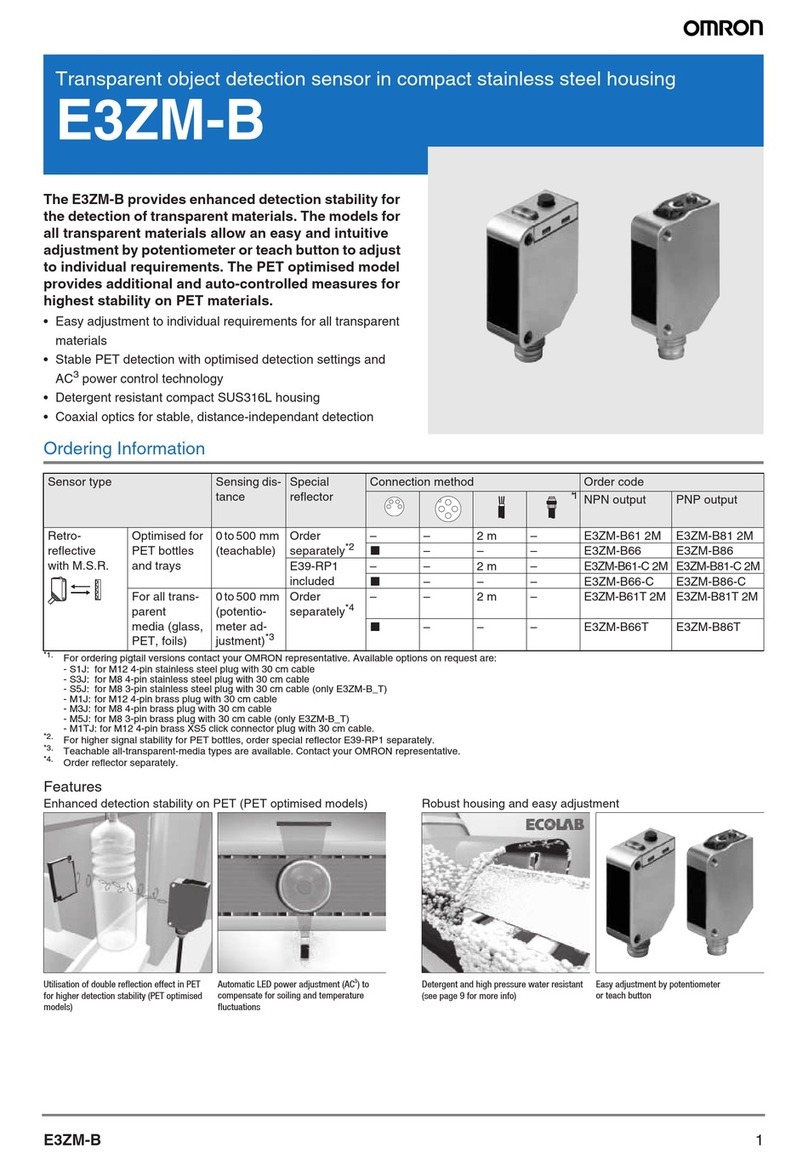
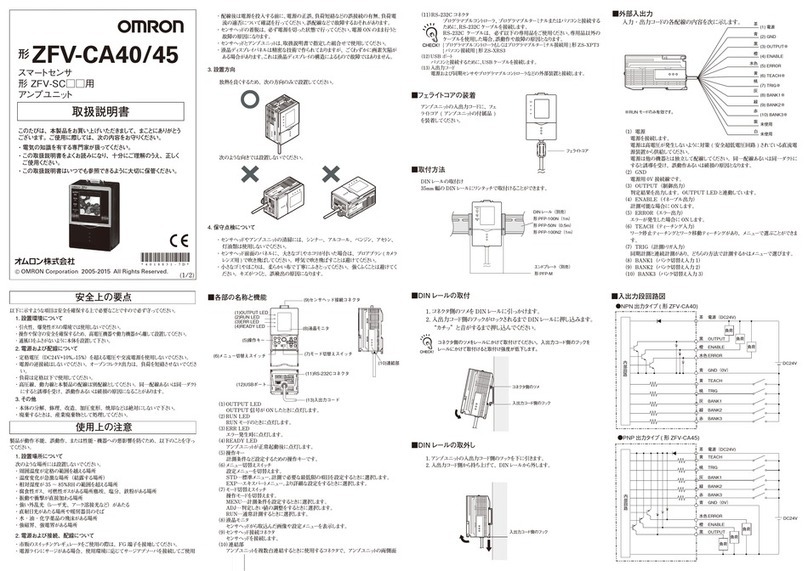
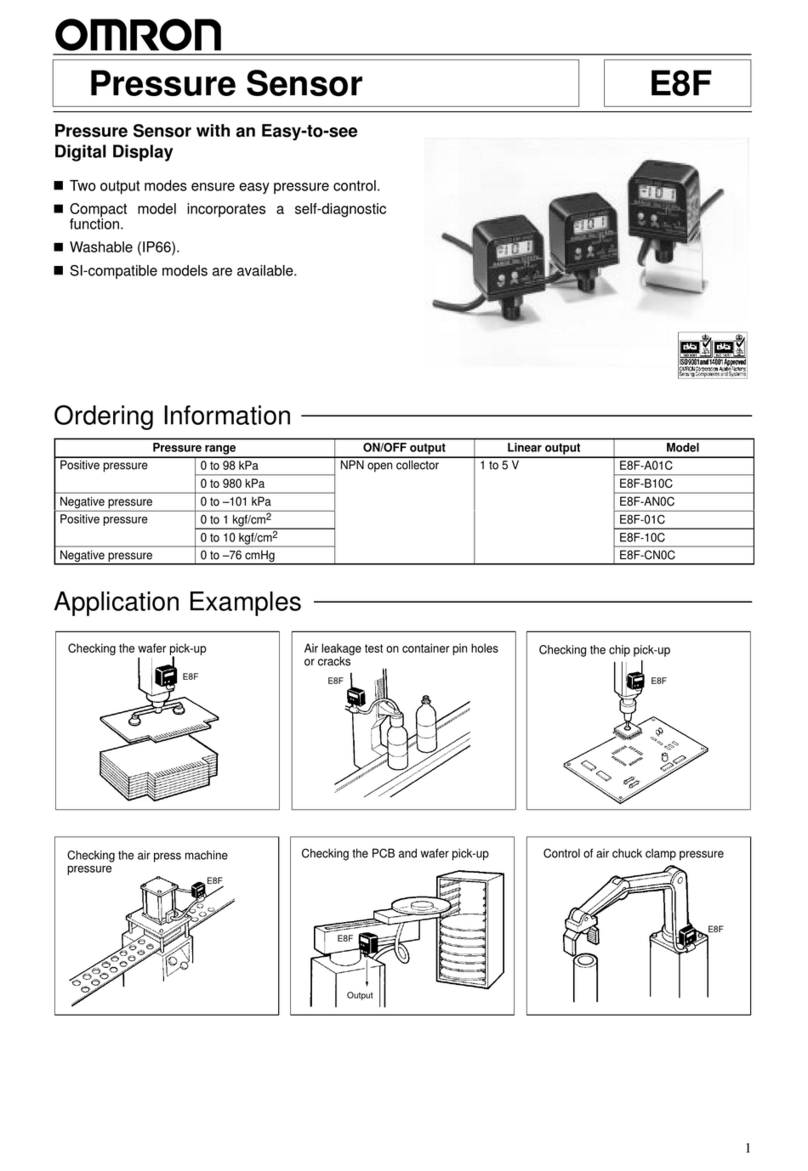
Omron E3V3 Operating manual

Built-in Amplifier Photoelectric Sensor E3V3
Easy-to-use, Low-cost Photoelectric
Sensor
Incorporating indicators that can be
clearly seen from a distance
Conforms to EN and IEC standards
Incorporating polarizing function, thus
accurately detecting lustrous objects
Resin-filled construction resists vibration
and ensures IP67 water-resistance
Replaces E3V sensor
Ordering Information
Connection Appearance Sensing Method Detection Operating Mode Output
Method
g
Distance NPN PNP
Cord connection Cord length: 2 m Through-beam 7m(23ft) Light-ON E3V3-T61 E3V3-T81
g
Retroreflective
(polarized) 2 m (6.6 ft)
g
Dark-ON
(selectable by
w
i
r
i
n
g
)
E3V3-R61 E3V3-R81
Diffuse reflective 0.5to8cm
(0.20to3.15in)
wiring) E3V3-D61 E3V3-D81
70 cm (2.3 ft) E3V3-D62 E3V3-D82
Note: Mounting brackets are not provided with the E3V3. Order them separately.
ACCESSORIES (ORDER SEPARATELY)
Attachments
Name Remarks Part Number
Retroreflector Corner cube reflector E39-R3
Retroreflector (tape type) Glass bead adhesive back E39-RSA, E39-RSB
Slit for Through-beam Sensor 0.5, 1, 2 dia. slits E39-S7

E3V3 E3V3
Mounting Brackets
Part Number Remarks
E39-L104 Standard vertical-mounting bracket
E39-L44 Rear-mounting bracket
E39-L43 Side-mounting bracket
E39-L98 Metal cover
E39-L93 Sensor adjustor
E39-L104 E39-L44 E39-L43 E39-L98 E39-L93
Application Examples
Detection of Cardboard Boxes Detection of Labels Detection of Automobiles at Indoor
Parking Lots
Labeler
Reset
button
Rotating indicatorCQM1 PC
E3V3
E3V3 E3V3

E3V3 E3V3
Specifications
Sensing Method Through-beam Retroreflective
(with MSR function)Diffuse Reflective
NPN output E3V3-T61 E3V3-R61 E3V3-D61 E3V3-D62
PNP output E3V3-T81 E3V3-R81 E3V3-D81 E3V3-D82
LED light source Infrared LED Red LED Infrared LED
Sensitivity adjustment Adjustor
Connection method Drawing cord-Standard length: 2 m (6.6 ft)
Weight Approx. 160 g (with 2-m
cord) Approx. 80 g (with 2-m cord)
Control output selection Cord wiring method (Light-ON or Dark-ON)
Circuit protection Overload protection, reversed connection protection, and mutual interference prevention function (except
for through-beam models)
Indicators Operation indicator (orange), stability indicator (green), emission indicator for through-beam models only
(orange)
Materials Case Heat-resistive ABS
Lens Methacrylic resin
Attachments Instruction sheet and reflector (E39-R1 retroreflective model only) (see note)
Note: The mounting brackets are sold separately.
RATINGS/CHARACTERISTICS
Sensing Method Through-beam Retroreflective
(with MSR function) Diffuse Reflective
Part number E3V3-T61/-T81 E3V3-R61/-R81 E3V3-D61/-D81 E3V3-D62/-D82
Power supply voltage 12 to 24 VDC ±10%, ripple (p-p): 10% max.
Current consumption 50 mA max. 40 mA max.
Detection distance 7m 0.1 to 2 m (with E39-R1) 0.5to8cm 70 cm
Standard detectable object Opaque object: 7 mm
min. (0.28 in) Opaque object: 30 mm
min.
(1.18 in)
10 x 10 cm white
paper 20 x 20 cm white paper
Directional angle 3°to 15°Receiver/Emitter: 2°to
10°
Reflector: 30°min.
---
Differential travel --- 20% max. of detection distance
Response time 1 ms max. for both operation and release
Control output 100 mA max. at 30 VDC, open collector output (residual voltage: 1 V max.)
Ambient
illumination Incandescent
lamp Illumination on optical spot: 3,000
xmax.
Sunlight Illumination on optical spot: 10,000
xmax.
Ambient Operating --25°Cto55
°C(--13
°F to 131°F) with no icing
b
e
temperature Storage --40°Cto70
°C(--40
°F to 158°F)
Ambient Operating 35% to 85%
b
e
humidity Storage 35% to 95%
Insulation resistance 20 MΩmin. (at 500 VDC)
Dielectric strength 1,000 VAC, 50/60 Hz for 1 min
Vibration
resistance Destruction 10 to 55 Hz, 1.5-mm double amplitude for 2 hrs each in X, Y, and Z directions
Shock
resistance Destruction 500 m/s2(approx. 50G) 3 times each in X, Y, and Z directions
Enclosure
rating IEC IP67
E3V3 E3V3
Retroreflector Specifications
Item E39-R3 E39-RSA E39-RSB
Detection distance (with E3V3) 5 to 100 cm 20 to 50 cm 20 to 80 cm
Directional angle 30°min.
Ambient Operating --25°Cto55°C(--13°F to 131°F)
b
e
temperature Storage --40°Cto70°C(--40°F to 158°F)
Ambient humidity Operating 35% to 85%
b
e
u
d
y
Storage 35% to 95%
Enclosure rating IEC IP67 (see note 2)
Note: 1. The E39-R3, E39-RSA, and E39-RSB are polarizing reflectors.
2. Do not cut or scratch E39-R3, E39-RSA, or E39-RSB Reflectors, otherwise they will not be water resistant.
Engineering Data
PARALLEL OPERATING
RANGE (TYPICAL)
E3V3-T
1
REFLECTOR PARALLEL
MOVEMENT (TYPICAL)
E3V3-R
1
OPERATING RANGE
(TYPICAL)
E3V3-D
2
Parallel operating range Y (cm)
Detection distance X (m)
Parallel operating range Y (mm)
Detection distance X (m)
Operating position Y (mm)
Detection distance X (cm)
Reflector
placed
vertically
DETECTION DISTANCE VS.
OBJECT SIZE (TYPICAL) COLOR OF OBJECT VS.
OPERATING RANGE
(TYPICAL)
DETECTION DISTANCE VS.
OBJECT SIZE (TYPICAL)
Detection distance (cm)
Size of object d (cm)
Parallel operating range Y (mm)
Detection distance X (mm)
Black carbon
White
paper
SUS (lustrous)
Black
carbon
White paper
Detection distance
X (mm)
SUS (lustrous)
Detectable object
(200 x 200 mm)
Detectable object: White paper
Detection distance (mm)
Size of object d (mm)
E3V3-D
2E3V3-D
1E3V3-D
1

E3V3 E3V3
E3V3-D
1
Excess gain ratio
Distance (cm)
Operating level
EXCESS GAIN VS. SET DISTANCE (TYPICAL)
E3V3-T
1E3V3-R
1 E3V3-D
2
Excess gain ratio
Distance (m) Distance (m) Distance (cm)
Excess gain ratio
Excess gain ratio
Operating level Operating level Operating level
Operation
OUTPUT CIRCUITS
Output
Configuration Mode
Switch Connection
Method Output Circuits
NPN
(E3V3-
6
)Light-ON Connect the pink
cord to the brown
cord. (see note) Connector Pin
Arrangement
Operation
indicator
(Orange)
Stability
indicator
(Green)
Main
circuit
Load
(relay)
Operating selection
Brown
Black
Blue
Pink
0V
12 to 24 VDC
100 mA
max.
Dark-ON Connect the pink
cord to the blue
cord or
disconnect the
pink cord from the
blue cord. (see
note)
Connector Pin
Arrangement
Operation
indicator
(Orange)
Stability
indicator
(Green)
Main
circuit
Load
(relay)
Operating selection
Brown
Black
Blue
Pink
0V
12 to 24 VDC
100 mA
max.

E3V3 E3V3
Output
Configuration Output CircuitsConnection
Method
Mode
Switch
PNP
(E3V3-
8
)Light-ON Connect the pink
cord to the brown
cord. (see note)
Connector Pin
Arrangement
Operation
indicator
(Orange)
Stability
indicator
(Green)
Main
circuit
Brown
Black
Blue
Pink
Load
(relay)
0V
12 to 24 VDC
Operating selection
100 mA
max.
Dark-ON Connect the pink
cord to the blue
cord or
disconnect the
pink cord from the
blue cord (see
note)
Connector Pin
Arrangement
Operation
indicator
(Orange)
Stability
indicator
(Green)
Main
circuit
Brown
Black
Blue
Pink
Load
(relay)
0V
12 to 24 VDC
Operating selection
100 mA
max.
Note: The E3V3 Model with a junction connector has a white cord instead of a pink cord.
Emitter (NPN/PNP)
Connector Pin Arrangement
Main
circuit 12 to
24 VDC
Emitter
indicator
(orange)
Blue
Brown
TIMING CHARTS
Output
Configuration Mode
Switch Connection Method Timing Chart
NPN
(E3V3-
6
)Light-ON Connect the pink
cord to the brown
cord. (see note) Light indicator
(Orange) ON
OFF
Output
transistor
Load
(relay) Operate
Release
ON
OFF
(Between brown and black)
Light received
Light not received
Dark-ON Connect the pink
cord to the blue cord
or disconnect the
pink cord from the
blue cord. (see
note)
Light indicator
(Orange) ON
OFF
Output
transistor
Load
(relay) Operate
Release
ON
OFF
Light received
Light not received
(Between brown and black)
PNP
(E3V3-
8
)Light-ON Connect the pink
cord to the brown
cord. (see note) Light indicator
(Orange) ON
OFF
Output
transistor
Load
(relay) Operate
Release
ON
OFF
(Between blue and black)
Light received
Light not received
Dark-ON Connect the pink
cord to the blue cord
or disconnect the
pink cord from the
blue cord. (see
note)
Light indicator
(Orange) ON
OFF
Output
transistor
Load
(relay) Operate
Release
ON
OFF
Light received
Light not received
(Between blue and black)
Note: The E3V3 Model with a junction connector has a white cord instead of a pink cord.

E3V3 E3V3
SENSITIVITY ADJUSTMENT (REFLECTIVE SENSORS)
(Diffuse reflective model in light-ON mode)
Item Position A Position B Setting
Sensing
condition Photoelectric Sensor
Detectable
object
Photoelectric Sensor
Background
object
Detectable object
---
Sensitivity
adjustor
Indicators OFF ON
STABILITY
(green) OPERATION
(orange)
OFF OFF
STABILITY
(green) OPERATION
(orange)
OFF ON
STABILITY
(green) OPERATION
(orange)
Procedure Locate the sensing object at the
detection distance of the E3V3 and
turn the sensitivity adjustor
clockwise to increase the sensitivity
of the E3V3 until the orange
operation indicator is lit. The moment
the orange operation indicator is lit,
stop turning the sensitivity adjustor,
the position of which is point A.
Remove the sensing object and turn the
sensitivity adjustor clockwise until the
E3V3 detects the background object and
the orange operation indicator is lit. The
moment the orange operation indicator is
lit, stop turning the sensitivity adjustor, the
position of which is point B. Turn the
sensitivity adjustor counterclockwise to
decrease the sensitivity of the E3V3 until
the orange operation indicator is off. The
moment the orange operation indicator is
off, stop turning the sensitivity adjustor, the
position of which is point C.
If there is no background object, point C is
where the sensitivity adjustor is set to
maximum.
Set the sensitivity adjustor midway
between points A and C, where the
best sensitivity of the E3V3 for the
sensing object is ensured, and make
sure that the green stability indicator
is lit with and without the sensing
object at that position of the
sensitivity adjustor. If the green
stability is not lit, try another sensing
method.
Note: The rotation range of the sensitivity adjustor is 240°. Do not try to turn the sensitivity adjustor clockwise or counterclockwise
excessively, otherwise the sensitivity adjustor will break.

E3V3 E3V3
Dimensions
Unit: mm (inch)
E3V3-T
Note: The emitter has no indicators except for
an emission indicator.
E3V3-D
Note: 18.4 (0.72) for E3V3-D61/-D81.
E3V3-R
Operation indicator (see note)
Stability indicator (see note)
Optical axis Lens Sensitivity
adjustor
Vinyl-insulated cord with four conductors,
4 dia. (16 x 0.12 dia.); standard length: 2 m
Brown: Vcc
Blue: 0 V
Black: Output
Pink: Mode selection
Each cord of the
emitter consists of
two conductors
Two, M3
Optical axis Lens
Optical axis Lens
18
(0.71)
11.3
(0.44)
10.4
(0.41)
3.95
(0.16)
0.5
(0.02)
15.7
(0.62)
9.6
(0.38) 18.3
(0.72)
37.5
(1.48) 35.5
(1.40) 25.4
(1.00)
3
(0.12)
7
(0.28)
Operation indicator
Stability indicator
Sensitivity
adjustor
Vinyl-insulated cord with four conductors,
4 dia. (16 x 0.12 dia.); standard length: 2 m
Brown: Vcc
Blue: 0 V
Black: Output
Pink: Mode selection
Two, M3
18
(0.71)
11.3
(0.44)
10.4
(0.41) 3.95
(0.16)
0.5
(0.02)
15.7
(0.62)
37.5
(1.48) 35.5
(1.40) 25.4
(1.00)
3
(0.12)
7
(0.28)
14.8
(0.58) 17
(0.67)
(see note)
Operation indicator
Stability indicator
Sensitivity
adjustor
Vinyl-insulated cord with four conductors,
4 dia. (16 x 0.12 dia.); standard length: 2 m
Brown: Vcc
Blue: 0 V
Black: Output
Pink: Mode selection
Two, M3
18
(0.71)
11.3
(0.44)
10.4
(0.41) 3.95
(0.16)
0.5
(0.02)
15.7
(0.62)
3
(0.12)
7.6
4
(0.16)
4
(0.16)
4
(0.16)
21
(0.83) 14.4 8
6.4
(0.25)
17
(0.67)
2
(0.08)
25.4
(1.00)
(1.40)
37.5
(1.48)35.5

E3V3 E3V3
E39-R3 Retroreflector
(Small Type) With Mounting Bracket
(Sold Together)
E39-RSA Retroreflector
(Tape Type) E39-RSB Retroreflector
(Tape Type)
Adhesive tape
Two, 3.2 dia.
Two, M3
Two, M3
Adhesive tape
Reflecting
surface Adhesive tape
Reflecting
surface
Four, R1
Four, R1
E39-L104 Mounting
Bracket
With Mounting Bracket
(E3V3-D62)
Optical axis
Two, M3
Two, 3.2 dia.
11
(0.43)
20
(0.79)
0.2
(0.01)
34.8
(1.37)
19.3
(0.76)
22.5
(0.89)
2.6
(0.10)
1.2
(0.05)
38
(1.50)
34
(1.34)
25.4
(0.10)
29
(1.14)
6
4.5
(0.18)
7
3.4
22.9
11
(0.43)
0.2
(0.01)
0.2
(0.01)
13.7 14°
20
(0.79)
41.8
(1.65)
10.1
1.2
(0.05)
38
(1.50) R25.4
(0.90)
18.45
(0.73)
(0.13)
1.2
(0.05) 10°
16
(0.63)
28
(1.10)
10
(0.39) 8
35
(1.38) 33
(1.30) 0.7
(0.03)
40
(1.57)
38
(1.50) 0.7
(0.03)
35
(1.38)
33
(1.30)
R1.7 R1.7
R1.6
R3.5
R25.4
5.8 12.5
39
(1.54)37.8
(1.49)
8.8
3.5
(0.14)
16
(0.63)
3.2
(0.13)
13.7
6
3.429
(1.14)
4.5
(0.18)
14°R20
24.1
(0.95)
14
1.2
(0.05)
10.1
(0.40)
25.4
(1.00) 42.8
(1.69)
35.5
(1.40)
2
18
(0.71)
3
(0.12)
29
(1.14)
713.7
(0.54)
10.4
12.2
(0.48)
34
(1.34)
3.4
25.4 .01
R1
R1
3.4
ACCESSORIES (ORDER SEPARATELY)
(1.00 .01)
E39-R1 Retroreflector
Provided with the
E3V3-R61/-R81
Two, 3.5 dia
59.9
(2.36) 52
(2.05)
1.6
(0.06) 8
(0.31)
2.7
(0.11)
7.5
(0.30)
34
(1.34)
40.3
(1.59)
7
(0.28)
ATTACHMENT
10°
10°

E3V3 E3V3
E39-L44 With Mounting Bracket
(E3V3-D62)
Optical axis
Optical axis
3.2 dia.
Four,
3.2 dia.
Two, M3
Two, M3
E39-L43 With Mounting Bracket
(E3V3-D62)
E39-L98 With Mounting Bracket
(E3V3-D62)
Optical
axis
(For E3V3)
58 dia. 58 dia.
Two, M3
Four, R3.3
Two, R28
Two, R22
1.2
(0.05)
8.7
16.2
(0.64)
6
6
3.4
(0.13)
R1 R1 31.2
(1.23)
3.2
18
R3.5
3.5
(0.14)
14
(0.55)
R2
1.2
(0.05)
23.2
(0.91)
36
(1.42)
9
10.4
(0.41)
13.9
(0.55)
16.2
(0.64)
8.7
18
(0.71)
5.9
9
2
(0.08)
39.6
(1.60)
35.5
(1.40)
25.4
(1.00)
31.2
(1.23)
36
(1.42)
1.2
(0.05)
23.2
(0.91)
3
(0.12)
18
(0.71)
3.5
(0.14)
30
(1.18) 3.5
(0.14)
7
25.4
(1.00)
40
(1.60)
3.4
(0.13) 6
(0.24) 5
(0.20)
3.415
R1
R2
R2
13
(0.51)
7.5
13
(0.51)
6.6
1.2
(0.05)
29.1
(1.15)
14
10.4 2
(0.08)
47.6
(1.87)
35.5
(1.40)25.4
(1.00)
15.1
15
7.5
40
(1.60)
3.5
(0.14)
3.5
(0.14)
30
(1.18)
3
18
(0.71)
°
30 °
30
61
(2.40)
2
16
56
(2.20)
824 34
(1.34)
25
(0.98)
20
(0.79)
6.54
25.4
(1.00) 61
(2.40)
36.6
(1.44)
2
56
(2.20)
10.4 7.2
25.4
(1.00) 16
(0.63)
34
(1.34)
3
(0.12) 18
(0.71)
44
(1.73)
°
20
(0.71) °
20
48
(1.89)

E3V3 E3V3
E39-L93
Optical
axis
3.2 dia.
Four, 6.5 dia.
Two, M3
E39-S7 Slits for E3V3-T
(Two Pairs; a Total of 6 Slits)
9.2
(0.36)
18.9
(0.74)
7.2
8
128
(5.04)
213
(8.39)
53
(2.09) 29
(1.15)19 8
32
46
°
15
°
15
20.7
25.8
15.5
167
(6.57)
48
(1.89)
59
(2.32)
27
6.7
(0.26)
24
48
(1.89)
40
(1.57) 33
(1.30) 19
32
(1.26)
(1.81)
Note: 1. A:0.5,1,or2dia.
2. Attach an E39-S7 Slit to both the emission
panel of the emitter and the receiver’s
sensing panel of the E3V3-T
.
A (see note)
Detection Distance (Rating)
Item Diameter 0.5 dia. 1dia. 2dia.
Slit
attached Emitter and
receiver 25 mm
(0.98) 100 mm
(3.94) 400 mm
(15.75)
Receiver 400 mm
(15.75) 800 mm
(31.50) 1,500 mm
(59.06)

E3V3 E3V3
Precautions
POWER SUPPLY
The permissible voltage imposed on the E3V3 must be 24 VDC +
10%maximum(i.e.,26.4V). Makesurethatthevoltageimposedon
the E3V3 is correct before turning the E3V3 on.
If a standard switching regulator is used as a power supply, the
frame ground (FG) terminal and the ground (G) terminal must be
grounded, or otherwise the E3V3 may malfunction due to the
switching noise of the power supply.
OPERATION OF THE E3V3 WITH POWER
TURNED ON
The E3V3 is ready to detect objects within 100 ms after the E3V3 is
turnedon.If theE3V3andtheloadconnectedtotheE3V3eachuse
an independent power supply, be sure to turn on the E3V3 first and
then the load.
CONNECTION
If the input/output lines of the photoelectric sensor are placed in the
sameconduitorductaspowerlinesorhigh-voltagelines,thephoto-
electric sensor could be induced to malfunction, or even be dam-
aged,byelectrical noise. Eitherseparatethewiring,or useshielded
lines as input/output lines to the photoelectric sensor.
The cord connected to the E3V3 can be extended up to 100 m pro-
videdthatthediameterofeachwireofthecordis0.3mm2minimum.
WATER RESISTANCE
Do not use the E3V3 in water, in the rain, or outdoors.
MOUNTING
WhenmountingtheE3V3,donothittheE3V3withahammer,orthe
E3V3 will loose watertightness.
Use M3 screws to mount the E3V3.
Move the E3V3 up, down, left, and right to find the range where the
operatingindicatorislitorunlit.ThenlocatetheE3V3inthecenterof
the range, at which time make sure that the stability indicator is lit.
PRECAUTIONS WHEN USING THE E39-R3,
E39-RSA, OR E39-RSB REFLECTOR
Before applying adhesive tape to the reflector, make sure that the
reflector is free from oil or dust, or otherwise the adhesive tape will
not stick to the reflector properly.
Do not cut or scratch the reflector or the reflector will loose water-
tightness.
Donotpressthereflectorwithametal objector anail, otherwisethe
reflector will not function properly.
WARNING
The E3V3 is not a safety component for ensuring the safety of
people as defined in EC directive 91/368/EEC, or as covered
by separate European standards or by any other regulations
or standards.
Cat. No. CEDSAX2 3/97 Specifications subject to change without notice. Printed in U.S.A.
OMRON ELECTRONICS, INC.
One East Commerce Drive
Schaumburg, IL 60173
NOTE: DIMENSIONS SHOWN ARE IN MILLIMETERS. To convert millimeters to inches divide by 25.4.
1-800-55-OMRON
OMRON CANADA, INC.
885 Milner Avenue
Scarborough, Ontario M1B 5V
8
416-286-6465
!
This manual suits for next models
8
Table of contents
Other Omron Accessories manuals

Omron
Omron ZFV Series User manual

Omron
Omron ZG-RPD Series User manual

Omron
Omron F3W-D User manual

Omron
Omron E2Q5 User manual

Omron
Omron F160-2 - 2 User manual

Omron
Omron F3SH-A - User manual

Omron
Omron V530-R160E User manual

Omron
Omron E3F3 User manual

Omron
Omron ZS-L - User manual

Omron
Omron E2AG User manual

Omron
Omron E3ZS User manual

Omron
Omron ES1B - DATASHEET 1 User manual

Omron
Omron F250-C50 C55 - SETUP 09-2001 User manual

Omron
Omron FQ - V1 User manual

Omron
Omron ZFX-C Installation manual

Omron
Omron E3ZM-V61 User manual

Omron
Omron E2EC - User manual

Omron
Omron E3JK User manual

Omron
Omron F160 Vision Sensor User manual

Omron
Omron ZX-T - User manual