manuals.online logo
Brands
  1. Home
  2. •
  3. Brands
  4. •
  5. Omron
  6. •
  7. Cables And Connectors
  8. •
  9. Omron XN2 User manual

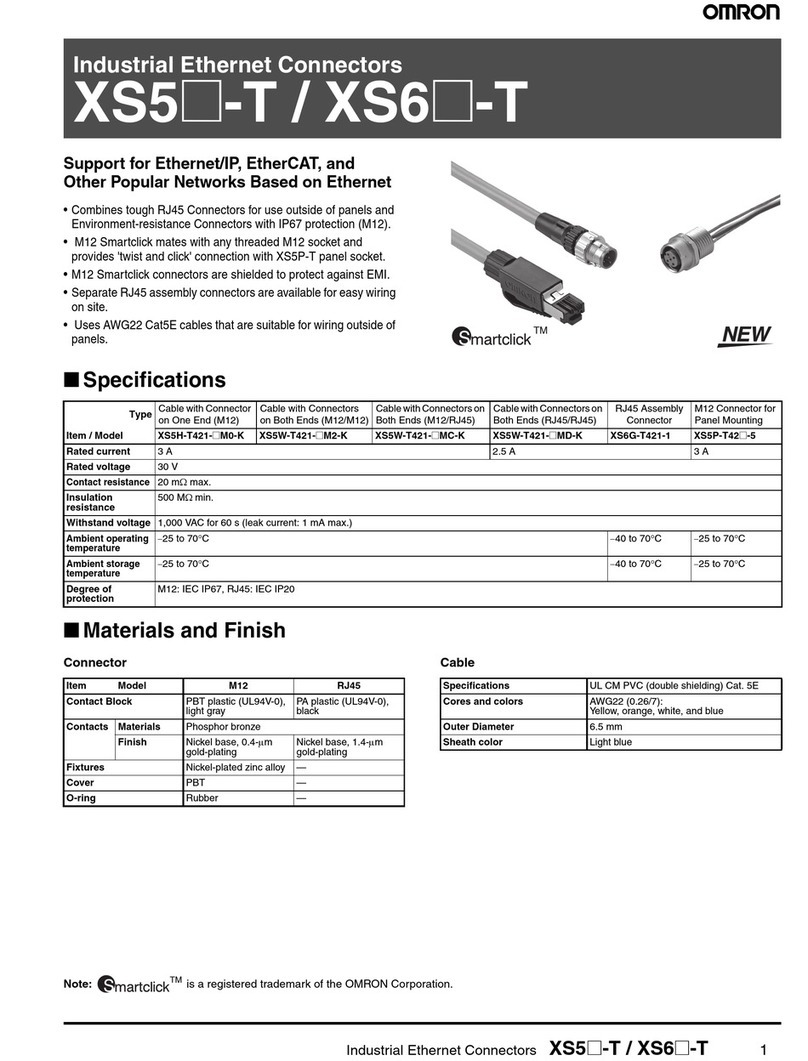
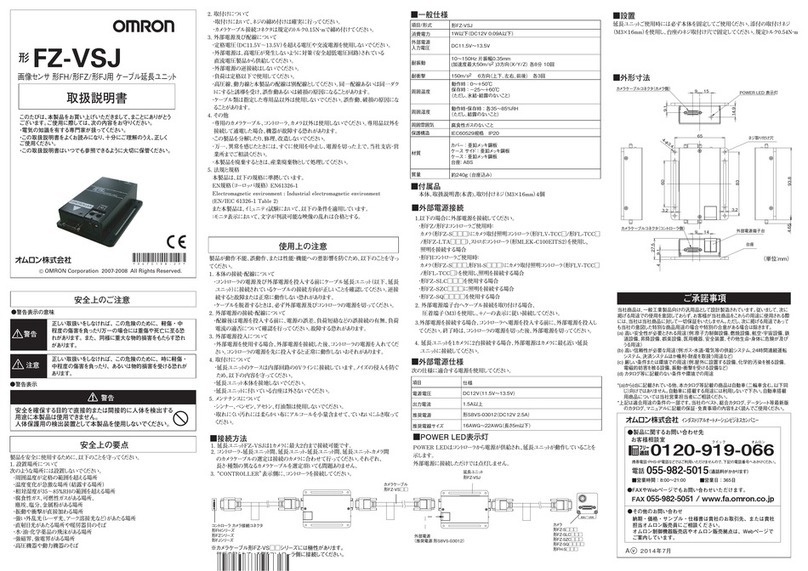
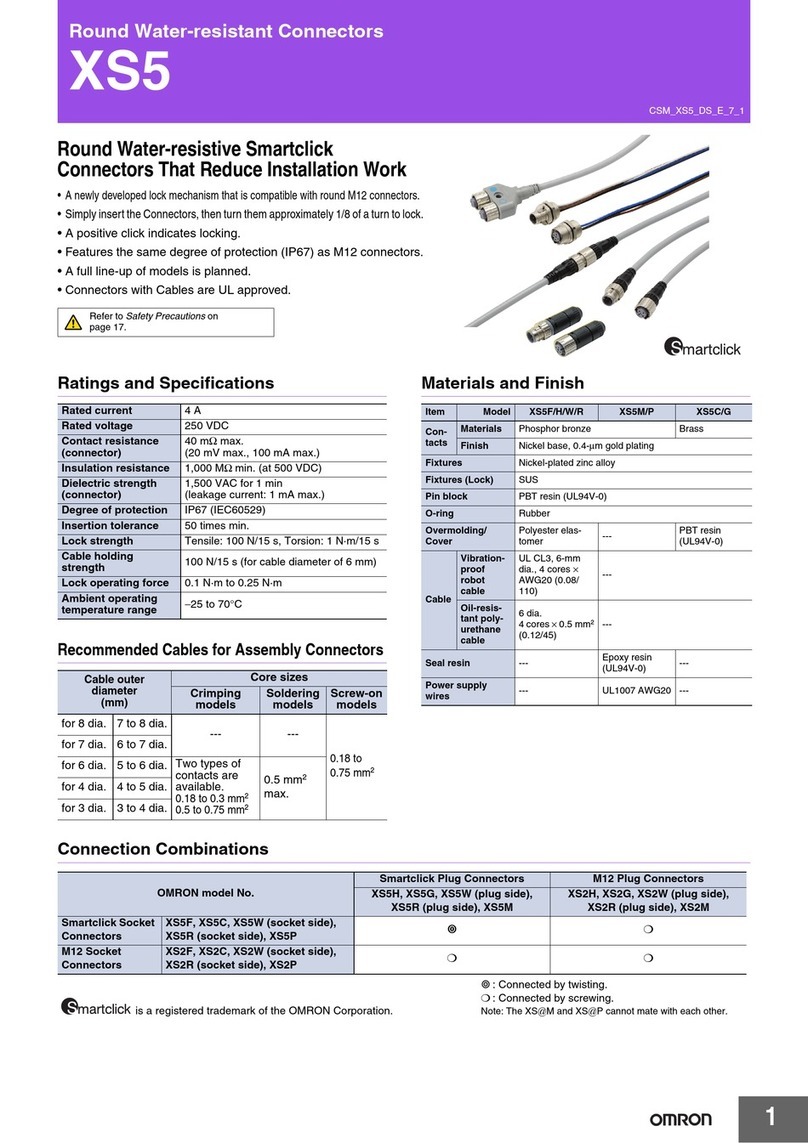
Omron XN2 User manual

1
XN2
Easy-wire Connectors for Industrial Components
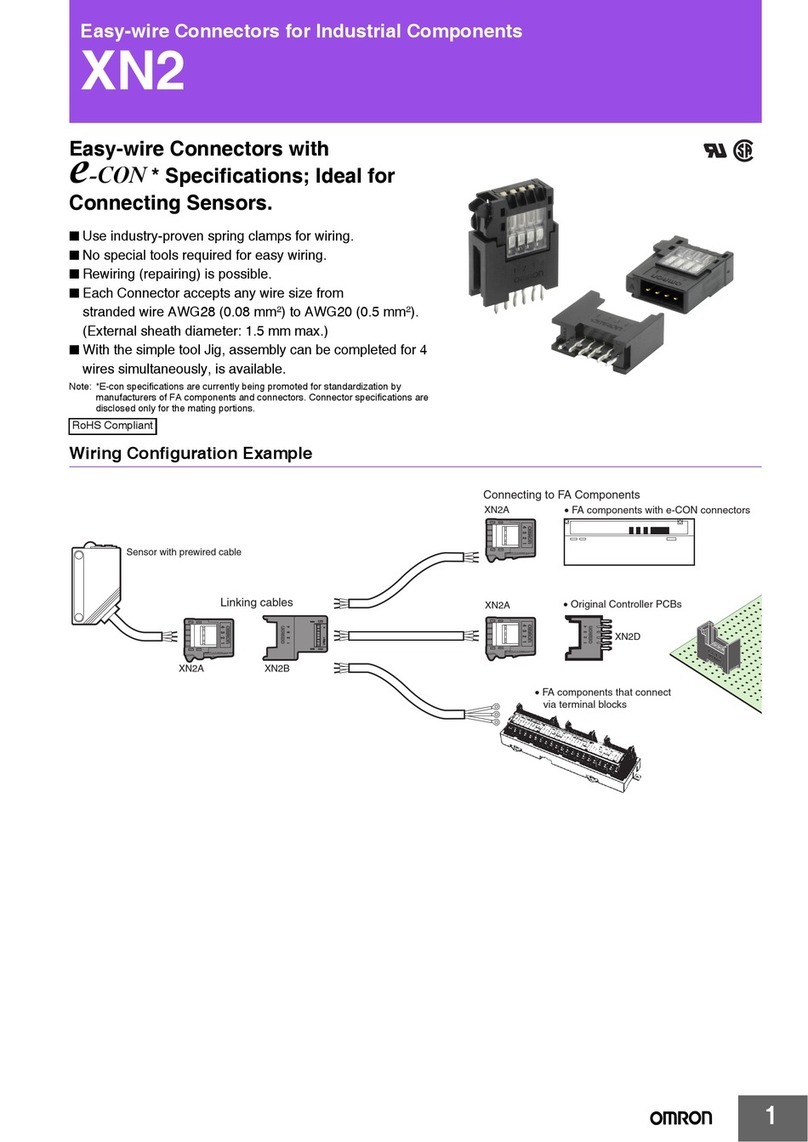
Easy-wire Connectors with
* Specifications; Ideal for
Connecting Sensors.
■Use industry-proven spring clamps for wiring.
■No special tools required for easy wiring.
■Rewiring (repairing) is possible.
■Each Connector accepts any wire size from
AWG28 (0.08 mm2) to AWG20 (0.5 mm2).
(External sheath diameter: 1.5 mm max.)
Note: These specifications are currently being promoted for
standardization by manufacturers of FA components and
connectors. Connector specifications are disclosed only
for the mating portions.
• No special tools are required, making wiring easier.
• Compact design assists in conserving space in equip-
ment and machines.
Wiring Configuration Example
Ordering Information
Type Cable Plug Connector Cable Socket Connector Single-socket PCB Socket
Connector Four-socket PCB Socket
Connector
Appearance
Model XN2A-1430 XN2B-1430 XN2D-1431 XN2D-4431
Sensor with prewired cable
XN2A-1430
XN2A-1430
XN2A-1430
XN2D-1431
XN2B-1430
Linking cables
Connecting to FA Components
•
Original Controller PCBs
•FA components with industry-
standard sensor connectors
•
FA components that
connect via terminal blocks
This datasheet has been downloaded fromhttp://www.digchip.com at this page
2
XN2XN2
Specifications
■Ratings and Characteristics
Note: 1. This value is the contact resistance of the connector.
2. The temperature is limited, however, to the maximum operating temperature for the cables.
3. When using cables with a wire diameter of 0.16 mm or smaller, contact your OMRON sales representative.
Materials and Finish
Dimensions
Rated current 3 A/pole (Using AWG20 wire)
2 A/pole (Using AWG22 wire)
1 A/pole (Using AWG24 wire)
0.5 A/pole (Using AWG28 wire)
Rated voltage 32 VDC
Contact resistance (See note 1.) 30 mWmax. (20 mVDC max., 100 mA max.)
Insulation resistance 1000 MWmin. (at 500 VDC)
Dielectric strength 1,000 VAC for 60 s (leakage current: 1 mA max.)
Insertion tolerance 50 times
Ambient temperature (See note 2.) Operating: -30°C to 75°C
Applicable wires (See note 3.) 0.08 mm2(AWG28) to 0.5mm2(AWG20)
The external diameter of the cable sheath is 1.5 mm max.
Cable Models PCB Models
Case Black PBT resin (UL94V-0)
Cover Black PBT resin (UL94V-0) ---
Base Transparent PC resin (UL94V-0) ---
Lever Modified PPO resin (UL94V-0)/natural (white) ---
Contact Copper alloy
Contact: Nickel base with 0.2-mm gold plating
Wiring: Nickel base with gold flush plating
Spring Stainless steel ---
Pin clamp --- Copper alloy/nickel base with tin-alloy plating
Cable Plug Connector
XN2A-1430 Cable Socket Connector
XN2B-1430
9.2
6
1
2 (pitch)
3.4
18
6
5.05
5.05
5.05
14.9
2 (pitch)
1
6
3.1
8.9
6.4
6
15.8
6.75
12.3
23.2
12.85
3
XN2XN2
Assembly Instructions
Preparing the Cable
Align the cable with the guide
marked STRIP GAUGE on the
side of the Connector, strip 7 to
8 mm of the cable sheath, and
then twist the wires several
times.
Connecting the Cable to the Connector
1. Use a flat-blade screw-
driver to push down the
operating lever inside
the operation slot until
it locks.
2. Insert the wire fully to the back of the wire insertion hole. Make
sure that the cable sheath is inserted into the hole, and that the
end of the wire has passed through the contact section.
3. Insert the screwdriver into the
release slot, and gently pull
back the lever until a click is
heard by resetting the lever.
4. Make sure that the following operations
have been performed.
• Check that the operating lever is reset.
• Check that the procedure in step 2 has
been followed. (Pull gently on the cable
to make sure that there is resistance, in-
dicating that the Connectors are wired
correctly.)
Removing Cables from the
Connector
1. Press down on the operating lever to lock
the lever before removing the cable.
2. After removing the cable from the Con-
nector, always reset the operating lever,
except when rewiring the Connector. The
Connector can be rewired without reset-
ting the operating lever.
Single-socket PCB Socket Connector
XN2D-1431 Four-socket PCB Socket Connector
XN2D-4431
Exterior of Single-
socket PCB Connector
2±0.05 (pitch)
1±0.05
1 dia.
Applicable PCB Dimensions (Top View)ǫt=1.6±0.2
+0.05
−0.10
13
6.75
9.05 6.75
8.9
5.2
6.4
3.1
10
15.8
8
6
2 (pitch) 1
3.3
4.4
1.6
0.2
6.4
10±0.1
6±0.1
4.4
8.9
6.75
15.8
6
2 (pitch) 1
3.3
25.9
19.5
3.1
6.5 (pitch)
2.75 2.25.5
8
6±0.1
13
0.2 1.6
3.2 3.2
19.5±0.1
2±0.05 (pitch)
6.5±0.05 (pitch)
1±0.05
6.75
9.05
1.75
4.05
Applicable PCB Dimensions (Top View)ǫt=1.6±0.2
Exterior of Four-socket
PCB Connector
1 dia.
+0.05
−0.10
7 to 8 mm
Flat-blade screwdrive
r
O
p
eration slot
Wire
insertion
hole
Cable sheath
Contact
section
Release slot
Operating lever (white)
4
XN2XN2
Safety Precautions
■General Precautions
• Do not pull on the Connectors or cables. Doing so may cause
damage to the Connectors or cause the cables to disconnect .
• Install the Connectors in a location where they will not be
stepped on, to prevent disconnection of the cables or damage to
the Connectors. If the Connectors have to be installed in such a
location, use a protective cover.
• Make sure that the Connectors are mated in the correct direction.
Mating the Connectors incorrectly will damage to the Connec-
tors.
• Do notuse the Connectors if the lock lever is bent or broken. Do-
ing so may cause the Connector to become loose or the device
to malfunction.
• Before mounting Connectors to a PCB, make sure that the Con-
nectors are positioned in the correct direction.
• Before bending a cable to connect it to a Connector, check the
bending specifications of the cable to be used.
• Do not exceed the rated current of the cable. Always check the
rated current of each cable to be used.
• Do not use pliers or other tools to remove the Connectors.
• Hold the Connectors firmly by hand when handling them. Do not
use excessive force to push the Connectors. Forcing the Con-
nectors may result in injury.
• These Connectors do not resist water. Do not use Connectors in
places where water or oil may be sprayed onto the Connectors.
■Precautions for Correct Use
Wiring
• Insert one wire into each insertion hole. Inserting two or more
wires into a single hole may cause unexpected problems.
• Makesure that no power is being suppliedto a Connector before
wiring, inserting, or removing the Connector. Doing somay result
in electric shock.
• Follow the wiring diagrams for the device being used when wiring
the cables.
• Strip the cables according to the instructions in the applicable op-
eration manual, making sure not to damage the wires.
• Do notuse a screwdriver with a tip larger than the specified width
when wiring the Connectors.
• Make sure short-circuits are not created, e.g., by protruding
wires.
Inserting and Removing Connectors
• When connecting or disconnecting Connectors, always hold the
case of the Connector.
• When mating Connectors, insert the Connector fully into the
back of the socket, and then make sure that the Connector will
not become loose by lightly pulling it in the opposite direction.
Recommended Screwdriver
• Use a flat-blade screwdriver with a tip of 2 mm max. Do not use
screwdrivers that gradually widen towards the base of the screw-
driver.
• Using other screwdrivers may cause damage to the adjacent
poles.
This manual suits for next models

4

Other Omron Cables And Connectors manuals

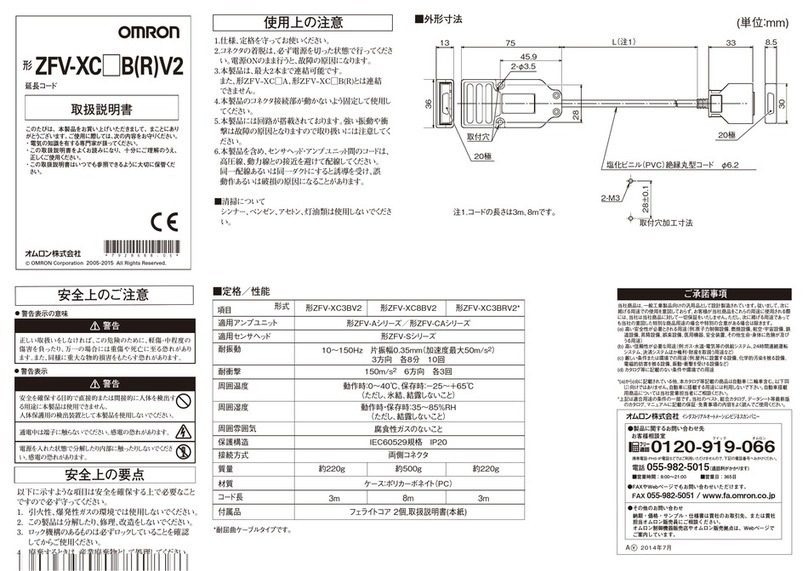
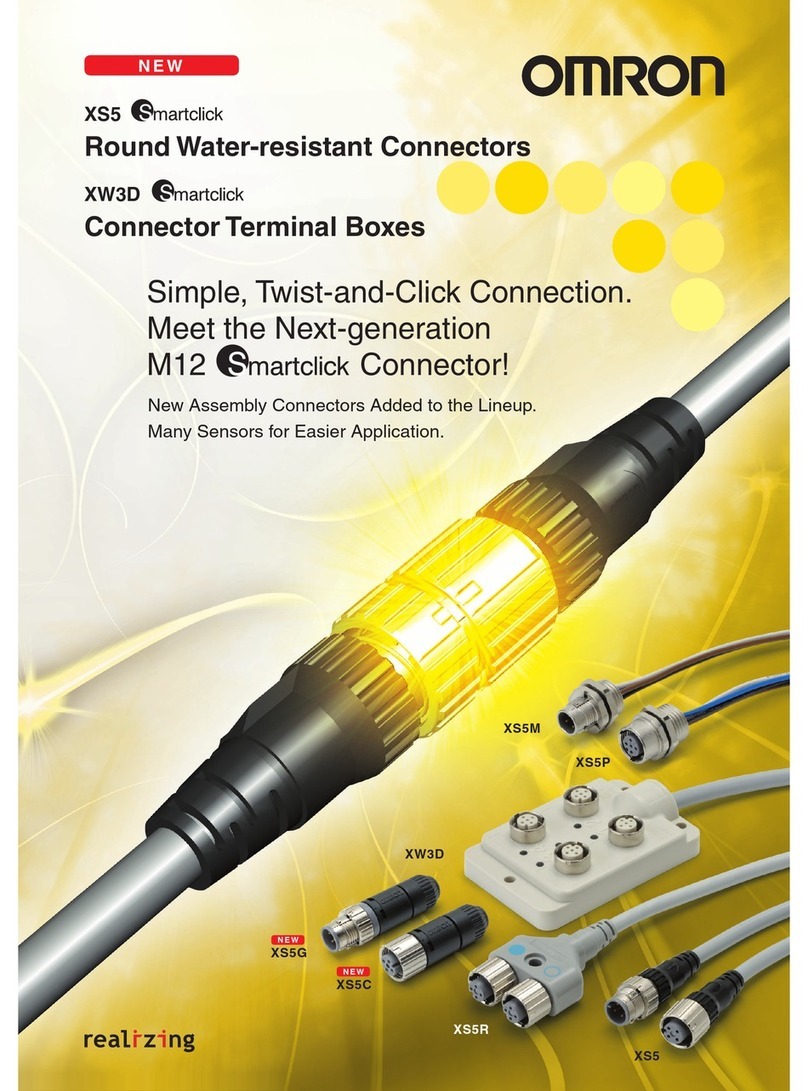
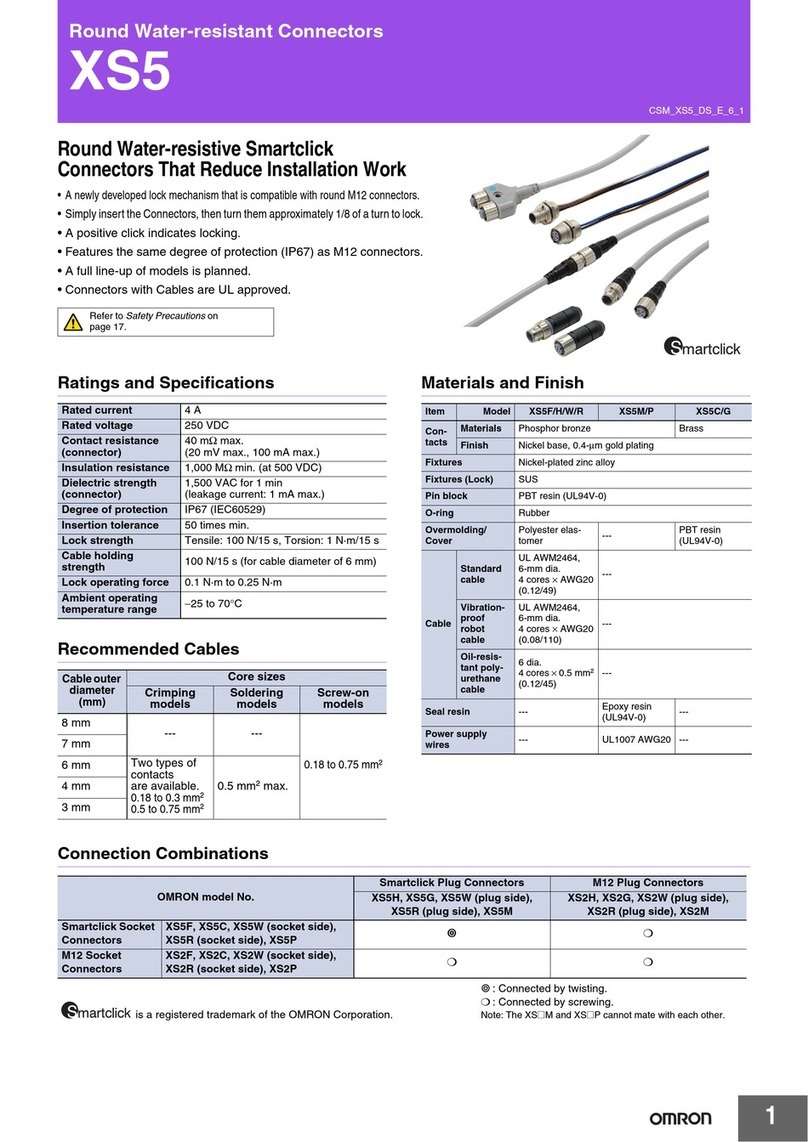
Omron XS5 User manual

Omron

Omron XS5 User manual

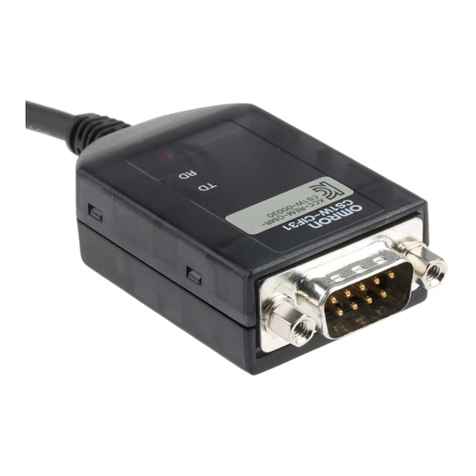
Omron CS1W-CIF31 User manual

Omron

Omron CS1W-CIF31 User manual

Omron XS5 T Series User manual

Omron

Omron XS5 T Series User manual

Omron FZ-VSJ User manual

Omron

Omron FZ-VSJ User manual

Omron ZFV-XC Series B(R)V2 User manual

Omron

Omron ZFV-XC Series B(R)V2 User manual

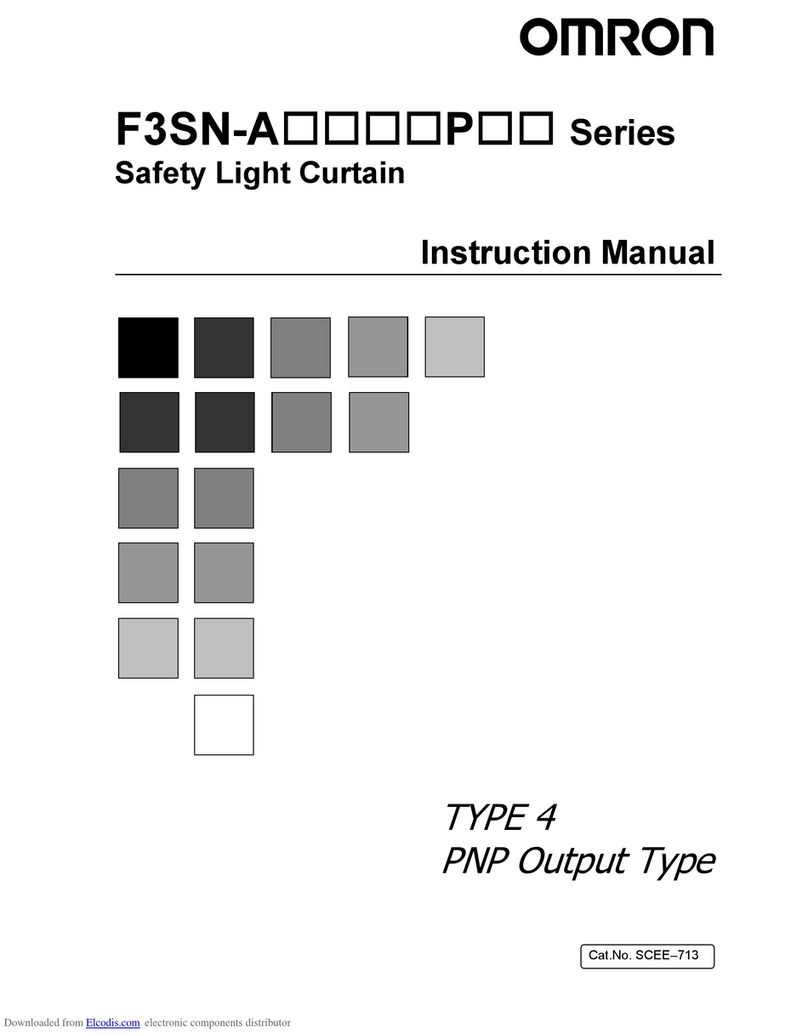
Omron F3SN-A - User manual

Omron

Omron F3SN-A - User manual

Omron XN2 User manual

Omron

Omron XN2 User manual

Omron CS1W User manual

Omron

Omron CS1W User manual

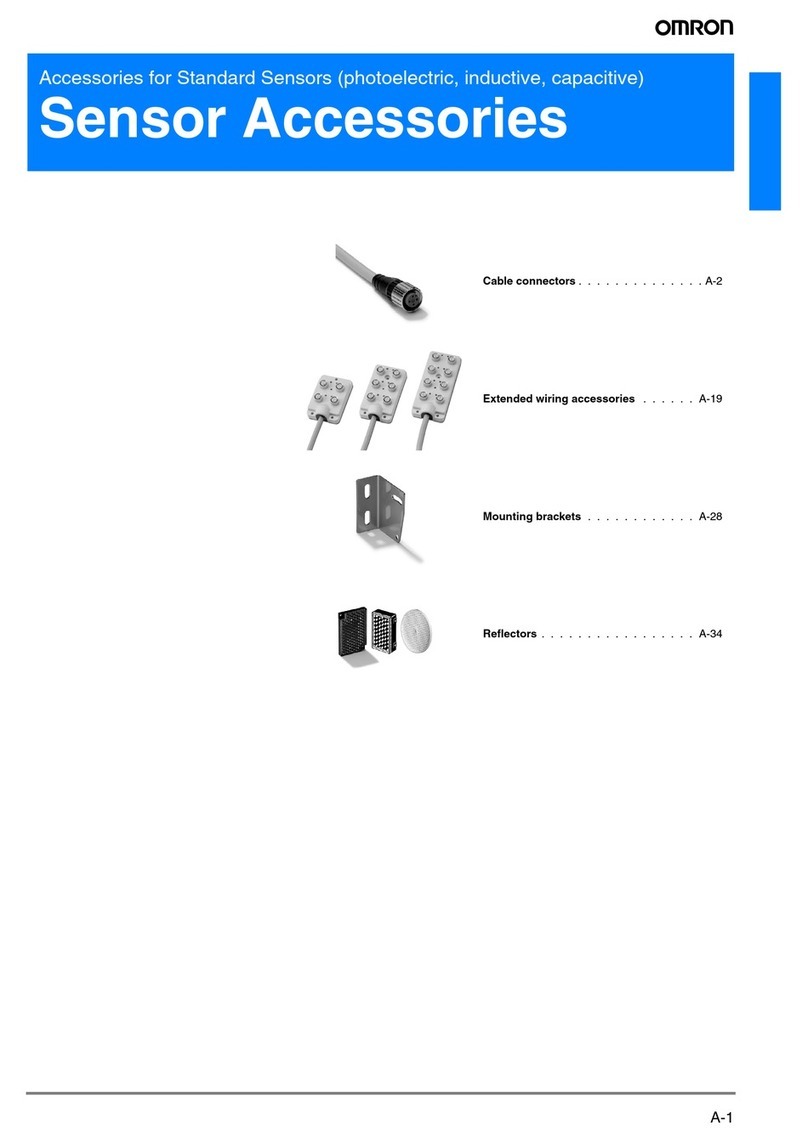
Omron SENSOR ACCESSORIES User manual

Omron

Omron SENSOR ACCESSORIES User manual

Omron M12 - User manual

Omron

Omron M12 - User manual

Omron XN2 User manual

Omron

Omron XN2 User manual

Omron XS5H User manual

Omron

Omron XS5H User manual

Omron XS5F User manual

Omron

Omron XS5F User manual

Popular Cables And Connectors manuals by other brands

Pioneer PDA-H03 Precautions for use

Pioneer

Pioneer PDA-H03 Precautions for use

REI BK-104A user manual

REI

REI BK-104A user manual

Eaton DX-SPL-RJ45-3SL Instruction leaflet

Eaton

Eaton DX-SPL-RJ45-3SL Instruction leaflet

SIIG AV-GM06K3-S1 manual

SIIG

SIIG AV-GM06K3-S1 manual

nVent RAYCHEM JBM-100-E manual

nVent RAYCHEM

nVent RAYCHEM JBM-100-E manual

Stahl 9411/24 Series operating instructions

Stahl

Stahl 9411/24 Series operating instructions

Crestron FT2-700-ELEC Series quick start

Crestron

Crestron FT2-700-ELEC Series quick start

Nxg NX-HDMIS-1X8 operating instructions

Nxg

Nxg NX-HDMIS-1X8 operating instructions

IFM E70377 installation instructions

IFM

IFM E70377 installation instructions

Festo PAML-CP Series operating instructions

Festo

Festo PAML-CP Series operating instructions

Viessmann 3560 Operation manual

Viessmann

Viessmann 3560 Operation manual

Philips SWL4165 Specifications

Philips

Philips SWL4165 Specifications

Conrad 91 79 12 operating instructions

Conrad

Conrad 91 79 12 operating instructions

Kramer WP-220 user manual

Kramer

Kramer WP-220 user manual

MDT SCN-LK001.03 operating instructions

MDT

MDT SCN-LK001.03 operating instructions

Tektronix KEITHLEY 2182-KIT manual

Tektronix

Tektronix KEITHLEY 2182-KIT manual

RCS AUDIO-SYSTEMS TRT-200A operating instructions

RCS AUDIO-SYSTEMS

RCS AUDIO-SYSTEMS TRT-200A operating instructions

Philips SWV2835W Specifications

Philips

Philips SWV2835W Specifications

manuals.online logo
manuals.online logoBrands
  • About & Mission
  • Contact us
  • Privacy Policy
  • Terms and Conditions

Copyright 2025 Manuals.Online. All Rights Reserved.