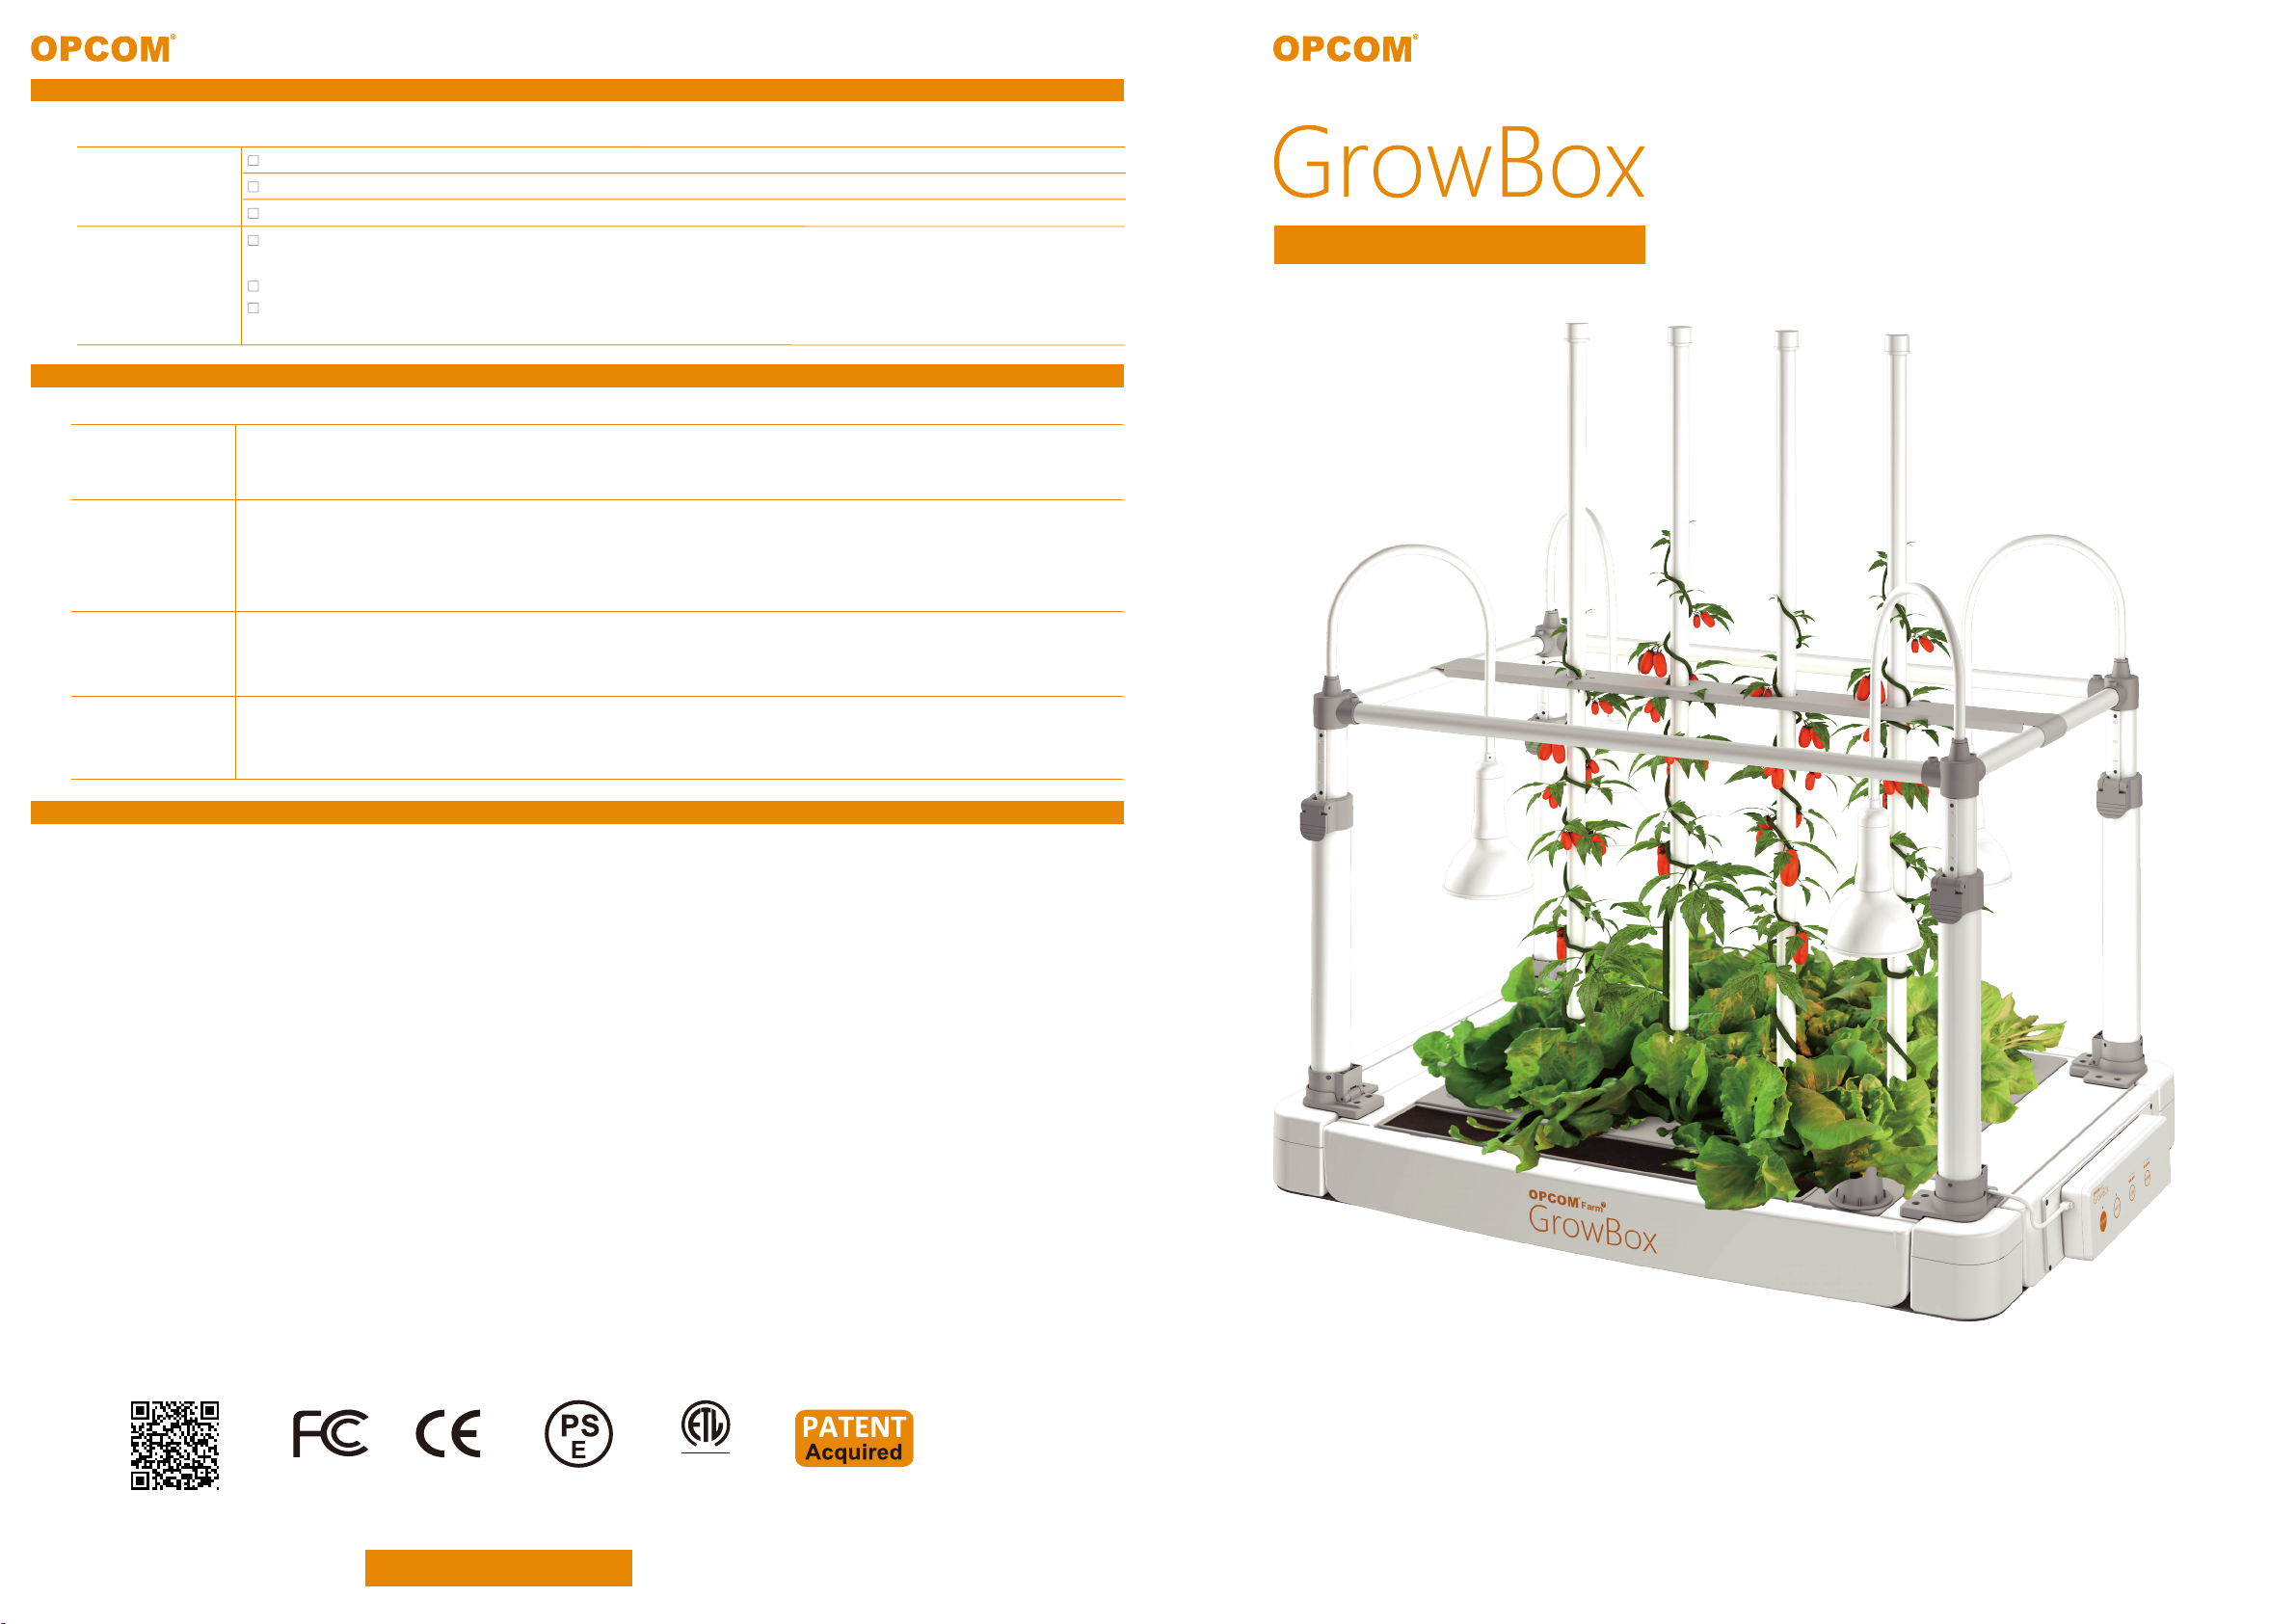
GrowBox Quick Guide Manual
A1. Check all accessories first
Add 4.2 gallons water to the unit.
Turn power on and test the unit.
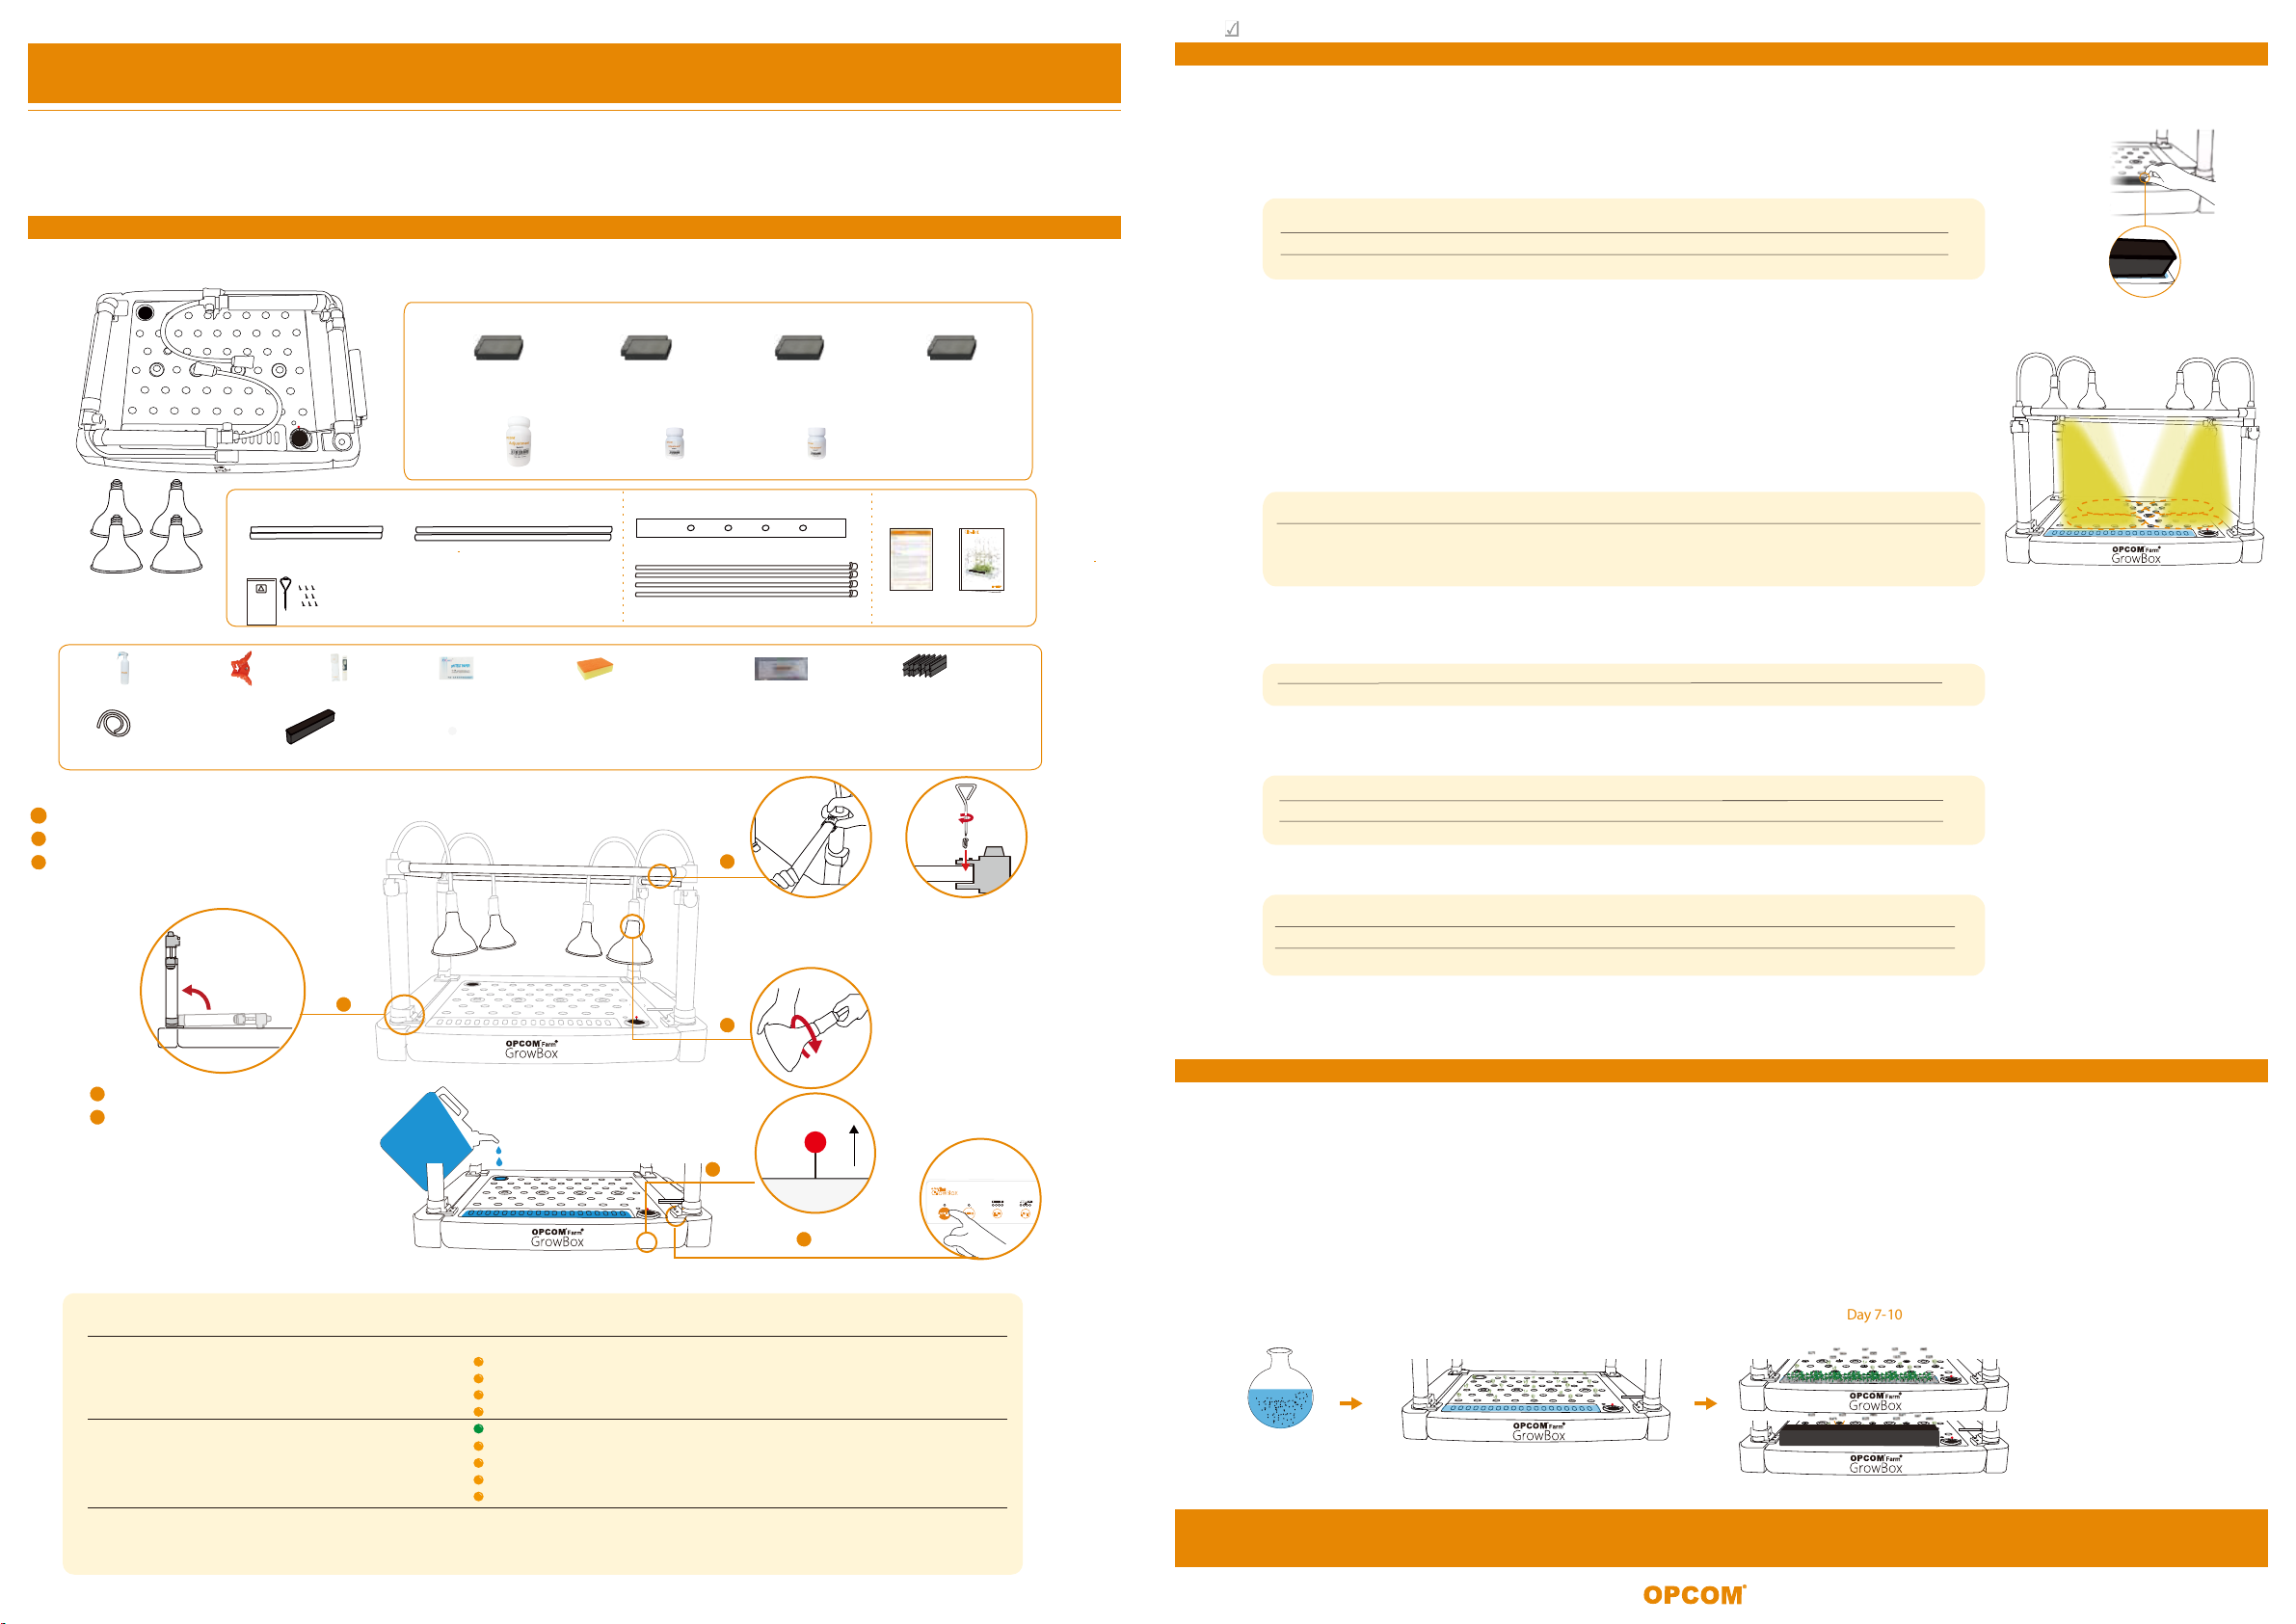
A. Assembly
18W LED Growth Lamp
(L18B) x 4 (OAEE02A)
A2. Easy Set Up
Stand the four Support Arms.
Assemble tubes by using the contained screws
and screwdriver. Caution: using power tools
may damage the plastic.
Setup four LED Growth Lamps
into holder clockwisely and
not too tight.
Keep the water level l over 4.2
gallons indicator on the top.
Insert the Long and Short Supported Tubes.
Set up the LED Growth Lamps.
1
3
2
4
5
2
1
3
4.2 gallons
15L
5
4
B. Planting
B1. Germination Stage
3.Cover the sprout for 0-7 days for germination and make sure the sponge wet during this stage.
2.Put on Sprout Cover to dark sponge. (Fig2)
a
Please visit our OPCOM Farm website at www.opcomfarm.com for further information, including User Manual,
Planting Q&A, videos and the news.
Control Box
Germination
Stage
Time after planting
Day 0~Day 7
LED Mode
OFF
Pump Mode
OFF
Notes
・Make sure the sponge is wet.
B2. Seedling Stage
In each sponge, remove weak plants.
When the germination rate over 70%, please keep 24hours lighting up.
3.Add 1 nutrient starter into the water and make sure EC between 1000-2000 µS/cm
(=1.0-2.0 ms/cm).
4.Adjust pH between 5.5-6.5 (with pH +/-).
* For EC & pH adjustment, please refer below.
B4. Harvest Stage
1.After 4-6 weeks, harvest the mature and keep small ones growing after 4-6weeks later is suggested.
(Fig1)
(Fig2)
Please read and follow every steps to avoid any malfunction.
* Please keep the seeds in refrigerator. If you don’t use it, the recommended temperature is 41˚F-50˚F
Warranty
Lighting Support Kit
Short Support Tube x 2 unit
(OANS05A) Long Support Tube x 2 unit
(OANS04A)
Screwdriver) (OAAS03A)
Screw pack O4 x 10 mm x8
!
Manual
Manual
User Manual
Optional Accessories Kit
Climdbing Tube l lolder x 1 (OAA S04A)
Climbing Tube x 4 (OANS05A)
Climbing Tube Kit
Grow Kit
Grow Sponge 2 x 60pk
(OASS001 For Green Lettuce)
Grow Sponge 2 x 60pk
(OASS002 For Red Leaf Lettuce)
Grow Sponge 2 x 60pk Grow Sponge 4 x 60pk
(OASS006 For Basil) (OASP001)
Status
Auto
ON
High
Low
OFF
Auto
ON
High
Low
OFF
Operation
One Click
One Click
One Click
One Click
One Click
One Click
One Click
One Click
Light
Fuction
LED
Pump
please remove
the top cover.
Time(On/Off)
12H/12H
24H/0H
16H/8H
8H/16H
0H/24H
12 Cycles/ day
24 Cycles/ day
4 Cycles/ day
2 Cycles/ day
0 Cycles/ day
Note
* 30 mins/cycle
* 30 mins/cycle
* 30 mins/cycle
* 30 mins/cycle
ChartI: Control Box Mode
C. Optional
C1. Regeneration
C2. For Sprout Production
Draining Tube x 1pc (OAAS06A) Sprout Cover x 1(OAAS04A)
Sprout Sponges x 12pc
(OAMS02A)
Water Spray x 1pc Seed Moisturizing Cover x 6pc
EC Meter x 1pc
Plant Clip x 10pc
* Reset the power by pressing POWER button until 2 beeps occurred (About 5 second).
Cleaning Sponge x 1pc
Planting Accessories
pH test paper x1pc
Control Box
Growing
Stage
Time after planting
After Day 14
LED Mode
AUTO
Pump Mode
AUTO
Notes
・Maintain EC & pH value.
B3. Growing Stage
When seedlings grow to over 2 inches height, switch control box to AUTO mode.
Trannsfer all sponge containing seedling to the growing hole and set up the distance properly.
Day 0 Day 1 Day 7-10
Sowing seeds in warm water
for 24 hours.
While planting mound bean, please keep the cover.
Spread the seeds on fully wet sprout sponge.
Green sprout, for example, pea sprout,
Cover for no edible green parts.
Status
Salt#1
0.0-0.5
Add Ax1
0.5-1.0
Add Ax0.5
1.0-1.5
Standard range
over 2.0
Add water
Status
Soda#1
Lemon#1
4.0-4.5
Add Ax1
4.5-5.0
Add Ax1
5.0-5.5
Add Ax0.5
5.5-6.5
Standard range
Standard range
6.5-7.0
Ax0.5
7.0-7.5
Ax1.5
Add adjustment into the water tank and check EC(=1.0-2.0mS/cm)
OPCOM Farm designed a special regeneration to increase harvest capacity for family consumption. First harvest cycle requires 3-4
weeks after seedlings are transferred. When harvesting, cut out the larger leaves and allow the smaller ones to keep growing in your
GrowBox. You can repeat the harvesting method weekly for the next 3-4weeks without the need to re-seeding.
Our free gift-sprout cover will make your GgrowBox not only a hydroponics system, but also a sprout equipment.
(Every harvest cycle is about 7-10 days.)
Make sure pH is between 5.5-6.5 (adjusted by pH+/-). For pH adjustment, please refer the
following chart.
Control Box
Seedling
Stage
Time after planting
Day 7~Day 14
LED Mode
ON
Pump Mode
ON
Notes
・Seeds germination rate>70%.
・Adjust the height of LED lights.
・Make sure EC & pH.
Thank you for purchasing OPCOM GrowBox, the indoor hydroponic growth system. It is designed with easy installation and high ecient
growing system in one-touch AUTO mode. Please read the manual in detail before setting up. For further information, please visit our Ocial
Website: www.opcomfarm.com
1.Open Grow Sponge package, put it into sprout area (make sure thefront side with the seed label is up),
soak the sponge into water for 5 seconds and wet the sponge completely. (Fig1)
1.
2.
1.
2.
5.Adjust the height of LED lights to make sure the light can cover all plants.
6.
7.
A spoon=1g / B spoon=5g / C spoon=10g
A spoon=1g / B spoon=5g / C spoon=10g
Adjustment
Soda#1+ 50ml x1
Salt#1 250ml x1 Lemon#1- 50ml x1