8
La charge se poursuit jusqu’à ce que la batterie atteigne une tension de 14,1-14,4 V (6V: 7–7.2V; 8V:
9.4–9.6V), puis le programme se prépare à passer en mode de maintenance longue durée.
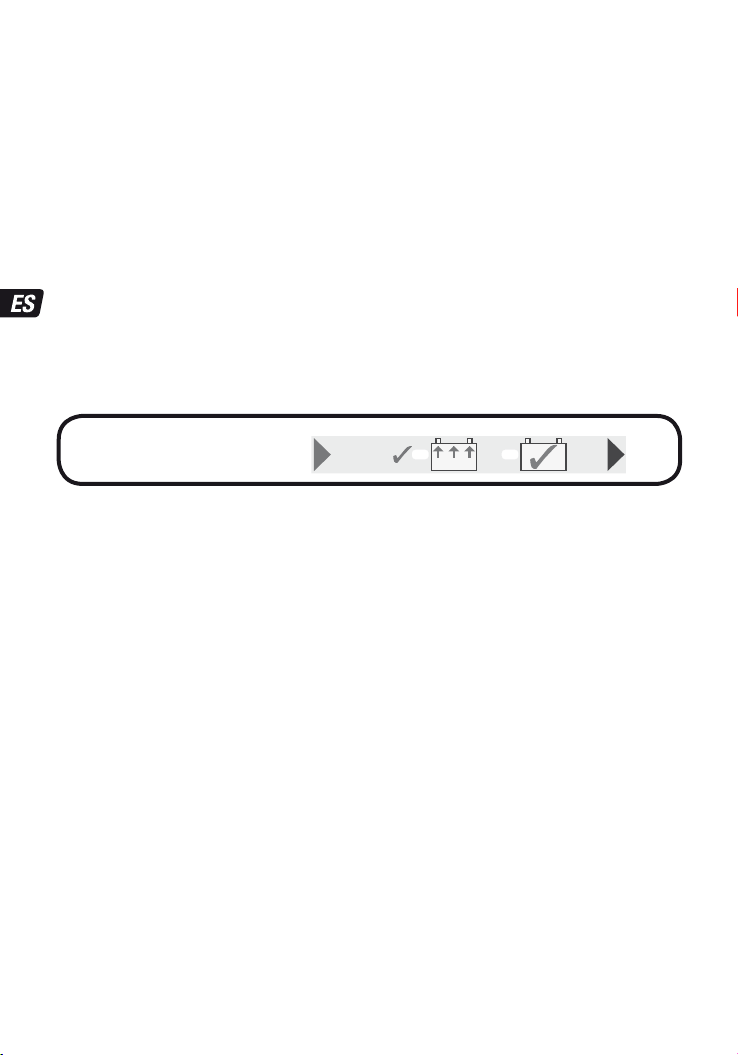
4. Mode de maintenance longue durée : lorsque le voyant LED #2 (vert) s’allume, la batterie est prête ou a été
chargée autant que son état le permet.
Si ce voyant clignote, cela signifie que le chargeur OptiMate SOLAR maintient de façon active la batterie à un niveau
sûr de 12,9 V à 13,5 V et dispense du courant à tout circuit ou appareil opérationnel connecté sans nuire à la
charge complète de la batterie. Le chargement en mode de maintenance longue durée continue tant que le
panneau solaire fournit de l’énergie. Pour plus d’informations sur ce type de chargement, consultez la section «
NOTES » ci-après.
5. BASCULEMENT DU MODE DE CHARGEMENT : si la tension de la batterie baisse en deçà de 12,6V (6V: 6,3V;
8V: 8,4V) du fait de la sollicitation importante de courant de la part du circuit connecté, le mode charge principale
est rétabli (#3.2).
ARRÊT DE L’ALIMENTATION : en cas d’arrêt de l’alimentation en énergie sur le panneau solaire (nuit/médiocre
exposition au soleil), la charge cesse et le programme est réinitialisé. Au cours du processus, le chargeur OptiMate
SOLAR ne consomme rien au niveau de la batterie reliée. Dès que l’alimentation est restaurée, la charge, alors en
mode CHARGE PRINCIPALE, reprend (#3.2). Une batterie chargée à 100 % entre très rapidement en mode de
maintenance longue durée (#4) suite à un arrêt de l’alimentation en énergie.
NOTES :
1. Sélection de la taille de panneau solaire appropriée : les panneaux solaires 12 V sont classés selon la puissance
maximale qu’ils peuvent produire en cas d’exposition directe à la lumière du soleil, avec une charge fixe de 12 V.
Néanmoins, cette puissance maximale n’est souvent que théorique ; le rendement peut devenir inférieur à 20 % si
le contact avec les rayons du soleil est indirect (couverture nuageuse, par exemple).
Pour garantir une maintenance longue durée efficace de la batterie, optez pour un panneau qui délivrera une
intensité de courant assez élevée pour aller au-delà de la consommation parasite du faisceau électrique du véhicule
(comprenant l’alarme, l’horloge ou encore l’unité de commande du moteur) et revenir au niveau de charge de la
veille. La consommation parasite est habituellement de 10-20 mA pour une moto/un engin de sport motorisé et
30–50 mA pour une voiture ou une camionnette équipés d’une batterie 12 V.
2. Optimisation du temps de récupération d’une batterie non entretenue : utilisez un chargeur OptiMate 3, 4, 5 ou
6 qui se branche directement sur le secteur pour la récupération de la batterie. Rendez-vous sur
www.optimate1.com pour trouver le chargeur qui convient.
3. Test de la batterie : choisissez un testeur OptiMate adéquat sur www.optimate1.com.
4. Le chargeur OptiMate SOLAR assure le fonctionnement continu des batteries dont l’état initial est bon durant
plusieurs mois. Tous les quinze jours minimum, vérifiez que les connexions entre le chargeur et la batterie sont
toujours valides et, si celle-ci est munie d’un bouchon de remplissage pour chaque cellule, débranchez-la du
chargeur, contrôlez le niveau d’électrolyte et, au besoin, remplissez les cellules (d’eau distillée, PAS d’acide)
avant de la rebrancher. Respectez toujours les CONSIGNES DE SÉCURITÉ décrites dans ce manuel lorsque vous
manipulez des batteries ou que vous vous trouvez à proximité.
GARANTIE LIMITÉE
TecMate International SA, Sint-Truidensesteenweg 252, B-3300 Tienen, Belgique, consent la présente garantie au premier client utilisateur
de ce produit, sans possibilité de transfert. TecMate (International) garantit ce chargeur pendant trois ans à compter de la date d’achat au
détail contre les défauts de composants ou d’assemblage. Le cas échéant, le chargeur sera réparé ou remplacé à la discrétion du fabricant.
L’acheteur doit expédier, à ses frais, l’appareil ainsi qu’une preuve d’achat (voir “NOTE”) au fabricant ou à son représentant agréé. Cette
garantie limitée devient nulle si l’appareil est utilisé ou manipulé de façon inadéquate ou s’il a été réparé par toute personne physique ou
morale autre que le fabricant ou un représentant agréé. Le fabricant n’offre aucune autre garantie que la présente, et exclut expressément
toute garantie contre les dommages conséquentiels.
CECI EST LA SEULE GARANTIE EXPRESSÉMENT CONSENTIE PAR LE FABRICANT. CELUI-CI N’ASSUME ET N’AUTORISE QUICONQUE A
ASSUMER OU ETABLIR TOUTE AUTRE OBLIGATION LIÉE À CE PRODUIT, AUTRE QUE CETTE GARANTIE LIMITÉE EXPRESSÉMENT CONSENTIE.
VOS DROITES STATUTAIRES NE SONT PAS AFFECTÉES.
copyright © 2014 TecMate International
OptiMate SOLAR et les noms des autresappareilsmentionnés dans ce texte tels queBatteryMate, TestMate et TestMate mini, sont des
marques déposées de TecMate International SA.
On peut trouver plus d’information surles produits deTecMate chez www.tecmate.com.