Optomany axept S900 User manual

axept® S900
Quick Start Guide
V0.3
April 2016
®

2
Contents
Welcome
Initial Set-up
Initial Terminal Setup
Connecting to the Network
Wi-Fi
GPRS
Activation
Logging In
Processing a Sale (Chip & PIN)
Further Reading
Contact Details
3
4
4
5
5
7
8
10
12
16
16

3
Welcome
Thank you for choosing your axept® S900 terminal from Optomany.
The axept® S900 is designed to process transactions as quickly as possible whilst providing
valuable reporting and other functionality backed by the Optomany Control Centre (OCC)
web portal.
This guide is designed to provide users of axept® S900 with everything needed to set-up,
register and process your first transaction.
Should you have any queries on anything in this guide please do not hesitate to contact
Optomany’s customer support team using the details on page 16.

4
1 Initial Set-up
Before starting to use axept® S900 please take a few moments to check the contents of the box; you
should have received the following:
PAX S900 Terminal
External AC Power Adapter
External AC Power Cable
Thermal Paper Roll
Battery
IMPORTANT
PLEASE CONFIRM THAT THE TAMPER BAG AND TERMINAL SERIAL NUMBER MATCHES EMAIL
NOTIFICATION(S) FROM OPTOMANY.
If anything is missing or damaged or you experience issues during the installation/activation,
please contact Optomany on 020 8102 8102 or via email: customersupport@optomany.com
1.1 Initial Terminal Setup
Insert the battery into the lower compartment on the rear of
the terminal.
1
Insert thermal paper roll into the terminal.
• Pull back the retainer to unlock the thermal paper compartment
• Insert the thermal paper roll leaving at least 1cm exposed
2

5
1.2 Connecting to the Network
Before starting the installation process please ensure that you have the activation details sent by
Optomany. If you do not have this information, please contact Optomany’s Support Team.
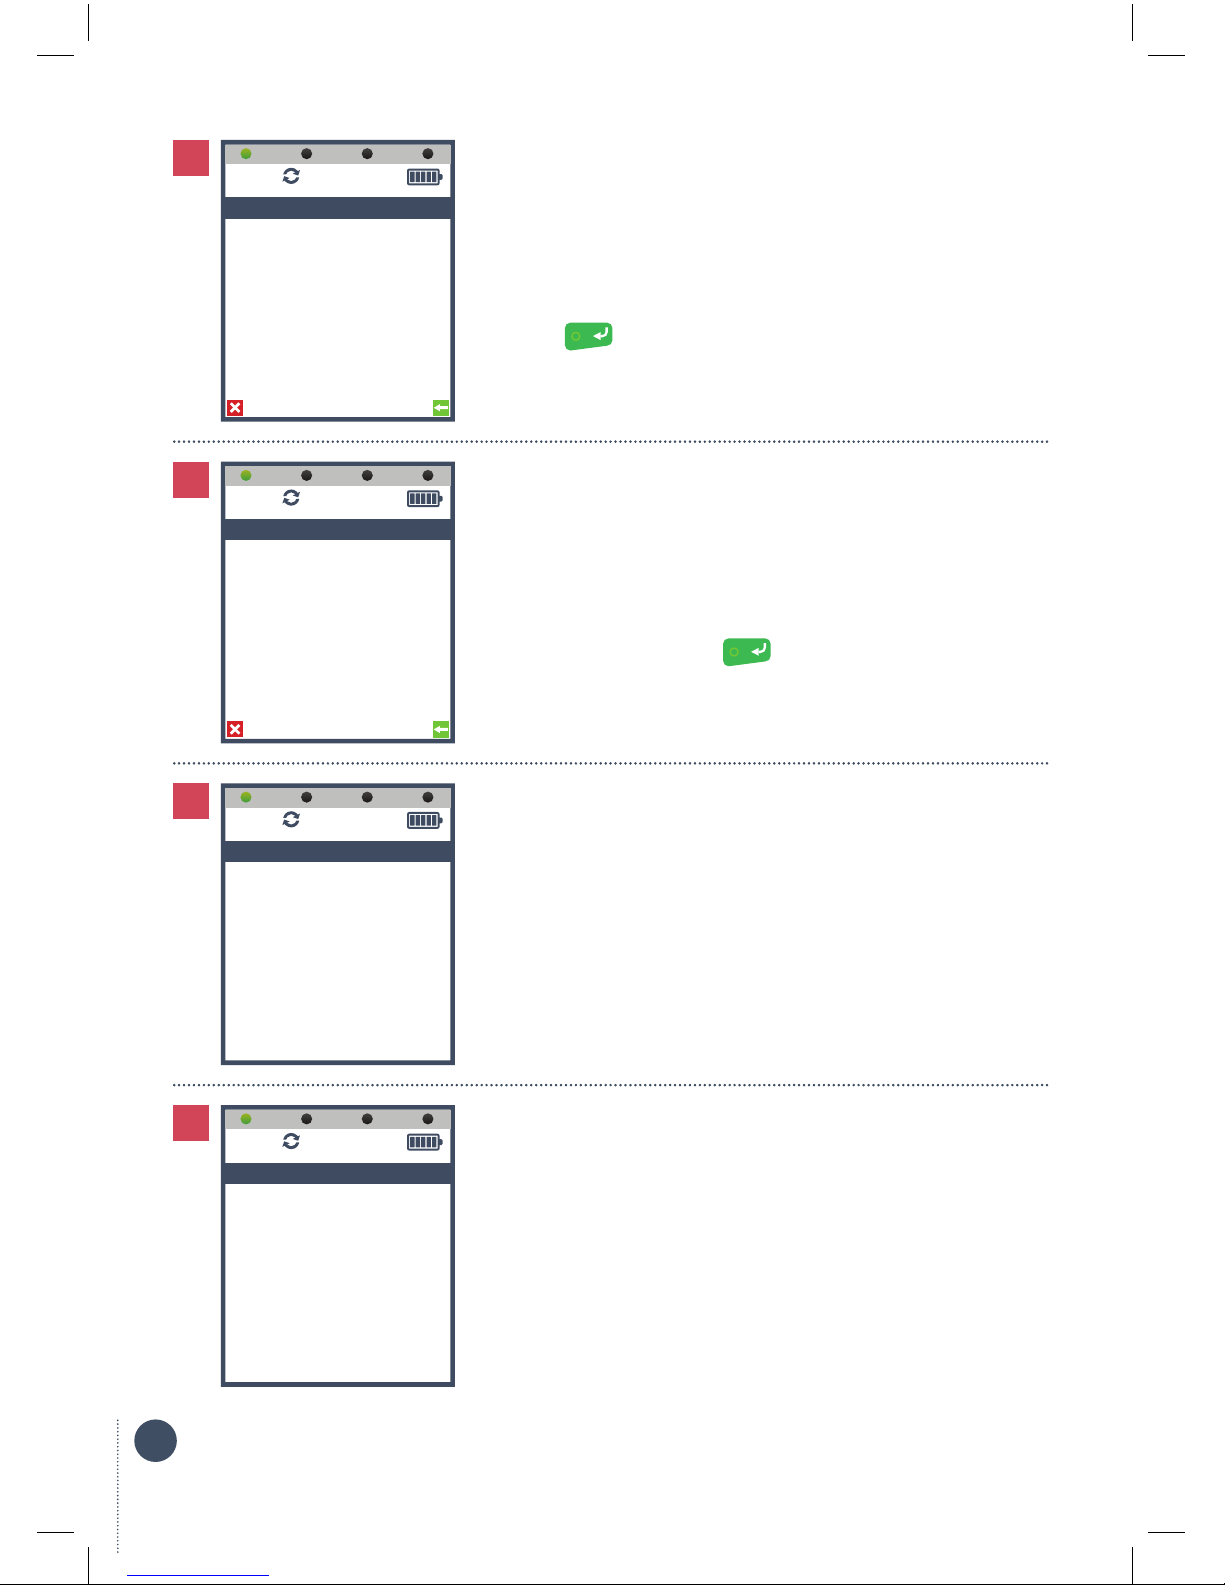
Start axept® S900 by pressing and holding the button for a few seconds until the terminal
screen lights up.
Once the loading process is complete the network
configuration menu will appear.
Use the and to highlight ‘WIFI’ and press
to continue.
1
1.2.1 Wi-Fi
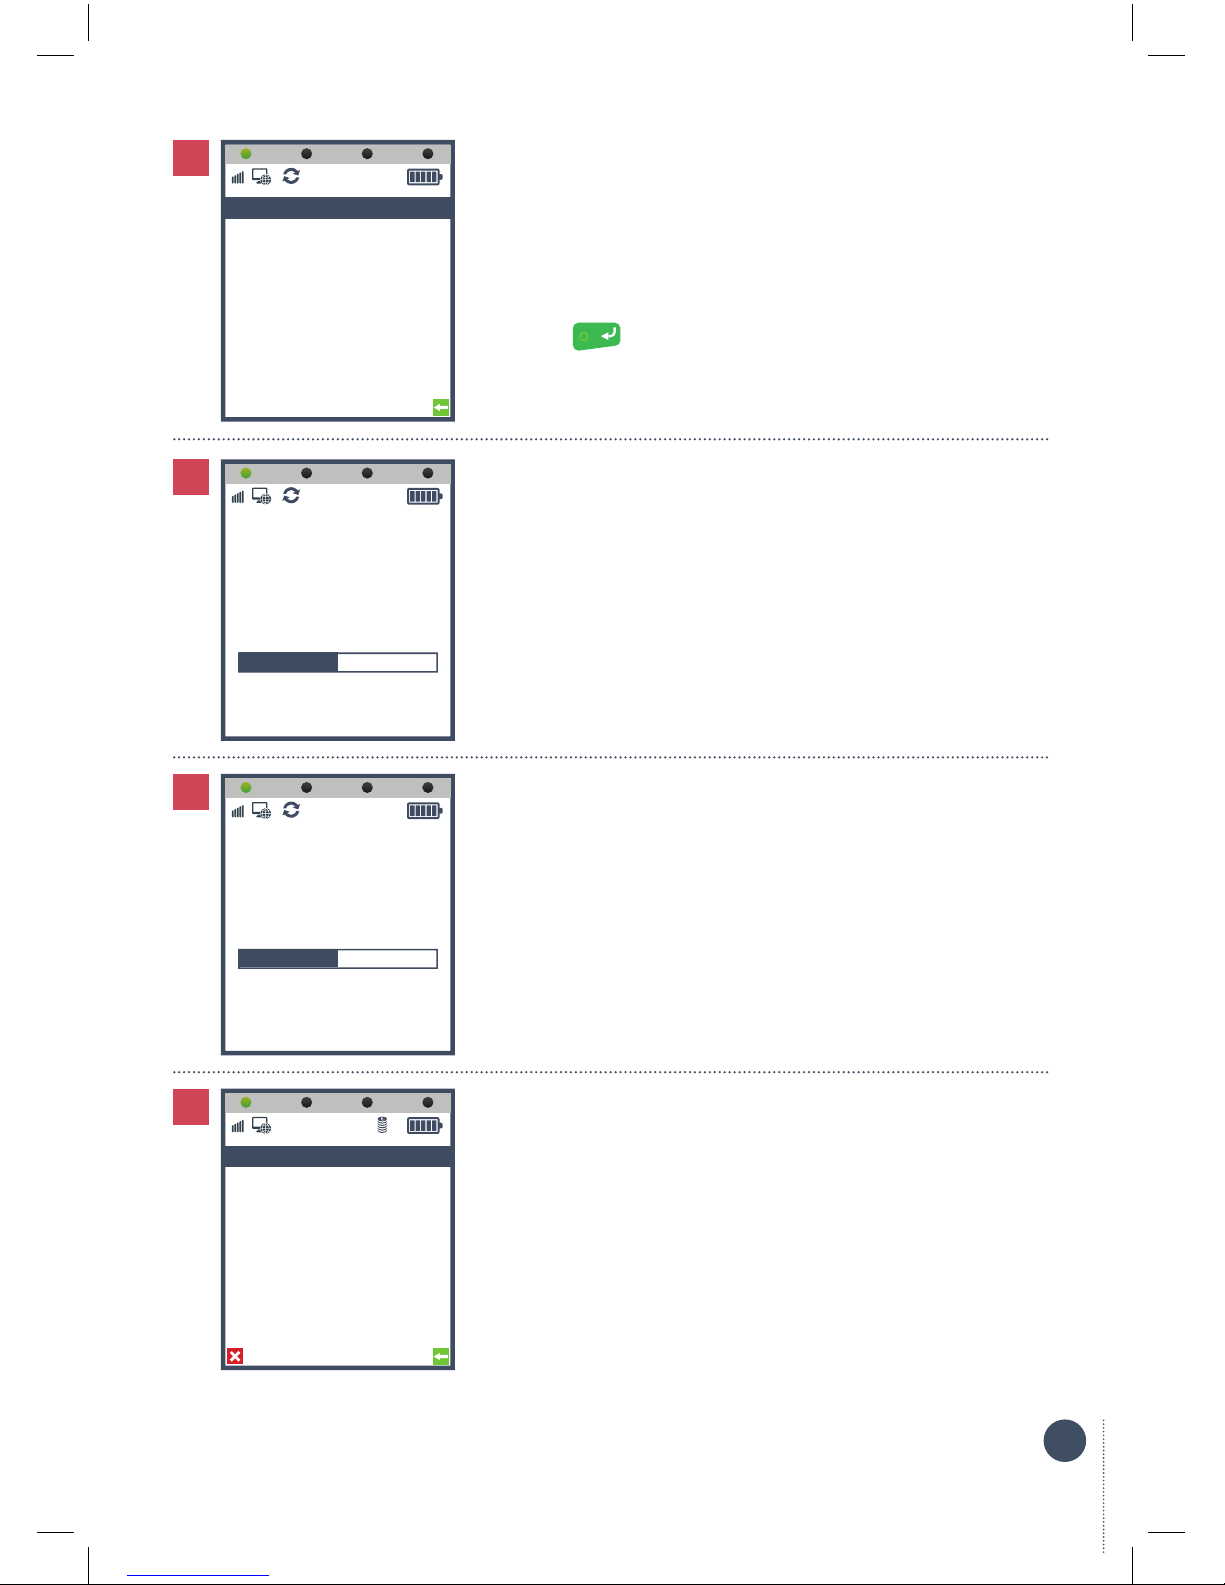
To use a Wi-Fi connection, configure the axept® S900 using the procedure outlined below:
axept® S900 scans for available WIFI networks.
2
WIFI
Please Select a
Networking Type Or
Complete When Done
GPRS
Complete
NETWORK CONFIGURATION
14:00
19/04/2016
Scanning for WIFI
Networks
NETWORK CONFIGURATION
14:00
19/04/2016
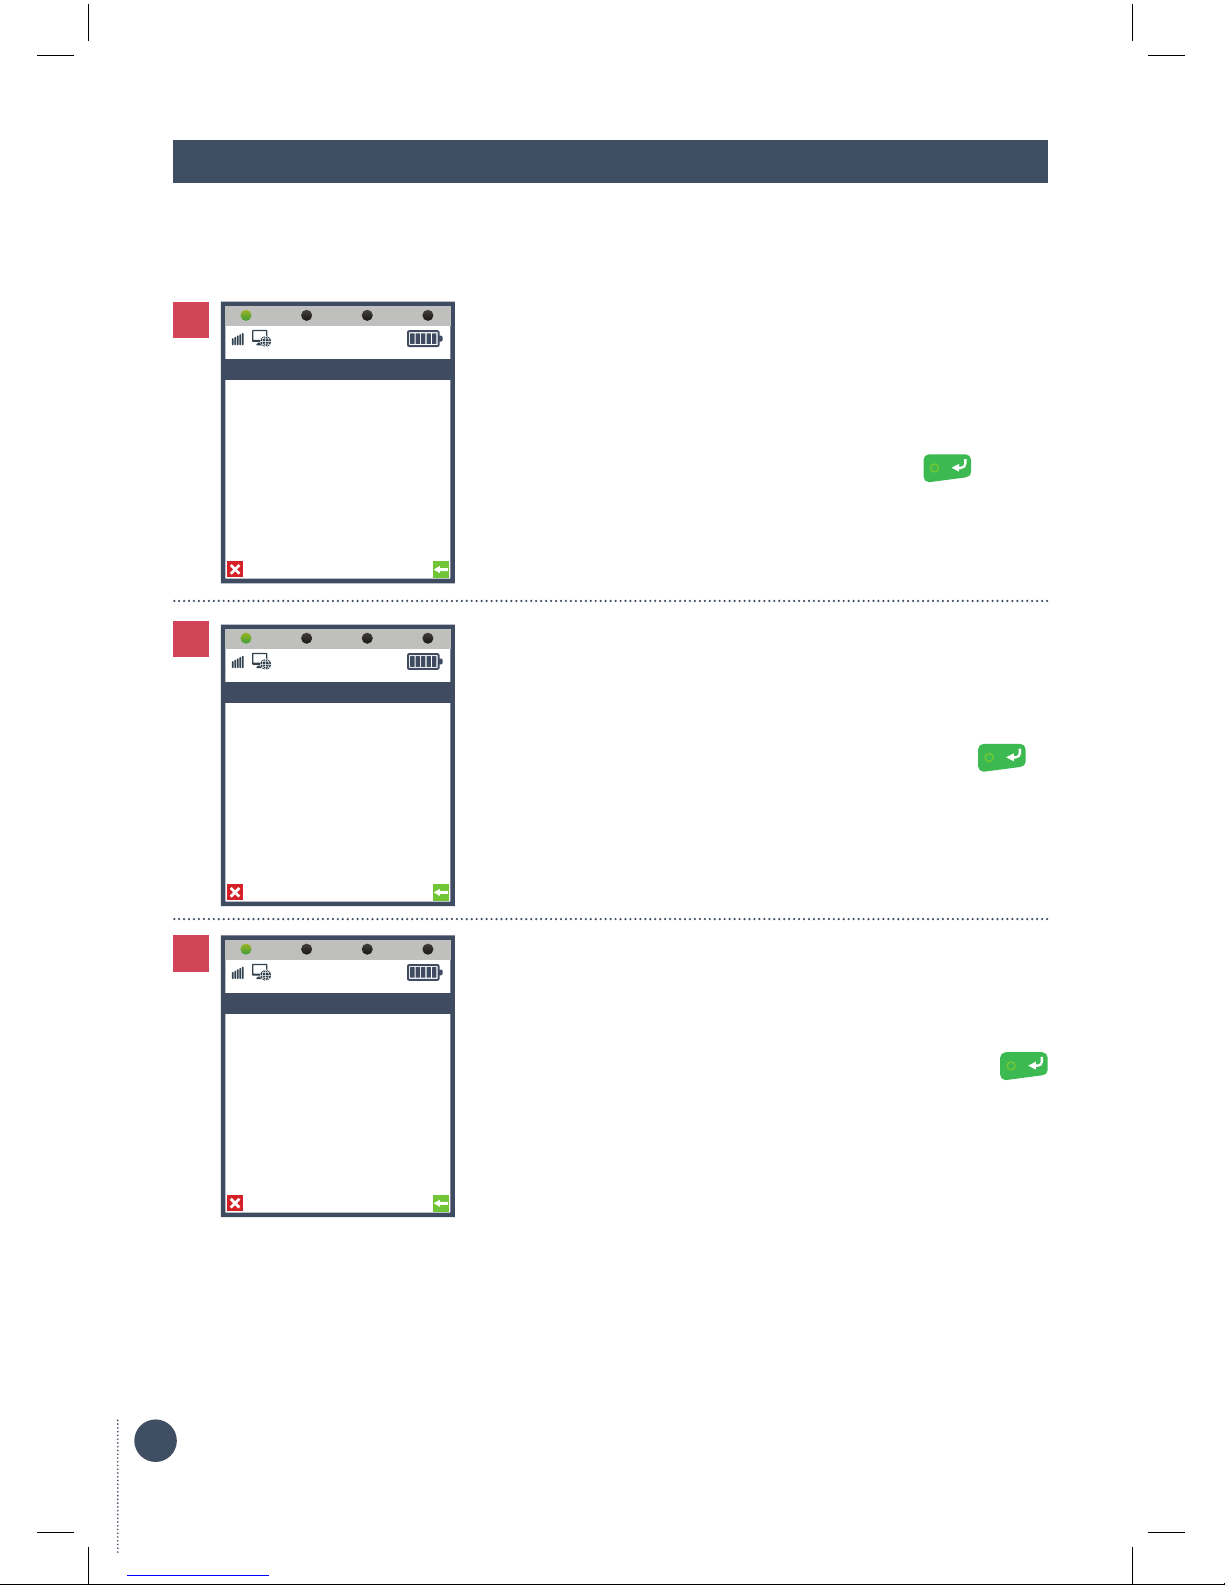
The WIFI networks available are displayed.
Use the and to navigate up and down the list to
select the network required.
Press to continue.
1
Please Select Your
Network
WIFI Network 1
WIFI Network 2
NETWORK CONFIGURATION
14:00
19/04/2016
3

6
4
Enter WIFI Password:
NETWORK CONFIGURATION
14:00
19/04/2016
5
Do You Wish To Use DHCP?
NETWORK CONFIGURATION
14:00
19/04/2016
6
Validating Connection
NETWORK CONFIGURATION
14:00
19/04/2016
Enter the WIFI password.
To use alpha characters, press the numeric key containing the
alpha character required multiple times until it is displayed.
Press to continue.
axept® S900 supports Dynamic Host Configuration Protocol
(DHCP) which automatically obtains all IP settings without
needing further user input.
To use this service press
Please wait whilst the connection is validated.
7
Network Configuration
Successful
NETWORK CONFIGURATION
14:00
19/04/2016 axept® S900 confirms that the network configuration is
successfully completed.
Should you need to use a fixed IP address configuration
please refer to the main axept® S900 User Guide.

7
1.2.2 GPRS
To use a GPRS connection, either as a back-up for Wi-Fi or in place of, configure the axept® S900 using
the procedure outlined below:
Once the loading process is complete the network menu will
appear.
Use the and to highlight ‘GPRS’ and press
to continue.
1
Please wait whilst the connection is validated.
2
WIFI
Please Select a
Networking Type Or
Complete When Done
GPRS
Complete
NETWORK CONFIGURATION
14:00
19/04/2016
Validating Connection
NETWORK CONFIGURATION
14:00
19/04/2016
axept® S900 confirms that the GPRS network configuration is
successfully completed.
1
Network Configuration
Successful
NETWORK CONFIGURATION
14:00
19/04/2016
3

8
1.3 Activation
After successfully connecting to a network, the axept® S900 needs to be registered with Optomany.
Please follow the steps outlined below:
Enter the License Key sent to you by Optomany.
Press to continue.
Enter the Merchant Store Key provided by Optomany.
Press to continue.
8
9
ACTIVATION
Enter License Key
14:00
19/04/2016
ACTIVATION
Enter Merchant Store Key
14:00
19/04/2016
Activation then takes place.
Please wait for completion.
1
Activating
Please wait...
14:00
19/04/2016
10

9
Activation complete.
axept® S900 now needs to download the account specific
information from the Optomany axept® platform.
Press to continue.
11
Configuration download starts.
12
Activation Successful
Press Enter
ACTIVATION
14:00
19/04/2016
Performing Initial
Configuration Download
Please Wait
50%
14:00
19/04/2016
Downloaded configuration is applied.
axept® S900 is then ready for the first log on to be performed.
1
1
Importing Current
Configuration
50%
14:00
19/04/2016
Enter Department ID
LOG ON
14:00
19/04/2016 1
13
14

10
2 Logging in
Now set-up and activation are complete, axept® S900 is ready for logon.
Once axept® S900 has completed the start-up process it
will prompt for the entry of the Department ID.
Enter the Department ID sent to you and press
to continue.
Enter the User ID sent to you by Optomany and press
to continue.
1
2
Enter Department ID
LOG ON
14:00
19/04/2016
Enter User ID
LOG ON
14:00
19/04/2016
Enter the password sent to you by Optomany and press
to continue.
1
Enter Password
LOG ON
14:00
19/04/2016
3

11
axept® S900 processes the log on details.
Once the log on has been completed the main menu will
be displayed.
If this is still the correct Department ID press
to continue.
If the Department ID needs to be changed press
and enter the new value. Once entered press
to continue.
If a successful sign on has been completed previously the Department ID will be stored during logon
as shown below.
4
5
A
Processing
14:00
19/04/2016
1: Sale
2: Refund
3: Other Transactions
4: Reprint
5: Menu
6: Logout
14:00
19/04/2016
Please Confirm Your
Department ID Is
Correct?
LOG ON
14:00
19/04/2016

12
3 Processing a Sale (Chip & PIN)
Once the logging in process has been completed, your axept® S900 is ready to process transactions.
The following describes the end-to-end operation of a Chip & PIN sale:
From the main menu select option 1: Sale.
Enter the amount of the sale.
axept® S900 enters the decimal place for you.
Press to continue.
1
2
1: Sale
2: Refund
3: Other Transactions
4: Reprint
5: Menu
6: Logout
14:00
19/04/2016
Enter Amount
£10.00
SALE
14:00
19/04/2016
If required enter the reference for the transaction.
If a reference is not needed press to skip.
To use alpha characters, press the numeric key containing the
alpha character required multiple times until it is displayed.
Press to continue.
1
SALE
Enter Merchant Reference
14:00
19/04/2016
3

13
axept® S900 prompts for the card to be inserted.
Insert the card as shown in the diagram on the screen.
axept® S900 processes the card, please wait and do not
remove the card.
4
5
Amount £10.00
Please Present Card
14:00
19/04/2016
Processing
Do Not Remove Card
SALE
14:00
19/04/2016
Pass axept® S900 to the cardholder and ask them to enter
their PIN.
The cardholder then needs to press to continue.
If the PIN entered is correct axept® S900 will confirm.
1
1
Mastercard
Amount: £10.00
Enter PIN:
SALE
14:00
19/04/2016 1
PIN OK
SALE
14:00
19/04/2016 1
6
7

14
axept® S900 authorises the transaction with your
chosen acquirer.
axept® S900 processes the card, please wait and do not
remove the card.
8
9
Authorising
Do Not Remove Card
SALE
14:00
19/04/2016
Payment Complete
SALE
14:00
19/04/2016 1
As the payment is now complete the card needs to
be removed.
Once removed the process continues.
The merchant receipt is printed.
1
1
Remove Card
SALE
14:00
19/04/2016 1
Merchant Receipt Printing
SALE
14:00
19/04/2016 1
10
11

15
Tear the receipt and press to continue.
The cardholder receipt is printed.
12
13
Please Tear Receipt
Press Enter
SALE
14:00
19/04/2016 1
Please Tear Receipt
Press Enter
SALE
14:00
19/04/2016 1
Cardholder Receipt Printing
SALE
14:00
19/04/2016 1
Complete
SALE
14:00
19/04/2016 1
Processing is complete.
axept® S900 returns to the main menu.
1
1
14
15

16
Further Reading
Should you need further information regarding the available functions
of the terminal please access the full axept S900 user guide at:
www.optomany.com/files/axeptS900-QSG.pdf
Contact Details
If you have any questions or require support, please get in touch with us using the details
below:
Optomany Customer Support
Phone: 020 8102 8102
Email: customersupport@optomany.com
Customer support team hours are:
Days Hours Covered
Monday - Saturday 08:00 – 23:00
Sunday and Bank Holidays (excluding Christmas Day) 10:00 – 17:00
Non-urgent requests can be emailed to customersupport@optomany.com.
E-mails will be actioned within the business hours of Monday to Friday 9:00 am to 5:00 pm.
Upon receipt, an Optomany helpdesk ticket is used to track and record the request detail.
A ticket is automatically generated on receipt of an email to customersupport@optomany.com.
A unique reference number is allocated to each ticket - this is automatically notified to the
email sender by return email. This unique reference should then be quoted in all further emails
within the email subject line.
Should you need to contact Optomany for something other than support the details are below.
Optomany Head Oce
Address: Optomany Ltd
New Barn, Roberts Farm
Smarden Road, Smarden
Ashford, Kent, TN27 8QJ
Phone: 01233 770389
Email: info@optomany.com
Other manuals for axept S900
4
Table of contents
Other Optomany Payment Terminal manuals