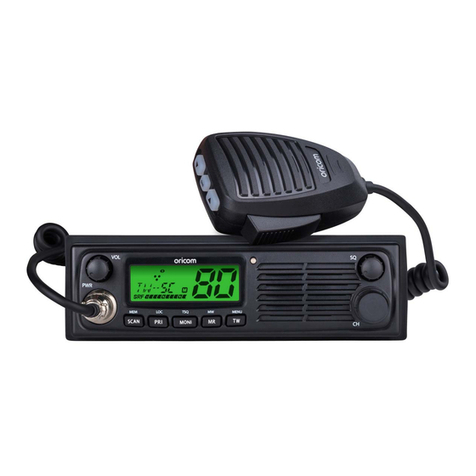
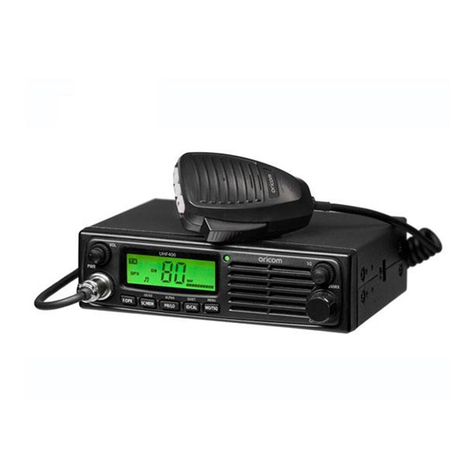
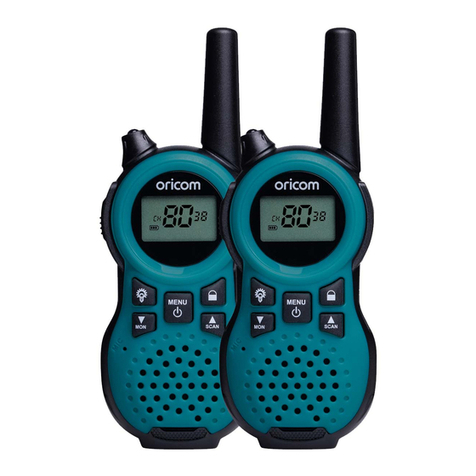
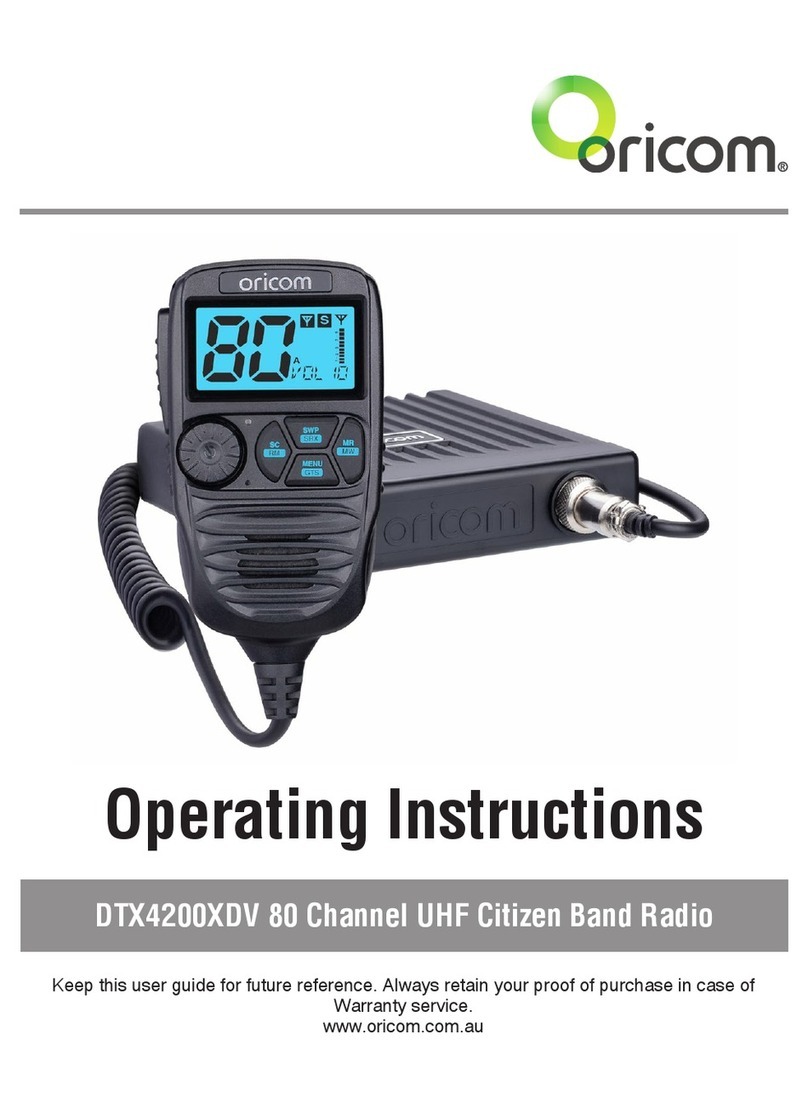
Oricom UHF182 User manual

Keep this user guide for future reference. Always retain your proof of purchase in case of
Warranty service and register your product on line at:
AUSTRALIA: www.oricom.com.au NEW ZEALAND: www.oricom.co.nz
Operating Instructions
UHF182 80 Channel UHF Citizen Band Radio

This unit complies with all relevant Australian
and New Zealand approval requirements
AS/NZS 4365:2011
Why has the ACMA increased the number of available UHF CB channels?
To provide additional channel capacity within the UHF CB Band the ACMA will over the next 5 years change the
majority of the current wideband 40 channel use to narrowband 80 channel use.
During this time wideband channel use will be gradually phased out as users upgrade their existing radio’s.
This means that the new Oricom narrowband radio you have purchased will have more channels than older wideband
radios. Some of these channels are locked and cannot be used, (see the attached channel chart for more information).
When did this take place?
Early in 2011 new AS/NZS Standards came into effect allowing operators to use additional narrowband channels and
also use narrowband transmissions on some current wideband channels. This increased the number of channels up
to 80, 75 of which are useable voice channels.
What issues may users experience during the transition phase?
When a new narrowband radio receives a transmission from an older wideband radio the speech may sound loud
and distorted – simply adjust your radio volume for the best listening performance. When an older wideband radio
receives a signal from a new narrowband radio the speech may sound quieter - simply adjust your radio volume for
best listening performance. When operating a narrowband radio or Channel 41 - 80 interference is possible from
wideband radios transmitting on high power or on adjacent frequency.
The issues described above are not a fault of the radio but a consequence of mixed use of wideband and narrowband
radios.
It is expected that as older wideband radios are removed from service that this issue will be resolved. Most radios in
use will be narrowband eliminating this issue.
This information is current at time of printing. For further up to date information please visit
www.acma.gov.au

3
Table of contents ..........................................................................3
Controls and Indicators .................................................................4
Operations....................................................................................7
UHF CB channels and frequencies ..............................................21
Customer Support.......................................................................24
Express Warranty (Australia) .......................................................25
Need Help?
If you need assistance setting up or using your Oricom product now or in
the future, call Oricom Support.
Australia 1300 889 785 or (02) 4574 8888
www.oricom.com.au
Mon-Fri 8am – 6pm AEST
New Zealand 0800 67 42 66
www.oricom.co.nz
Mon-Fri 10am – 8pm NZST
Table of contents

4
Controls and Indicators
Front View
321 4 6 75
8
RMMRMSOSANT SQCH
VOL
MENUMWGTSPSAUTO
1. Microphone connector
2. Antenna selector to Ant1 and Ant2/Auto Antenna selector
3. Open Scan/Priority Scan
4. Memory Scan/Group Tone Scan
5. Memory recall/Memory write
6. Remove memory/Menu
7. Volume/Channel/Squelch
8. LCD display

5
Controls and Indicators
Rear View
2
34 1
1. Antenna Connection 2
2. Antenna Connection 1
3. Power supply connection
4. 3.5mm external jack for optional 8 ohm speaker
Microphone
1. Push to talk
2. Volume/Channel/SQ down
3. Mode On/off switch
4. Volume/Channel/SQ up
24
3
1

6
Controls and Indicators
LCD Icons & Indicators
12435
789
6
10
1. Channel display 6. Signal strength & TX
2. CTCSS or DCS on 7. Group address channel
3. Duplex On 8. Group display (A, B, C group)
4. Antenna 1 9. Priority channel
5. Antenna 2 10.Status display

7
Operations
Operations
Turning on the Power
Press and hold the Channel selector.
RMMRMSOSANT SQCH
VOL
MENUMWGTSPSAUTO
Setting the Volume
Turn the channel selector clockwise to adjust the sound level for
comfortable reception.
On the microphone push the up or down buttons to increase or decrease
the volume. If held down the volume will increase or decrease quickly.
RMMRMSOSANT SQCH
VOL
MENUMWGTSPSAUTO
Selecting a channel
Press channel selector once. "CH" will appear on the LCD.
Select the channel by rotating the channel knob.
On the microphone push the mode button and select the channel using
the up or down buttons.
RMMRMSOSANT SQCH
VOL
MENUMWGTSPSAUTO

8
Operations
Setting the Squelch Level
1. Press channel selector 2 times. The current squelch level is
displayed.
2. Select the squelch level by rotating the channel knob.
The radio has 16 preset (off to 15) squelch level off- Squelch open.
1 - Max sensitivity (Min. squelch)
15 - Min. sensitivity (Max/Tight squelch)
RMMRMSOSANT SQCH
VOL
MENUMWGTSPSAUTO
On the microphone push the mode button 2 times and adjust Squelch
with the up and down buttons.
Note :
*If a button is not pressed within 5 seconds the radio will
automatically exit the sub display of "VOL" "CH" and "SQL".
PTT (Push-To-Talk) button
Press the PTT button and then the transmitter is activated:
Pressing the PTT allows audio to be transmitted, by speaking into the
front of the microphone. TX is indicated by the level bars on the LCD
display.
To receive, release the PTT button and then TX will disappear on the
display.
When transmitting, hold the MIC two inches from your mouth and
speak clearly in a normal voice into the front of the mic.

9
Operations
Antenna Selector
Manual Antenna Select
The default setting is antenna terminal 1.
This button is used to manually select the antenna
terminal 1 or terminal 2.
Press the ANT/AUTO button then the antenna
connection will change to terminal 2.
The antenna connected status appears on the LCD as below.
To reactivate manual antenna select, press ANT/AUTO.
Ant 2 iconAnt 1 icon
Auto Antenna Select
When Auto Antenna Select is active the antenna
with the best signal will be selected, this antenna
will also be used for transmit.
To activate auto antenna push and hold the antenna
button for 2 seconds.
Ant1 or Ant2 icon will blink.
If an antenna is not connected and the PTT is pressed the display will
ash in multi-colour to indicate there is a problem.

10
Operations
Scanning
The Scan feature allows you to search for active channels automatically.
There are 4 scanning modes;
Open Scan, Priority Scan, Memory Group Scan and Group tone Scan
(a special case of Memory Group Scan).
Open Scan
Press OS/PS and scanning starts. The OS-SC sub menu display appears
on the LCD.
The scan direction can be changed at any time by rotating the channel
selector left or right.
This can also be controlled by the microphone up and
down buttons.
To stop Scan, press OS/PS button or PTT press.
When a signal is found, scanning will stop at that
channel to allow the signal to be heard, then resume
scanning when the channel is clear again.
The scan resume time can be set as an optional pause of P5 (default).
ch 1-2-3-4-5-6-7 ….. 77-78-79-80
Priority Scan
Within Priority Scan the Radio scans for activity, but in addition, it also
inserts your Priority channel into the scan sequence.
This means that your Priority Channel will be
monitored regularly while scanning to ensure that no
calls are missed. Any signal received on your Priority
Channel will take precedence over any signals
received on the other channels.
ch 1-2-3-4-5- PRI CH - 6-7-8-9-10- PRI CH ….. 76-77-78-79-80
Press and hold OS/PS for 2 seconds and scanning starts.
The PS-SC sub menu display will appear on the LCD.
To stop Priority Scan, press and hold OS/PS button or press PTT.

11
Operations
Group Memory Scan
Memory scan must be stored to the memory channels in groups A to C.
Refer to memory recall function.
1. Press MR/MW button to change the setting between A, B, C and A
blinking in ABC.
The ABC means all memory groups will be selected for scanning.
2. Press MS/GTS button to start group scan.
The ME-SC sub menu
display appears on the
LCD.
3. To reactivate Group memory
Scan, press MS/GTS
button or press PTT.
Group Tone Scan
Group Tone Scan is the default scan mode and is enabled to allow
continual communication across congested channels.
Group Tone Scan channel stored into Group memory scan and only
opens the squelch for signals with the correct sub code (38CTCSS or
104 DCS tone).
To achieve this, all radios in your group memory must have the same
channels in A,B,C memory (group memory channels) and use the same
Subcode (CTCSS or DCS).
1. Press MR/MW button to change the setting between A,B,C and A
blinking in ABC.
The ABC means all groups will be included in the scan.
2. Press MS/GTS button for 2 seconds to start group scan.
The GT-SC sub menu
display appears on the LCD.
3. To Stop Group Tone Scan,
press MS/GTS button or
press PTT.

12
Operations
Memory Recall
This feature allows the user to recall the stored channels in the memory.
To access channels in the Memory, simply press the "MR" button,
and the "A" will appear at the right side on the LCD. Press the memory
button you want to access from A to C Group.
To select memory channel
1. press MR/MW button repeatedly until A is
ashing.
2. push channel selector knob to select channel
operation rotate channel selector knob to select
memory location, Group indicator will ash to
indicate which group is selected.
The UHF182 has 48 stored channels as below.
CH/Group Group A Group B Group C
09 25 –
1 10 26 –
2 11 27 –
3 – – –
4 – – –
5 – – –
6 – – –
7 – – –
8 – – –
9 – – –
A – – –
B – – –
C – – –
D – – –
E – – –
F – – –
Each memory channel can be programmed with any CTCSS or DCS sub
code.
To change group selected in
all scan mode, press MR/MW
to change between ABC.
1. Press MR/MW button to
change the setting between
A ashing in ABC.
2. Press channel selector to
CH mode Select the channel
by rotating the channel dial
up or channel down to 0 - F.
More than F selected and
automatically change of
display from A blinking to
B blinking.
It is change of start band in
All scan mode(ABC).

13
Operations
Memory Write
Select the channel you want to store.
For this example we want to save channel 09 to B
group and group channel 8.
1. Press MR/MW button for 2 seconds. Group A
location 1 will blink.
2. Press MR/MW button to change to group B.
3. Press channel selector to change to CH mode.
4. Rotate channel selector until location 8 is selected.
5. Press MR/MW button for 2 seconds to save & exit from memory
write.
Remove Memory in Scanning
While the radio stops scanning on a busy channel,
press and hold RM button for 2 seconds.
Channel will be removed from current scanning.
The removed channel will be reinstated after the
scan is stopped and restarted.
Scan 1-2-3-4-5-6-7 ….. 77-78-79-80
RM Scan 1-3-4-5-6-7 ….. 77-78-79-80
Note: Up to 10 channels can be removed for the current scan.
For this example we are removing CH02 during the scan. Because it is
only noise.
1. Press RM button for 2 seconds.
2. Scanning will resume.
3. Channel 02 is removed during scan.

14
Operations
Menu list
The menu feature provides a convenient method of customising some of the
radios functions. The following menu options are available. Note that some
items are only available on certain channels.
1. Press the Menu/RM button for 2 seconds. The rst menu function is
displayed.
2. Press the Menu/RM button to cycle through each available function.
3. Rotate the channel knob to alter the parameters of the selected function.
* Use the channel dial to change the value of each setting.
* If a button is not pressed within 8 seconds the radio will
automatically exit the menu mode.
* Exit menu mode by pressing PTT.
* Please see below menu modes.
RMMRMSOSANT SQCH
VOL
MENUMWGTSPSAUTO
Function Step Display Default
Duplex On/Off
Off
On
On
CTCSS and DCS
Off
Offto
104
Backlight LED
colour
0
87(Sky Blue)to
95
Brightness of
backlight
1
2to
4

15
Operations
Function Step Display Default
PRI Setting
channel
1
11to
80
Key Beep
Off
Off
On
Busy channel
lock
Off
Off
On
Scan resume
time
p5
P5to
5,10,15
Auto power Off
Off
Offto
1H,2H,4H
Group Tone
Scan
CT1(67Hz)
On
Off
Reset
User
User
Factory
Logo Display
On
On
Off
Software Version Ver 01

16
Operations
Duplex
General
Your radio has a Repeater Access function to allow use of local repeater
station (if available in your area). Repeater are shared radio system
installed by interested parties(clubs, local business etc.) that pick
transmissions on specic channels and re-transmit(or repeat) the
received signal to another channel.
Channel 2
Channel 32
Channel 2
Channel 32
Repeater Station
The Repeater Access function can be set (from channel 1 to 8 and 41
- 48) used by local repeater stations. When activated, your radio will
receive the Repeater on its specic channel (all repeater output are on
channel 1 to 8 and 41 to 48) but transmit to the repeater channel 31
through 38 and 71 to 78.
(Factory default is set to On for all repeater channels).
e.g.
CH01 on Duplex mode will receive on CH01 but transmit on CH31.
CH02 on Duplex mode will receive on CH02 but transmit on CH32.
If you transmit on CH01 Duplex mode, you are actually transmitting on
CH31.
The repeater station down converts your signal and retransmits on
CH01.
Your transceiver allows you to pre-select Duplex operation individually
on each channel.

17
Operations
CH and
Number
Simplex mode Transmit/Receiver Duplex Mode transmit/Receiver
Frequency (MHz) Frequency (MHz)
1 476.425 477.175 CH31
2 476.450 477.200 CH32
3 476.475 477.225 CH33
4 476.500 477.250 CH34
5 476.525 477.275 CH35
6 476.550 477.300 CH36
7 476.575 477.325 CH37
8 476.600 477.350 CH38
41 476.4375 477.1875 CH71
42 476.4625 477.2125 CH72
43 476.4875 477.2375 CH73
44 476.5125 477.2625 CH74
45 467.5375 477.2875 CH75
46 476.5625 477.3125 CH76
47 476.5875 477.3375 CH77
48 476.6125 477.3625 CH78
For this example we are adopting CH01 as the channel being used for
repeater use.
1. Press Menu button. The duplex setting.
2. Turn the channel selector to change the setting between ON or OFF.
3. Press PTT to save & exit from the menu mode.
4. R icon displays when a selected channel is set to Duplex mode.

18
Operations
CTCSS and DCS setting.
This feature allows you to receive signals only from callers who have
selected the same CTCSS and DCS code.
DCS is similar to CTCSS. It provides 104 extra, digitally coded, squelch
codes that follow after the 38 CTCSS codes. CTCSS 1 - 38, followed by
DCS 1 - 104.
Please refer to the table of CTCSS and DCS.
CTCSS and DCS is not available on CH05 and CH35. For your reference
a list of the available channels, corresponding frequencies and
guidelines for their use and selection is CTCSS and DCS channel list.
For Australia, channel 05 and 35 are reserved for Emergency calls.
96 multi-colour Backlight
You can select from 96 different multi-colour backlighting for the LCD
backlight.
LCD backlight brightness
You can reduce the brightness of the LCD backlight to be more
comfortable while driving at night.
Priority Channel setting
The channel you selected as your Priority Channel will the be automati-
cally monitored during the Priority Scan.
Note: You can only store one channel as your priority channel.
Key Beep
The Beep tone emits a tone when you press any of the buttons on the
microphone (except PTT button).
Busy channel Lock
If the channel is already in use, you can prevent the UHF CB radio from
transmitting. This is particularly important when using CTCSS/DCS.

19
Operations
Scan resume time
If 5, 10, or 15 sec is selected, SCAN will start again after 5, 10, or 15
second pause even though a signal is still present.
If P5 is selected, SCAN will stop as long as a signal is present and will
resume SCAN again 5 seconds later.
Auto power OFF
The auto power off function is activated when no buttons are pushed or
PTT activated for this period of time.
The automatic power off time can be set to OFF, 1, 2, 4 hours at menu
mode.
Group Tone setting
The group tone scan default tone selected is CTCSS 01 (67Hz).
You can select from CTCSS 01 - 38 to DCS 01 to 104 code for Group
tone scan.
Factory Reset
If the radio's display locks up or stops functioning properly, you might
need to reset your UHF radio.
Caution: this procedure clears all the information you have stored in
your UHF radio.
Before you reset your UHF radio, try turning it off and on again.
If your UHF radio is still not functioning correctly you may need to reset
the UHF radio.

20
Operations
To reset
Turn radio on while pressing the ANT button.
There are two reset levels All Reset "AL reset" and All except the user
programmed memories “User reset”.
The reset type can select in menu mode.
"All reset" will clear all memory and settings back to the factory default
settings.
"User reset" will clear all settings except user programmed memory
channels they will be preserved.
The type of reset is selected in Menu list, see pages 14 and 15.
Logo Display
The logo display function can control disable and enable.
Off means the Logo will not be displayed during power on.
Software version display.
Displays the current version of rmware installed.
Table of contents
Other Oricom Radio manuals

Oricom
Oricom DTX4300 User manual

Oricom
Oricom PMR1310 User manual

Oricom
Oricom UHF098 User manual

Oricom
Oricom UHF2500 User manual

Oricom
Oricom UHF400R User manual

Oricom
Oricom UHF088 User manual

Oricom
Oricom UHF028 User manual

Oricom
Oricom UHF350DR User manual

Oricom
Oricom UHF182X User manual

Oricom
Oricom UHF058 User manual

Oricom
Oricom UHF300 User manual

Oricom
Oricom UHF180F User manual

Oricom
Oricom UHF080 User manual

Oricom
Oricom DTX4200X User manual

Oricom
Oricom UHF028PNP User manual
Oricom
Oricom UHF400R User manual

Oricom
Oricom PMR795 User manual

Oricom
Oricom UHF305 User manual
Oricom
Oricom DTX4200X User manual
Oricom
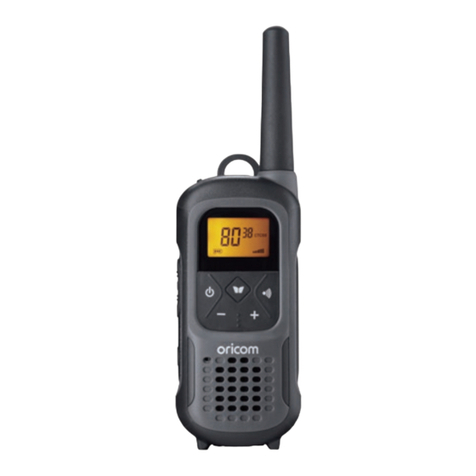
Oricom UHF098 User manual