3(4)
1. Introduction
The SIO module is an accessory OriLink®. With this the system can be connected to a PC. It can also be used to
amplify signals if the communication loop is more than 2000 meters.
NOTE! The Orilink® installation manual should be available when installing the module.
2. Mechanical installation
The SIO module is delivered mounted in a box with a DSUB 9-pin serial cable.
A module in a box is mounted on a wall or other suitable place close to a PC using the four ø5 mm holes in the bottom
of the casing. The serial cable is 3 meters.
If a small and compact system is needed the PCB version can be mounted in a PM or MPDM. The chassis-connector
on the flat cable is mounted in the “knock-out” hole, see chapter 6.
3. Electrical installation
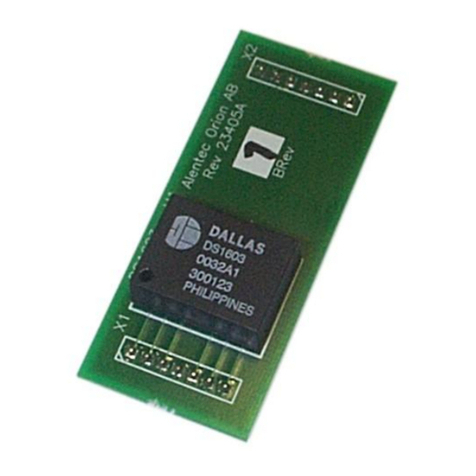
The module has four connectors (A) in two groups. The four connectors are marked A, B, +24 V and Gnd. Use these
to connect the module to an existing system. Consult the cable recommendations in the OriLink installation manual.
NOTE! +24VDC may only be connected to one connector.
At the connector (B) you connect the flat cable for RS-232 serial communication with a PC. Communication through
this port is indicated by LED (C).
The LED (D) is lit when the system is working properly.
If the module is used as a signal amplifier one communication loop should be connected to one Line and the other
loop to the other Line. You must set termination and BIAS for BOTH groups. DIL-switches at (E).
The PCB gets its power from the communication loop. Kretskortet tar sin spänningsmatning från
kommunikationsslingan. If the module is placed far away from a MPDM it is possible to apply an external power-
supply to one of the connectors (A).
NOTE! If only one line is used the other one must be terminated, all switches in the ON position.
Two LED at (F) indicate communication in their respective group.
