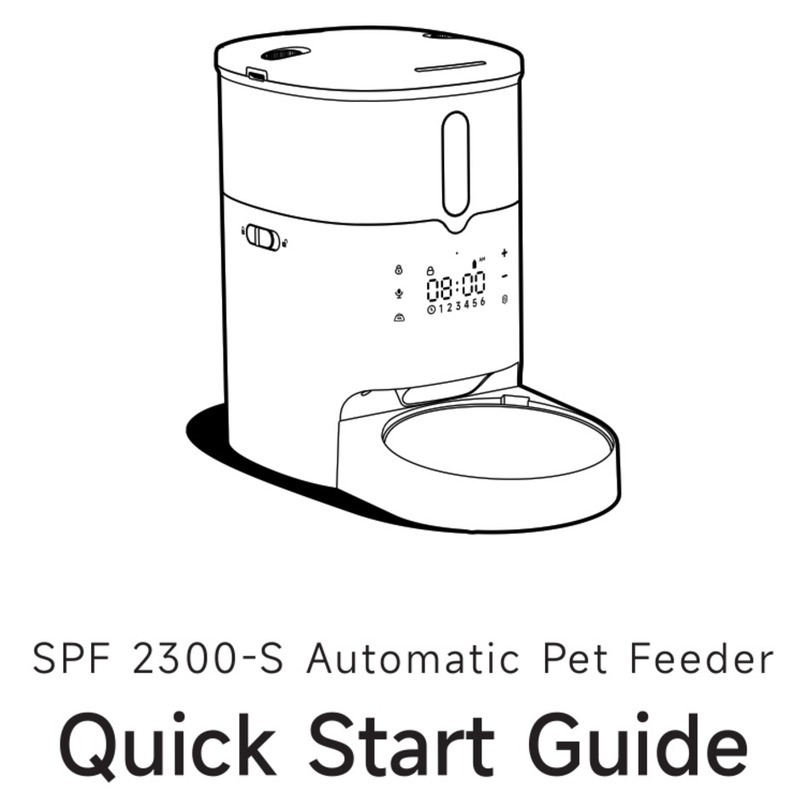
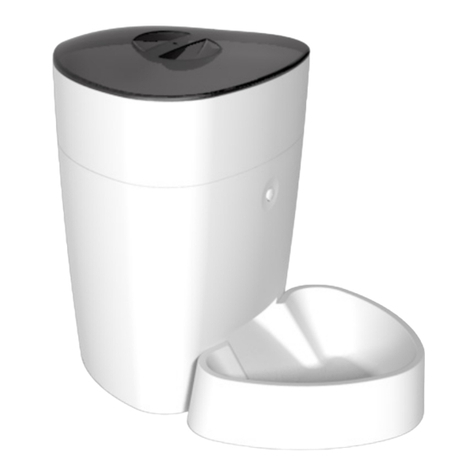
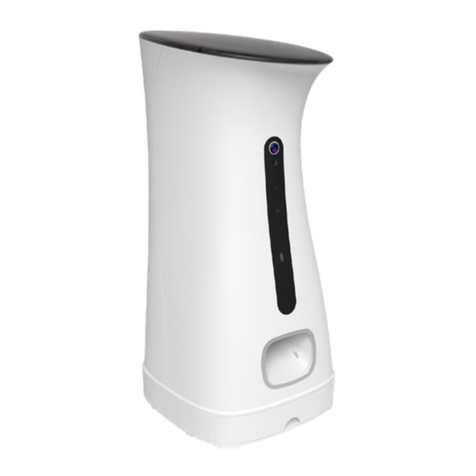
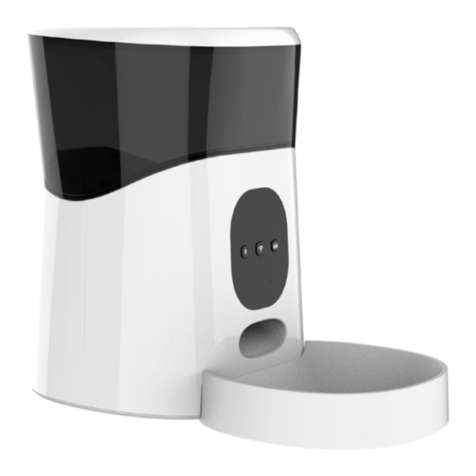
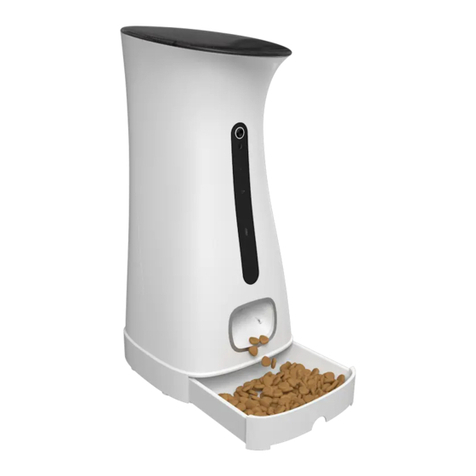
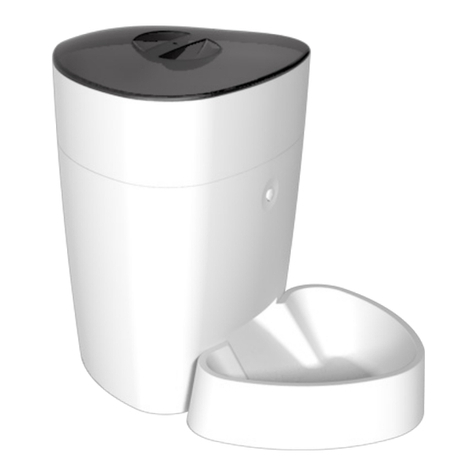
Owon SPF2000-V User manual

SPF2000-V Smart Pet Feeder
Quick Start Guide


Safety Notice
WARNING: Failure to follow these safety notices could result in re,
electric shock, other injuries, or damage to the Smart Pet Feeder and
other property. Read all the safety notices below before using the
Smart Pet Feeder.
• Avoid high humidity or extreme temperatures.
• Avoid long exposure to direct sunlight or strong ultraviolet light.
• Do not drop or expose the unit to intense vibration.
• Do not disassemble or try to repair the unit yourself.
• Do not expose the unit or its accessories to ammable liquids, gases
or other explosives.

Technical Specications
Hopper Capacity • 7.5L
Auto Feeding Time • 1-8 meals per day
Microphone • 10 meters, -30dBV/Pa
Speaker • 8 Ohm 1w
Power • DC power cord
• Backup batteries: 3 x D cell
Dimension • 230 x 230 x 500 mm
N. W. • 3.76 kgs
Color • White

Welcome
1
The Smart Pet Feeder allows you to feed remotely or apply schedules
for automatic feeding. With HD camera, you can even interact with
your pets using voice from your mobile phone when you're not home.
This guide will provide you with an overview of the product and help
you get through the initial setup.
• Wi-Fi Remote control -Smartphone programmable.
• HD camera & Voice interaction - real time interaction
• Camera recording & playback
• Voice record & playback - play your own voice message at meal times
• Plan reminder - Manage your pet's daily plans and receive the
notication
• Automatic & manual feeding -built in display and buttons for manual
control and programming
• Accurate feeding -Schedule up to 8 feeds per day
• 7.5L food capacity -7.5L large capacity
• Key lock -Prevent mis-operation by pets or kids
• Dual power protective -Battery backup, continuous operation during
power or internet failure
Features:

APP Download:
Tips:
Please check the condition and the accessories of pet feeder after you
open the box.
Scan the QR Code behind the Pet Feeder with your smartphone.
Recommend food size between 5 mm – 15 mm.
In the box
• Pet Feeder x 1
• Power Adapter x 1
• Quick Guide x 1
• Cord Hose Protector x 1
• Stand x 1
2

Wi-Fi indicator
The Wi-Fi status gives the following information:
Wi-Fi Status What it means
Flashing Pet Feeder has not joined the Internet.
Steady light Pet Feeder has joined the Internet.
Fault indicator lamp
The Fault indicator ashes when the following happens:
• Feeding situation: there is no food come out, or food doesn't come
out correctly.
3Get to know your device
Cover
Buttons & display
(Open the cover)
HD camera
Night vision
Microphone
Wi-Fi indicator
Fault indicator lamp
Food outlet
Bowl

Battery box
3 x D-size batteries. Please pay attention to the polarity. Please note
that the battery charging is for backup purpose only. If you wish to
control the pet feeder remotely, power supply is needed.
Speaker
Play sound.
Power switch
— for ON, ○ for OFF.
Power jack
Use the supplied power adapter.
Battery box
Speaker
Power switchPower jack

Button Introduction:
Lock.
Hold the button for 6 seconds then release it to lock all
buttons. Hold it again for 6 seconds then release it to unlock.
Reset.
Hold the button for 6 seconds then release it. After beep
sound and the start-up sound, the feeder will be reset.
Feed.
Manually feed once in 1 portions.
SET.
Enter/exit to set-up status.
UP.
Increase menu value. Hold the button, you can increase
quickly.
OK.
Conrm current setting and move to next setting.

Setup manually
• Setup system time
1. Press 'SET', the Hour of system time starts ashing, press 'UP' to set
the hour, and then press 'OK' to conrm.
2. The Minute of system time starts flashing, press 'UP' to set the
minute, and then press 'OK' to confirm. After that, you can setup
automatic feeding.
• Setup automatic feeding
3. After system time's setup, the 'MEALS' starts ashing, press 'UP' to
setup meals, and then press 'OK' to conrm.
4. Then 'CURRENT' starts flashing, you can setup time and portion
of each meal one by one. The setting order is 'CURRENT' -> 'TIME' ->
'PORTION', and then move to the next meal. After setting all the meals,
the set-up status will exit.
Display Introduction:
M
EALS
:
P
ORTION
:
T
OTAL
:
TI
ME
:
CU
RRENT
:
Key lock Total Meals Battery Level
Total Meals
Feed Time
Current Portion
Total Portion History
Current Meal
System time

To get started, you will need:
• A Wi-Fi network.
• A mobile phone with a mobile APP installed.
If you would like to add a device which is unconnected to the cloud,
follow the steps below(If not, refer to section 3 of the FAQ):
1. Power on the Smart Pet Feeder.
2. Make sure the Wi-Fi indicator lamp is rapidly blinking and the device
is beeping. If not, please reset the Pet Feeder.
4Get started
1. Open your App
2. Please click the '+' button to add devices
4.1 Add new devices

3. Select 'WiFi+Camera version' to continue
4. Select 'Wi-Fi indicator is flashing' -> 'Device is beeping'. Enter
your home Wi-Fi account and password(Only support 2.4Ghz Wi-Fi)
and it will display the QR code after clicking 'conrm'.
5. Place the QR code in front of the feeder's camera to scan at a
distance of 15cm to 20cm. There will be a beep sound when the scan is
successful. Tap 'Next' to continue.

6. Place the router, mobile phone and Pet Feeder as close as possible
7. Waiting for connection
8. After the device has been added, you can rename it and enter the
password. The Initial password for new devices is 123456.

4.2 App Overview:
1. Schedule
Manage your Pet's daily plans and receive the notication.
2. My Pets
Edit the information of your Pets.
3. Pet's Store
Show some information about pet products.
Add Device
Interaction
Feeding

You will see an fault prompt when the following problem occurs:
• Network situation: the Pet Feeder cannot connect to the cloud
• Gate situation: reserved
• Feeding situation: there is no food come out
1. Device Settings
• Modify device password: To prevent others from scanning your router
to gain the control of your feeder.
• Time Zone Settings: Set time zone.
• SD Card Manage: Manage your SD card
• Device Information: Check device information and updates
2. Bind
One device can only bind one pet.
Tap one of the Pet Feeder in the 'Device List' to get the status of the
device.
4.3 Device status:
Fault
Normal
Bind
Device Settings

4.4 Feeding:
1. Voice record
Press and hold it to record your voice. It will loop your voice 3 times
when the food is delivered.
2. Manually feed
Press and hold it to feed manually once in 3 portion.
3. Schedule
Edit your schedule for automatic feed.
Voice record
Schedule
Manually feed
Add schedule for
automatic feed
3. Share Device
Share the device with others through the QR code(This QR code
contains: UID, current password). Then you can view and control the
device.

4.5 Interaction:
Manually feed
Video denition
Playback
Microphone
1. Manually feed
Press to feed manually once in 3 portion.
2. Playback
Playback your record video on your SD card. Click it once to
playback and click it again to exit.
3. Voice interaction
Press and hold it to talk through the Feeder.

5
Align the stand with the hole at the bottom. Gently push the stand into
the hole at the bottom.
1.How to install the stand
FAQ
Open the cover and remove the food storage bucket. There is a slot
inside the Pet Feeder. Place the metal side of TF card inward and install
it in. The device will automatically record 24 hours video to your TF
card when you put it in. If the TF space is full, the earlier video will be
deleted automatically to save more space for recording.
2.Where should the TF card be inserted?

1. Add device
2. Select 'WiFi+Camera version' -> 'Wi-Fi indicator is not ashing'
Manual: Enter the device UID or click the icon in the upper right corner
to scan the QR code (behind the Pet Feeder or shared by others) to add
online device.
LAN: Connect your phone's Wi-Fi to the same network as the feeder
rst. Then click the LAN button to scan and add the devices.
3.How to add a device that is already connected to the
cloud and online to my App

Table of contents
Other Owon Pet Care Product manuals

Owon
Owon SPF2000-W-TY User manual

Owon
Owon SPF2200-V-TY User manual

Owon
Owon SPF 2200-WB-TY User manual

Owon
Owon SPF-1010-WB-TY User manual

Owon
Owon SPD 3100 User manual

Owon
Owon SPD2100 User manual

Owon
Owon SPF-1010-TY User manual
Owon
Owon Pawmate SPF2000-V-TY User manual

Owon
Owon SPF 2200-S User manual
Owon
Owon SPF 2300-S User manual