WARNING! When using mains-powered tools, basic safety precautions, including the following, should
always be followed to reduce risk of fire, electric shock, personal injury and material damage.
Read the whole manual carefully and make sure you know how to switch the tool off in an emergency,
before operating the tool.
Save these instructions and other documents supplied with this tool for future reference.
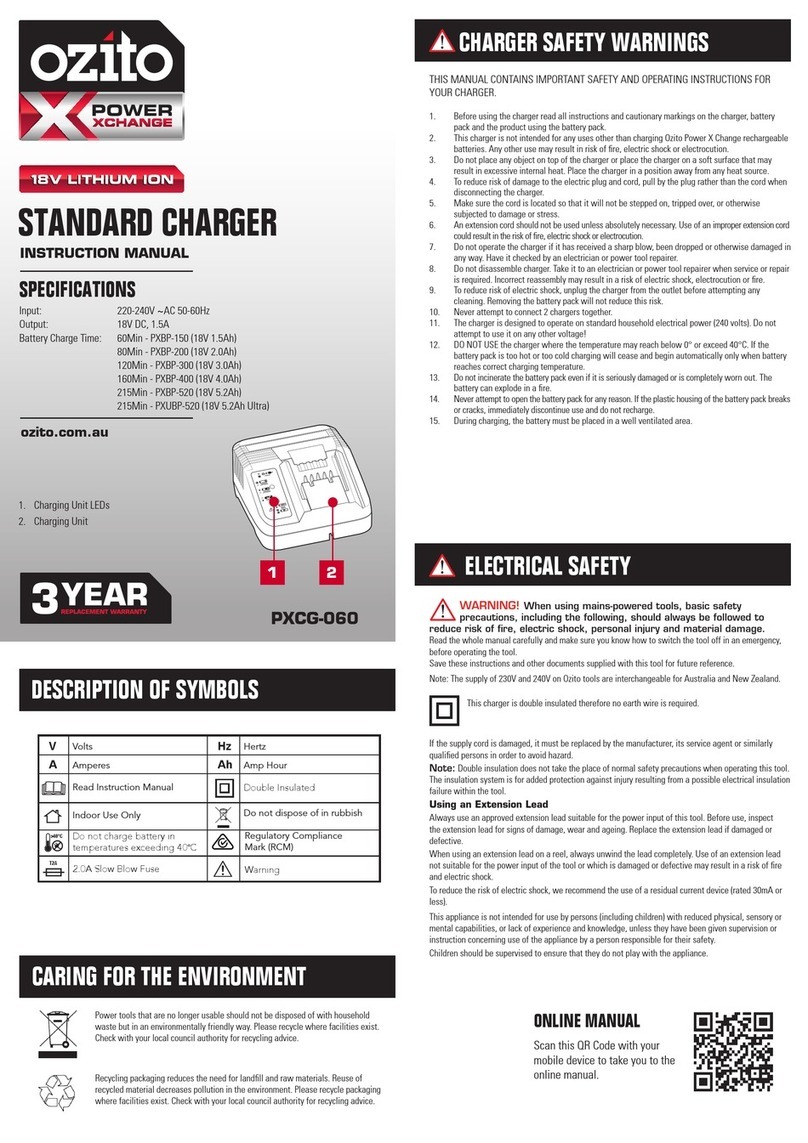
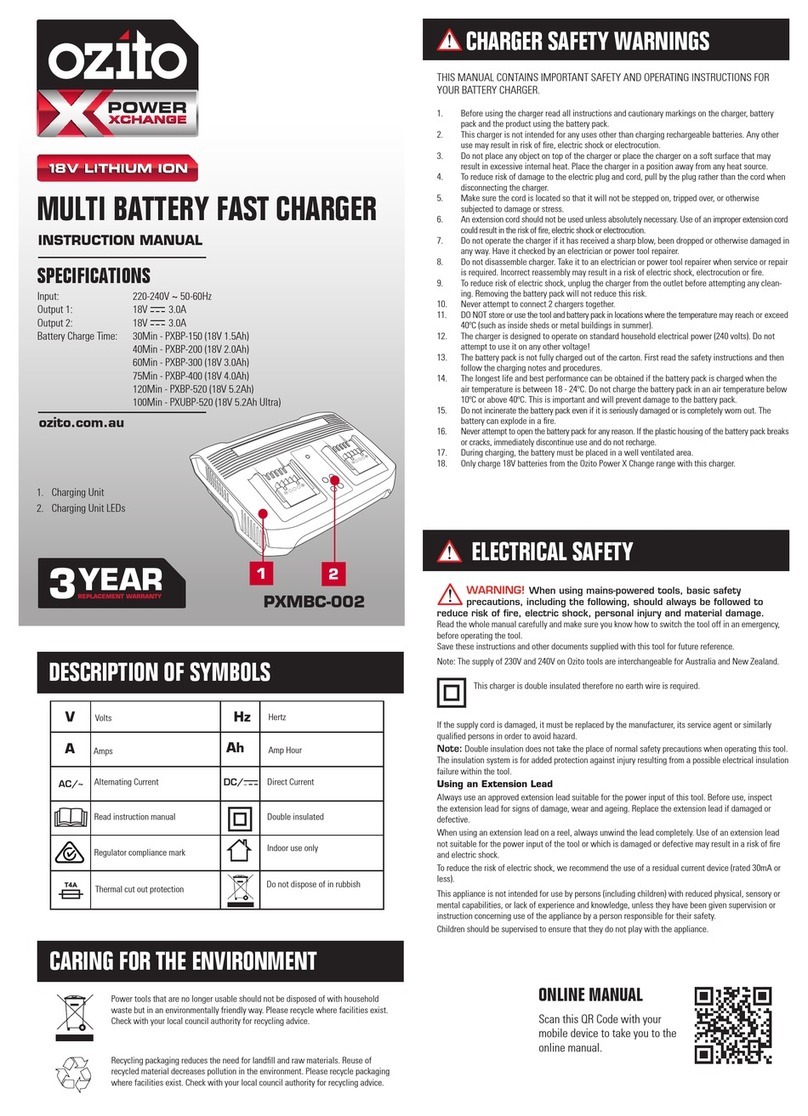
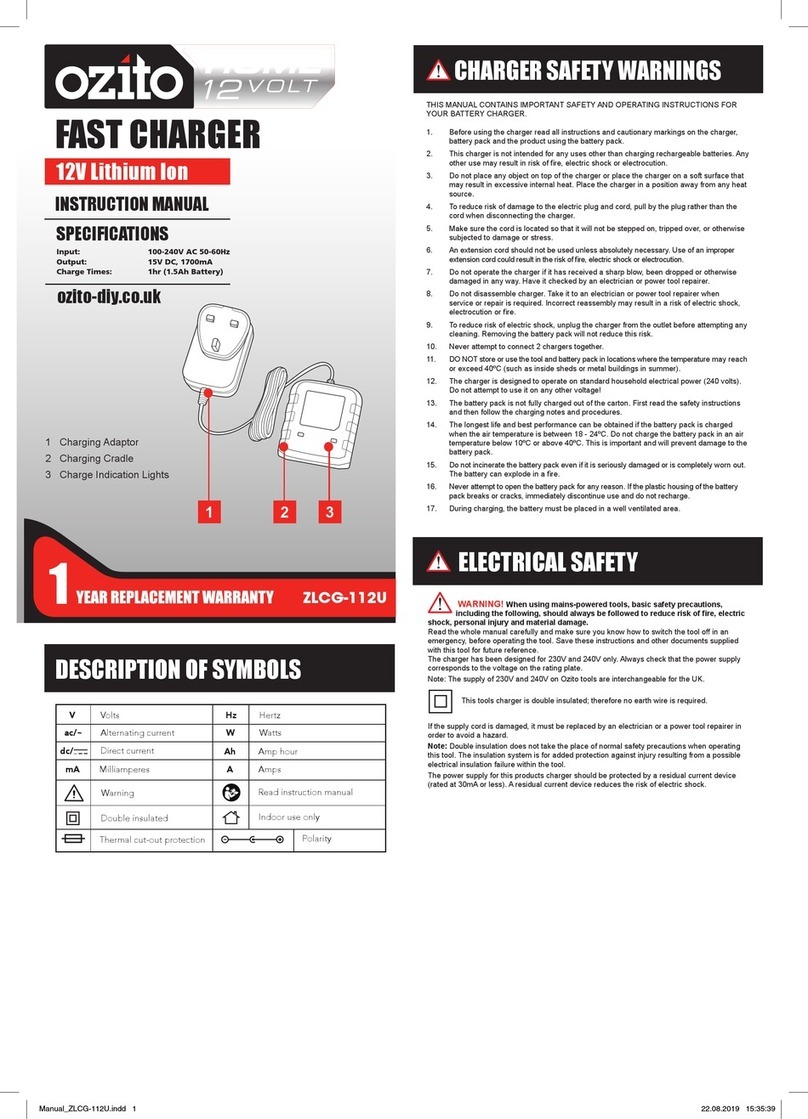
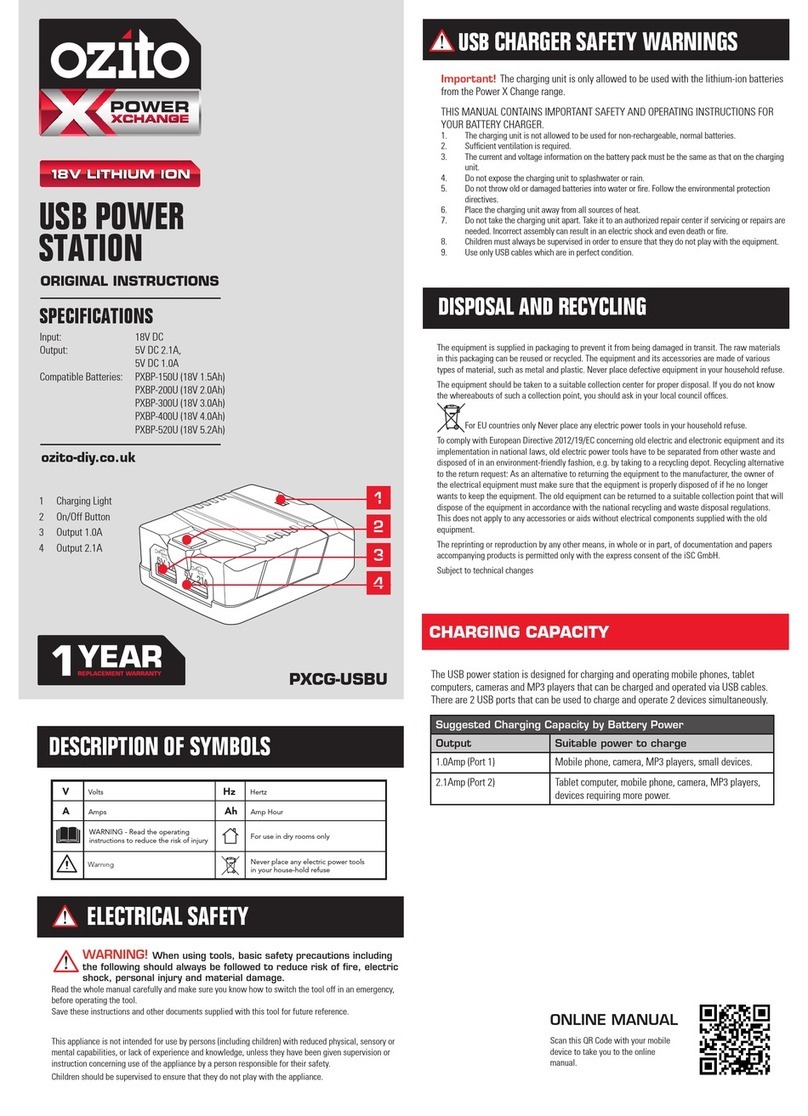
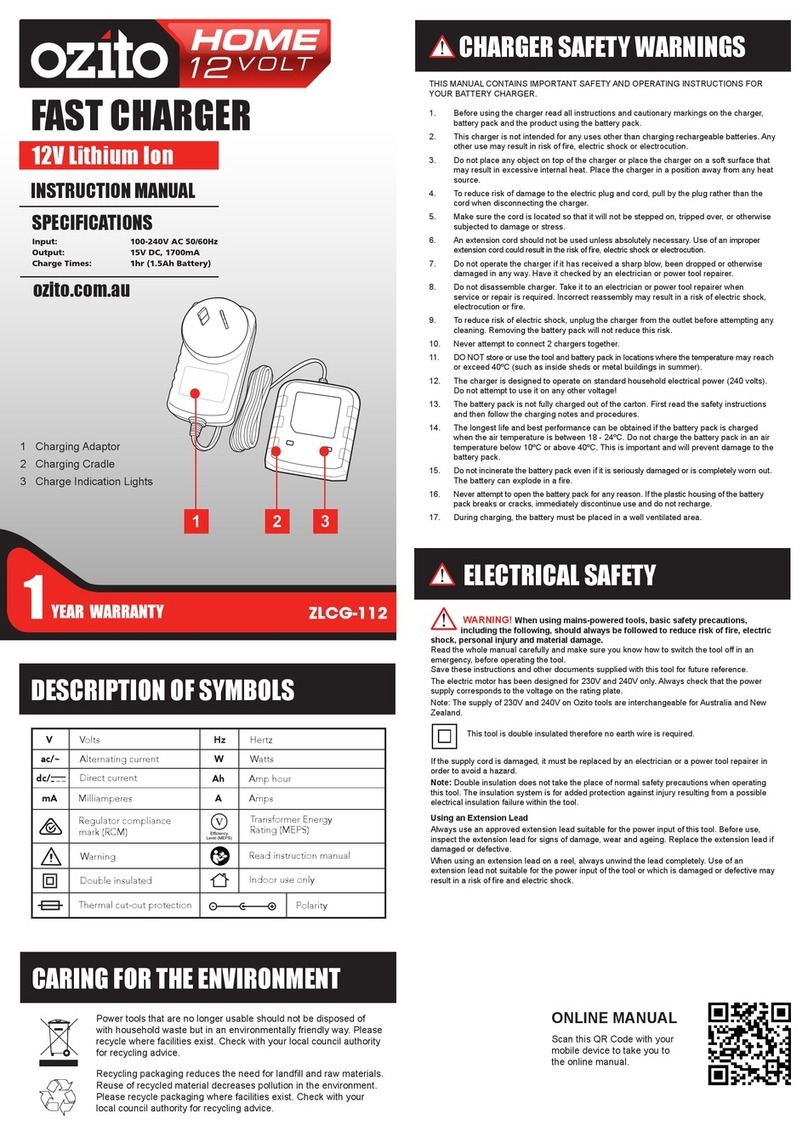
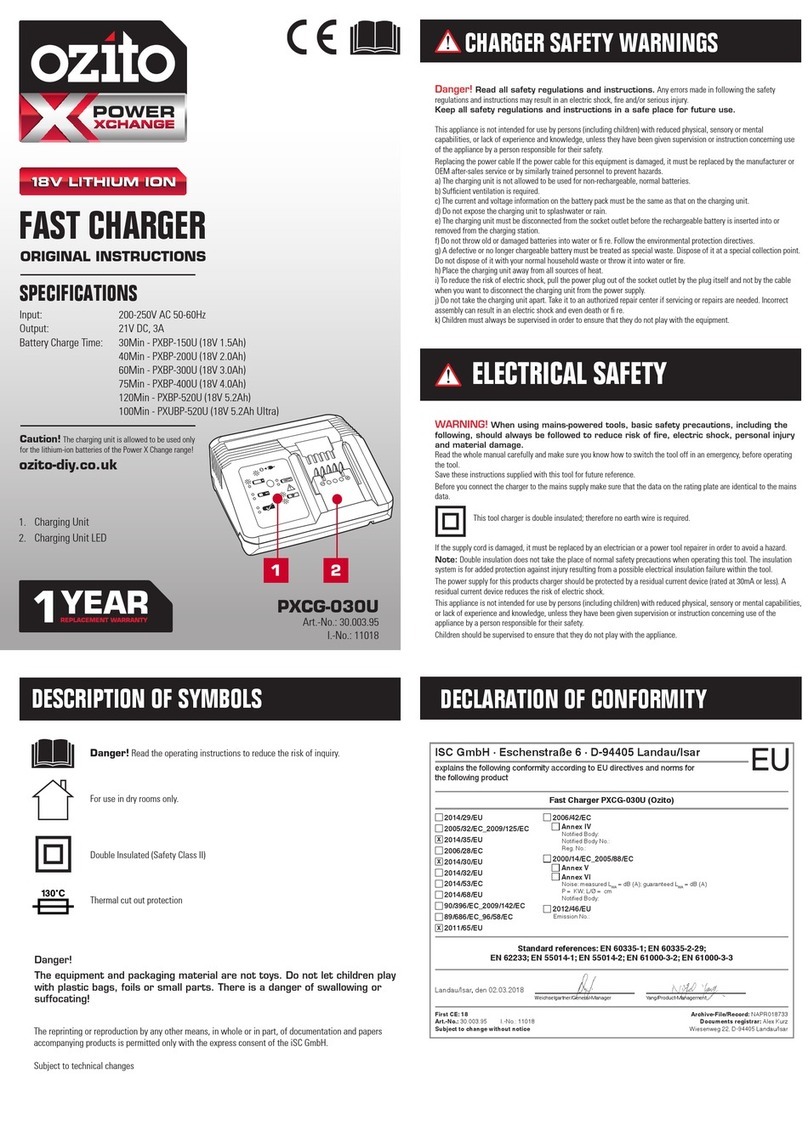
This tool has been designed for 230V and 240V only. Always check that the power supply corresponds to the voltage
on the rating plate.
Note: The supply of 230V and 240V on Ozito tools are interchangeable for Australia and New Zealand.
This tools is double insulated; therefore no earth wire is required.
Note: Double insulation does not take the place of normal safety precautions when operating this
tool. The insulation system is for added protection against injury resulting from a possible electrical
insulation failure within the tool.
Using an Extension Lead
Always use an approved extension lead suitable for the power input of this tool. Before use, inspect the extension
lead for signs of damage, wear and ageing. Replace the extension lead if damaged or defective.
When using an extension lead on a reel, always unwind the lead completely. Use of an extension lead not suitable for
the power input of the tool or which is damaged or defective may result in a risk of fire and electric shock.
The power supply for this product should be protected by a residual current device (rated at 30mA or less). A residual
current device reduces the risk of electric shock.
GENERAL POWER TOOL SAFETY WARNINGS
ELECTRICAL SAFETY
WARNING! Read all safety warnings and all instructions. Failure to follow the warnings and instructions may
result in electric shock, fire and/or serious injury.
Save all warnings and instructions for future reference. The term “power tool” in the warnings refers to your
mains-operated (corded) power tool or battery-operated (cordless) power tool.
1. Work area safety
a. Keep work area clean and well lit. Cluttered or dark areas invite accidents.
b. Do not operate power tools in explosive atmospheres, such as in the presence of flammable liquids, gases
or dust. Power tools create sparks which may ignite the dust or fumes.
c. Keep children and bystanders away while operating a power tool. Distractions can cause you to lose control.
2. Electrical safety
a. Power tool plugs must match the outlet. Never modify the plug in any way. Do not use any adapter plugs
with earthed (grounded) power tools. Unmodified plugs and matching outlets will reduce risk of electric shock.
b. Avoid body contact with earthed or grounded surfaces, such as pipes, radiators, ranges and refrigerators.
There is an increased risk of electric shock if your body is earthed or grounded.
c. Do not expose power tools to rain or wet conditions. Water entering a power tool will increase the risk of
electric shock.
d. Do not abuse the cord. Never use the cord for carrying, pulling or unplugging the power tool. Keep cord
away from heat, oil, sharp edges or moving parts. Damaged or entangled cords increase the risk of electric
shock.
e. When operating a power tool outdoors, use an extension cord suitable for outdoor use. Use of a cord
suitable for outdoor use reduces the risk of electric shock.
3. Personal safety
a. Stay alert, watch what you are doing and use common sense when operating a power tool. Do not use
a power tool while you are tired or under the influence of drugs, alcohol or medication. A moment of
inattention while operating power tools may result in serious personal injury.
b.Use personal protective equipment. Always wear eye protection. Protective equipment such as dust mask,
non-skid safety shoes, hard hat, or hearing protection used for appropriate conditions will reduce personal injuries.
c. Prevent unintentional starting. Ensure the switch is in the off-position before connecting to power source
and/or battery pack, picking up or carrying the tool. Carrying power tools with your finger on the switch or
energising power tools that have the switch on invites accidents.
d. Remove any adjusting key or wrench before turning the power tool on. A wrench or a key left attached to a
rotating part of the power tool may result in personal injury.
e. Do not overreach. Keep proper footing and balance at all times. This enables better control of the power tool
in unexpected situations.
f. Dress properly. Do not wear loose clothing or jewellery. Keep your hair, clothing and gloves away from
moving parts. Loose clothes, jewellery or long hair can be caught in moving parts.
g. If devices are provided for the connection of dust extraction and collection facilities, ensure these are
connected and properly used. Use of dust collection can reduce dust-related hazards.
h. Do not let familiarity gained from frequent use of tools allow you to become complacent and ignore tool
safety principles. A careless action can cause severe injury within a fraction of a second.
4. Power tool use and care
a. Do not force the power tool. Use the correct power tool for your application. The correct power tool will do
the job better and safer at the rate for which it was designed.
b. Do not use the power tool if the switch does not turn it on and off. Any power tool that cannot be controlled
with the switch is dangerous and must be repaired.
c. Disconnect the plug from the power source and/or the battery pack from the power tool before making
any adjustments, changing accessories, or storing power tools. Such preventive safety measures reduce the
risk of starting the power tool accidentally.
d. Store idle power tools out of the reach of children and do not allow persons unfamiliar with the power tool
or these instructions to operate the power tool. Power tools are dangerous in the hands of untrained users.
e. Maintain power tools. Check for misalignment or binding of moving parts, breakage of parts and any other
condition that may affect the power tool’s operation. If damaged, have the power tool repaired before use. Many
accidents are caused by poorly maintained power tools.
f. Keep cutting tools sharp and clean. Properly maintained cutting tools with sharp cutting edges are less likely to
bind and are easier to control.
g. Use the power tool, accessories and tool bits etc. in accordance with these instructions, taking into
account the working conditions and the work to be performed. Use of the power tool for operations different
from those intended could result in a hazardous situation.
h. Keep handles and grasping surfaces dry, clean and free from oil and grease. Slippery handles and grasping
surfaces do not allow for safe handling and control of the tool in unexpected situations.
5. Service
a. Have your power tool serviced by a qualified repair person using only identical replacement parts. This will
ensure that the safety of the power tool is maintained.
The item is not to be used by persons (including children) with reduced physical, sensory or mental
capabilities, or lack of experience and knowledge, unless they have been given supervision or
instruction.
Young children should be supervised to ensure that they do not play with the appliance.
• Read all safety warnings and all instructions. Failure to follow the warnings and instructions may result in
electric shock, fire and/or serious injury. Save all warnings and instructions for future reference.
• This charger is not intended for any uses other than charging 12V lead acid and for lead gel and AGM batteries
which are used in motor vehicles. Do not attempt to use on other voltages and types of batteries.
• Danger! Do not charge any frozen batteries.
• Please ensure that the vehicle is turned off completely before charging the battery.
• Do not pull the cord when disconnecting charger.
• Never attempt to dissemble the battery charger.
• To charge the battery outside the vehicle, make sure it is in a safe stable location with adequate ventilation.
• Do not place the battery charger on top of the battery when charging.
Risk of Fire & Deflagration
• Do not use chargers in environments where explosions may occur, such as in environments with ignition
sources, flammable vapours, gases, dust or similar.
• Do not use chargers with damaged cord or plug.
• Route the terminal clamps so that they cannot be caught by rotating parts in the engine compartment.
• Do not short circuit the chargers.
• Do not shorten or extend the chargers.
• Do not wear clothing made of synthetic materials during charging. They could generate sparks due to
electrostatic charge.
Risk of Explosion & Chemical Burns
• Do not charge a battery if it is cracked or damaged.
• Do not lean over the battery. The electrolyte from the discharged battery is also liquid at low temperatures.
• Wear protective gloves and safety glasses when working on the battery.
• Do not allow battery acid to make bodily contact. In the event of contact with battery acid immediately flush the
applicable areas with plenty of clean water and consult a doctor.
• Car batteries discharge hydrogen gas, which may ignite from flying sparks. Ensure that the clamps are
connected in the correct order to reduce the risk of sparks.
• Only charge the battery in a well-ventilated area to ensure toxic exhaust gas does not build up.
• Remove any vent caps on non-maintenance free batteries – be very careful as battery acid is highly corrosive.
• Do not connect black terminal clamps to dead/flat battery.
• Never smoke, use an open flame or create sparks near the battery charger whilst charging as gases may cause
an explosion.
• Remove all metal jewellery, including watches and rings. Use insulated tools to avoid shorting the battery.
CAR BATTERY CHARGER SAFETY WARNINGS
